Q-Tip Snowflakes
This post may contain affiliate links: full affiliate disclosure.
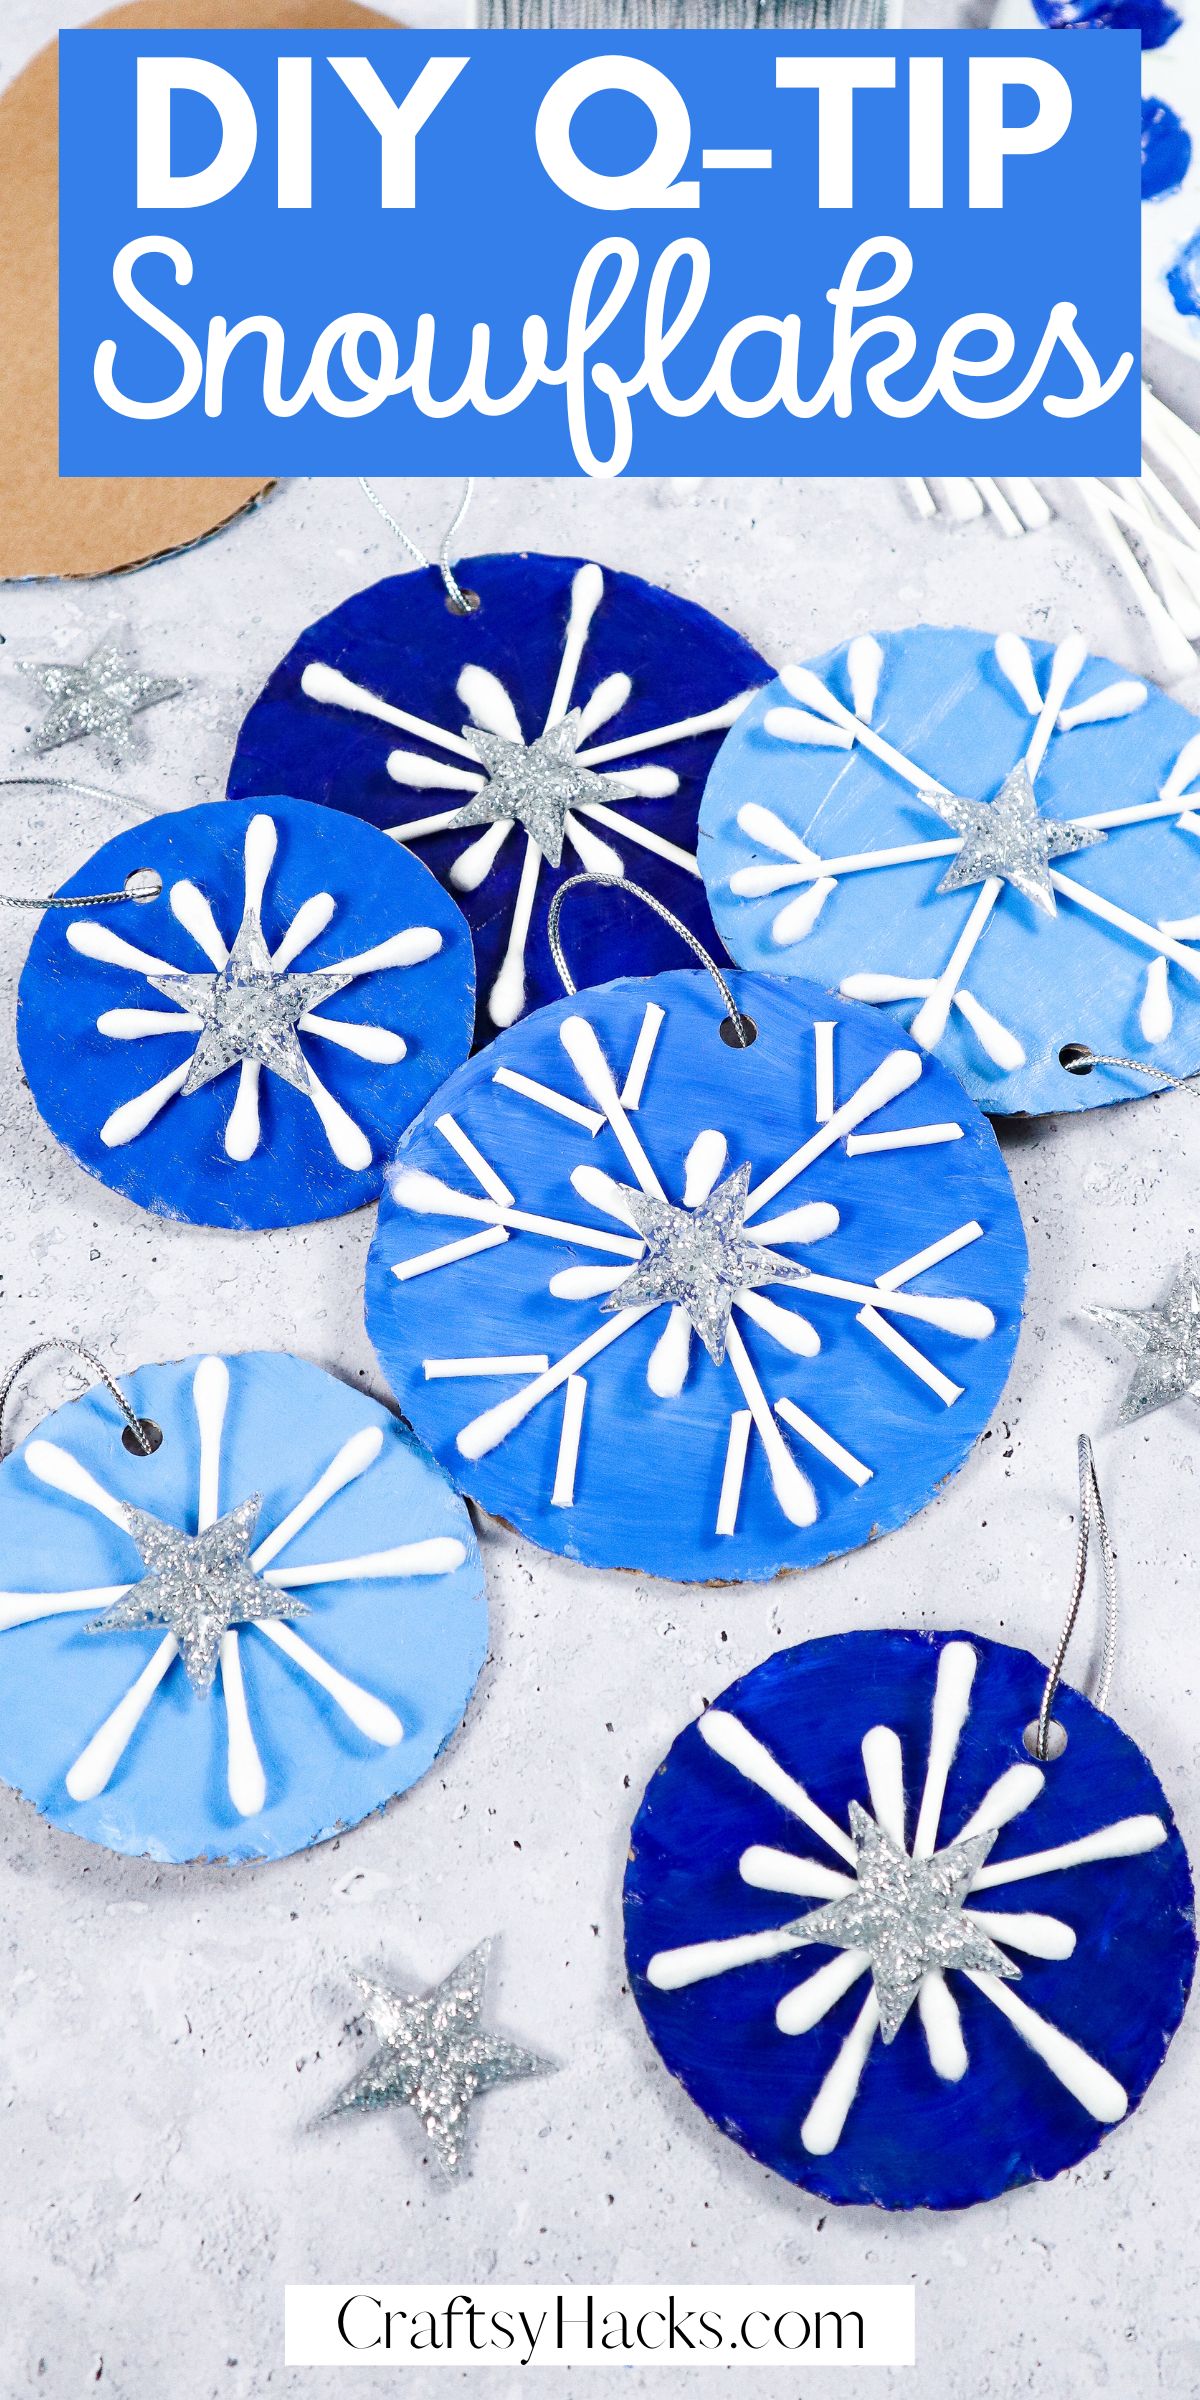
Are you looking for a cute, sweet, wintry craft that calls for snowshowers? These whimsical Q-tip snowflakes are the perfect option for those looking to get crafty at any age.
If you have much younger participants, you may want to prepare before you sit down with the supplies. It’s a great option for a multi-step project for those younger learners to practice that skill.
Easy, fun, and customizable, these q-tipped cuties can stay in the traditional colors shown above, or you can branch out into different colors.
A bronze, gold, and silver collection would look very elegant displayed in a space or on a tree.
The best part is that they look wonderful when they’re finished, and this craft doesn’t break the bank at all. You can upcycle different elements and pull from your personal home stash.
That all being said, if you need any recommendations on items, I have a couple listed below. What’s highlighted are items that everyone may not have as commonly as the other goods.
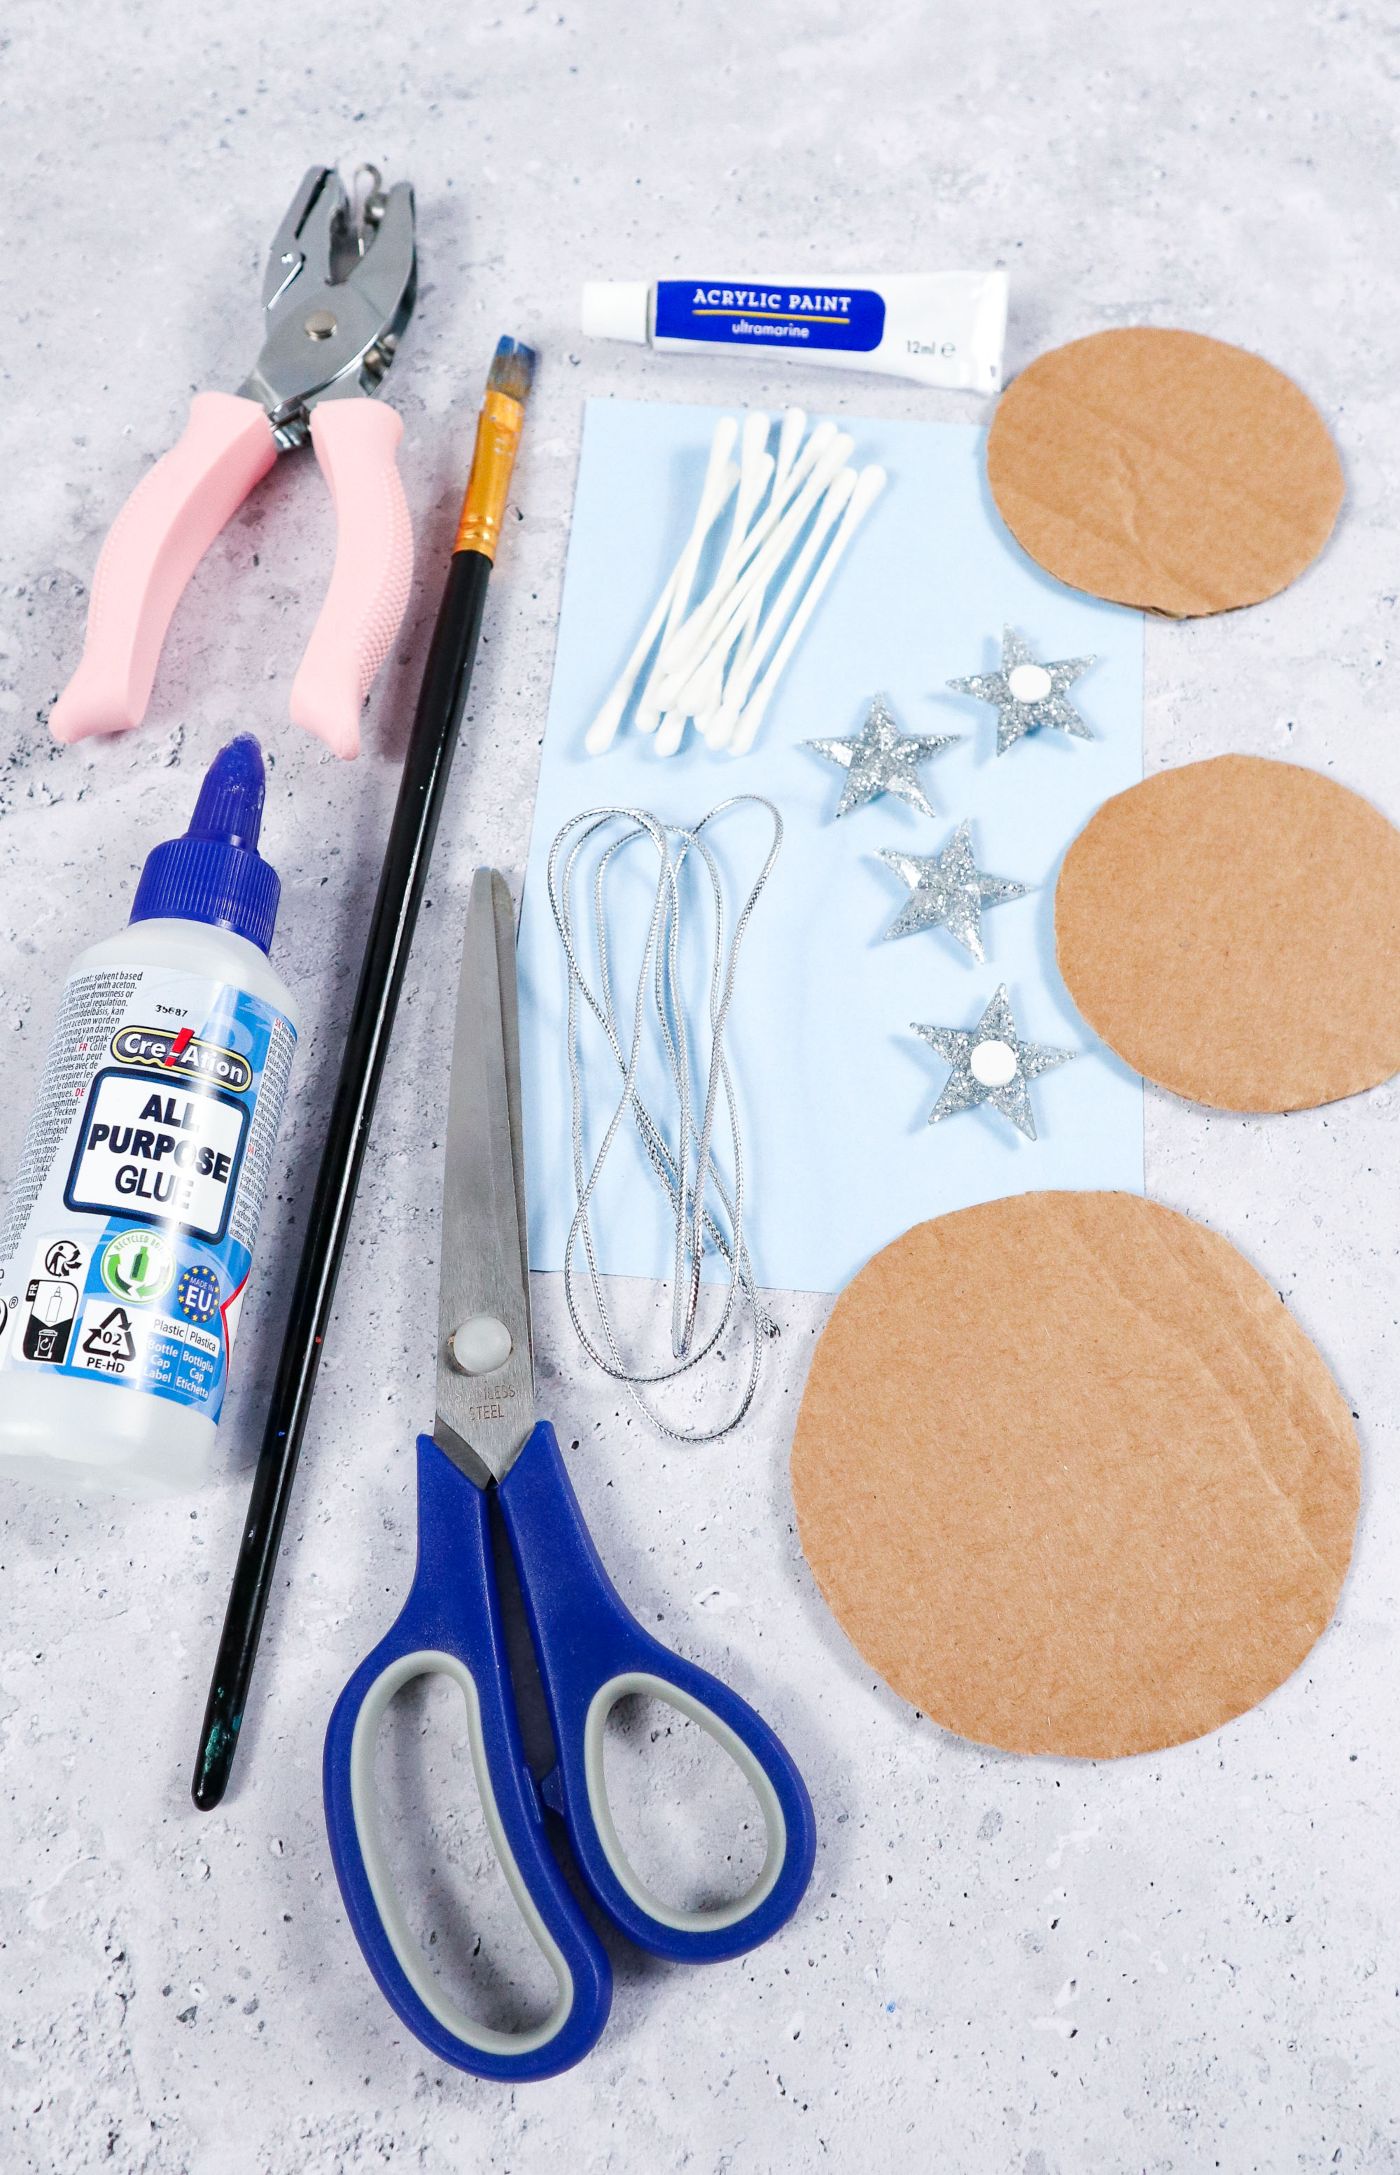
Supplies You’ll Need
Cardboard circles
Cotton buds
Scissors
Paintbrush
String
How to Make Q-Tip Snowflakes
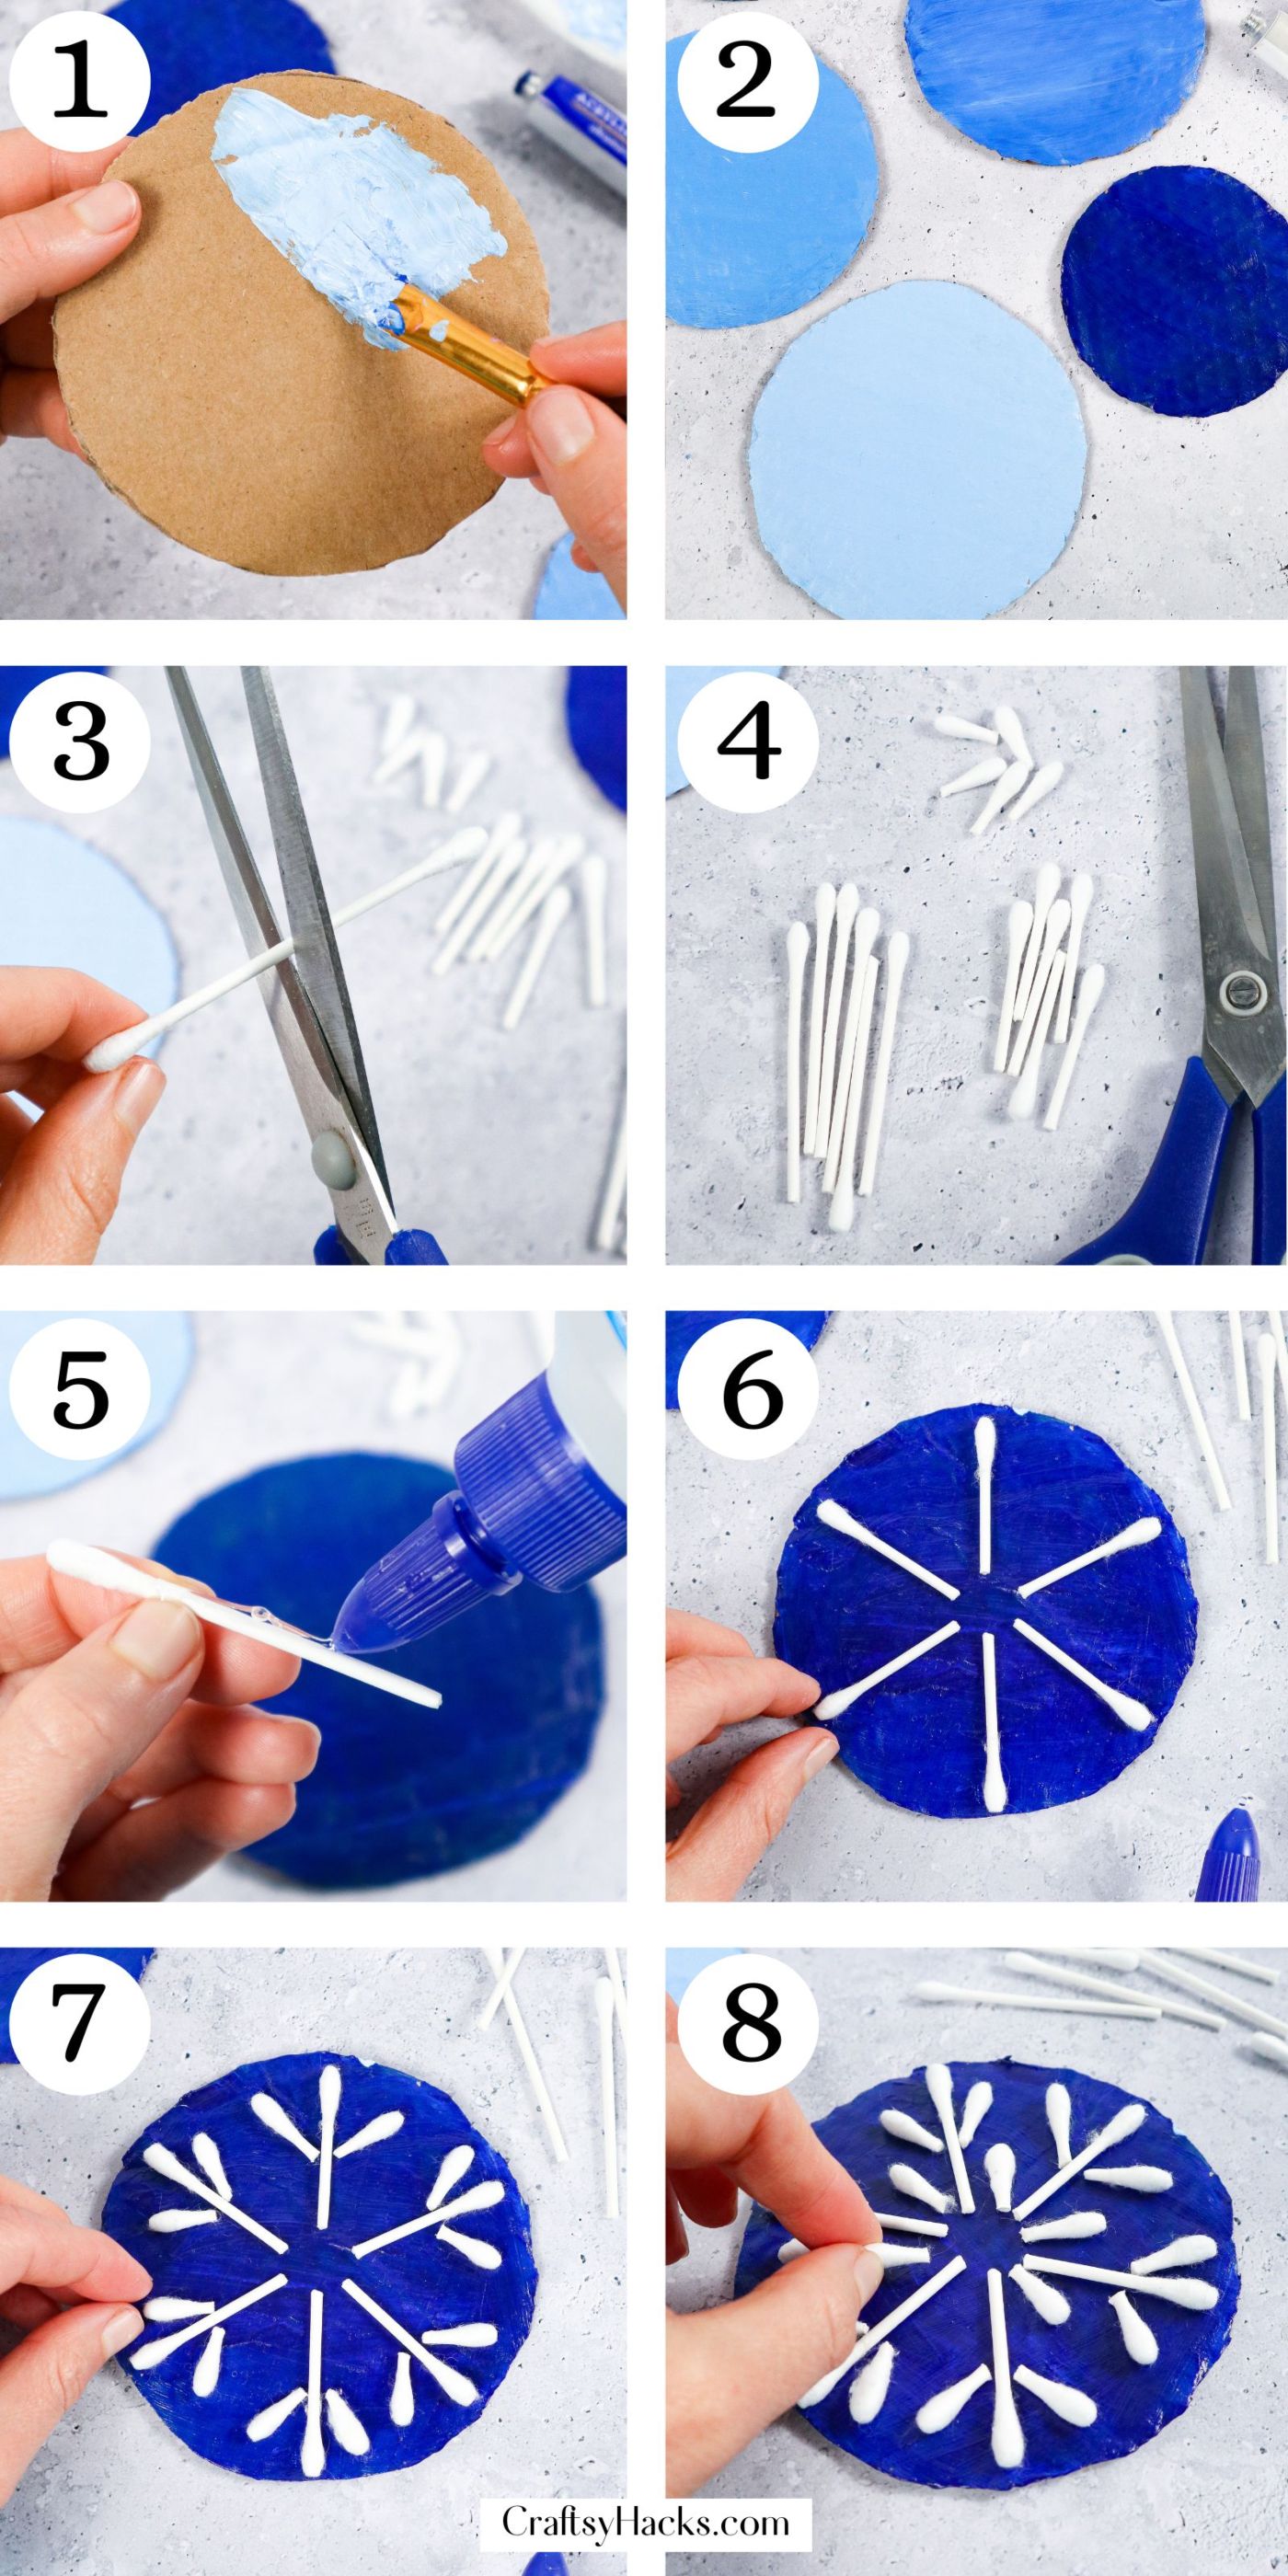
Step 1. Have your cardboard circles prepped and cut out–you can have uniform sizes or circles in various sizes.
Start by painting your given amount of cardboard pieces painted in the various shades of paint you have.
Step 2. After painting, let each cardboard circle dry, and make sure to give it sufficient dry time depending on the type of paint.
Repeat the first two steps if you’re looking for more painted coverage on your craft.
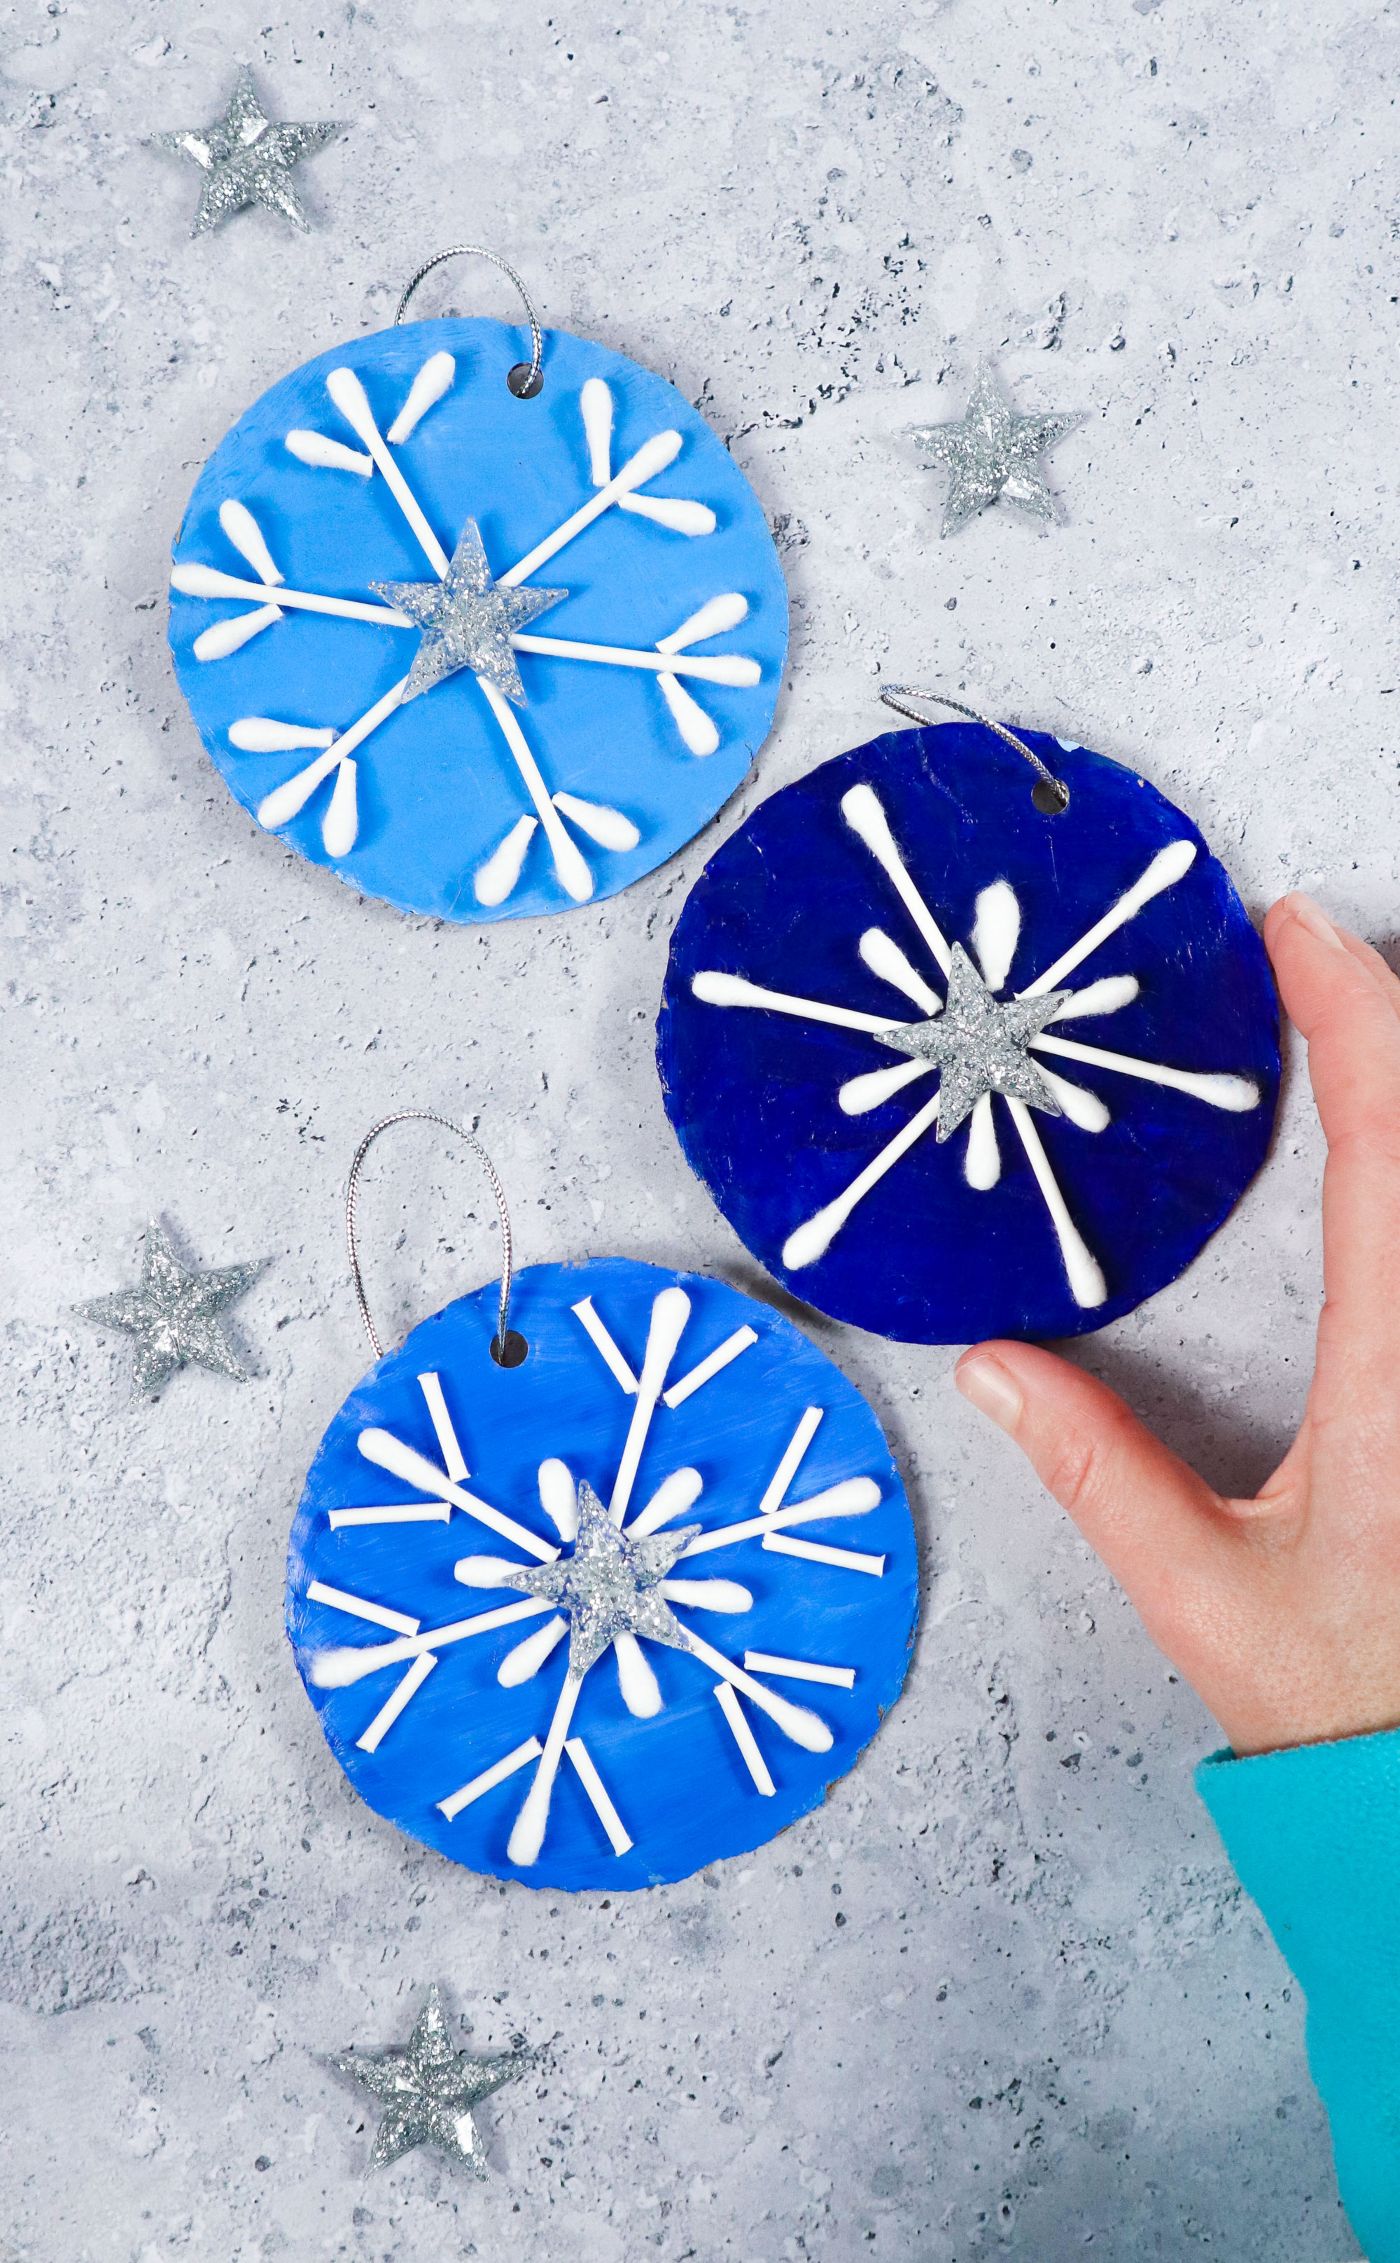
Step 3. Trim up and start to re-arrange Q-Tips in the fashion of snowflakes for each of your circles.
Both the tips and the rods of the Q-Tips are useable individually and jointly–do what works for your space.
Step 4. Once you’ve worked with your materials, continue to cut, prep, and organize them into easy-to-access piles.
You may want to put them into individual small tubs if working with young children so there’s no chance of misuse.
Step 5. Having everything laid out and prepped, you’re now ready to start gluing bits onto your cardboard. Go from larger to small and use glue on each individual piece.
Step 6. Before gluing, lay your snowflake pattern out beside your workstation.
Start with the larger structure forming pieces and then work toward the smaller details of the snowflake to ensure the proper fit.
Step 7. Once the big pieces are lain, start gluing and adding the small bits around the tips of the tubes. Repeat this for each piece of painted cardboard.
Step 8. Add the inner tips to embellish the look of your snowflakes a bit more. You can do this arrangement differently on each one or the same.
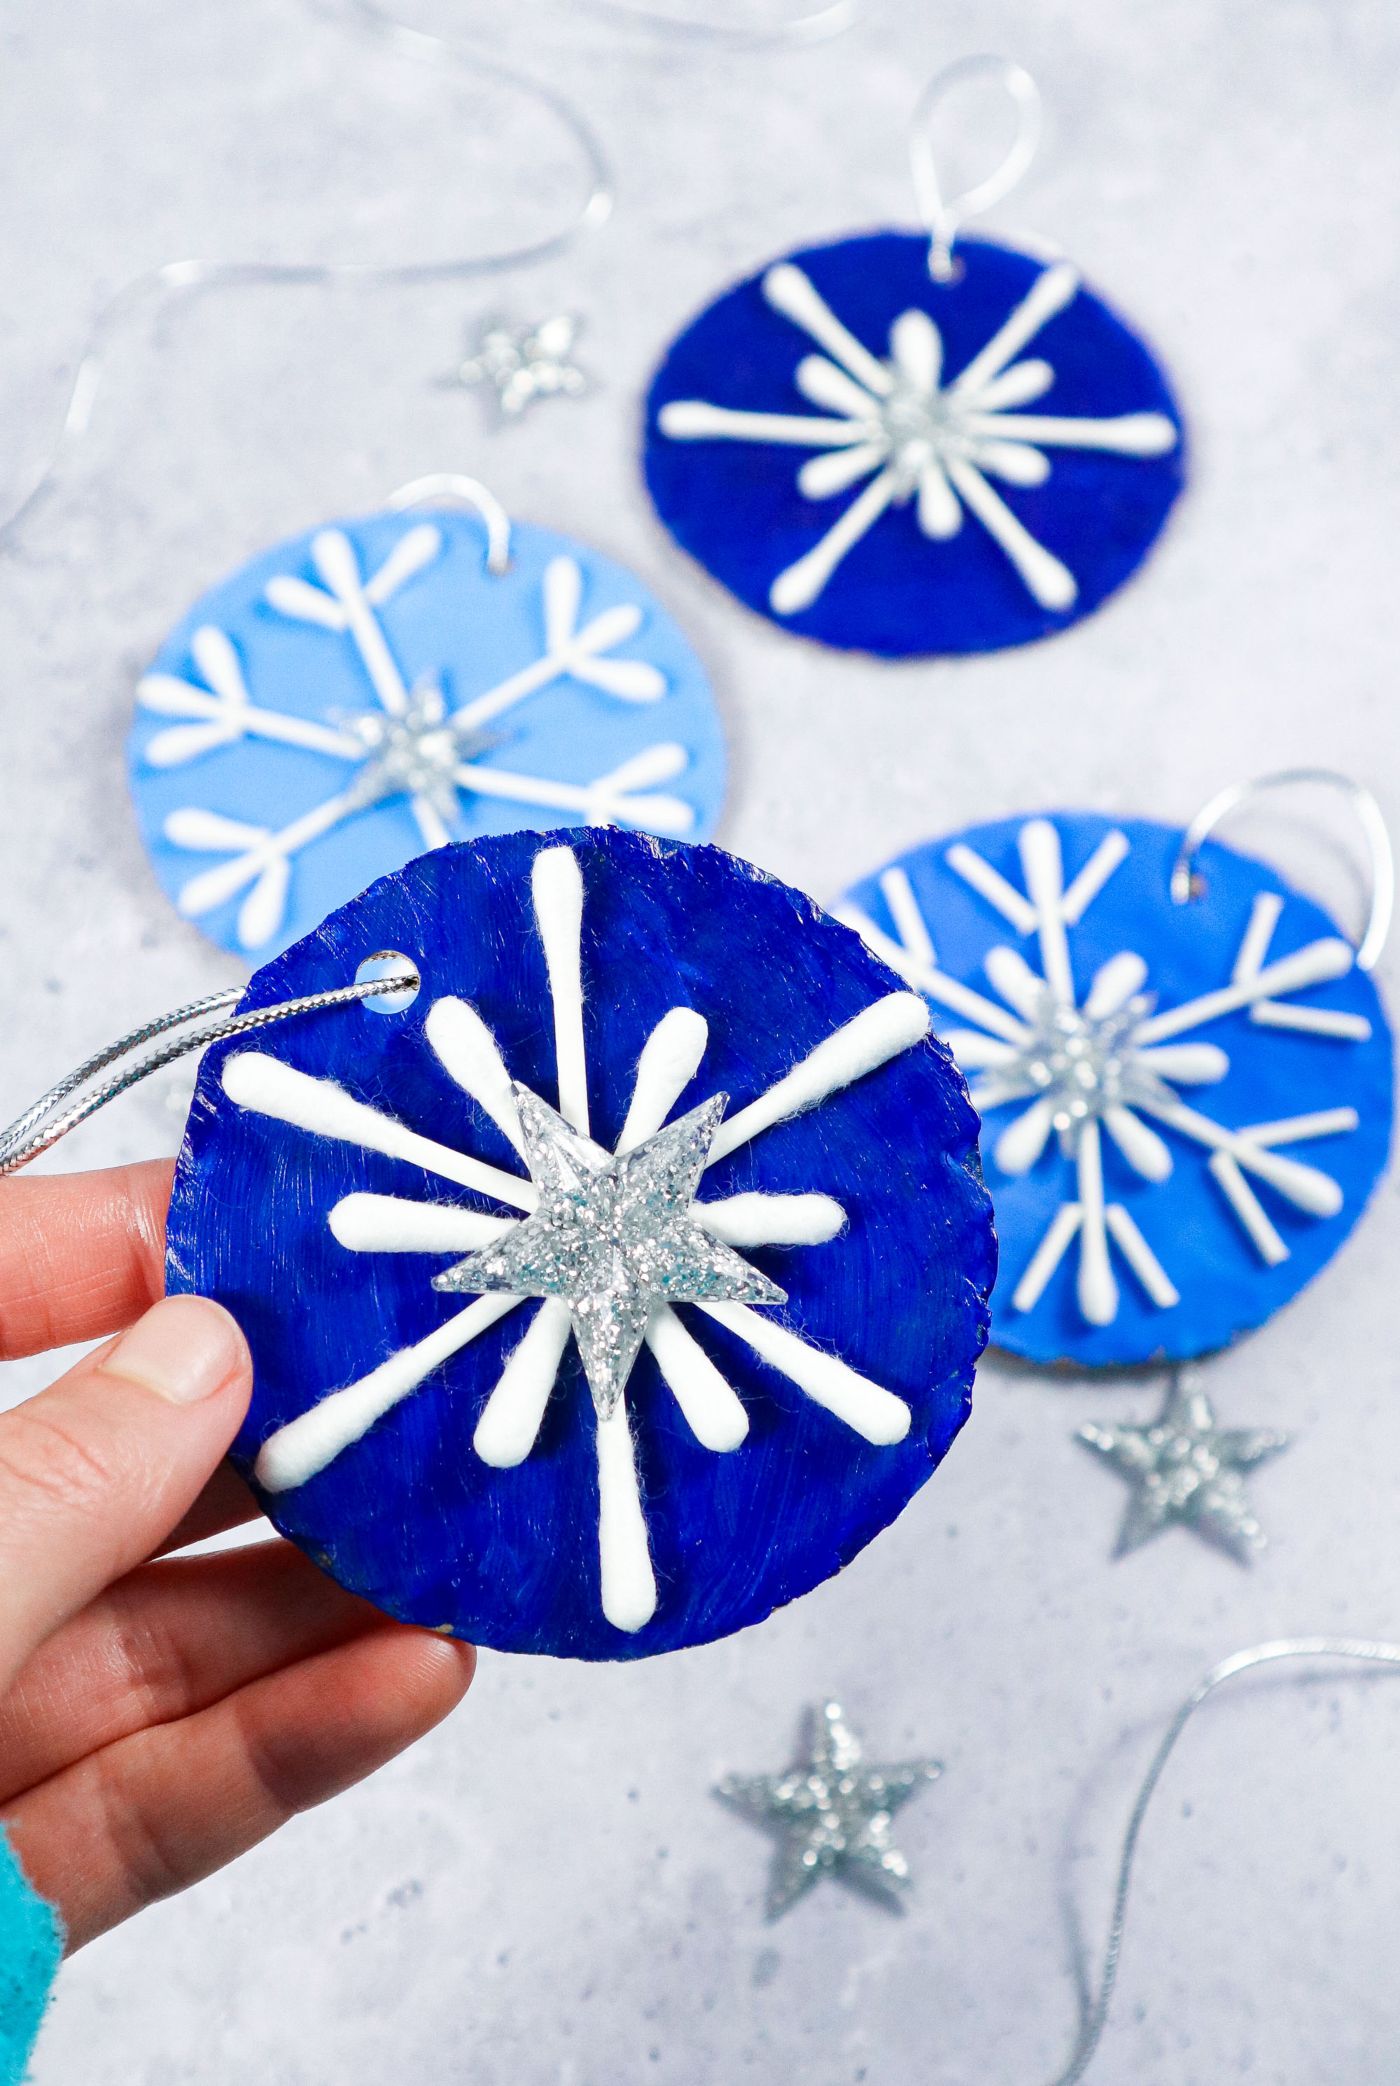
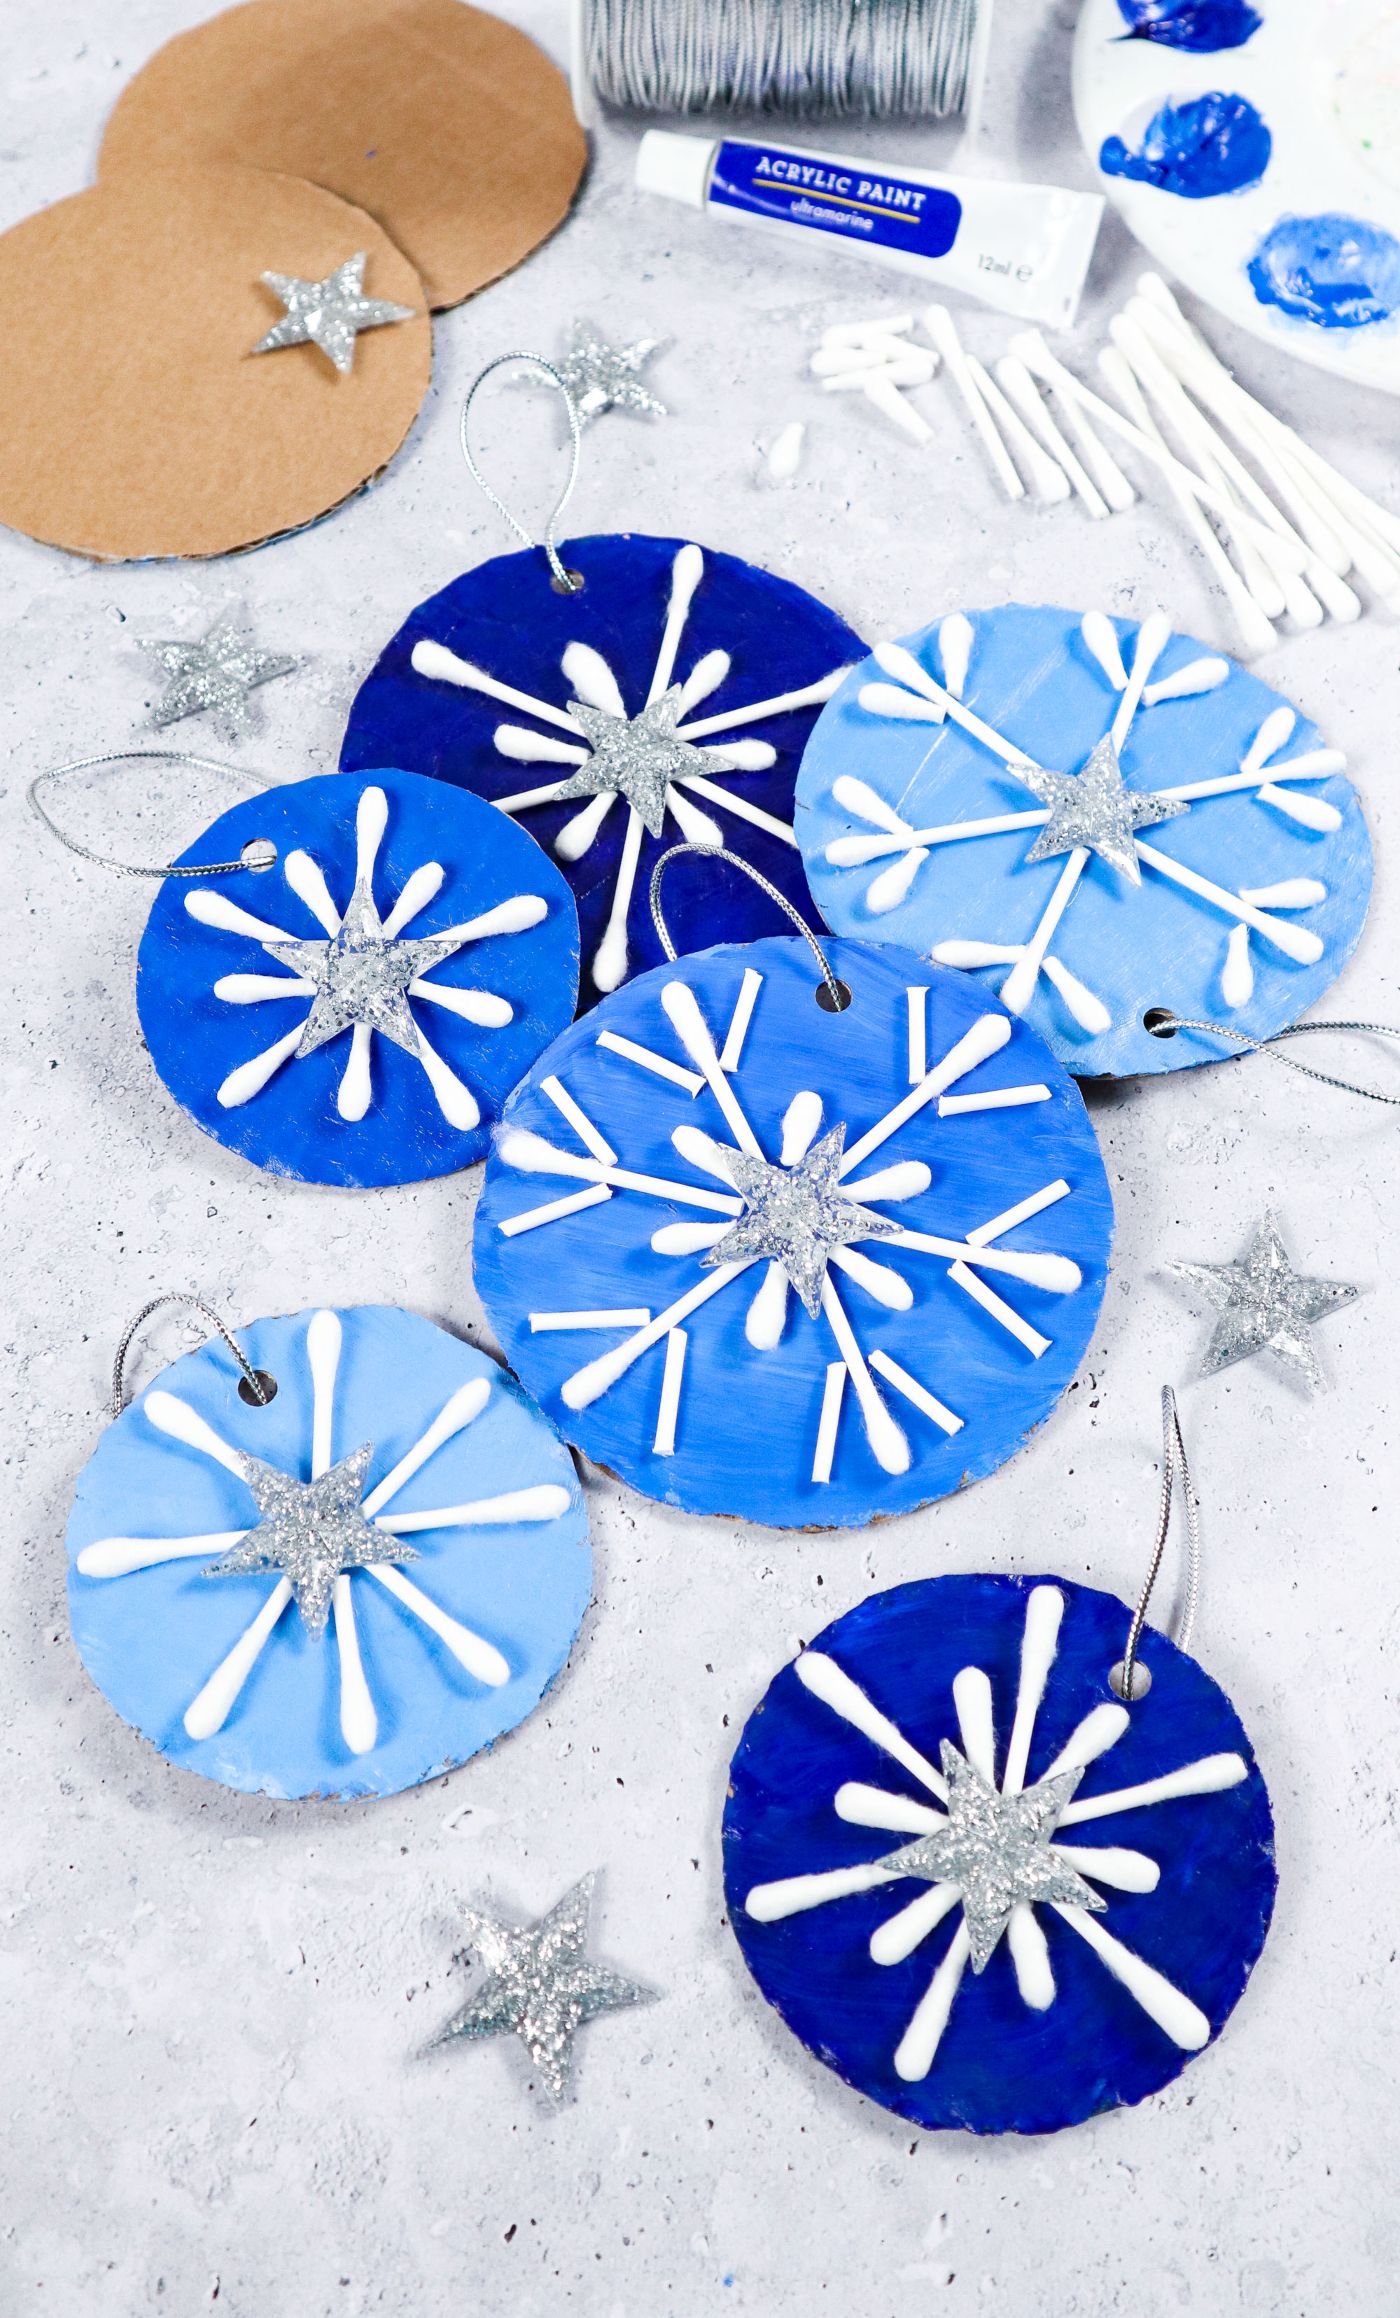
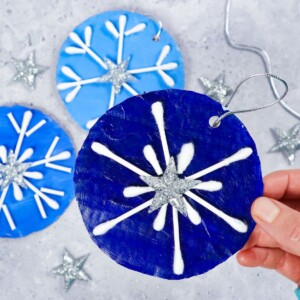
Step 9. Finally, add the star, pom pom, or other adhesible accent to the middle of each of the cardboard snowflakes! Let everything sit for a couple of hours or overnight to ensure stability.

There you have it! These Q-Tip snowflakes make for wonderful ornaments, window or wall hangings, or gift tags.
Therefore, make them in batches before the holiday starts. The kids will love it!
Watch How to Make
More Craft Ideas
Ladybug Craft Out of Toilet Paper Roll
Q-Tip Snowflakes
Equipment
- Scissors
- Hole puncher
Materials
- Cardboard circles
- Cotton buds
- Acrylic paint
- Craft glue
- String
- Star stickers
Instructions
- Pre-cut your cardboard circles. Paint the circles and let dry.
- Paint a second layer to coat the cardboard well. Let it dry.
- Start prepping your materials and organizing them into tubes, tips, etc.
- Continue to prep and organize material–start practicing layout designs for each space.
- After organizing your materials and laining out some snowflakes, it’s time to glue. Use glue on each individual piece.
- Start with your largest pieces of the snowflakes to ensure the proper spacing.
- Work in the smaller ends once the big bits are situated.
- Move further inward to add more into the middle of each snowflake–this can look uniform or different.
- Add a star sticker or, alternatively, a pom pom to each Q-tip’s middle section. Let everything sit for a couple of hours up to 24 hours.


