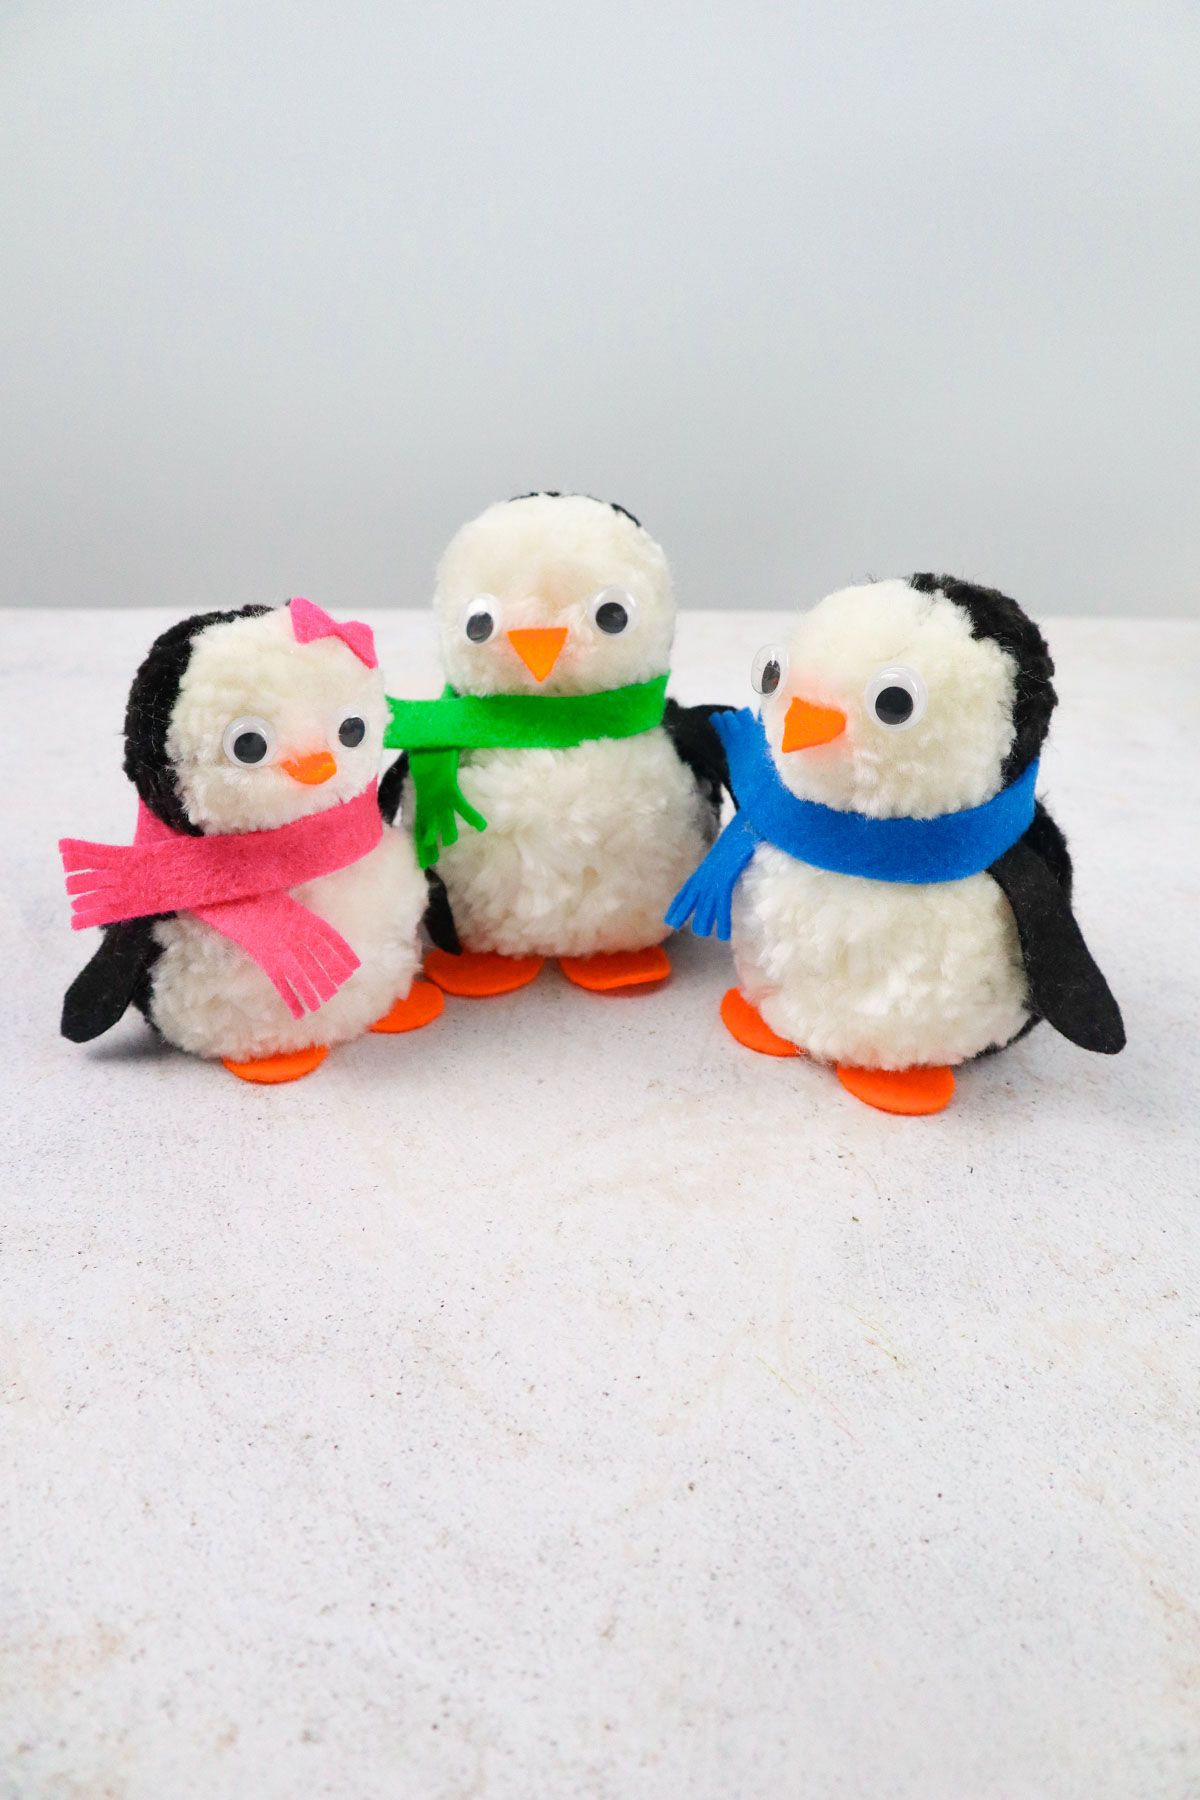
DIY Pom Pom Penguins
This post may contain affiliate links: full affiliate disclosure.
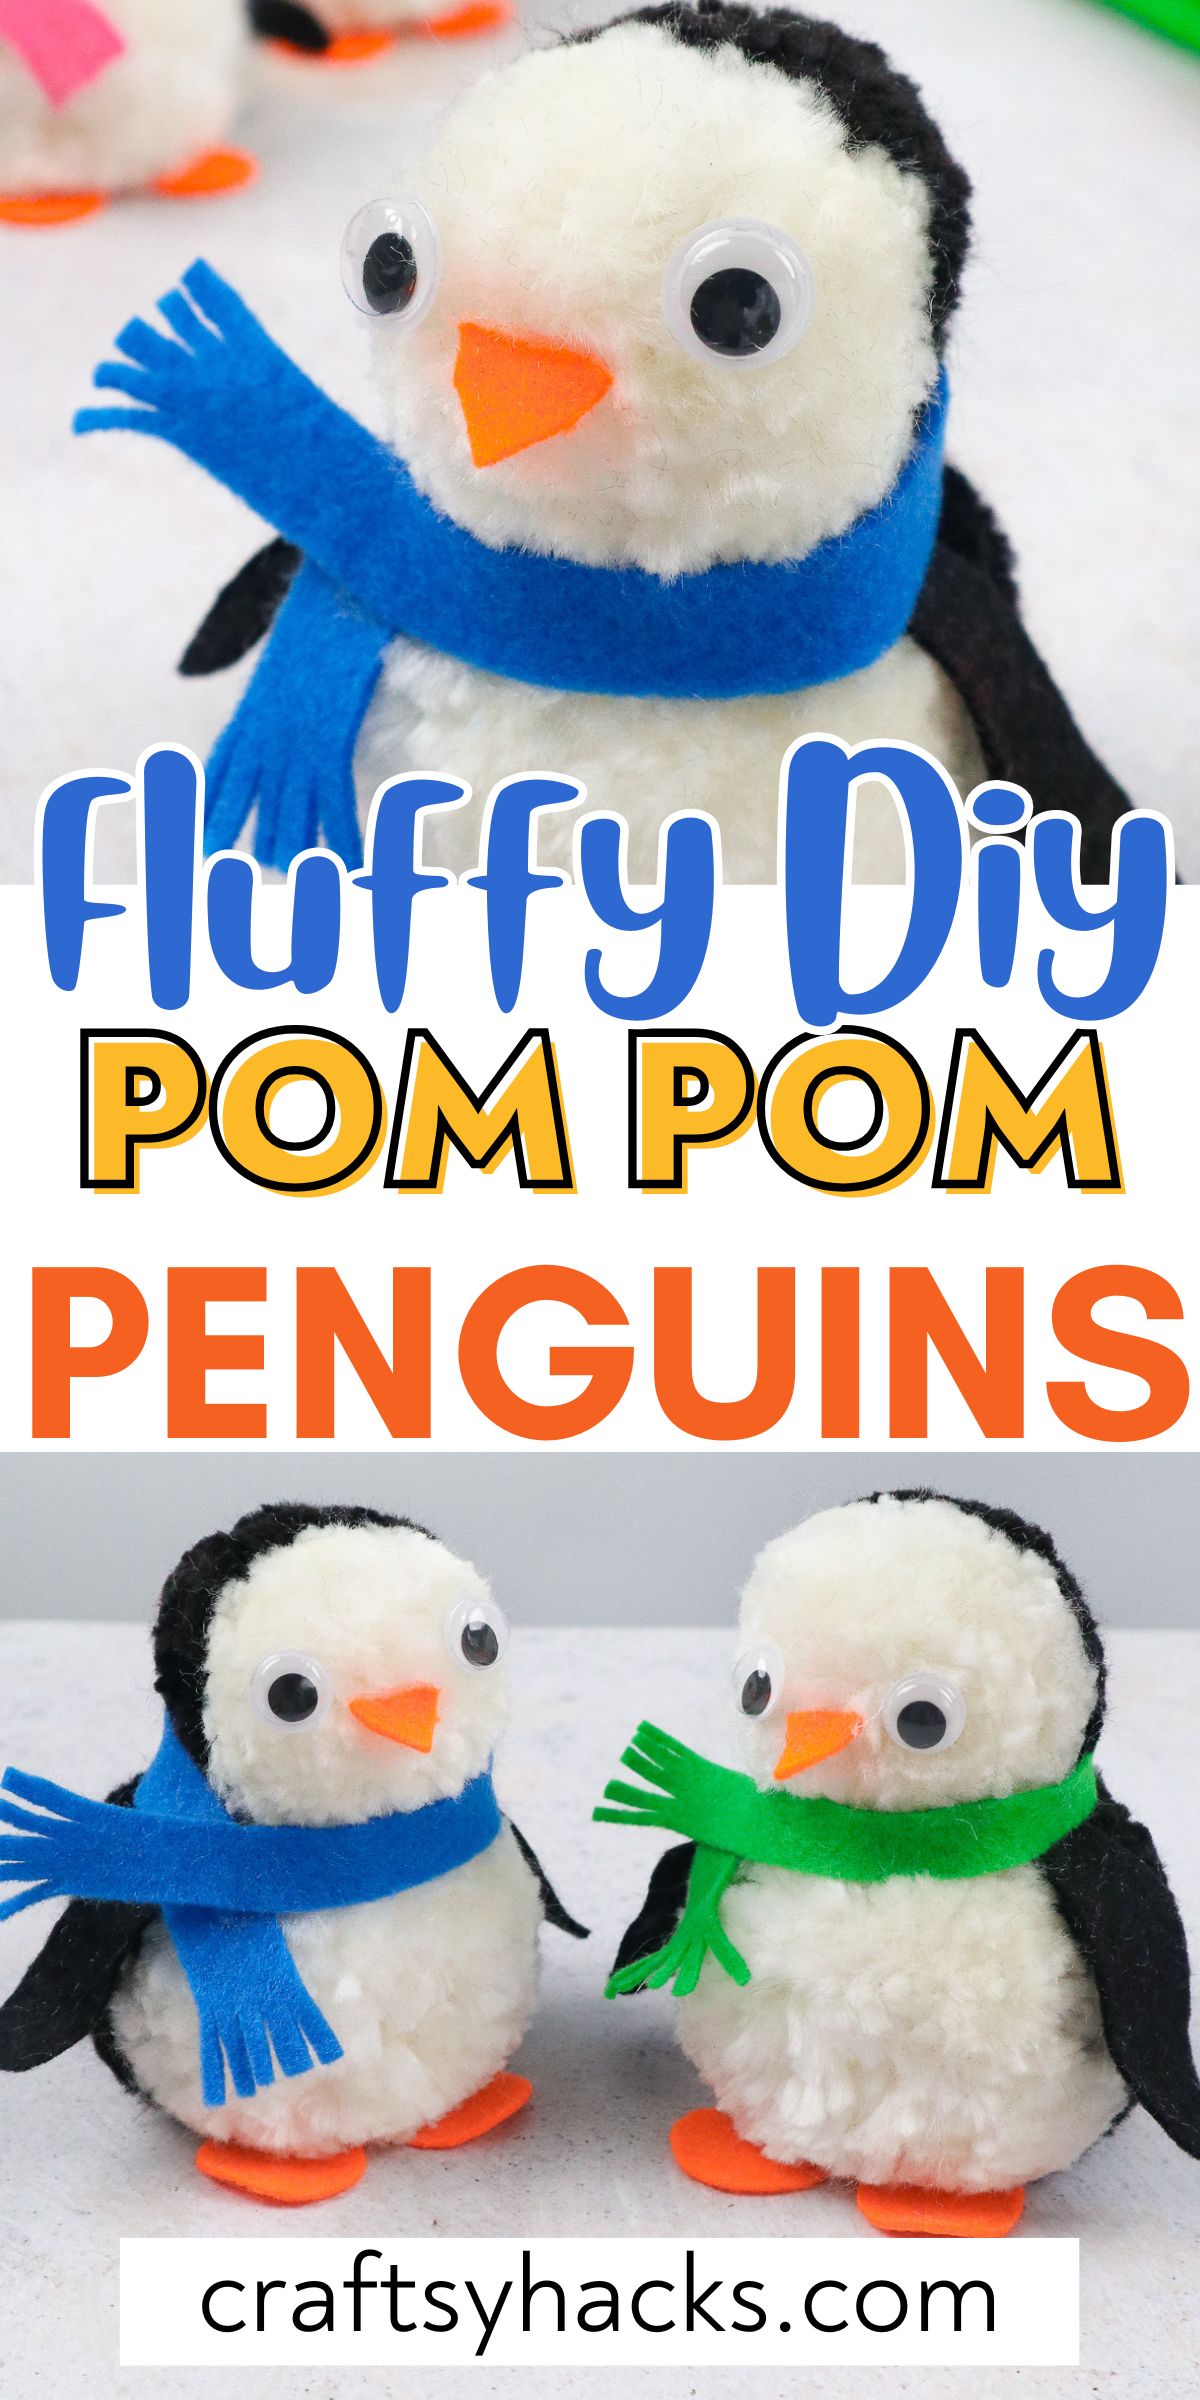
What is your favorite winter-themed animal? Mine is a penguin! These cute DIY pom pom penguins will ensure they are yours too!
Penguins are so cute and sweet. If you love them as much as I do, you should try making this sweet pom-pom penguin.
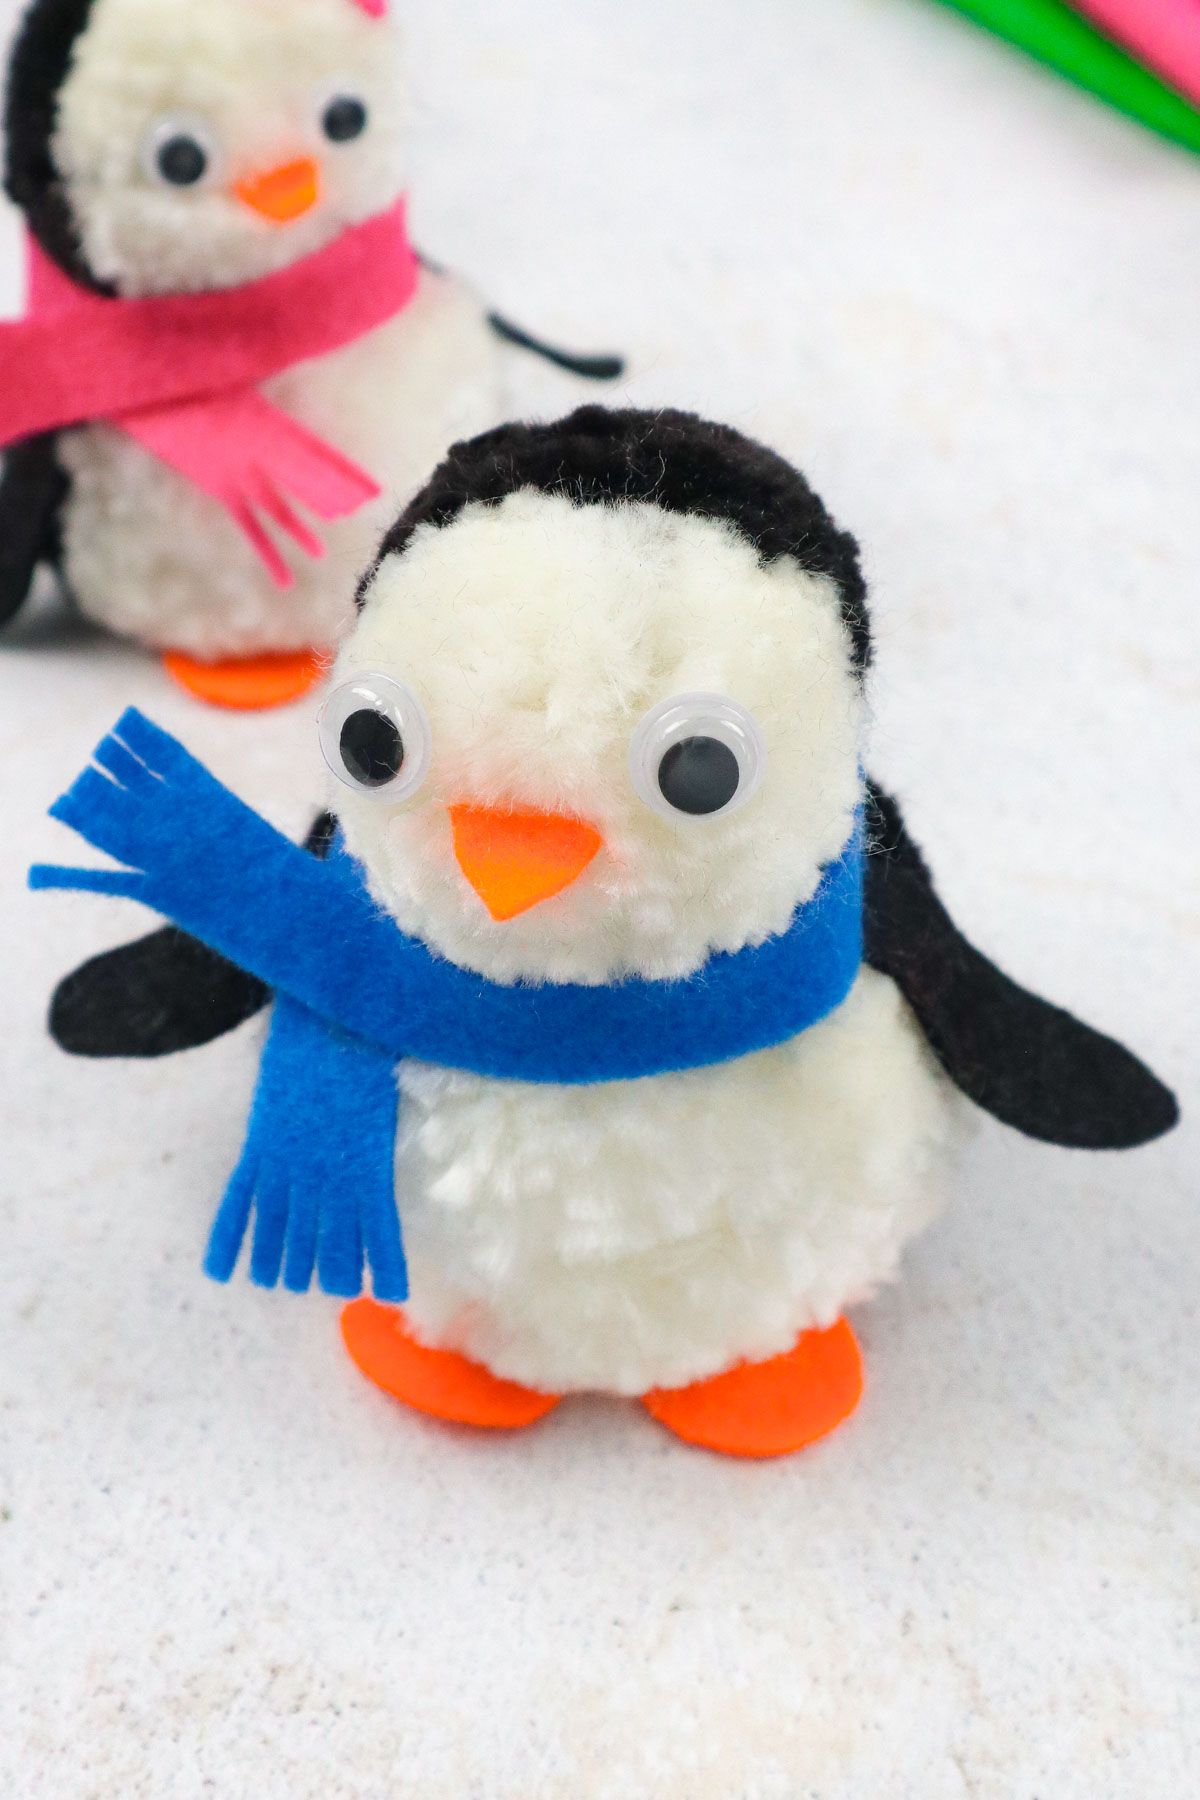
It would look great on your mantle or dangling from your Christmas tree. They also make great gifts.
Let’s get started on these cute little penguins!
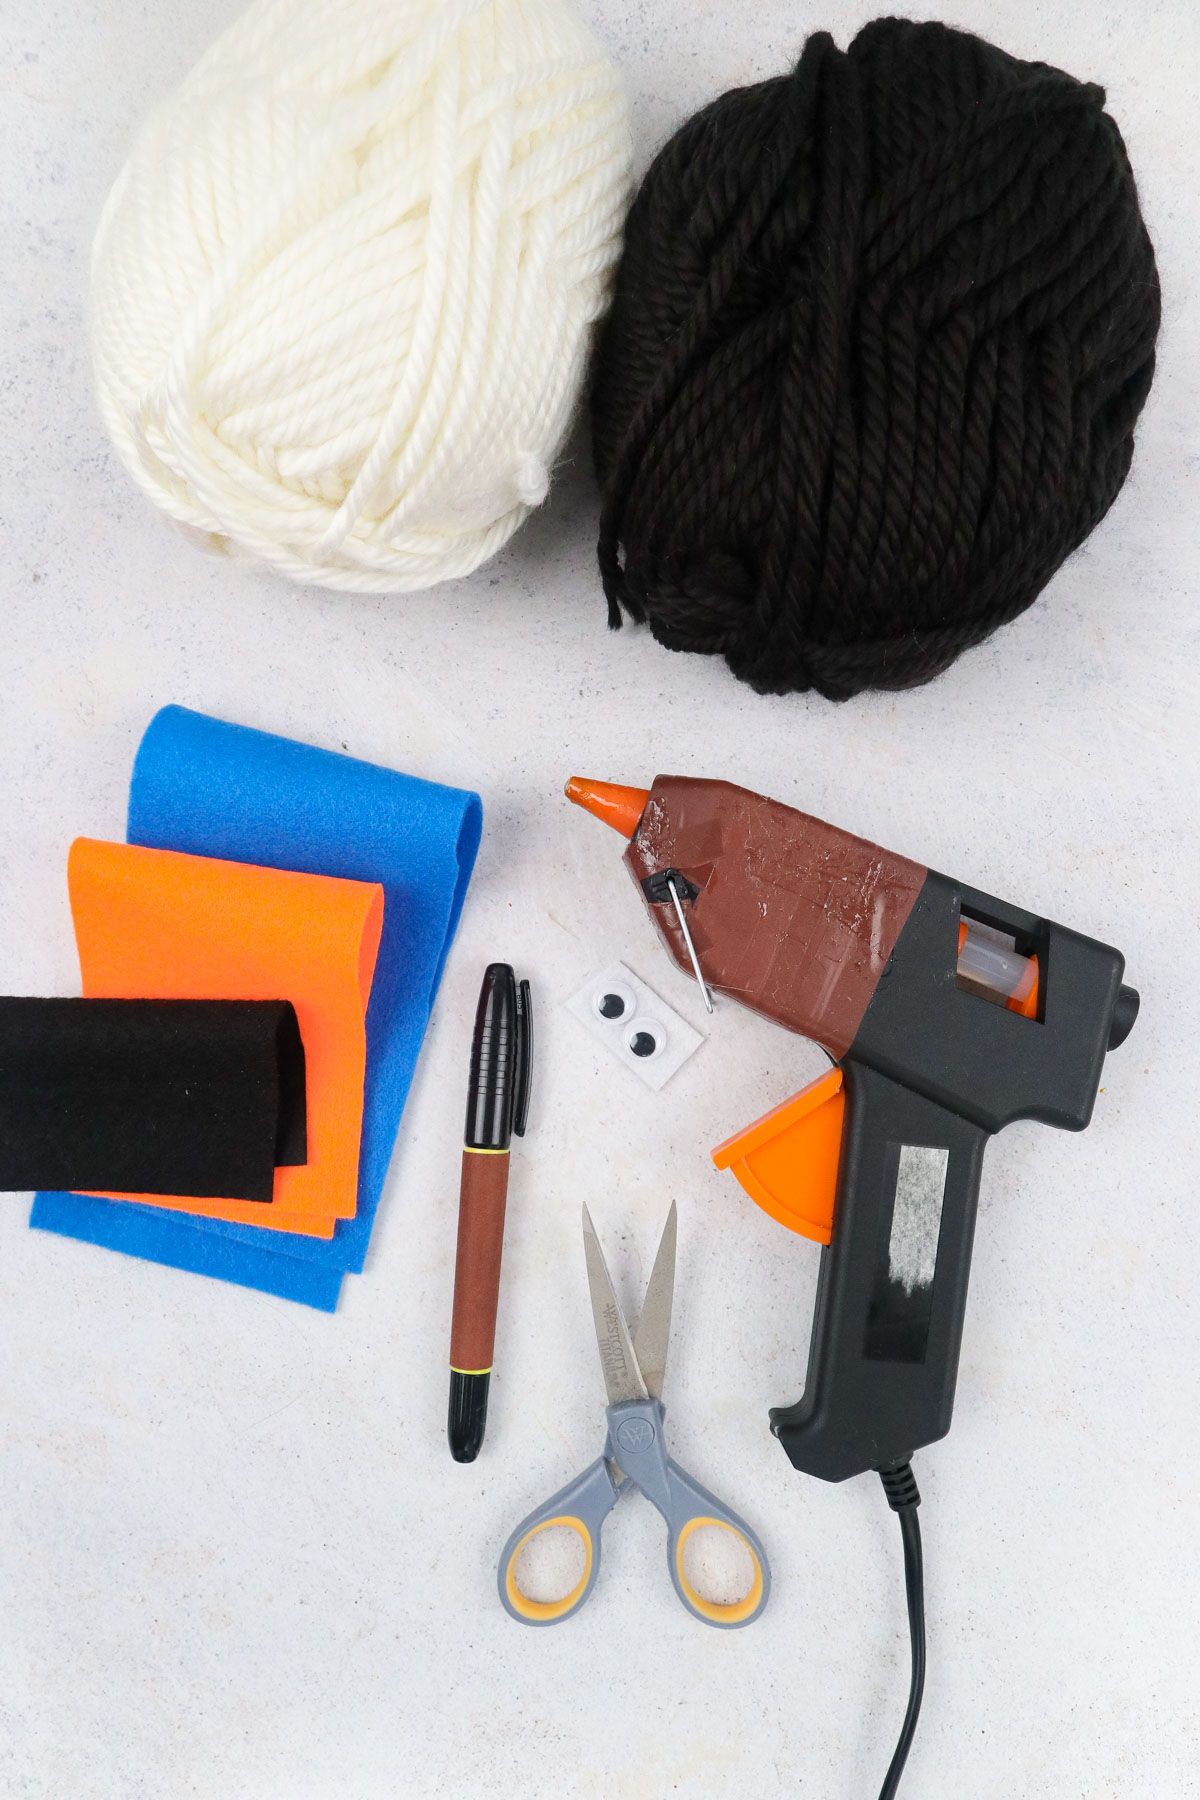
Supplies You’ll Need
- Black chunky yarn
- white chunky yarn
- Felt sheet – any color – 8″ long
- Yellow felt sheet – small piece
- Black felt sheet – small piece
- Black marker
- Googly eyes
- Scissors
- Hot glue gun
How to Make DIY Pom-Pom Penguins
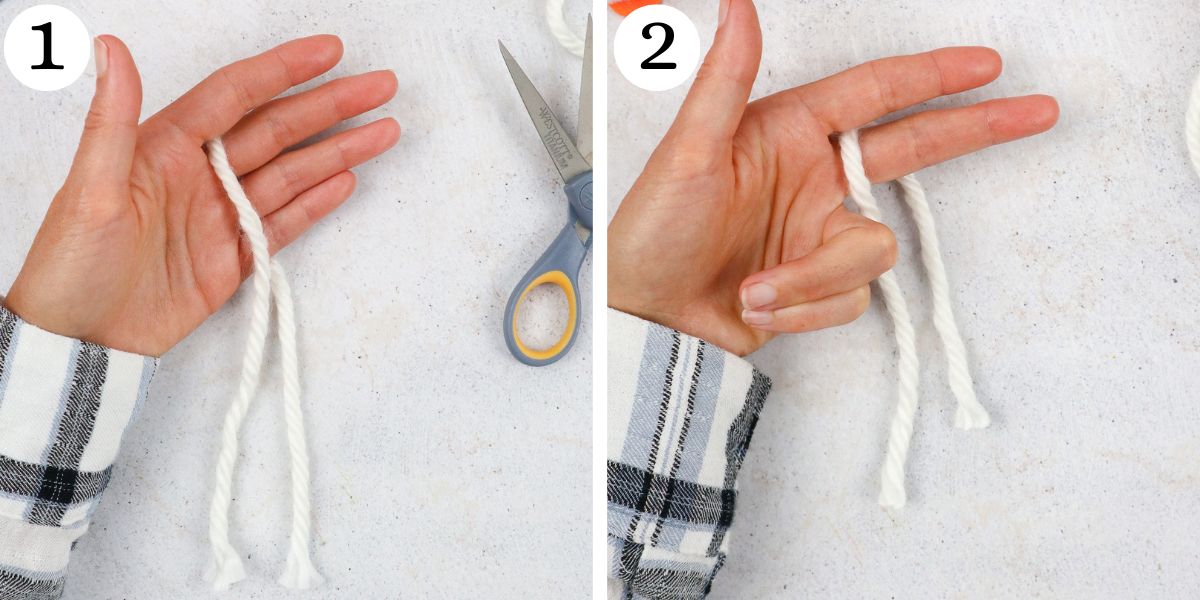
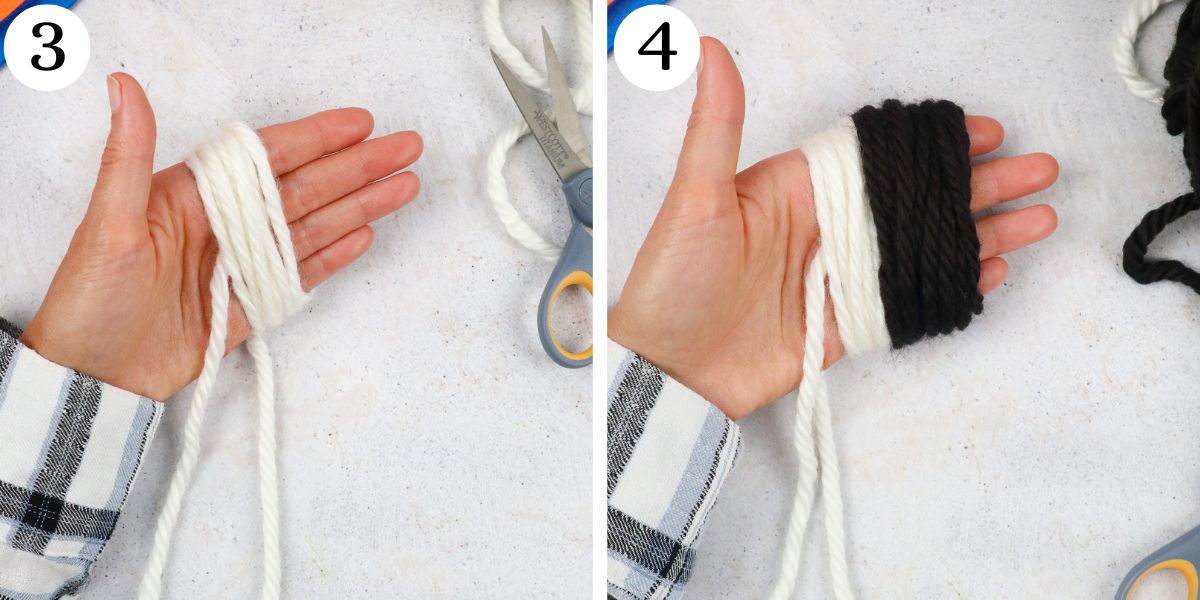
Step 1. Take your white yarn and cut a piece that is about 8” long. Place it between your middle finger and ring finger.
Step 2. Keep this piece here while you wrap the rest of your yarn.
Step 3. Make your penguin’s body by creating a big ball shape. Wrap the white yarn from your yarn ball around all your fingers about 25-30 times.
Cut the end.
Step 4. Do the same with your black yarn but wrap it around about 40 times so that we have more black than white on our penguin’s body.
Cut the end.
Step 5. Take one loose end of that first piece of white yarn that we started with and pull it between your middle finger and ring finger.
Now, take the other loose end and tie the ends together tight enough to keep the black and white yarn of your penguin’s body together.
Step 6. Slide all the yarn off your fingers.
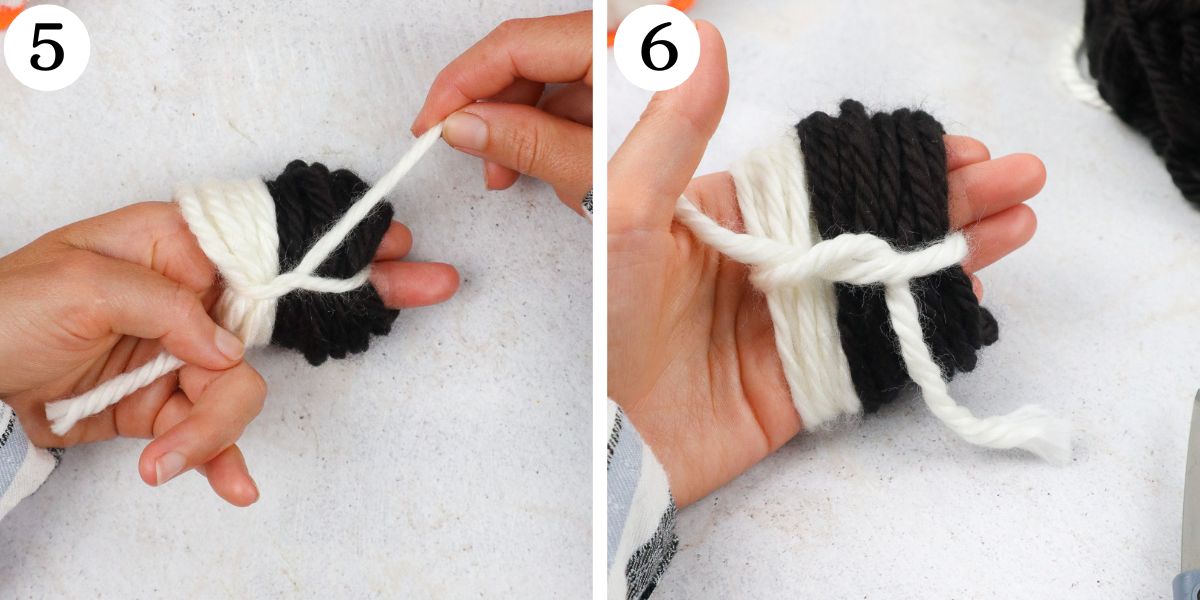
Step 7. Make sure that your yarn is tied tightly together.
Tie it again if necessary to reinforce it.
Step 8. Once your yarn is tied tightly, you can trim the ends for a neater look.
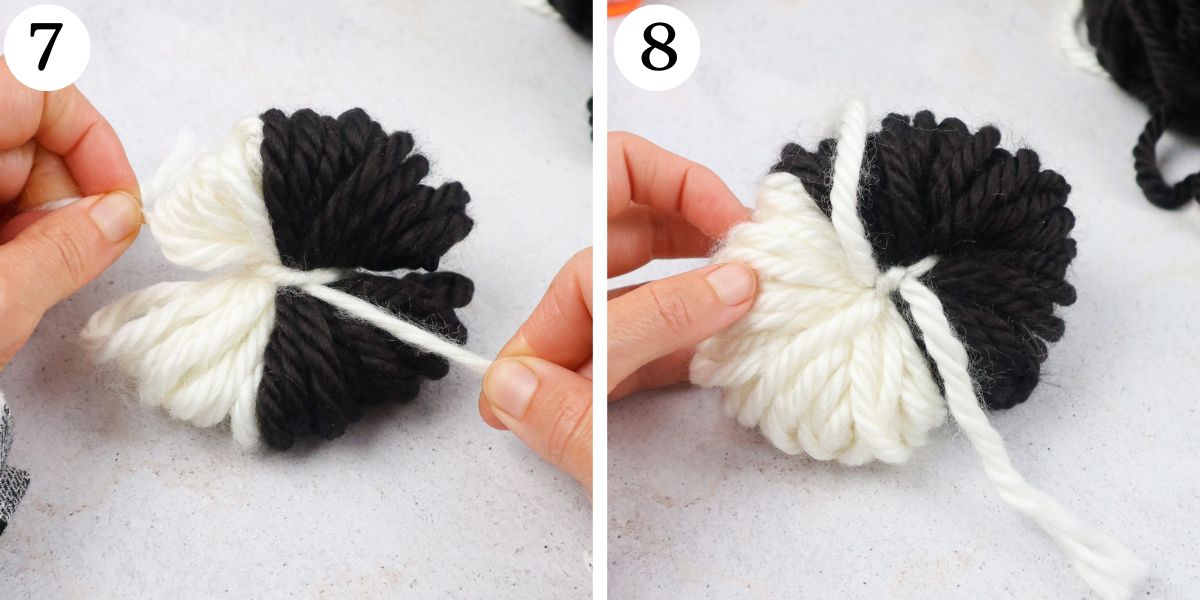
Step 9. Using your scissors, cut each yarn loop right in the center to get a shaggy look.
Step 10. Continue to do this until you have cut all the yarn loops on your penguin’s body.
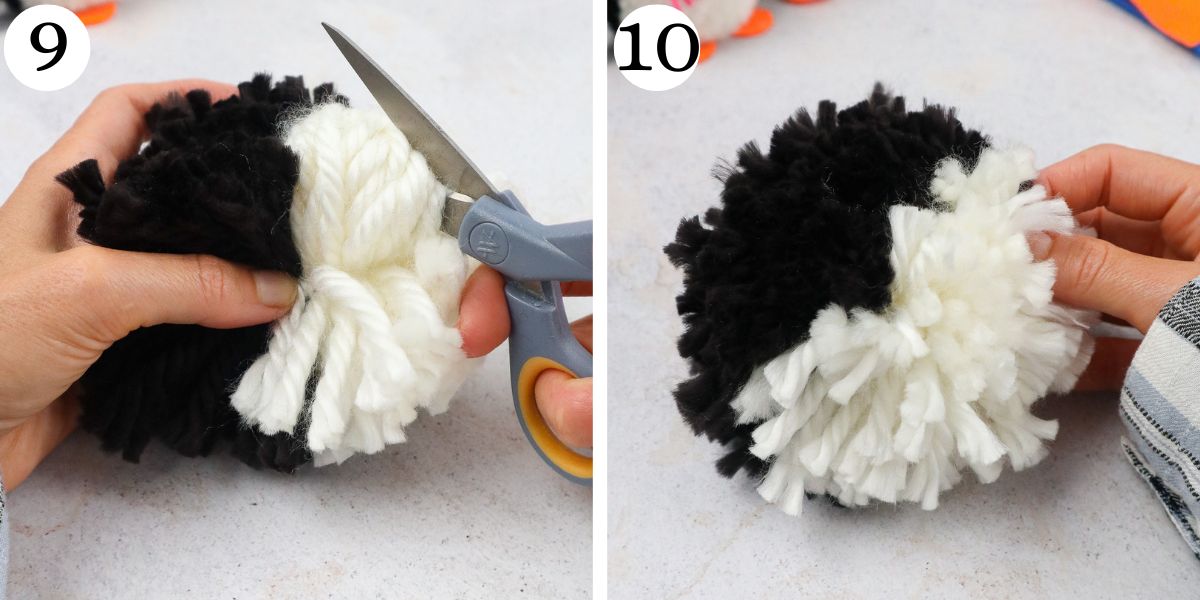
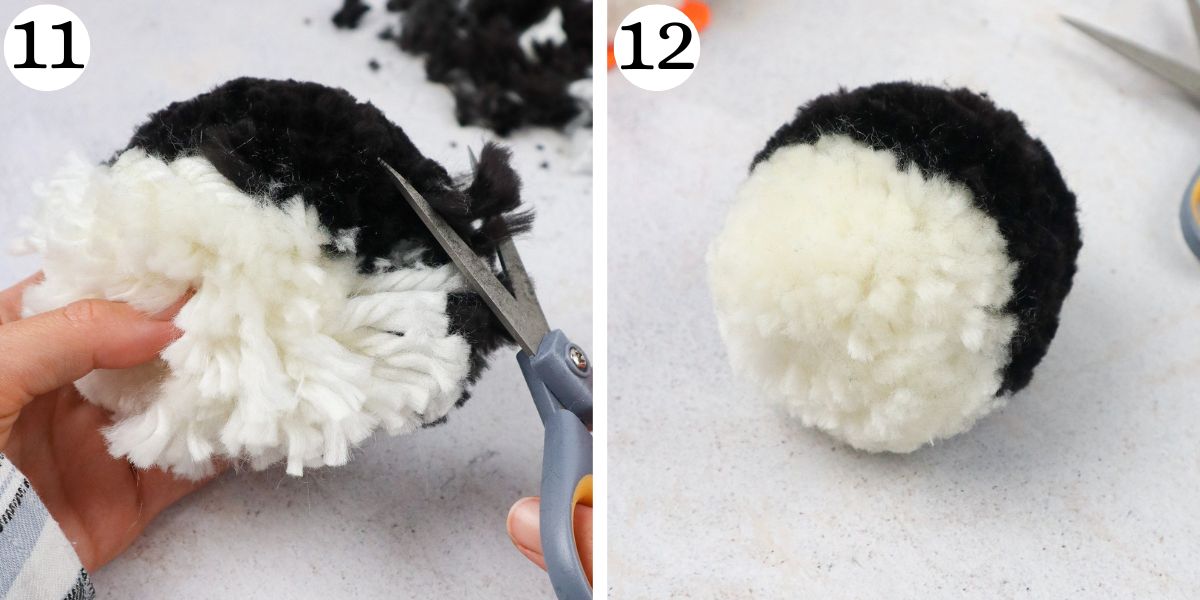
Step 11. Now, it is time to give your penguin’s body a bit of a haircut, so that it doesn’t look so messy! Start trimming your ball so that it looks neater.
Step 12. Keep making your way around your penguin’s body until your ball is nice, neat, and tidy. Take your time to make it look good!
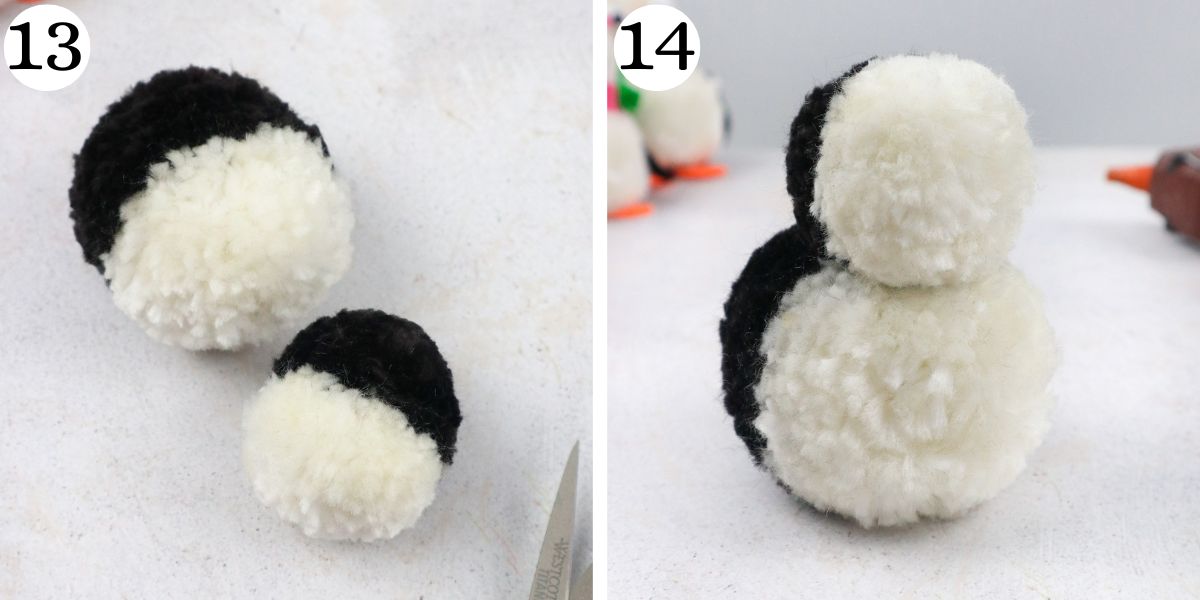
Step 13. Now make your penguin’s head. You will do this in the same way that you made your penguin’s body.
Wrap the yarn around 2 fingers instead of 4 so that the head is smaller than the body. You should wrap the white yarn 25 times and the black one 35 times.
Tie it tightly, cut into the loops, and use your scissors to make the ball look neat and tidy just like you did for your penguin’s body.
Step 14. Attach your penguin’s head to the body using your hot glue gun.
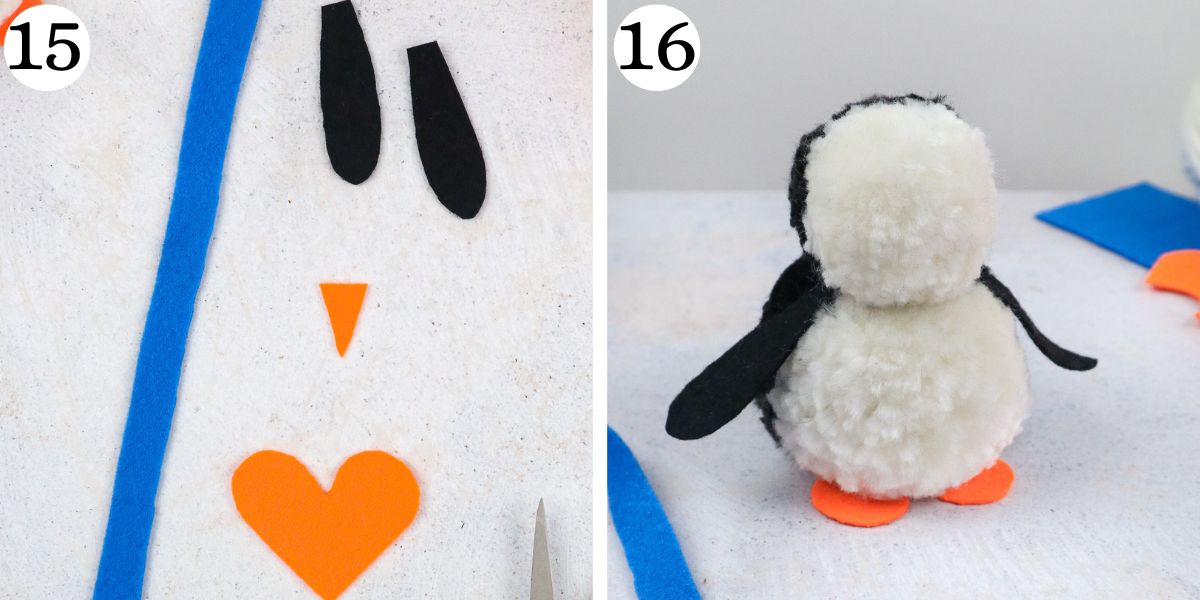
Step 15. Cut out black wings, a triangular orange beak, an orange heart shape for the legs and an 8” long scarf from your felt sheets.
Step 16. Glue the wings onto your penguin’s body
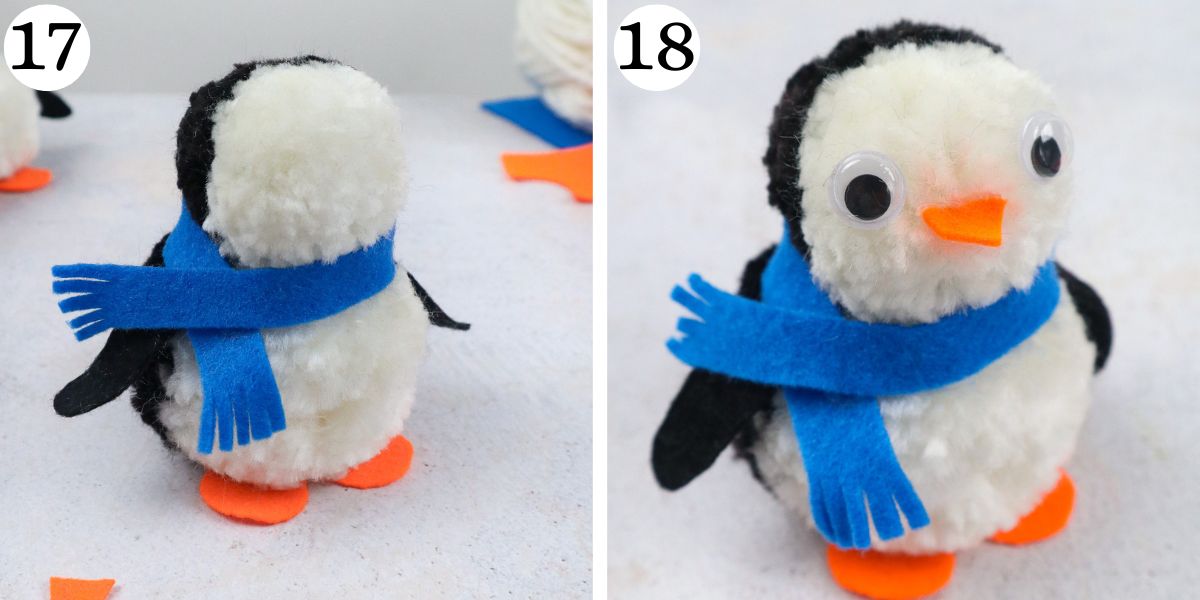
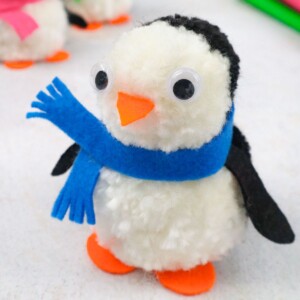
Step 17. Wrap the scarf around your penguin’s neck and add a few dots of glue to make sure it sticks. Be sure to secure the part where the scarf crosses itself with glue.
Step 18. Now, add your heart-shaped legs, triangular nose, and googly eyes. Your penguin is finished!
How Long Do These DIY Pom Pom Penguins Take to Make?
These penguins take less than an hour to make. You should be able to complete one in about 40 minutes.
More Crafts Like This
DIY Pom Pom Penguins
Equipment
- Scissors
Materials
Instructions
- Cut an 8” piece of white yarn and place it between your middle finger and ring finger.
- Keep this piece here.
- Wrap the white yarn from your ball around all four of your fingers about 25-30 times. Cut the end.
- Do the same with your black yarn but wrap it around about 40 times and cut the end.
- Take the first piece of white yarn that we started with and pull one loose end between your middle finger and ring finger. Take the other loose end and tie the ends together tightly enough to keep all your yarn together.
- Slide the yarn off your fingers.
- Make sure it is tied tightly together. Tie it again if necessary.
- Trim the ends for a neater look.
- Cut each yarn loop right in the center to get a shaggy look.
- Continue to do this all around the ball.
- Start trimming your ball so that it looks neat and tidy and no longer shaggy.
- Keep cutting all around the body until your ball looks neat and tidy.
- Make your penguin’s head in the same way that you made the body. Wrap the yarn around 2 fingers instead of 4 so that the head is smaller than the body.Wrap the yarn 25 times and the black one 35 times. Tie it tightly, cut into the loops, and use your scissors to make the ball look neat and tidy.
- Attach your penguin’s head to the body using your hot glue gun.
- Cut out black wings, an orange beak, orange heart shapes for the legs, and an 8” long scarf from your felt sheets.
- Glue the wings onto your penguin’s body.
- Wrap the scarf around your penguin’s neck and secure it with glue.
- Add your legs, nose, and eyes. Your penguin is finished!


