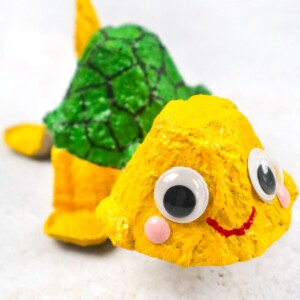
DIY Egg Carton Turtle
This post may contain affiliate links: full affiliate disclosure.
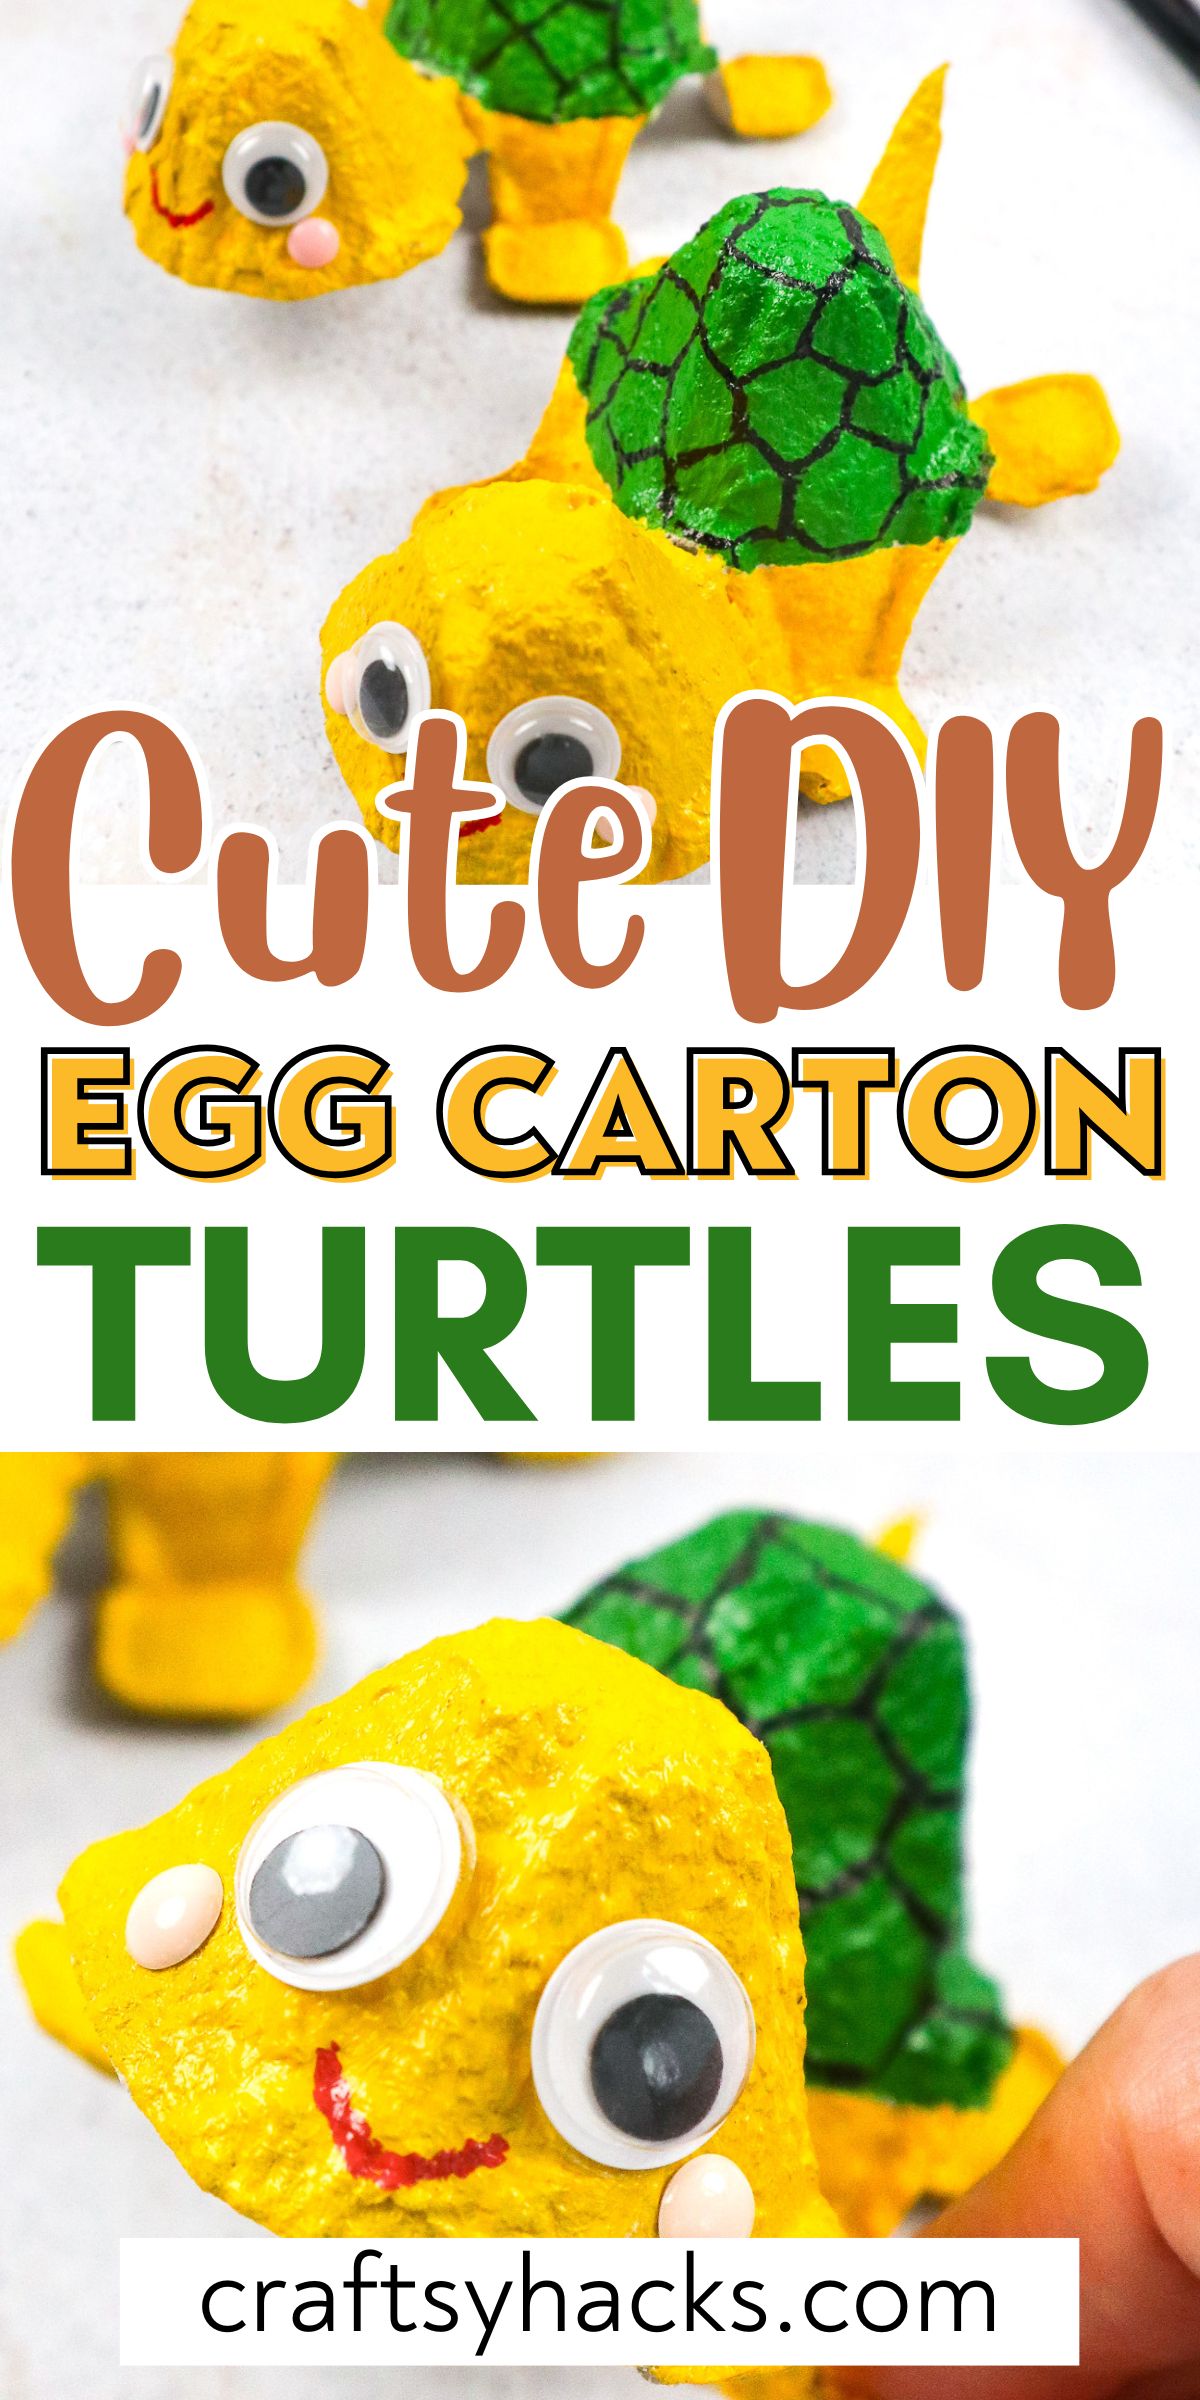
If you are looking for a super adorable and fun craft, you will love this DIY Egg Carton Turtle idea. I like to repurpose items that I already have on hand in my crafting whenever possible, so I love that this craft uses an egg carton to make the turtle’s body.
This is a quick craft that you can do on your own or with little ones. If you are making this sweet turtle with a child, you will probably have to help them with the cutting!
I know you will love creating your own egg carton turtle. Let’s get started!
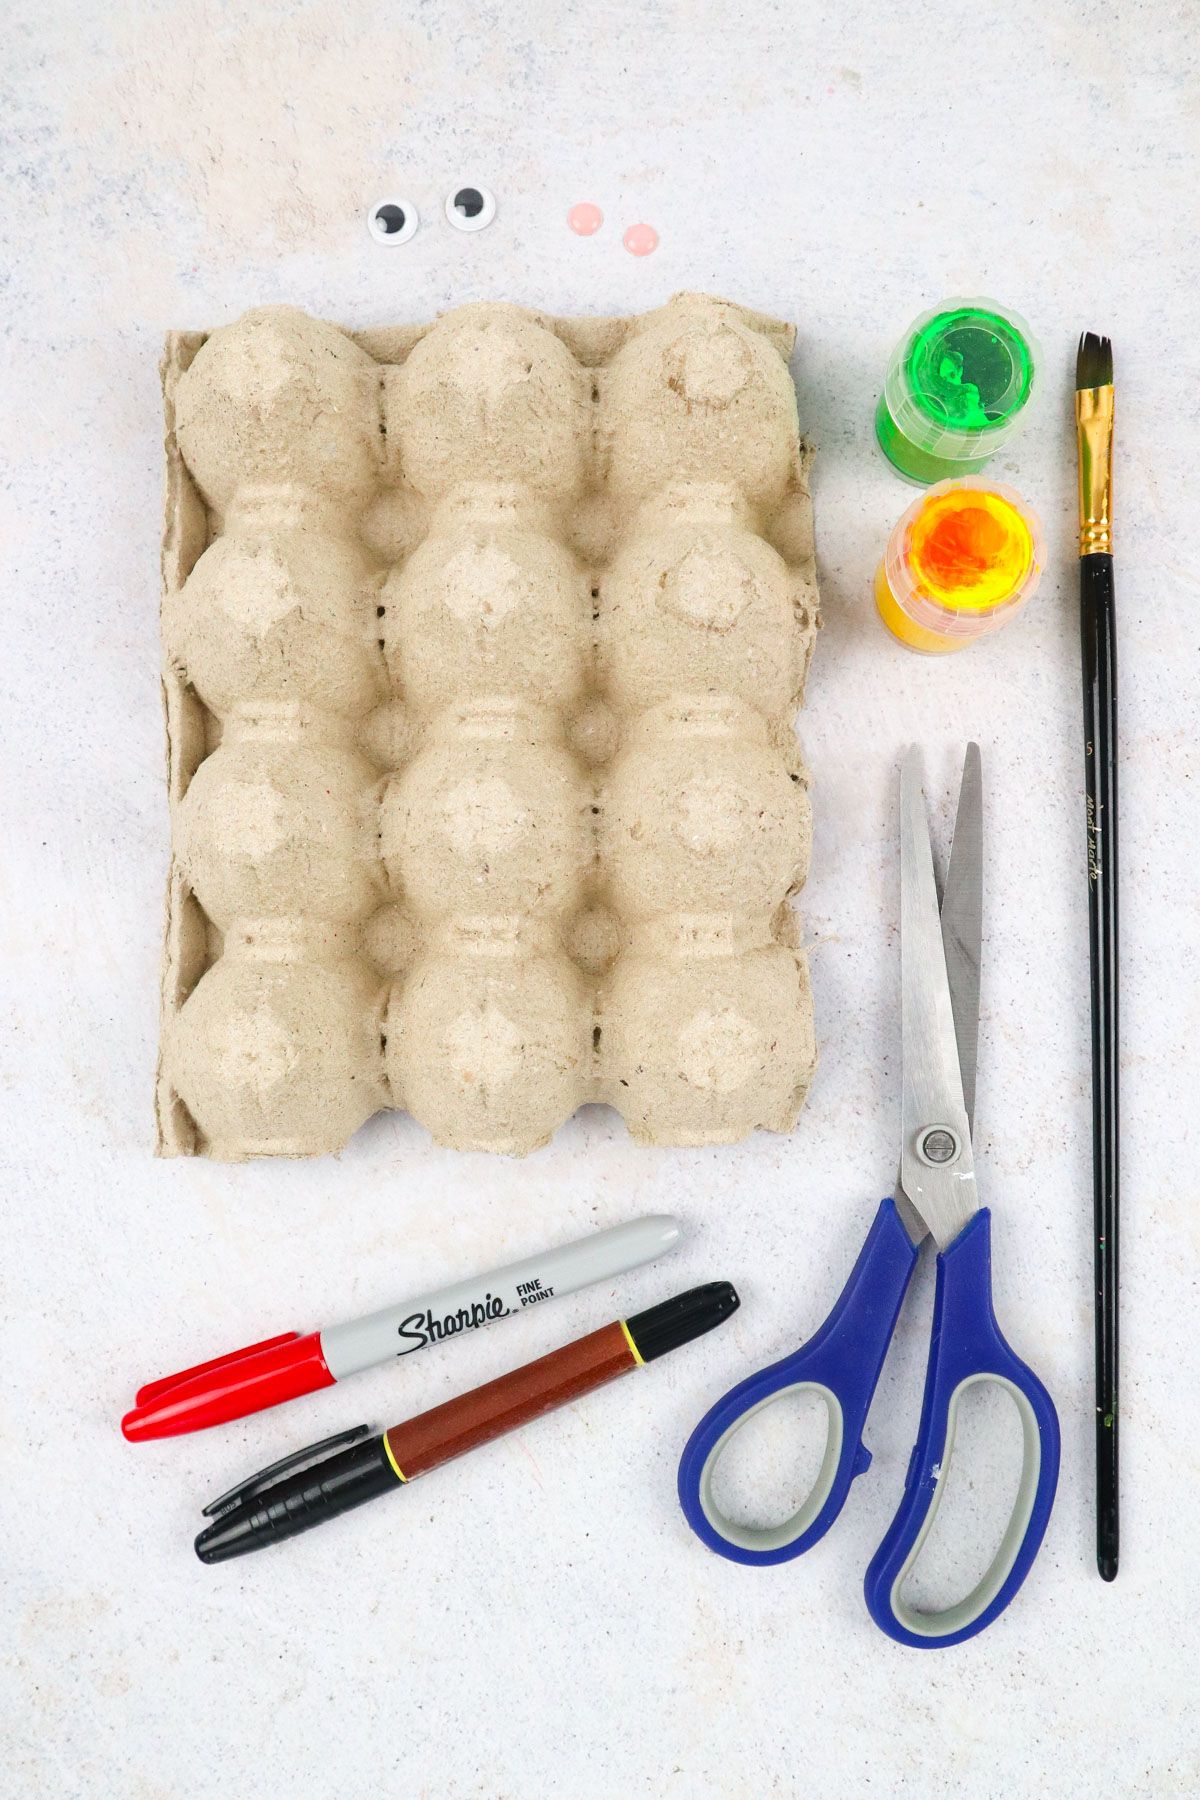
Supplies You’ll Need
- Egg carton
- Green acrylic paint
- Yellow acrylic paint
- Paint brush
- Red marker
- Black marker
- Scissors
- Googly eyes
- 2x Round stickers for cheeks*
* Or use pink or red marker instead
How to Make a DIY Egg Carton Turtle
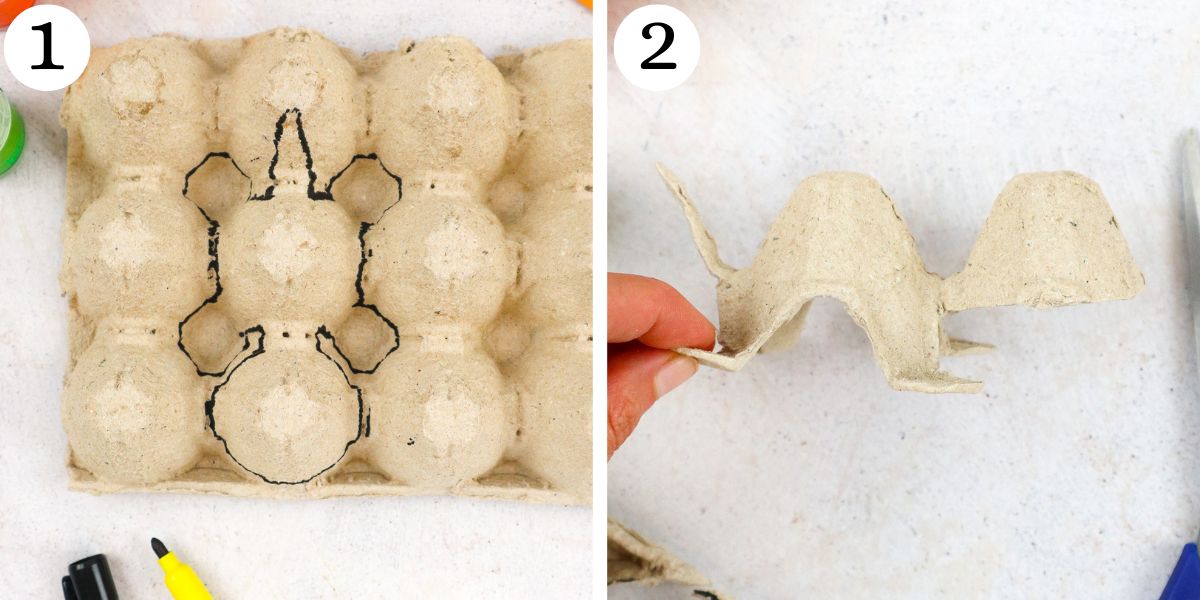
Step 1. To begin, get your black marker and draw your turtle’s body onto your egg carton.
Step 2. Cut out your turtle. It can be tricky to cut the egg carton, so be sure to take your time here and use sharp scissors to make things go as smoothly as possible!
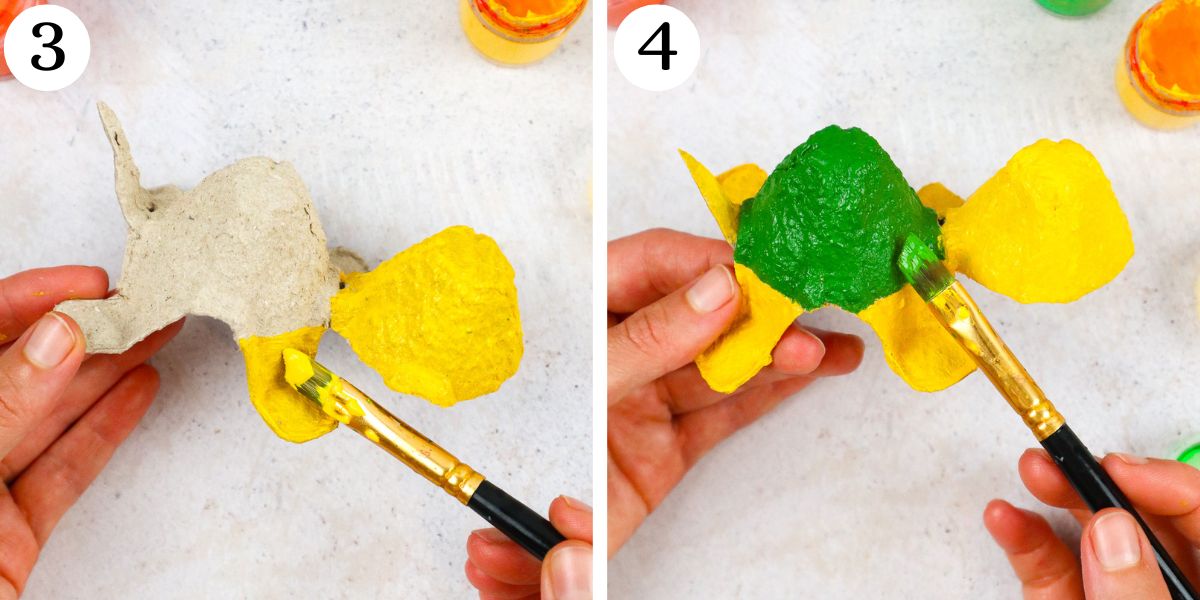
Step 3. Paint your turtle’s body with yellow paint.
Step 4. Paint your turtle’s shell with green paint.
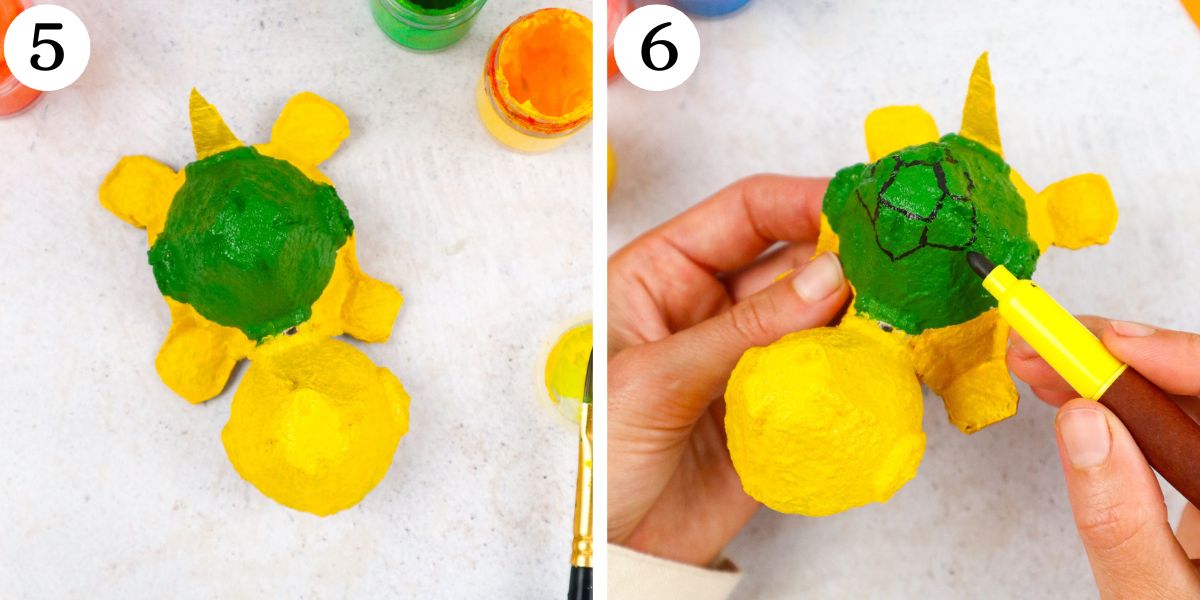
Step 5. Let your turtle dry. This should take about 20-30 minutes.
You can cut down on drying time by using a hairdryer. You can add a second coat like I did for better coverage.
Let your second coat dry completely before moving on.
Step 6. Get your black marker and draw geometrical shapes on your turtle’s green shell. These shapes will be your turtle’s scutes or scales.
Start by drawing your shapes in the center of your turtle’s green shell and move downward from there.
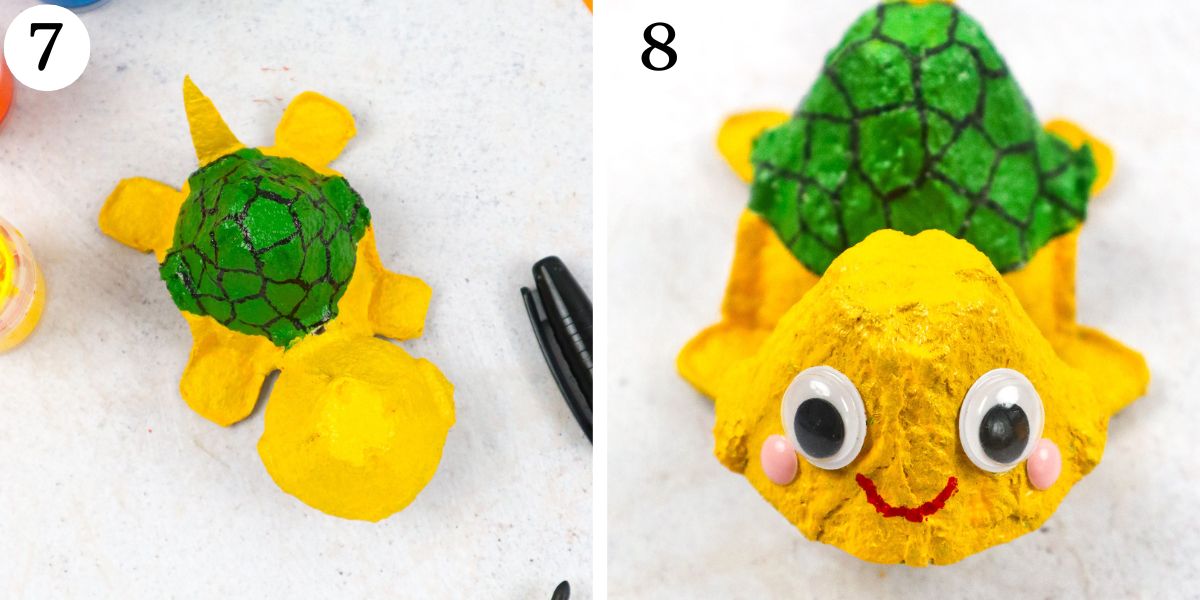
Step 7. Keep drawing your turtle’s scutes until the entire shell is covered and you are satisfied with how it looks. While the scutes should be similar in shape and overall appearance, they don’t need to be identical.
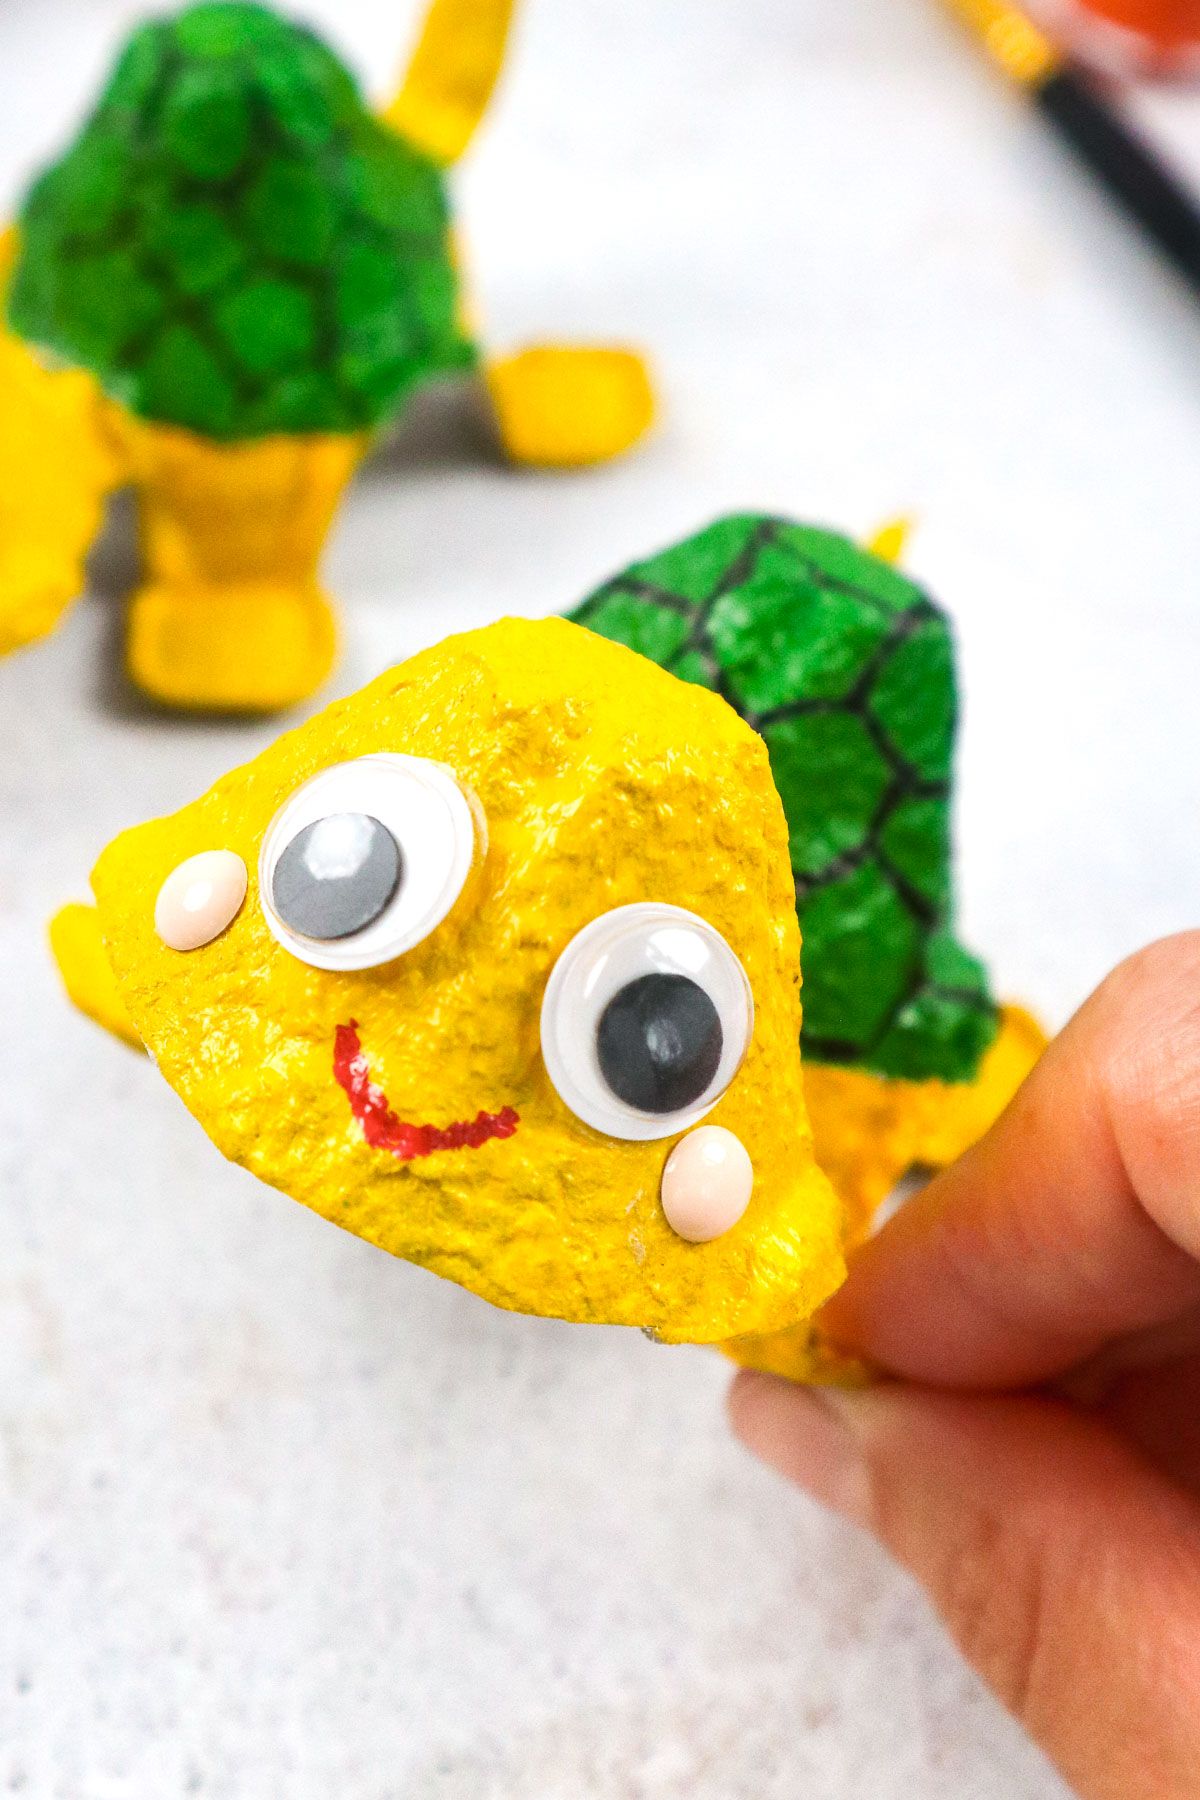
Step 8. Now, it is time for the finishing touches! Grab your googly eyes and add them to your turtle’s face.
Do the same with your round stickers to make your turtle’s cheeks. Finally, get your red marker and draw a smile for your turtle.
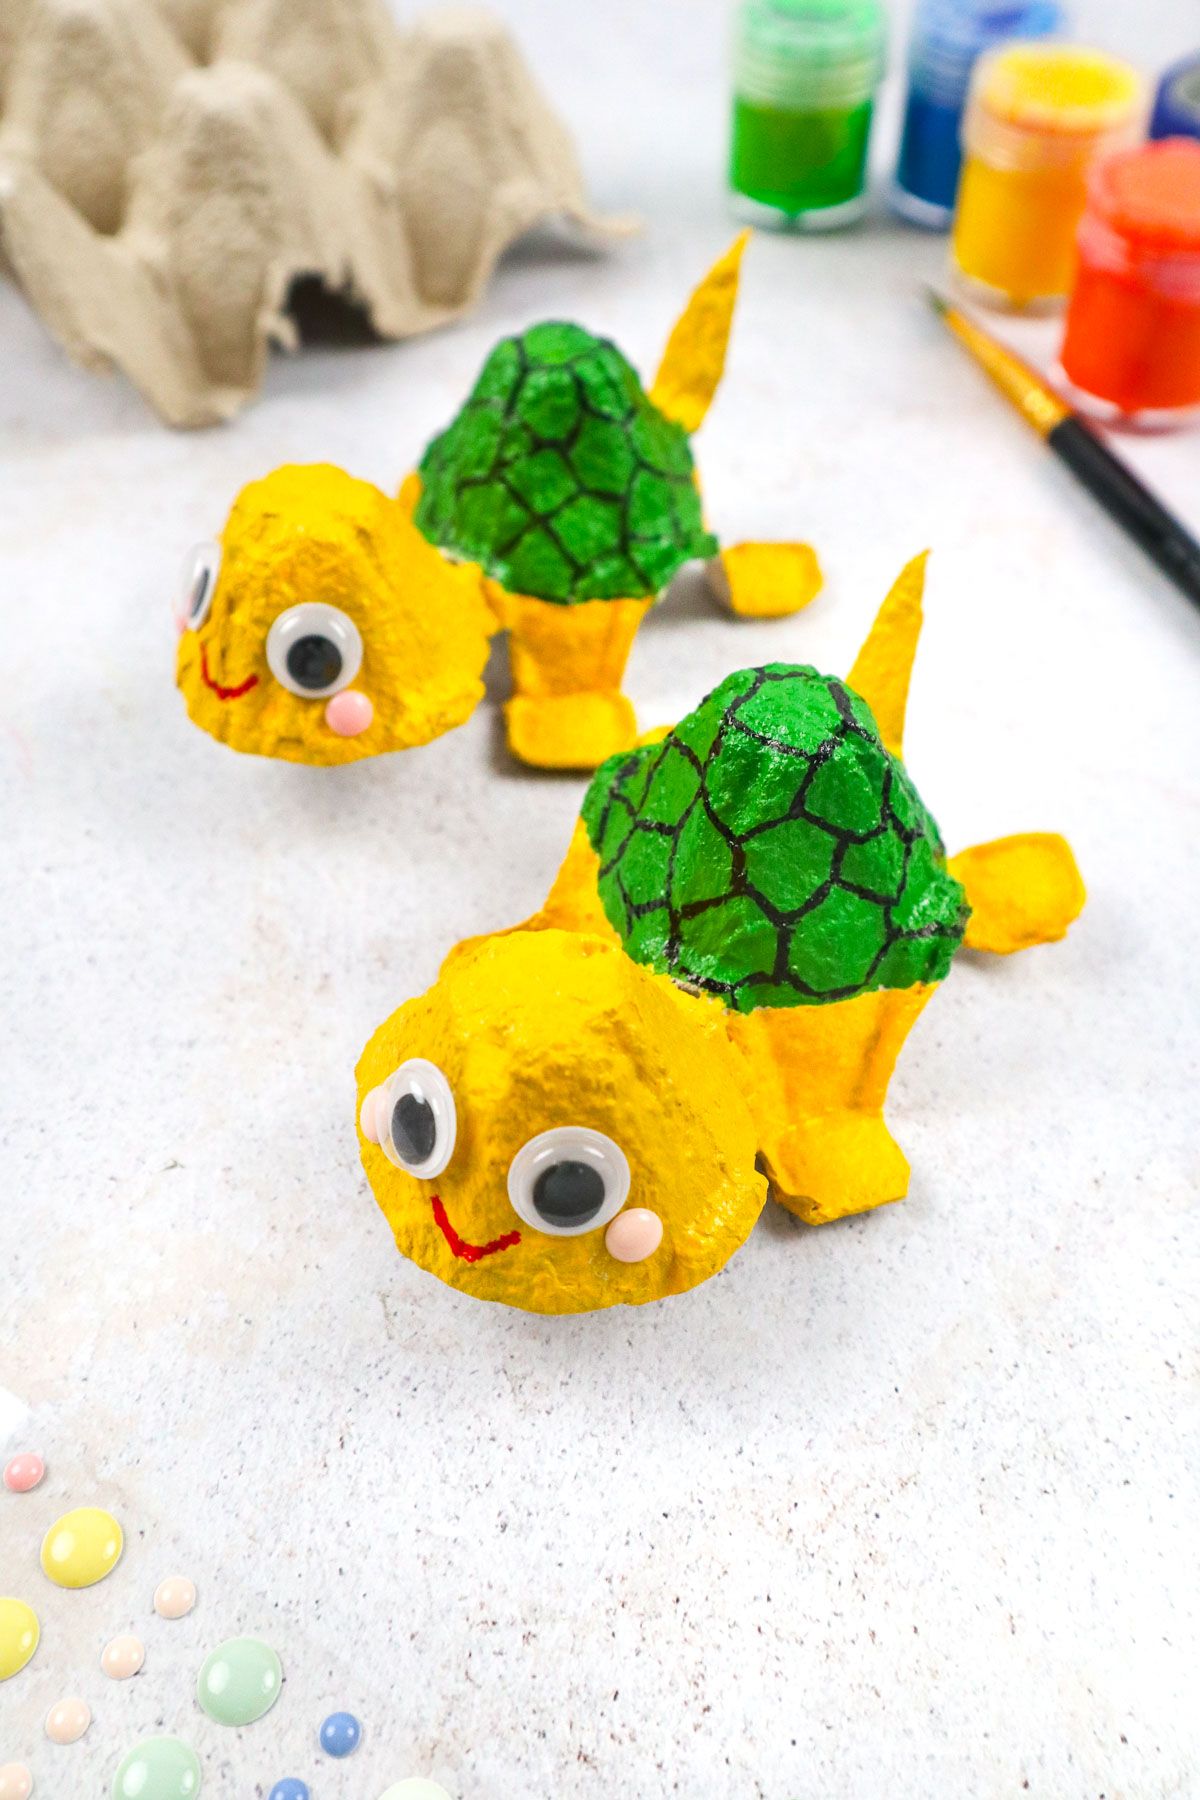
Your cute little turtle is complete. Enjoy!
Watch How to Make
How Long Do These DIY Egg Carton Turtles Take to Make?
These DIY Egg Carton Turtles don’t take too much time to make at all. Drawing your turtle and cutting it out should take just about 15-20 minutes.
Painting your turtle will take about 15-20 minutes. Drying time will be anywhere from 15 minutes to an hour.
You can always use a hairdryer to speed up the drying time. In total, you can make your own turtle in about 45 minutes- 95 minutes.
More Crafts Like This
- Pipe Cleaner Pencil Topper
- Handprint Flamingo Craft
- DIY Chick Craft
- DIY Egg Carton Goldfish
- Yarn Turtle Craft
DIY Egg Carton Turtle
Equipment
- Scissors
Materials
Instructions
- Get your black marker and draw your turtle’s body onto your egg carton.
- Cut out your turtle. Be sure to use sharp scissors because it can be tricky to cut the egg carton!
- Paint your turtle’s body with yellow paint.
- Paint your turtle’s shell with green paint.
- Let your turtle dry. You can cut down on drying time by using a hairdryer.Add a second coat and let it dry.
- Draw geometrical shapes on your turtle’s green shell. These shapes will be your turtle’s scutes or scales.
- Keep drawing your turtle’s scutes until the entire shell is covered and you are satisfied with how it looks.
- Grab your googly eyes and add them to your turtle’s face.Do the same with your round stickers for the cheeks and draw on a smile.Your turtle is complete!


