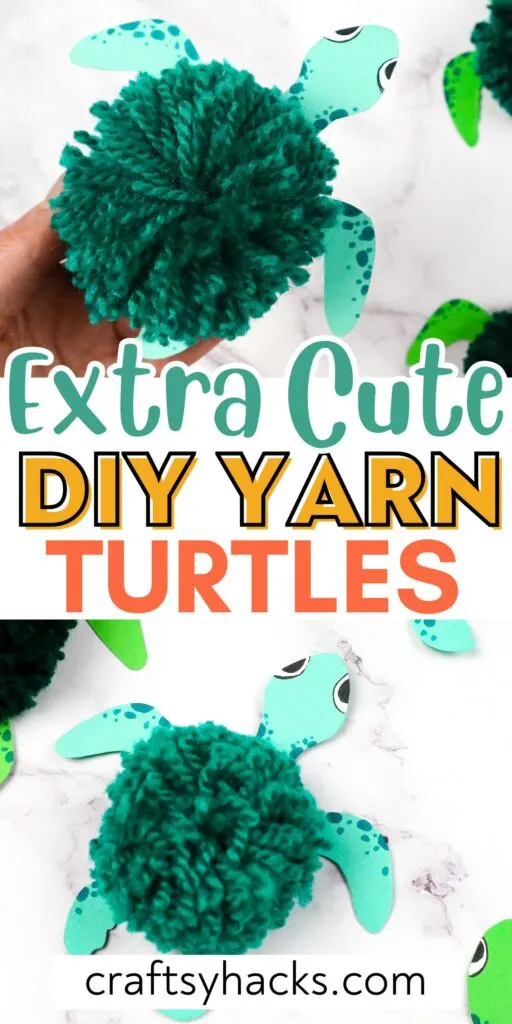
If you’re looking for a fun but out-of-the-ordinary craft to try in the in-between seasons, this yarn turtle craft is perfect! This turtle is fun, simple, and a quirky option for any crafter.
Yarn turtles are a great option to craft for fun, use on a bulletin board, or as a cute extra in a gift. Opting for a sturdier paper option like a cardstock will ensure a longer lifespan.
If you do need a bit of guidance with our yarn turtles, check out my YouTube page for the video with the same name: Yarn Turtle Craft.
With all of that said, let’s move on to the post! I hope you enjoy these turtles as much as I do!
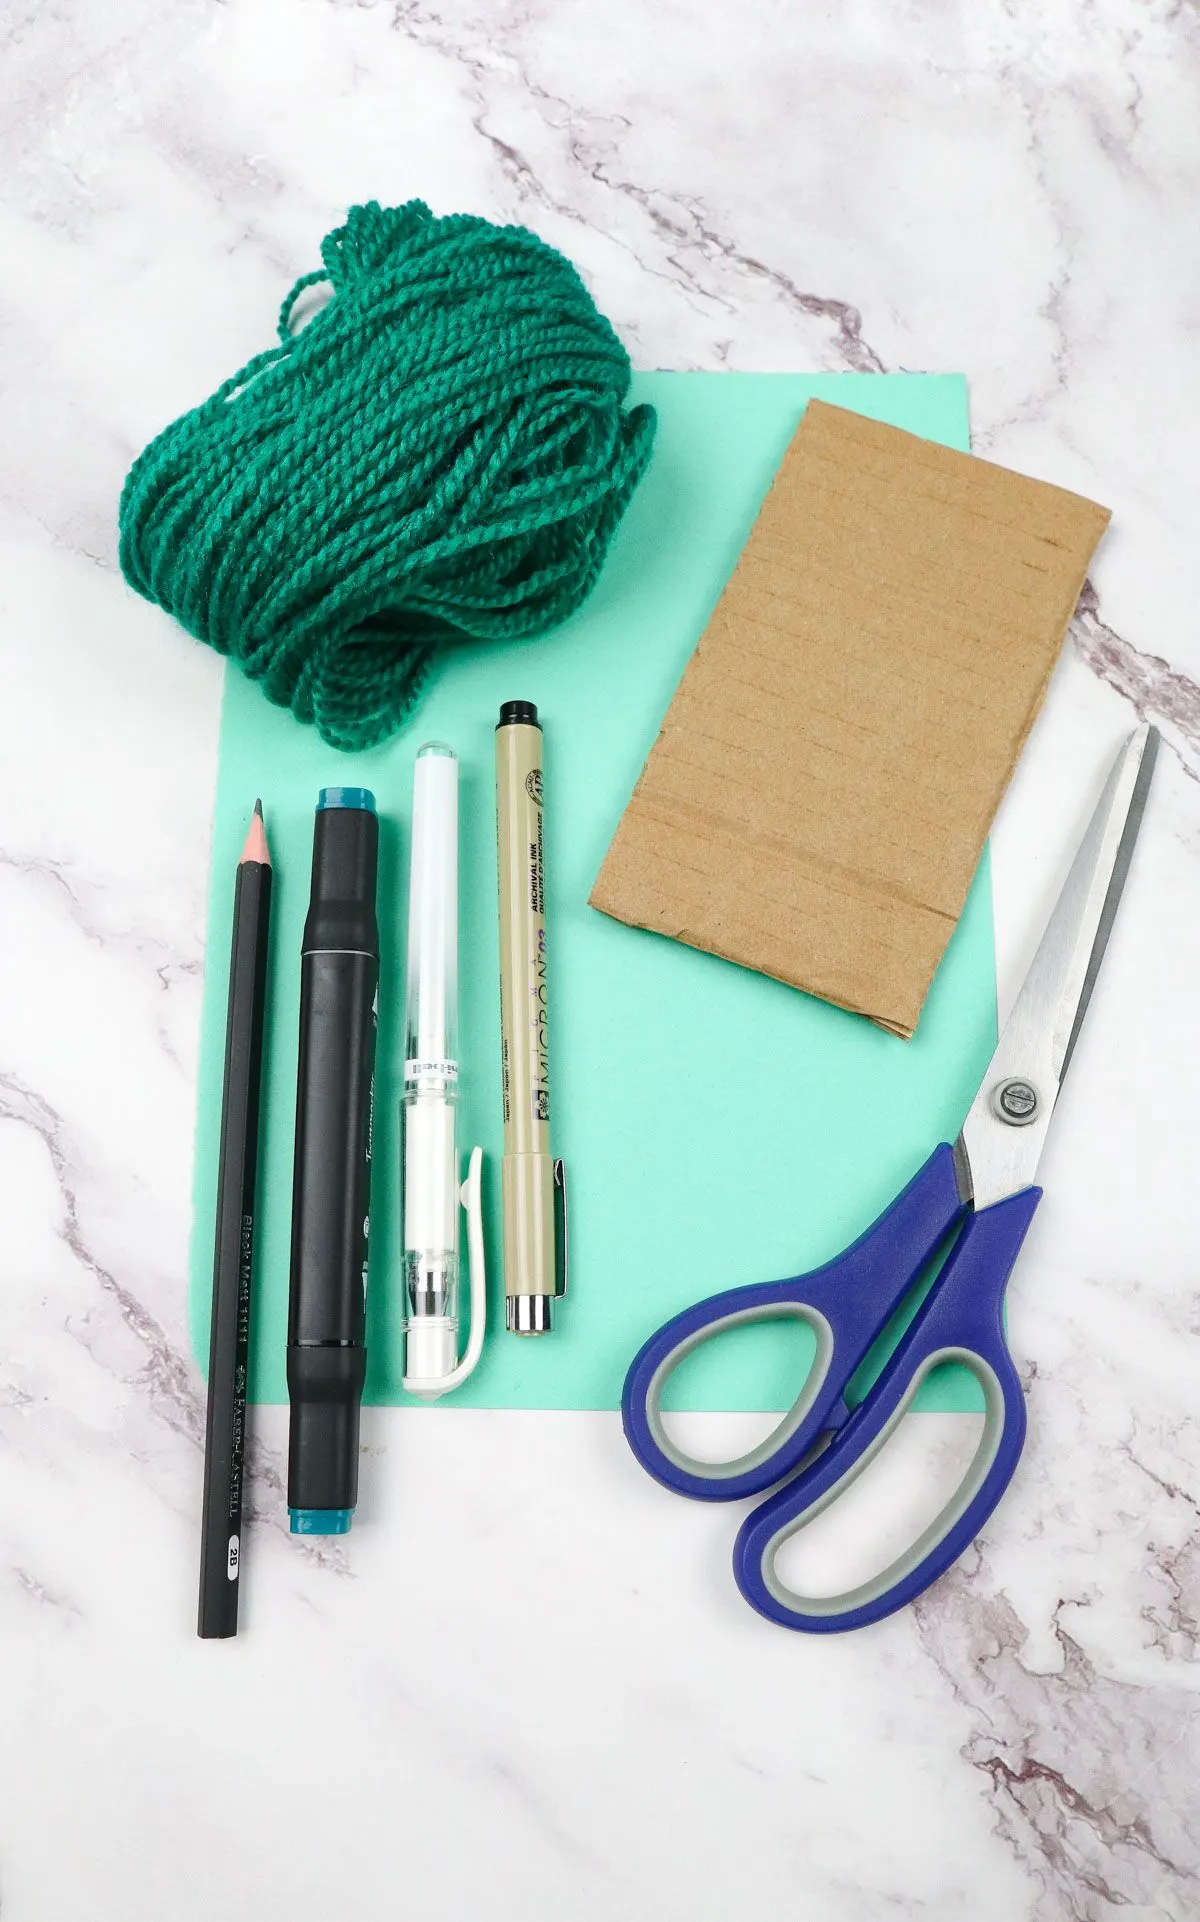
Supplies You’ll Need
Greenish craft paper (6″ x 6″)
Black and white markers
Scissors
Cardboard piece 6″ x 3.5″
How to Make a Yarn Turtle Craft
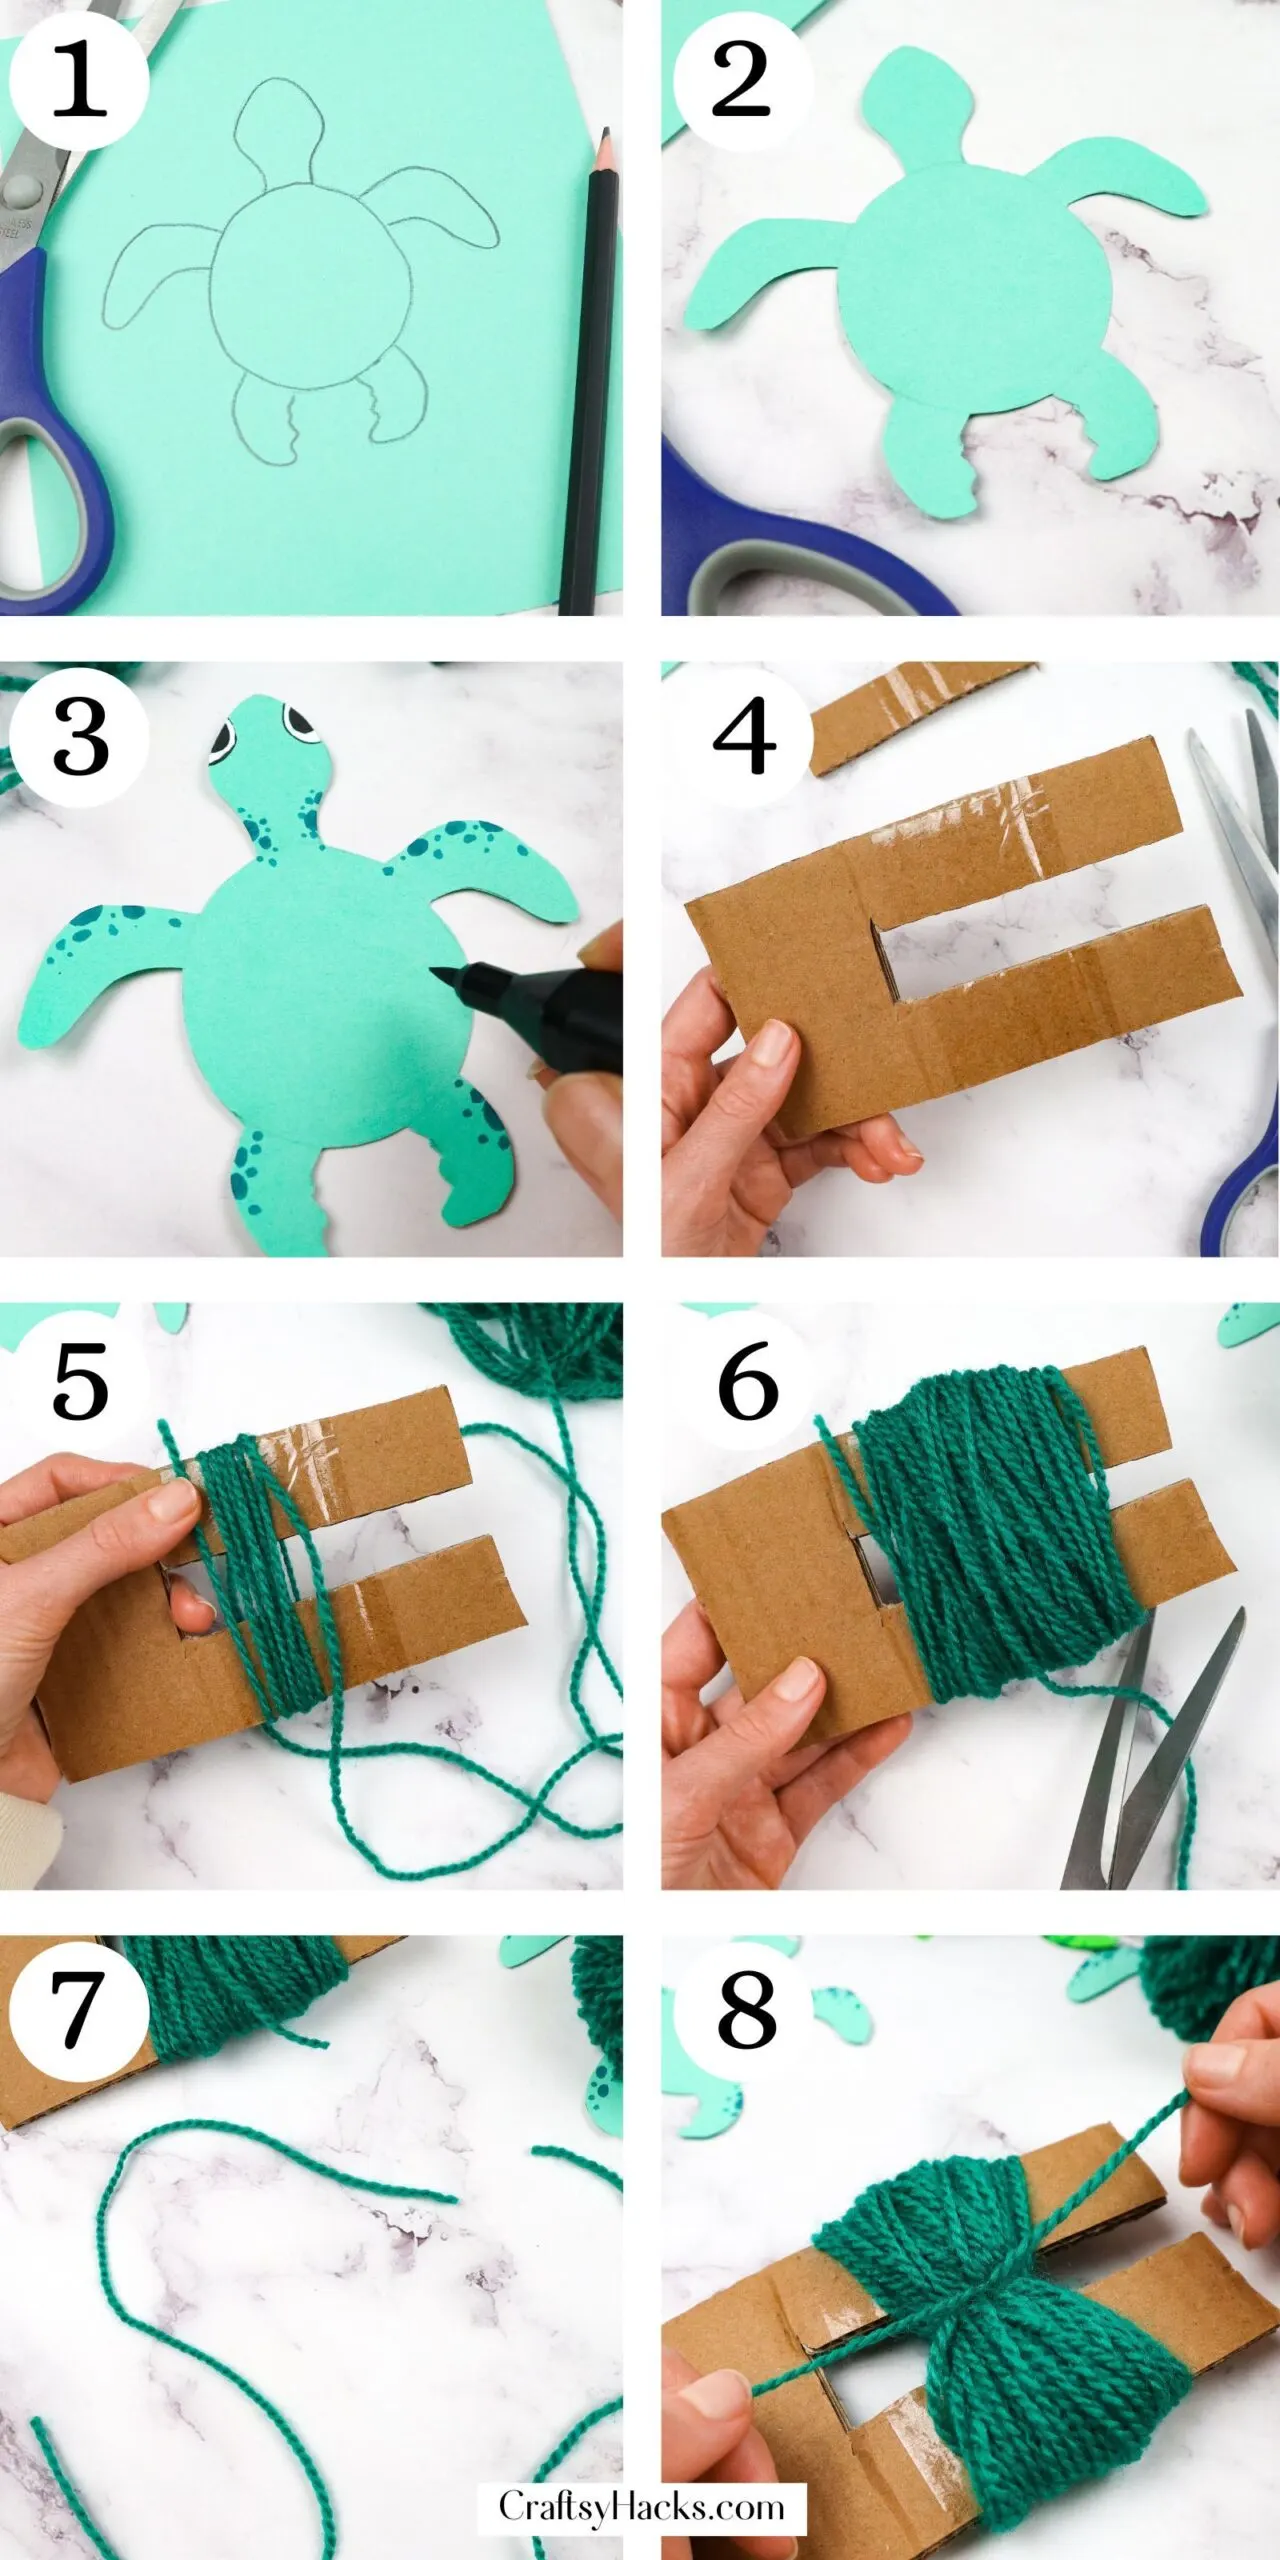
Step 1. Grab your writing utensil and green paper, and we’ll begin by drawing our turtle silhouette.
If you are nervous about sketching out a turtle, a great idea is to print, cut out, and trace a turtle you find online.
Step 2. Once you have your turtle drawn, it’s time to cut it out! Take your time cutting the turtle out, especially for younger crafters–some angles can be delicate.
Step 3. After all is drawn and cut out, it’s time to add the turtle’s facial features and body detailing.
You can opt for a more realistic representation like mine or more creative and cartoonish–the choice is yours!
Step 4. Set your turtle body aside once it’s designed–we’re moving on to shell prep. It starts with the piece of cardboard you have set aside.
Cut about an inch of a small, skinny rectangle out of the middle. The resulting shape should look like a “U.”
Step 5. This cardboard will help create the pom pom shell for the turtle. Start by wrapping your yarn around the outer parts of the rectangle.
Alternatively, you can use your two fingers (as if doing a ‘peace sign’) to prep the yarn.
Step 6. Once you have a sufficient amount of yarn for your shell, cut the tail. It should be a generous amount of yarn compared to the size of the turtle you’re creating.
Step 7. Put down the yarn-wrapped cardboard and cut a twelve-inch piece of yarn. This piece of yarn will act as the binder for your pom pom shell.
Step 8. Wrap the 12-inch piece around the wrapped portion twice of the open part of your bundled yarn, and pull tight. Secure a knot and make sure everything looks even and settled.
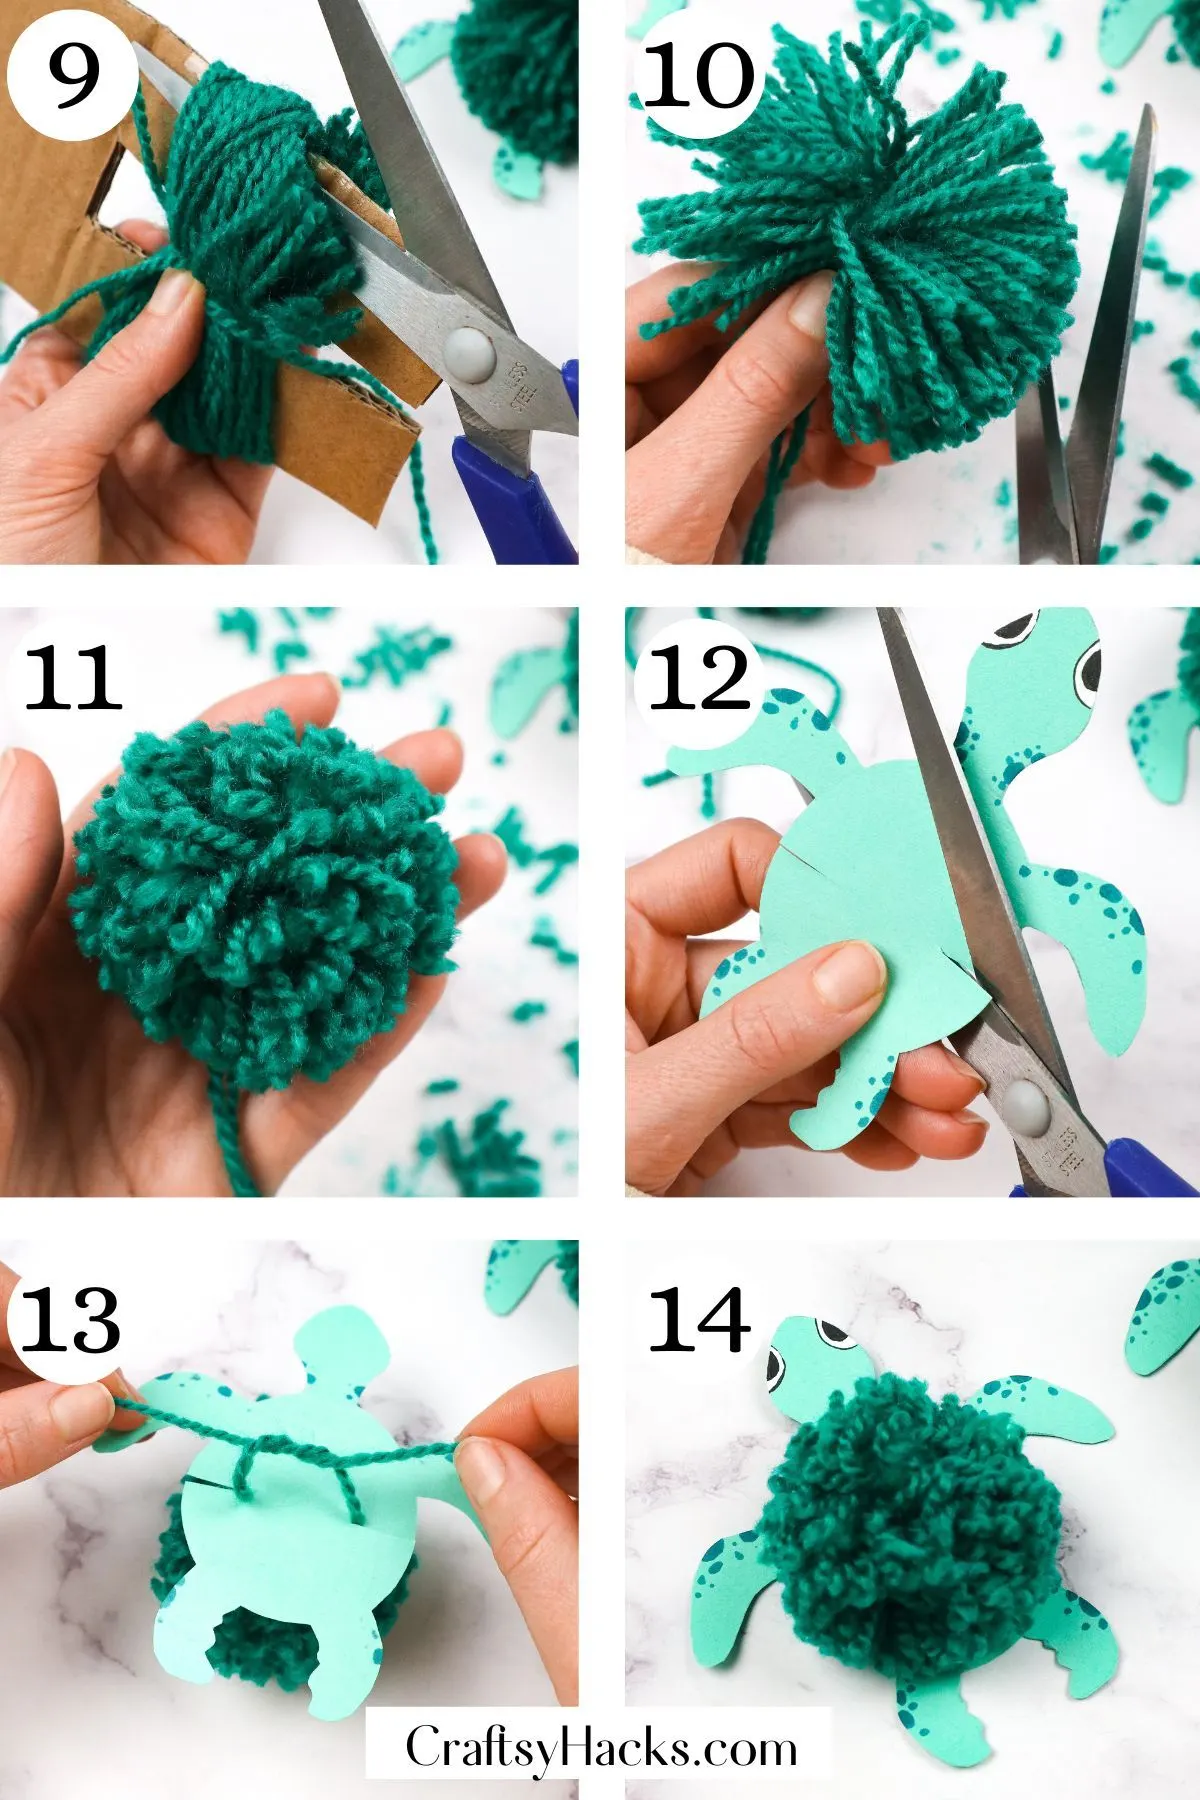
Step 9. After you tie your knot, we will cut the very outside pieces of the yarn to have them fray toward the middle. Do this to either side of the cardboard edges.
Step 10. Once each side is cut, the pom should be released from the cardboard to reveal your shell. Re-fluff and situate your pom for the next steps.
Step 11. Trim any trouble areas as needed, but keep the tails of the knotted part. Those tail pieces are essential in attaching the shell to the turtle’s body.
Step 12. As your pom pom becomes settled, set it aside and return to your turtle. Grab your pair of scissors and cut slits on either side of the turtle’s stomach area.
You want just enough space to let the yarn sit comfortably in these slits.
Step 13. Pick your pom pom back up and situate it on the turtle’s body. Thread the reserved tails of the pom pom into the slits and tie a knot gently onto the back.
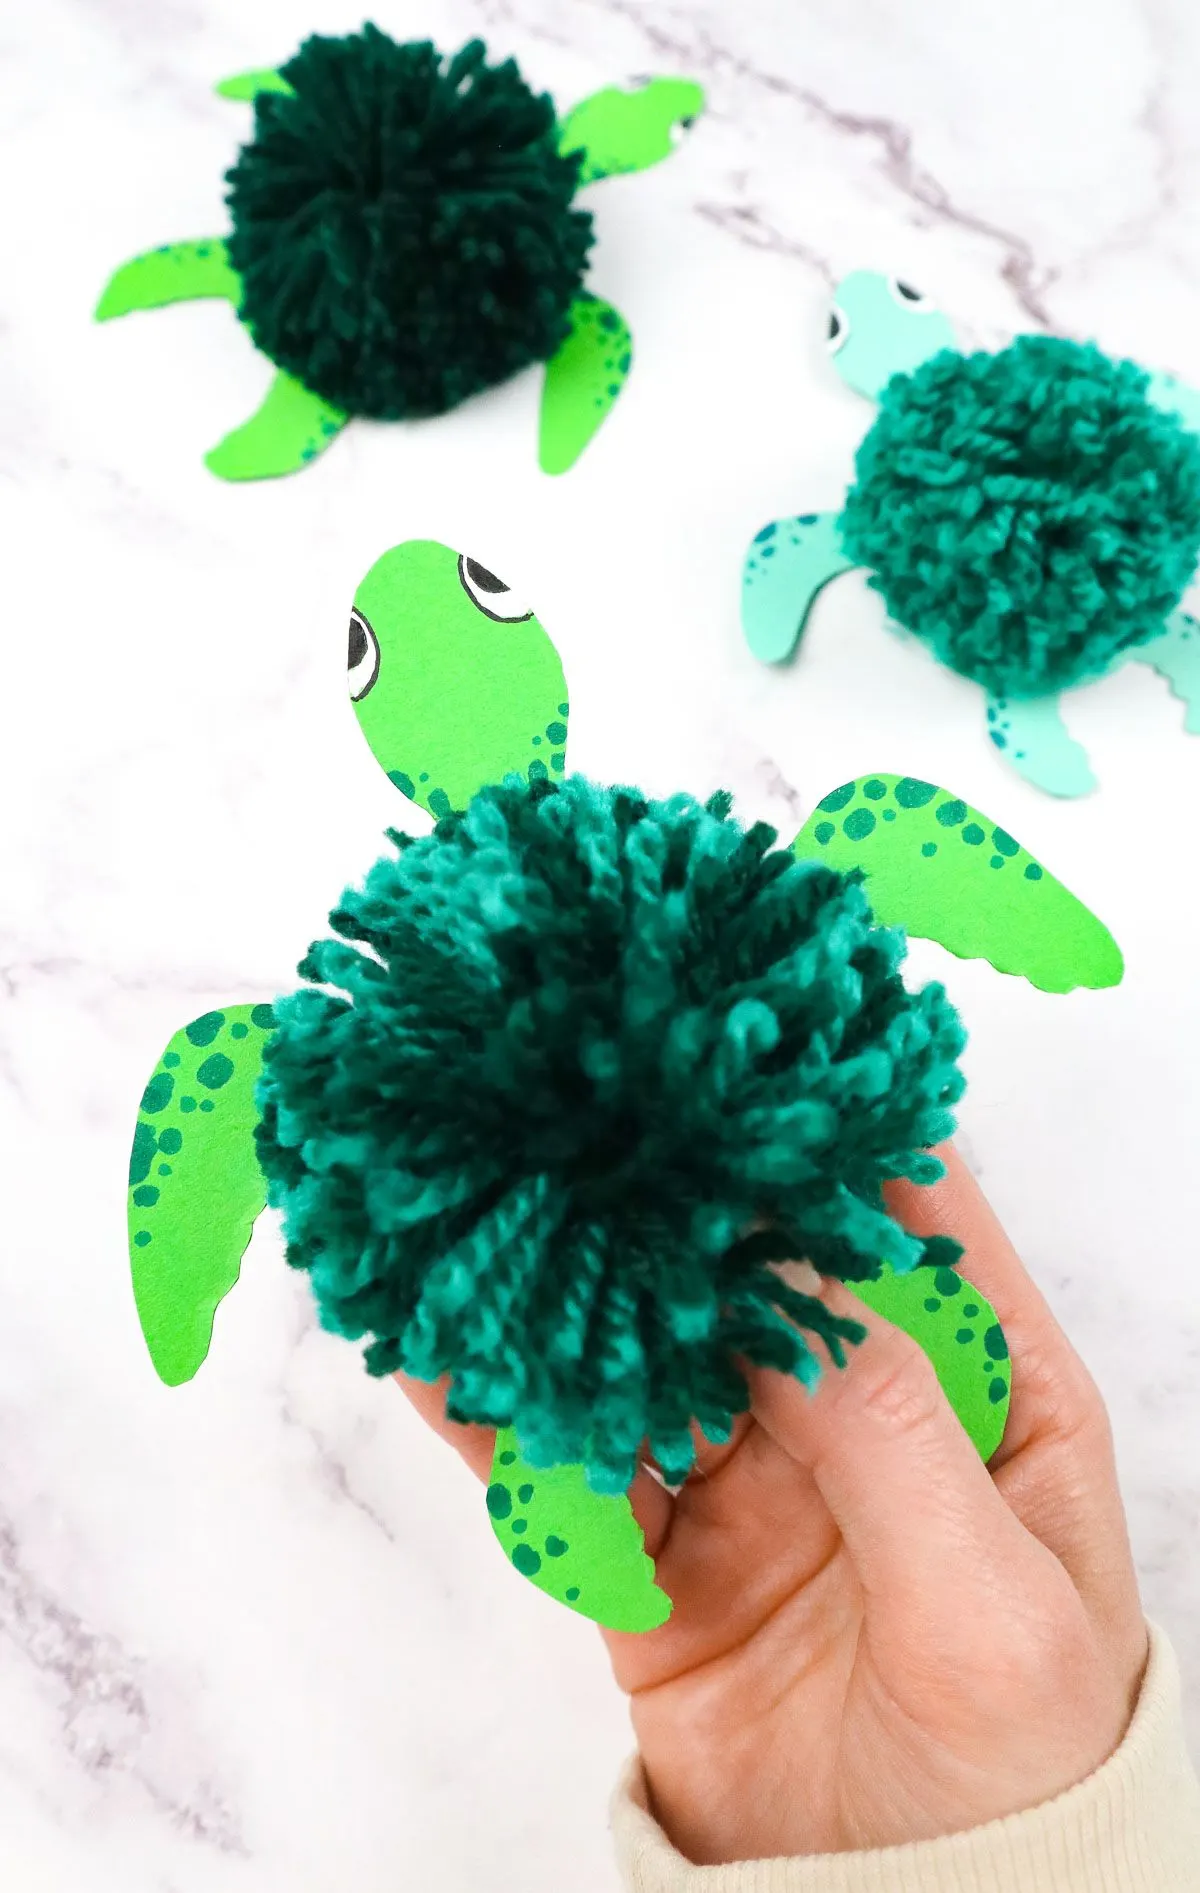
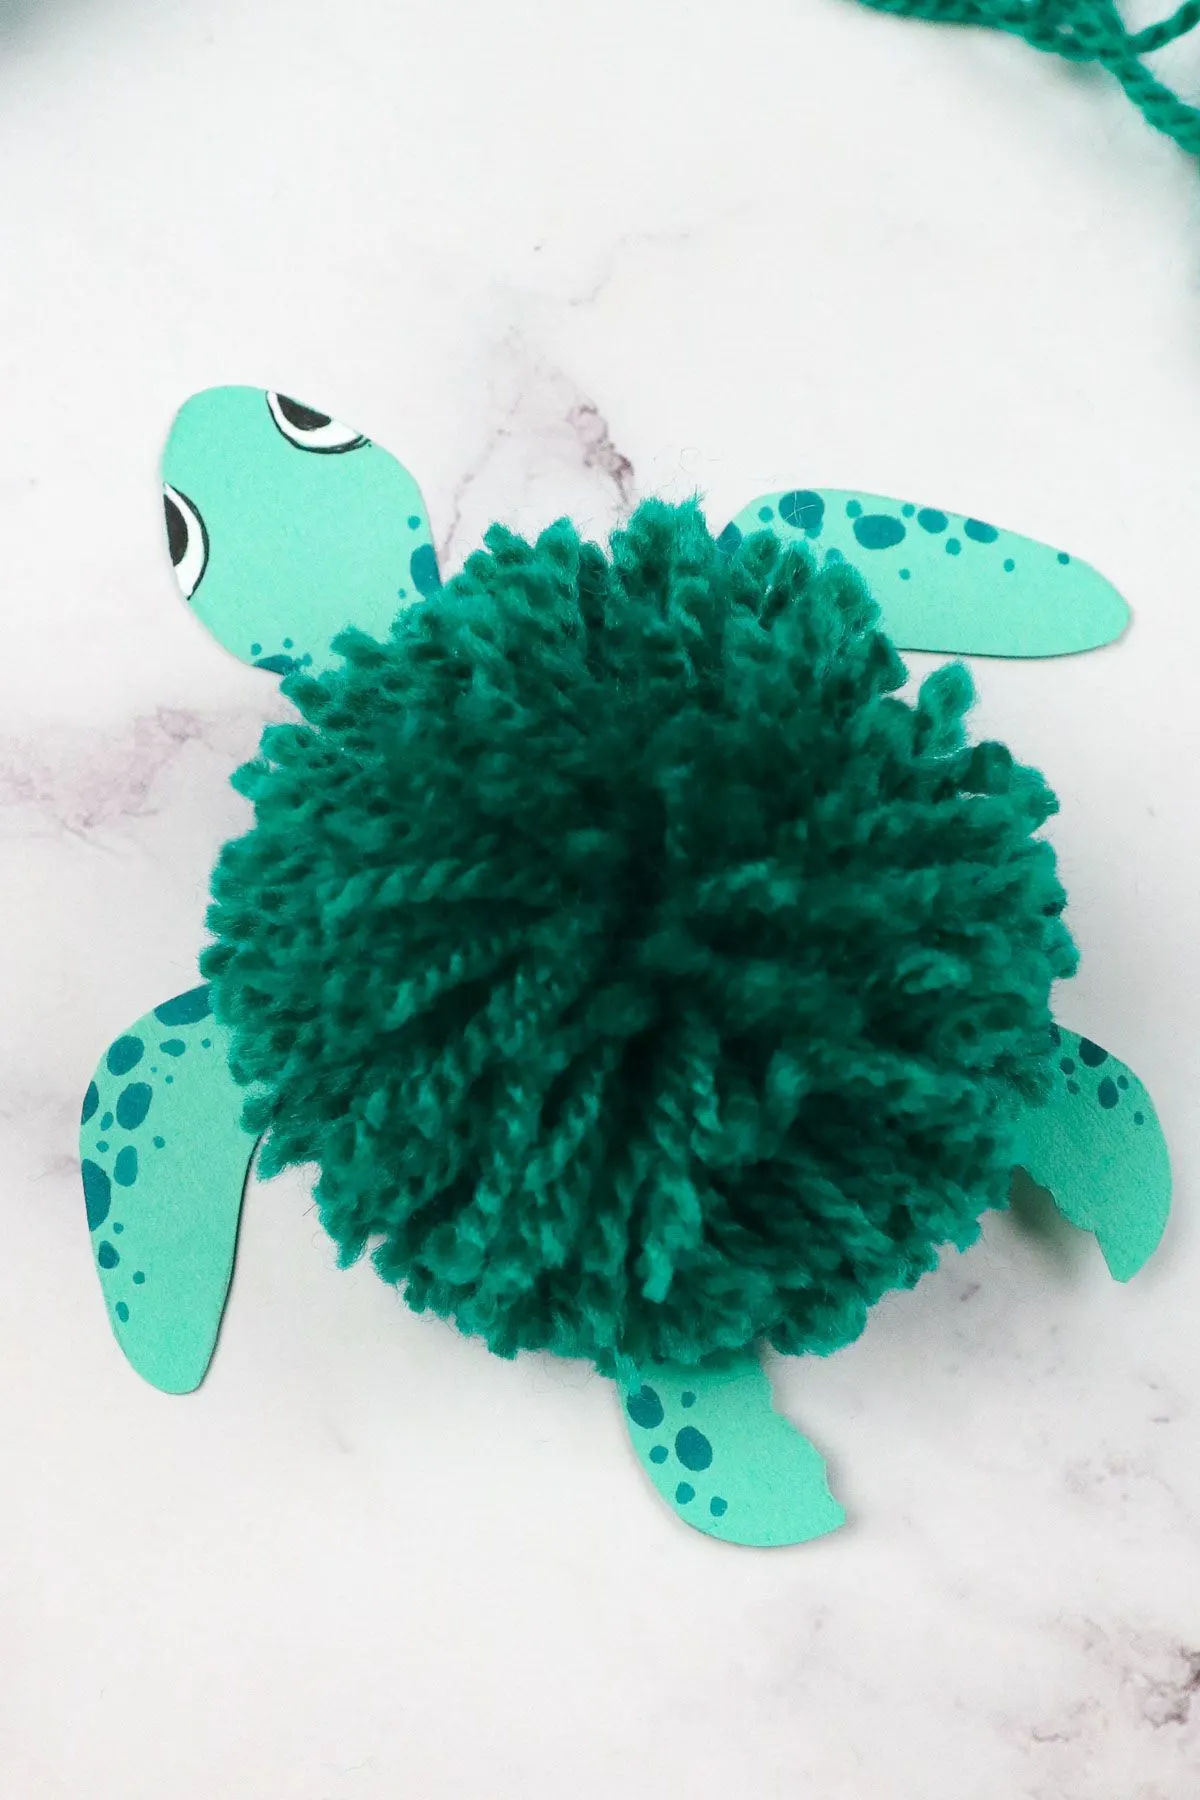
Step 14. Fluff the remaining pom area on the front end and adjust any last-minute bits to reveal your very own yarn turtle!
Enjoy this beautiful DIY turtle!
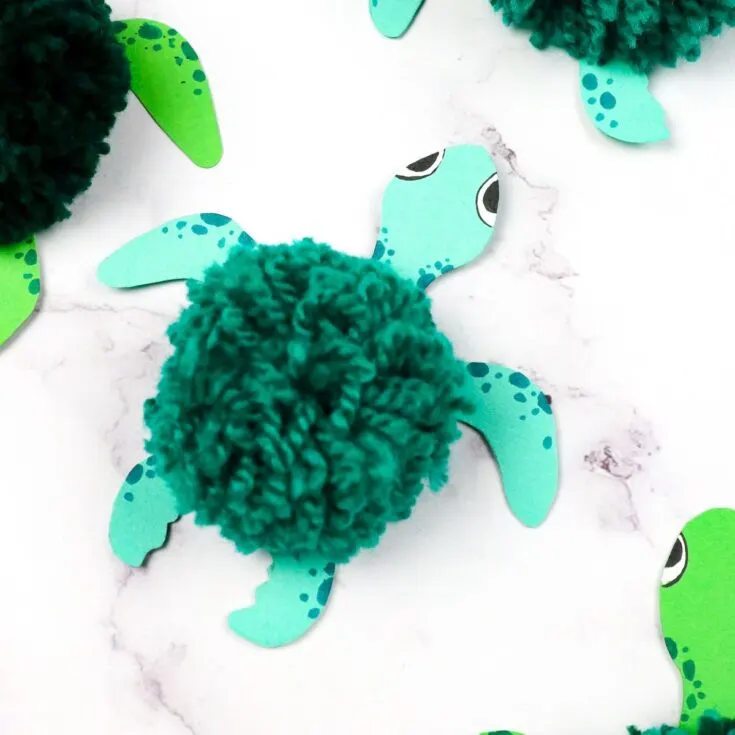
More Animal Crafts
Yarn Turtle Craft
Materials
- Green yarn
- Greenish craft paper (6" x 6")
- Cardboard piece (6" x 3.5")
Tools
- Black and white markers
- Green marker
- Pencil
- Scissors
Instructions
- Use a writing utensil to draw a turtle. If you need assistance drawing one, print and cut out a simple silhouette to aid yours.
- Cut out the turtle with a pair of scissors. Be careful around the ligaments–it can be delicate in the area.
- Add detailing to your turtle–facial features, spots on the body, etc. I used black, white, and green markers, but play with color if you are interested.
- Prep your piece of cardboard. Cut about an inch of space out in the middle of the piece.
This cardboard will act as your ribbon guide. Similarly, you can make a piece sign and do the same with your fingers. - Wrap your yarn around the outside of the cardboard guide. Do it enough that it’ll appropriately create a shell.
- Continue to wrap your yarn and recenter anything that needs it. Once you’re ready, snip the yarn off and set aside.
- Cut a 12-inch piece of yarn for the pom pom tie. This piece of string will anchor the pom–make sure not to trim the tails at any point.
- Take your piece of yarn and thread it through the middle of your gathered yarn. Cinch it all by tying a knot into it.
- Cut either side of the outer loops to create the pom pom. This step should release the ball entirely from the cardboard.
- Trim and fluff any bits of the pom needed, keeping the tail intact.
- Continue to round your pom pom and organize anything that is needed.
- Pick up the turtle body and cut small but stable slits into either side of the turtle body.
- Grab your pom pom again and add it to the turtle. Slide the tails onto the slits and secure it on the back.
- Reshape any last-minute bits, and you’ll have a completed yarn turtle craft!
