Paper Plate Dinosaur
This post may contain affiliate links: full affiliate disclosure.
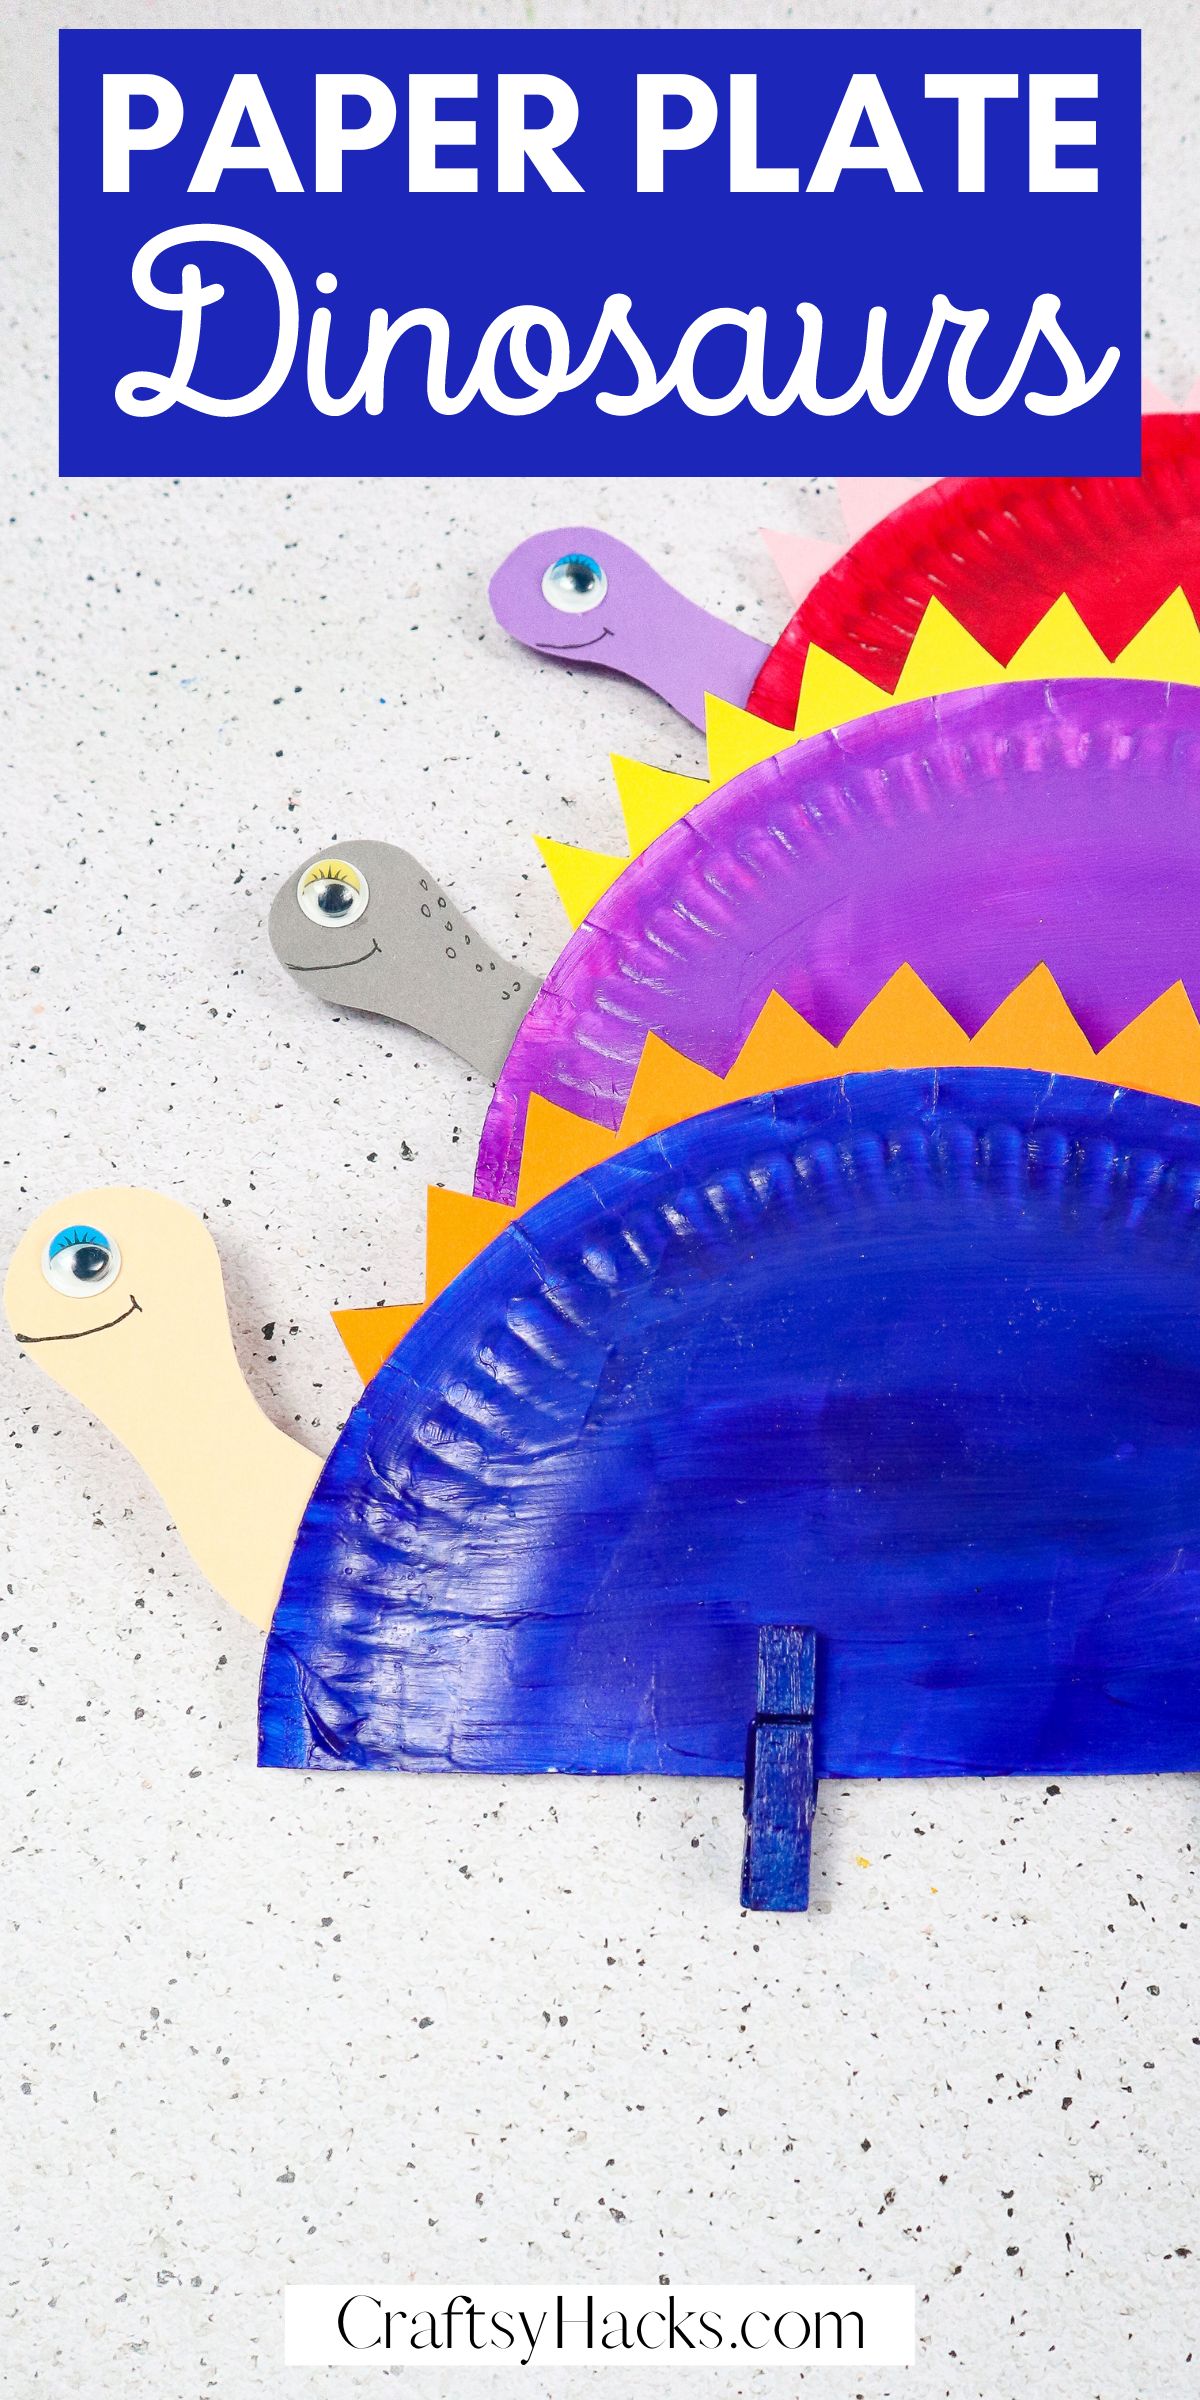
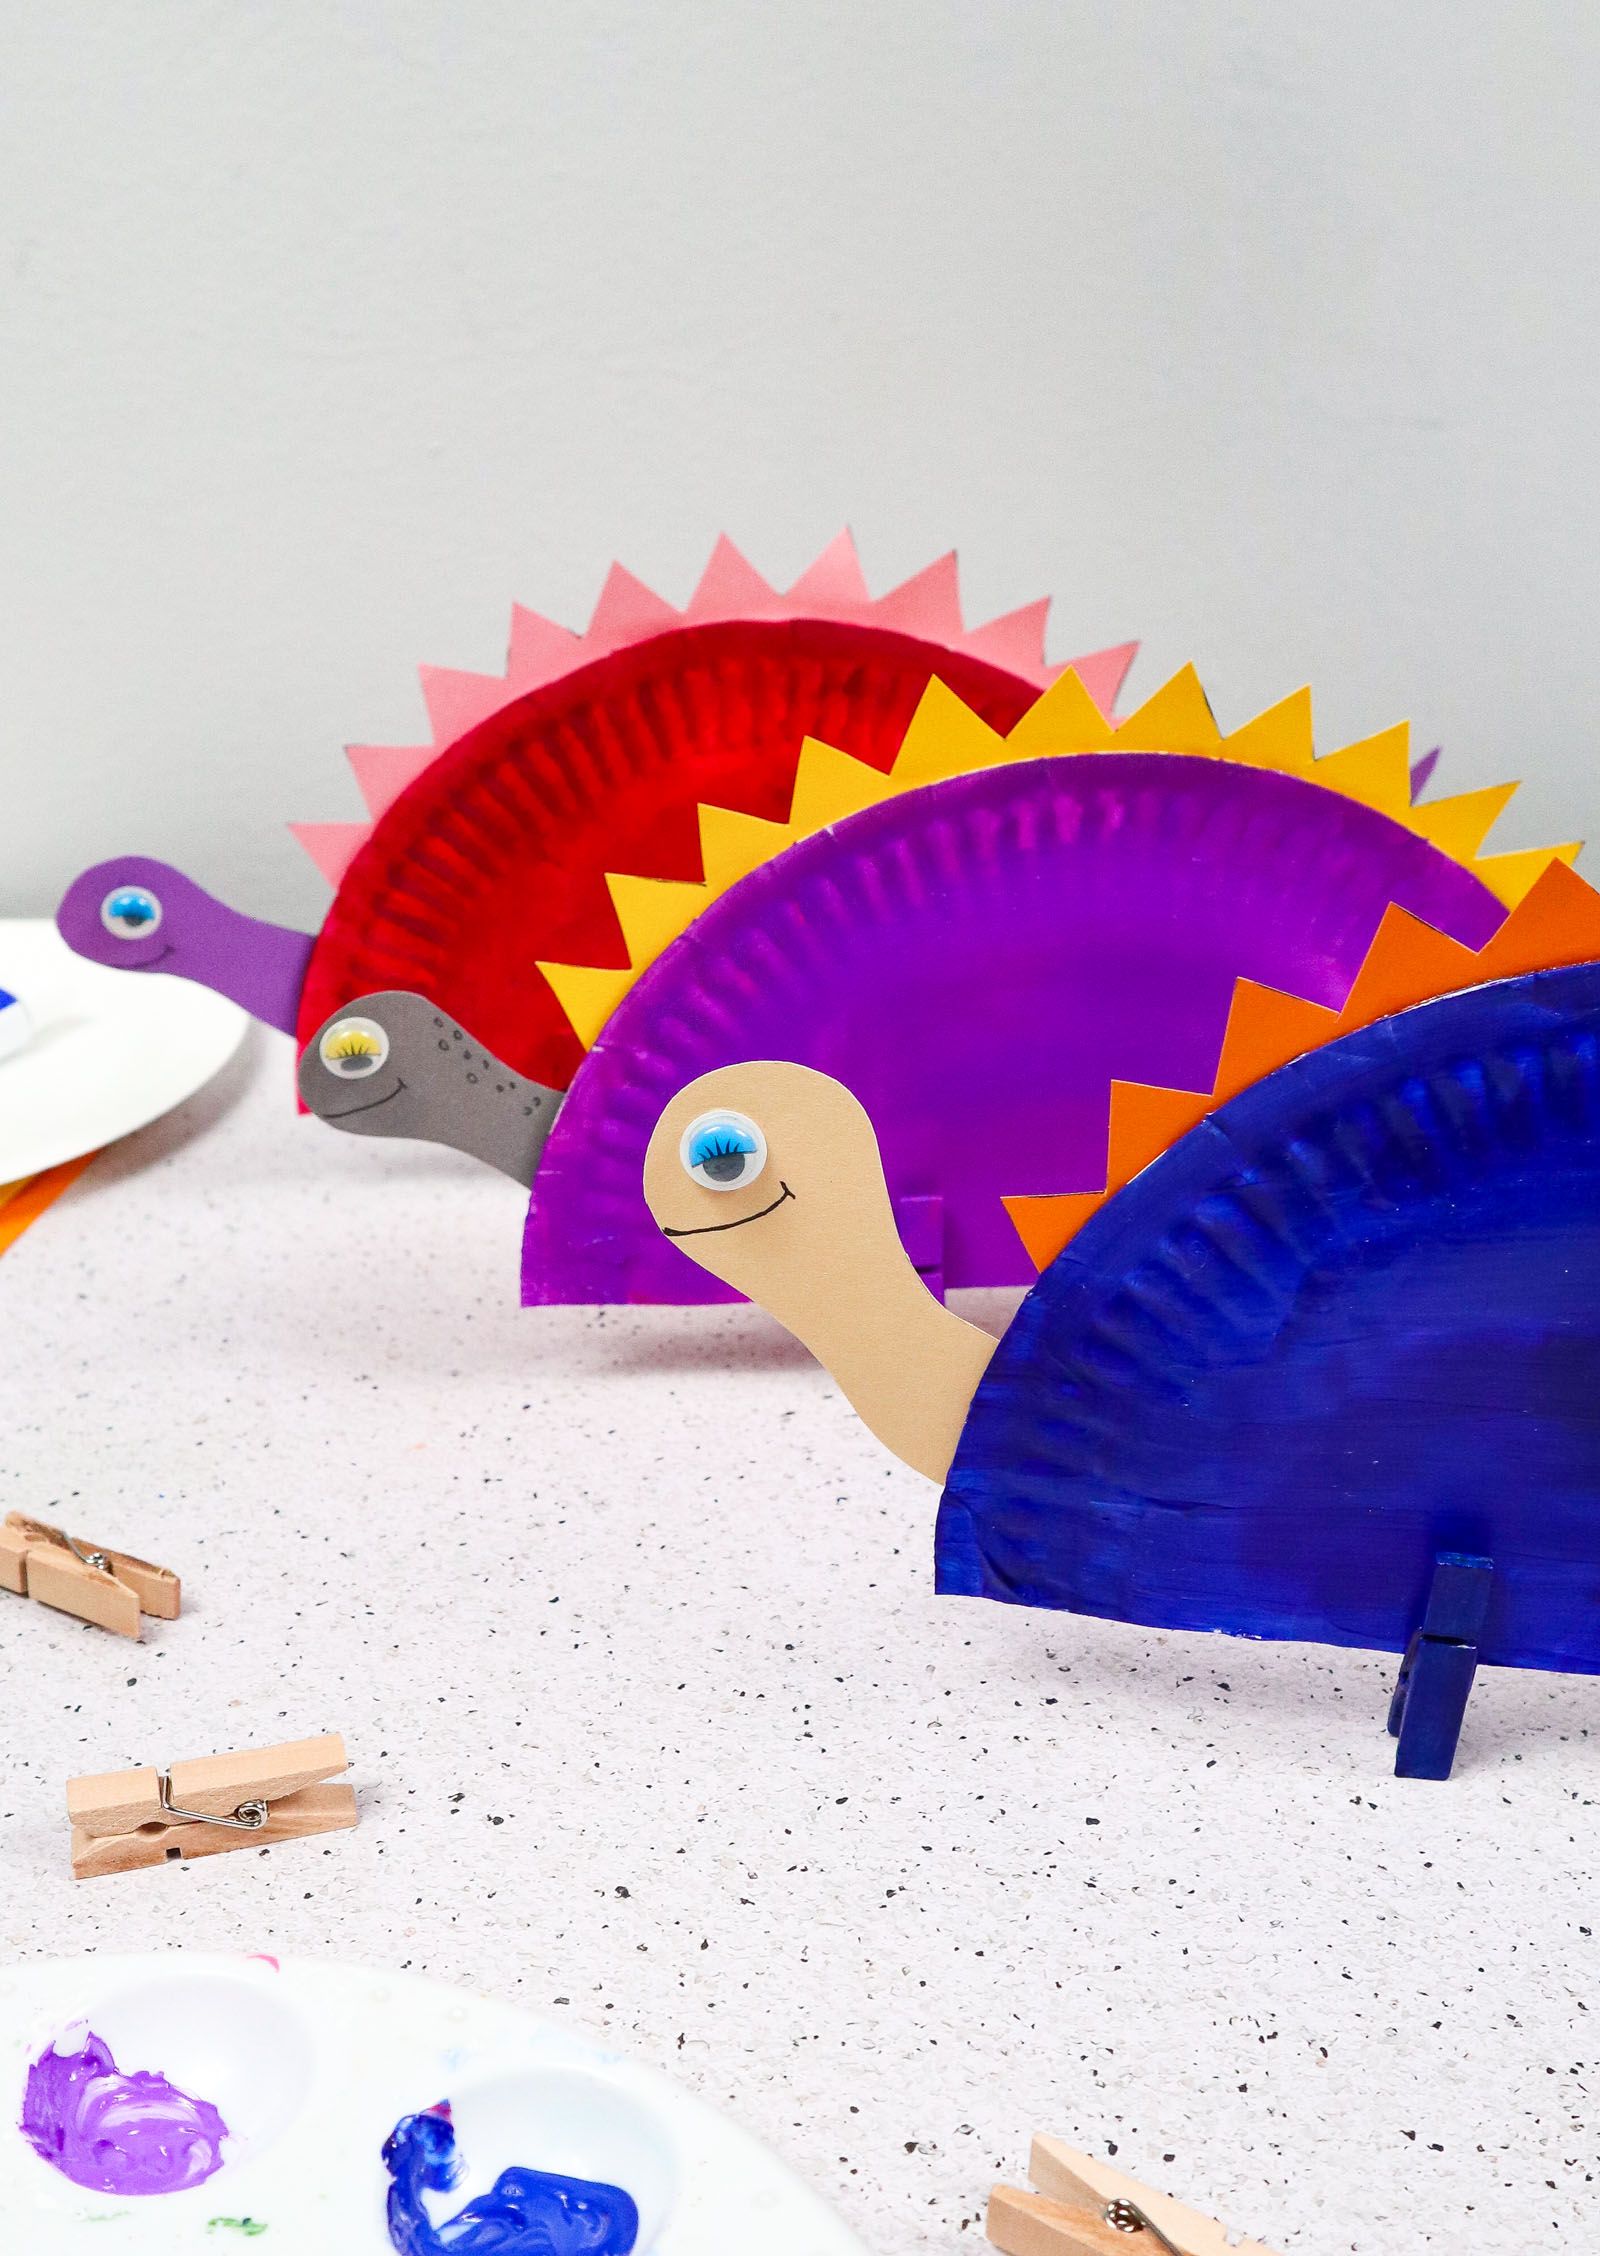
Are you looking for a fun and easy dinosaur craft for your classroom, kids, or anyone else? This paper plate dinosaur is a cheap option for your next prehistoric crafting day.
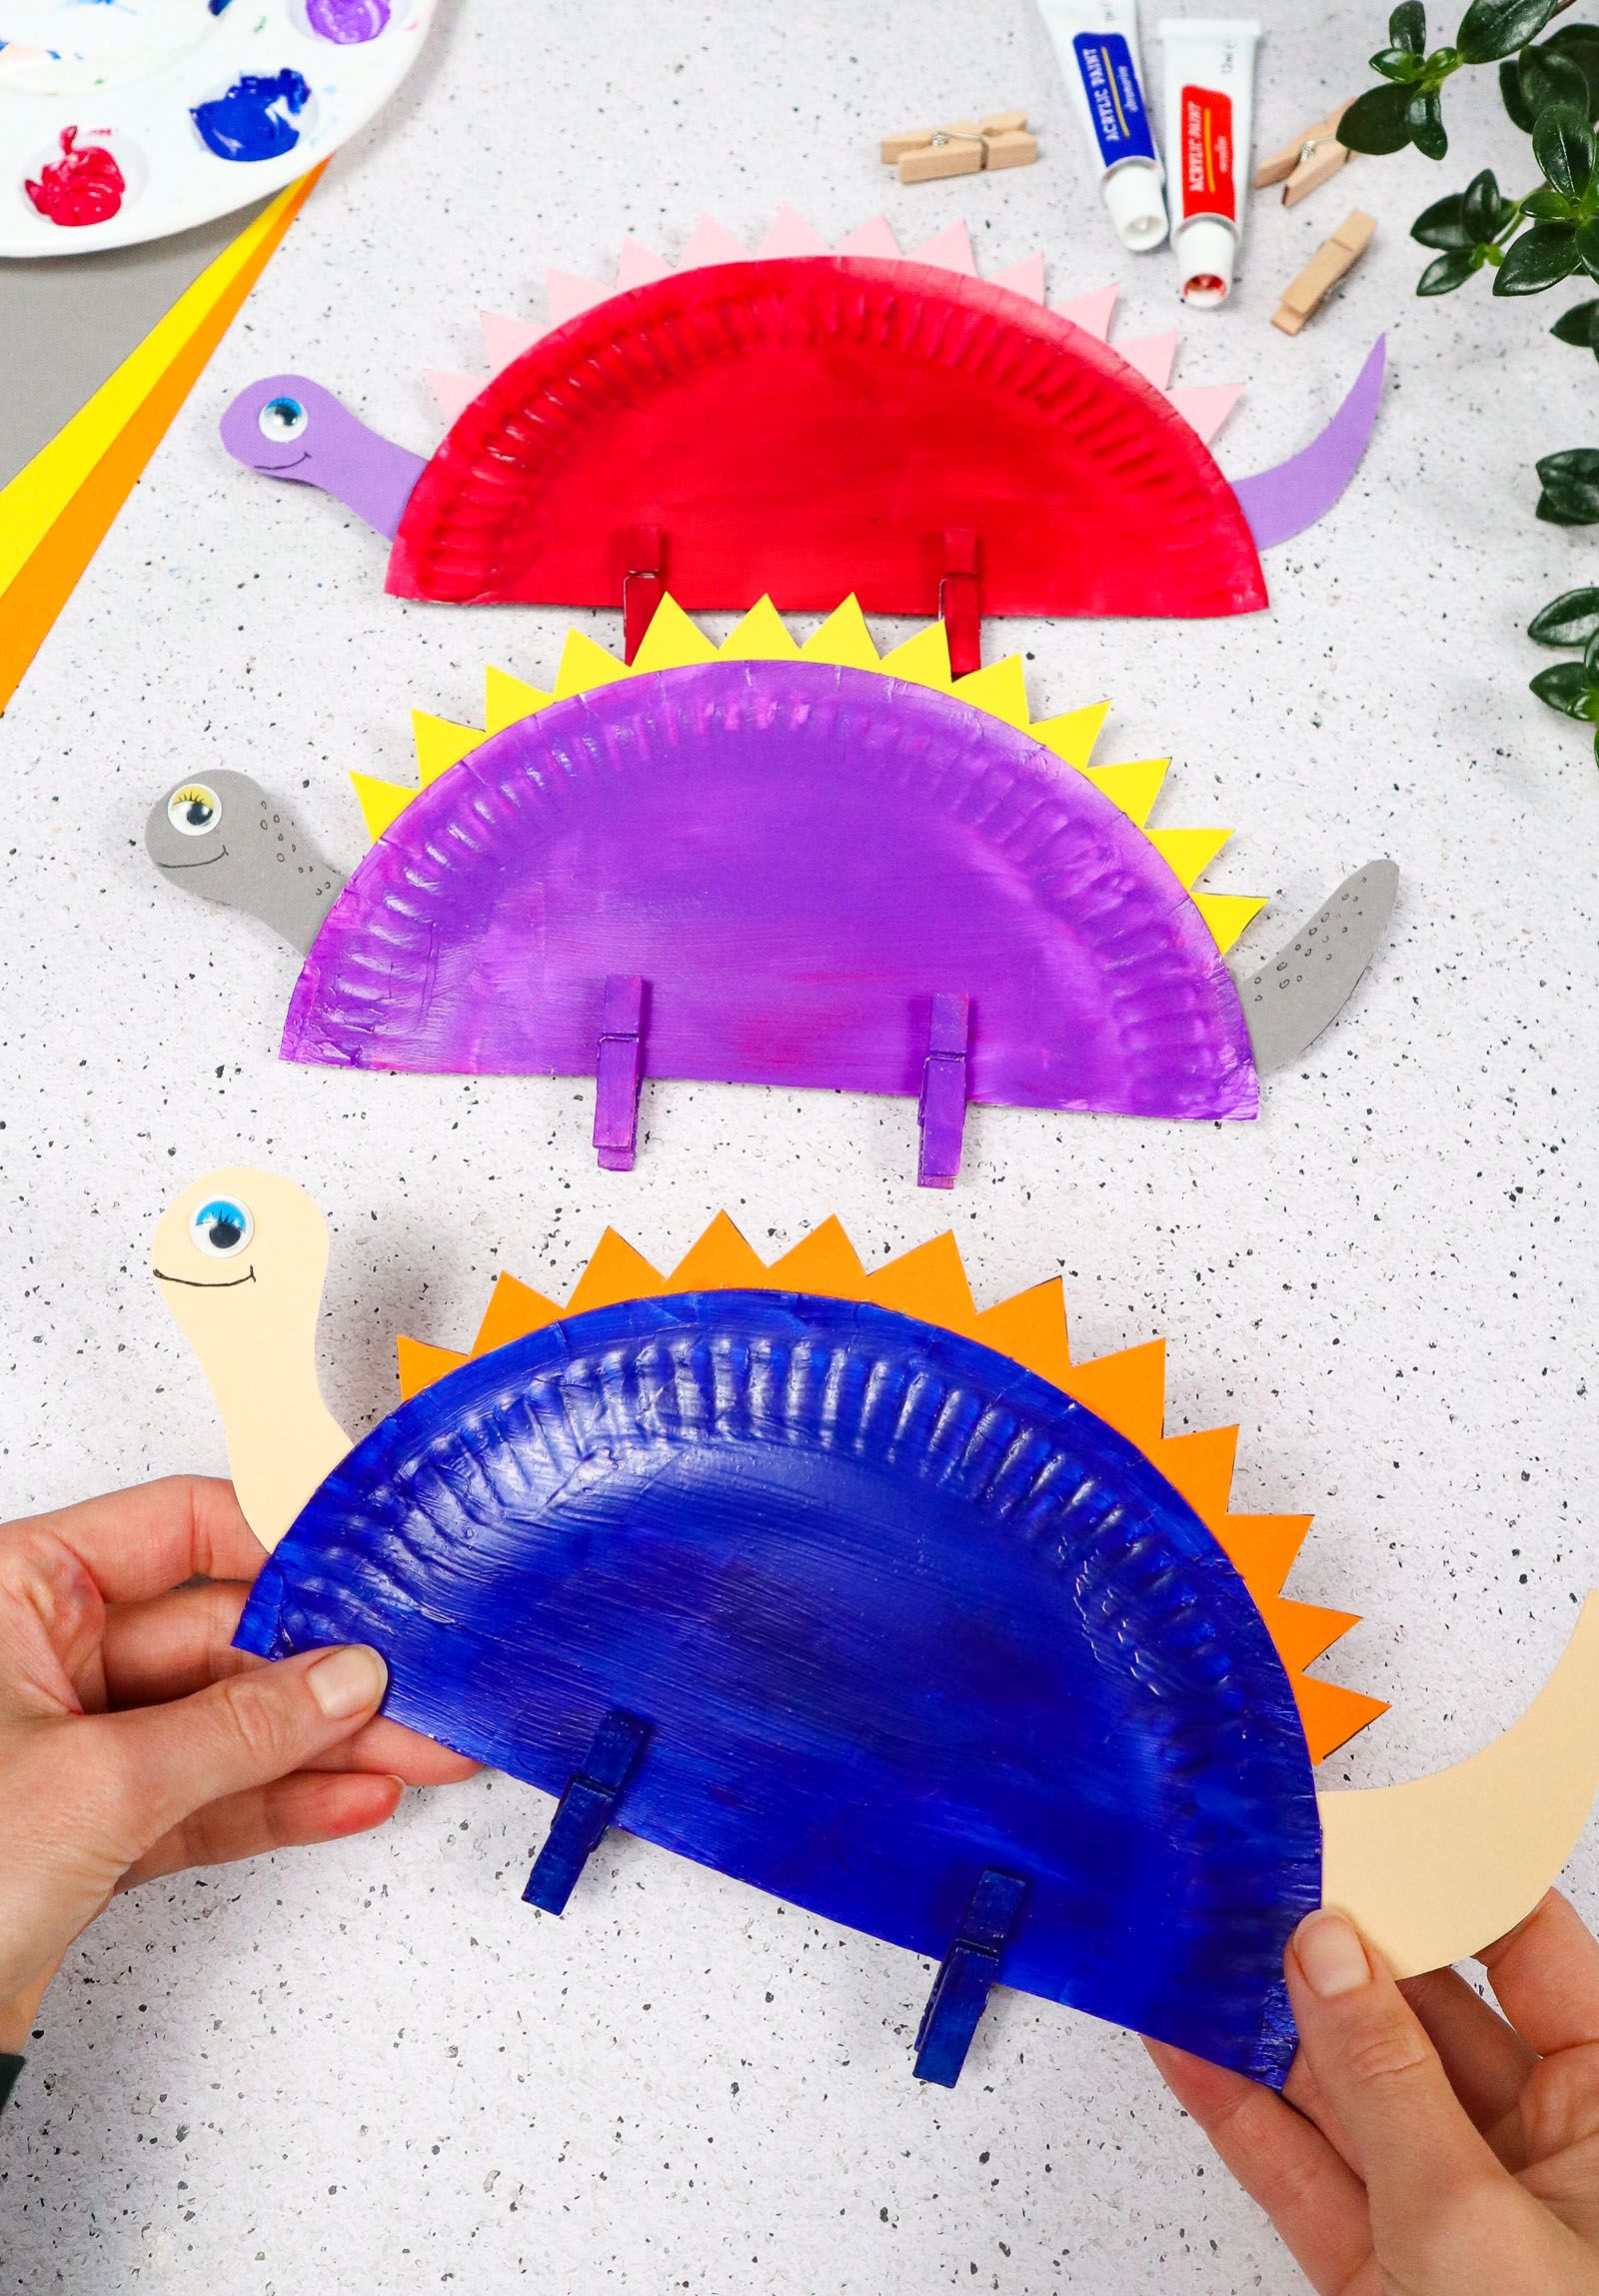
Make as many as you’d like–you can make a whole herd of dinos or use different-sized paper plates to make both small and large creatures. F
or this craft, the more, the merrier, especially with different colors.

These dinos are a great option because they are adaptable to any crafter. Keeping it simple or going all out on the decorations is easy.
The craft is simple and cheap, and you probably already have some items around your home! Below, you’ll find all you’ll need to make these prehistoric dinosaur plates.
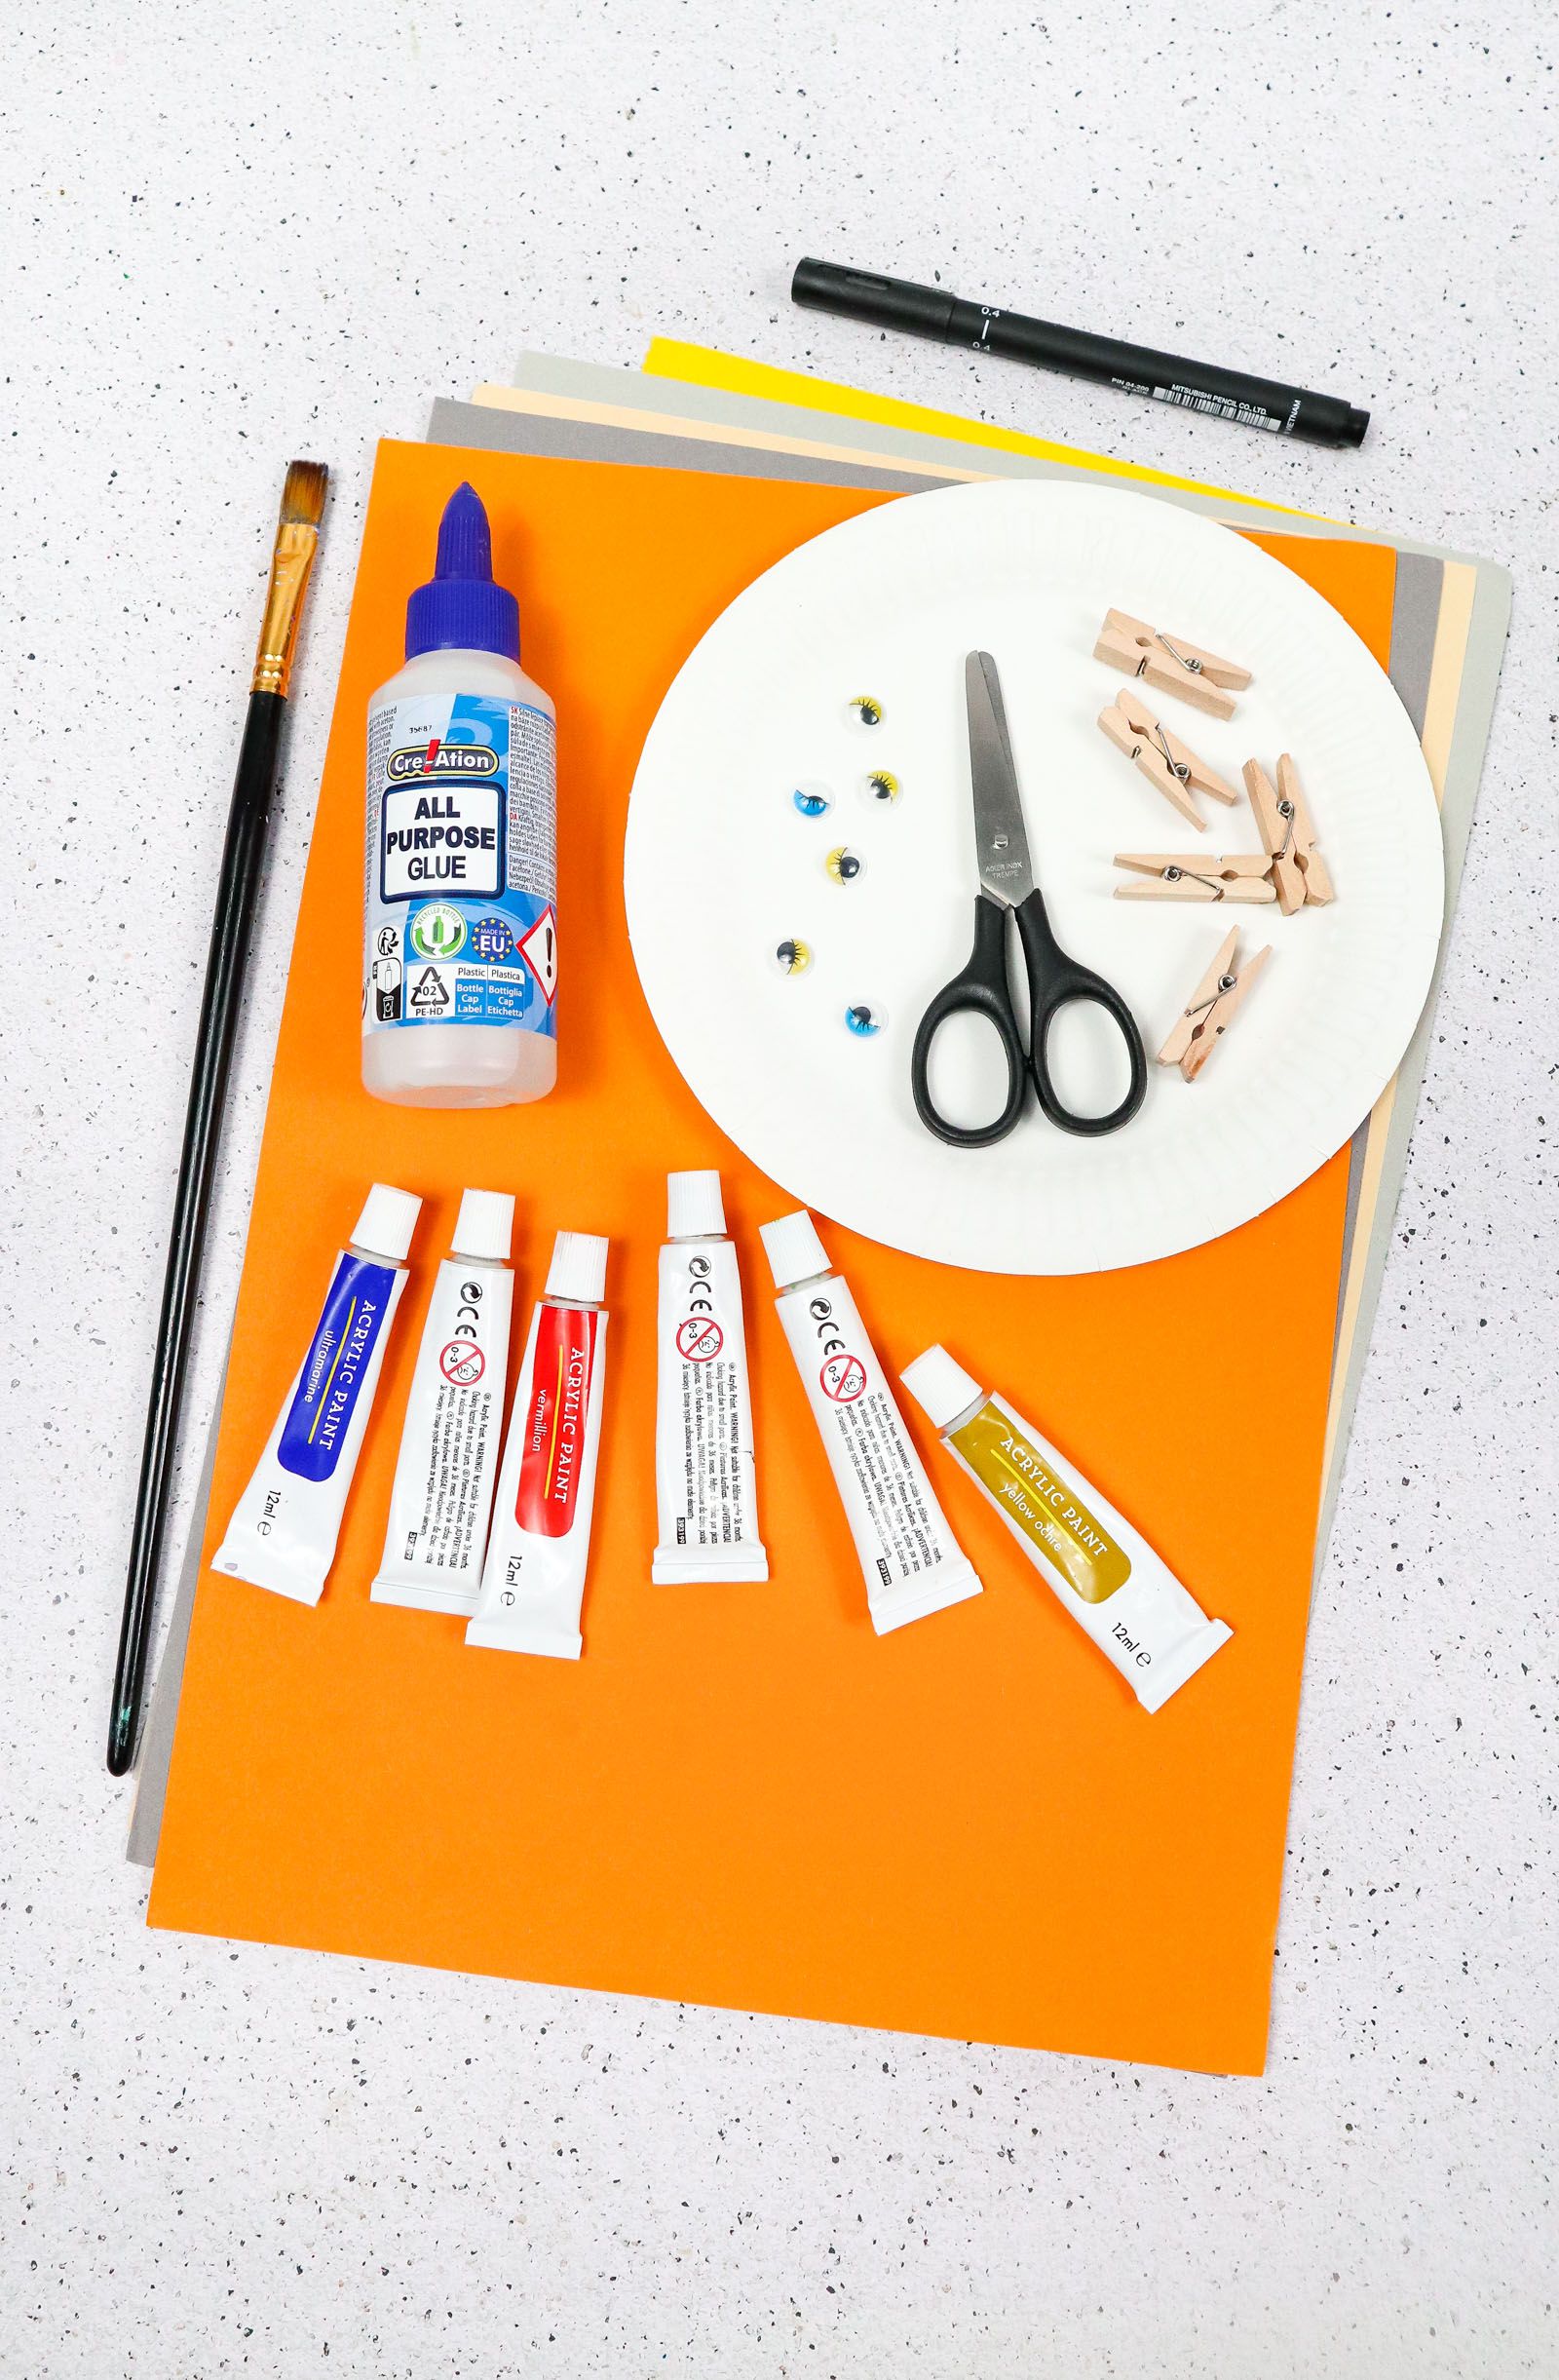
Supplies You’ll Need
- Paper plates
- Acrylic paint
- Paint brush
- Clothespins
- Colored paper sheets
- Wiggle eyes
- Scissors
- Black marker
- Craft glue
How to Make Paper Plate Dinosaur
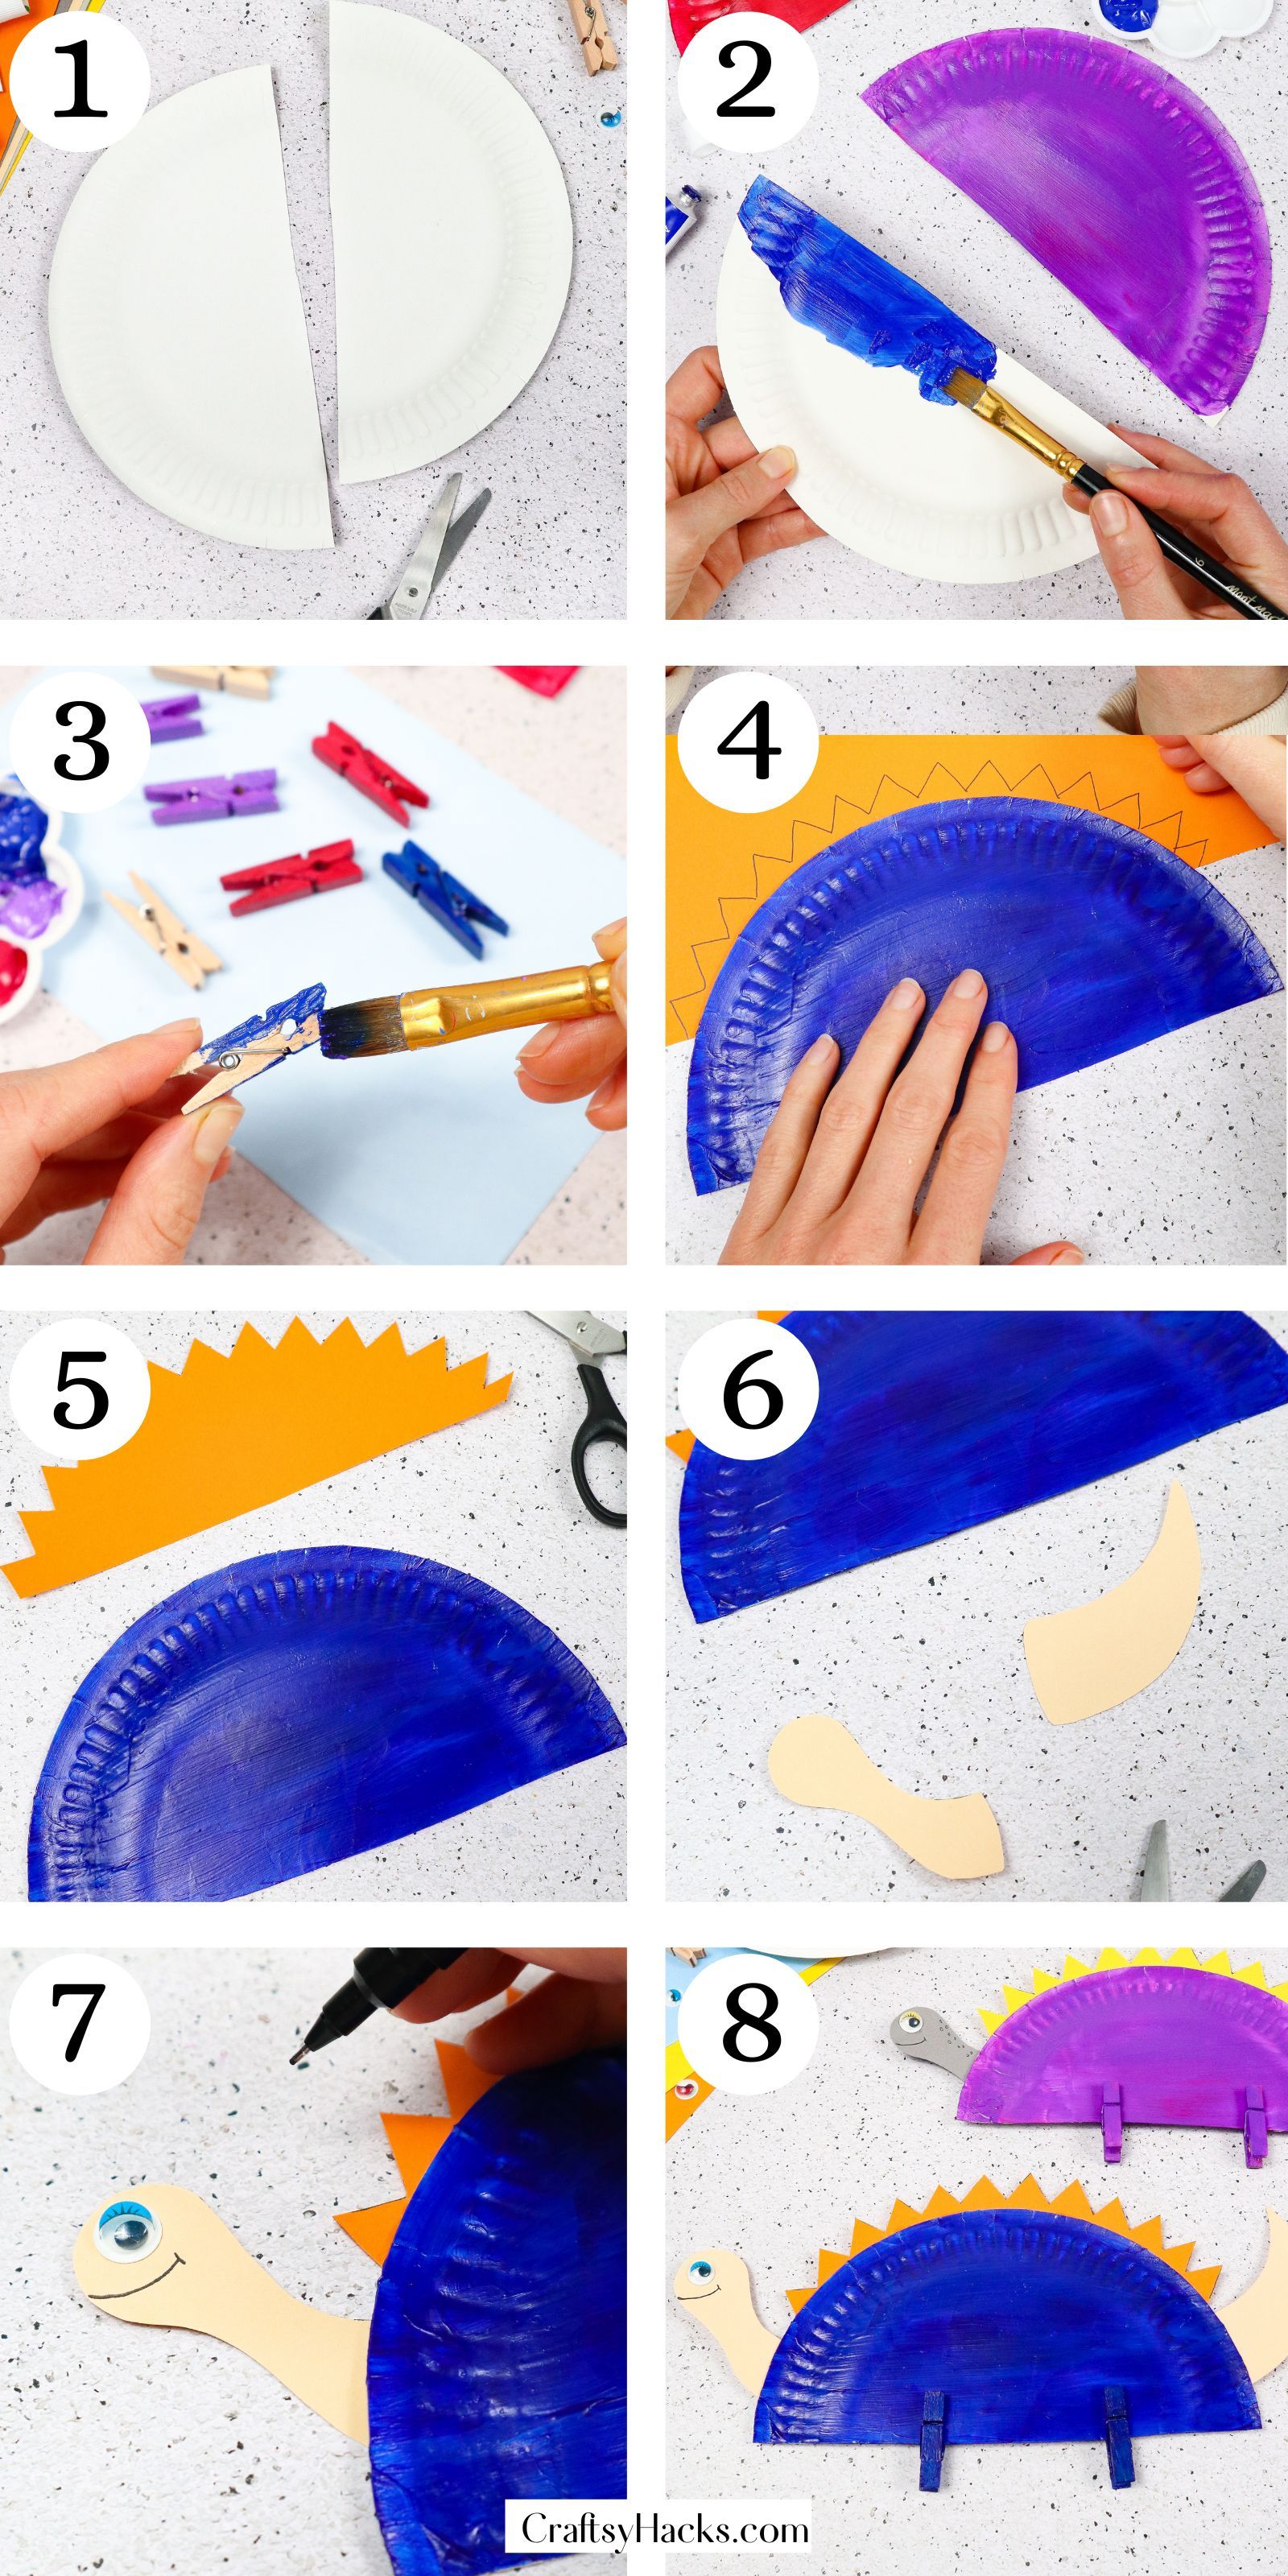
Step 1. To start,Grab a paper plate and a pair of scissors to cut the plate in half. One-half of the paper plate will be the base of your dinosaur–each plate makes two plate dinos.
Step 2. Decorate your dinosaur plate however you’d like; we used the acrylic paint listed above. Let the plate dry, and paint the other half–if you make more than one.
Feel free to add extra glitter, stickers, or anything else to the body once dried if you’re using paint.
Step 3. While the plates are drying, paint or decorate the clothespin legs. You can paint them the same color as each dinosaur or change it up with some accenting or bold colors.
Step 4. Once dry, take some construction paper and trace the arch of the plate. That line is the anchor to create the spikes evenly on a drawn line.
Start at one end of the arch and draw spikes all the way to the other end. Grab a pair of scissors.
Step 5. Cut out the spiked piece of paper and leave enough on the bottom to attach to the back of the paper plate well. Glue the paper onto the plate backing and let sit.
Step 6. Next, cut out the tail and head of the dino and attach both in their respective places on the backside of the plate. Both the tail and head can be a unique size and shape to each crafter’s wants and let sit.
Step 7. While the plate is sitting, grab a googly eye and pen to create the dinosaur’s face. Draw the mouth and extra dino details like tail or head scales or scars, then attach the eye.
The facial and body features are customizable to any crafter’s desires, which is truly one of the best things about this quick craft.
Step 8. Finally, once the plate and clothespins painted areas are properly dry, attach the legs of the dinosaur and admire your finished project.
The best part is that you can do this craft with any sized paper plate!
There you have it, a wonderful and cute crafted paper plate dinosaur. A good tip to consider is the type and amount of glue you use while crafting.
Make sure to read or be familiar with your craft glue recommendations. No glues are the same when it comes to dry time.
How Long Will This Dinosaur Take to Make?
This craft is simple, and the most time-consuming element is letting the paint and glue have time to sit! Below is a straightforward look at the cute and fun paper plate dino craft.
Watch How to Make
More Paper Crafts
DIY Picture Frames: Paper Picture Frames

Paper Plate Dinosaur
Equipment
- Paint brush
- Scissors
- Black marker
Materials
- Paper plates
- Acrylic paint
- Clothespins
- Colored paper sheets
- Wiggle eyes
- Craft glue
Instructions
- Cut a paper plate in half.
- Prep your space and plate halves for painting.
- Paint one or both sides of the split plate.
- Paint clothespins in corresponding or not colors.
- Use a piece of construction paper to trace the arch to draw spikes on.
- Trace and cut out the tail and head of the dinosaur or dinosaurs.
- Detail your pieces of construction paper appropriately and glue them all in the correct spots on the back.
- Add a googly eye to the face piece of paper and let sit.
- Attach clothespins on once both clips and dino are completely dry.


