Coffee Filter Butterflies
This post may contain affiliate links: full affiliate disclosure.
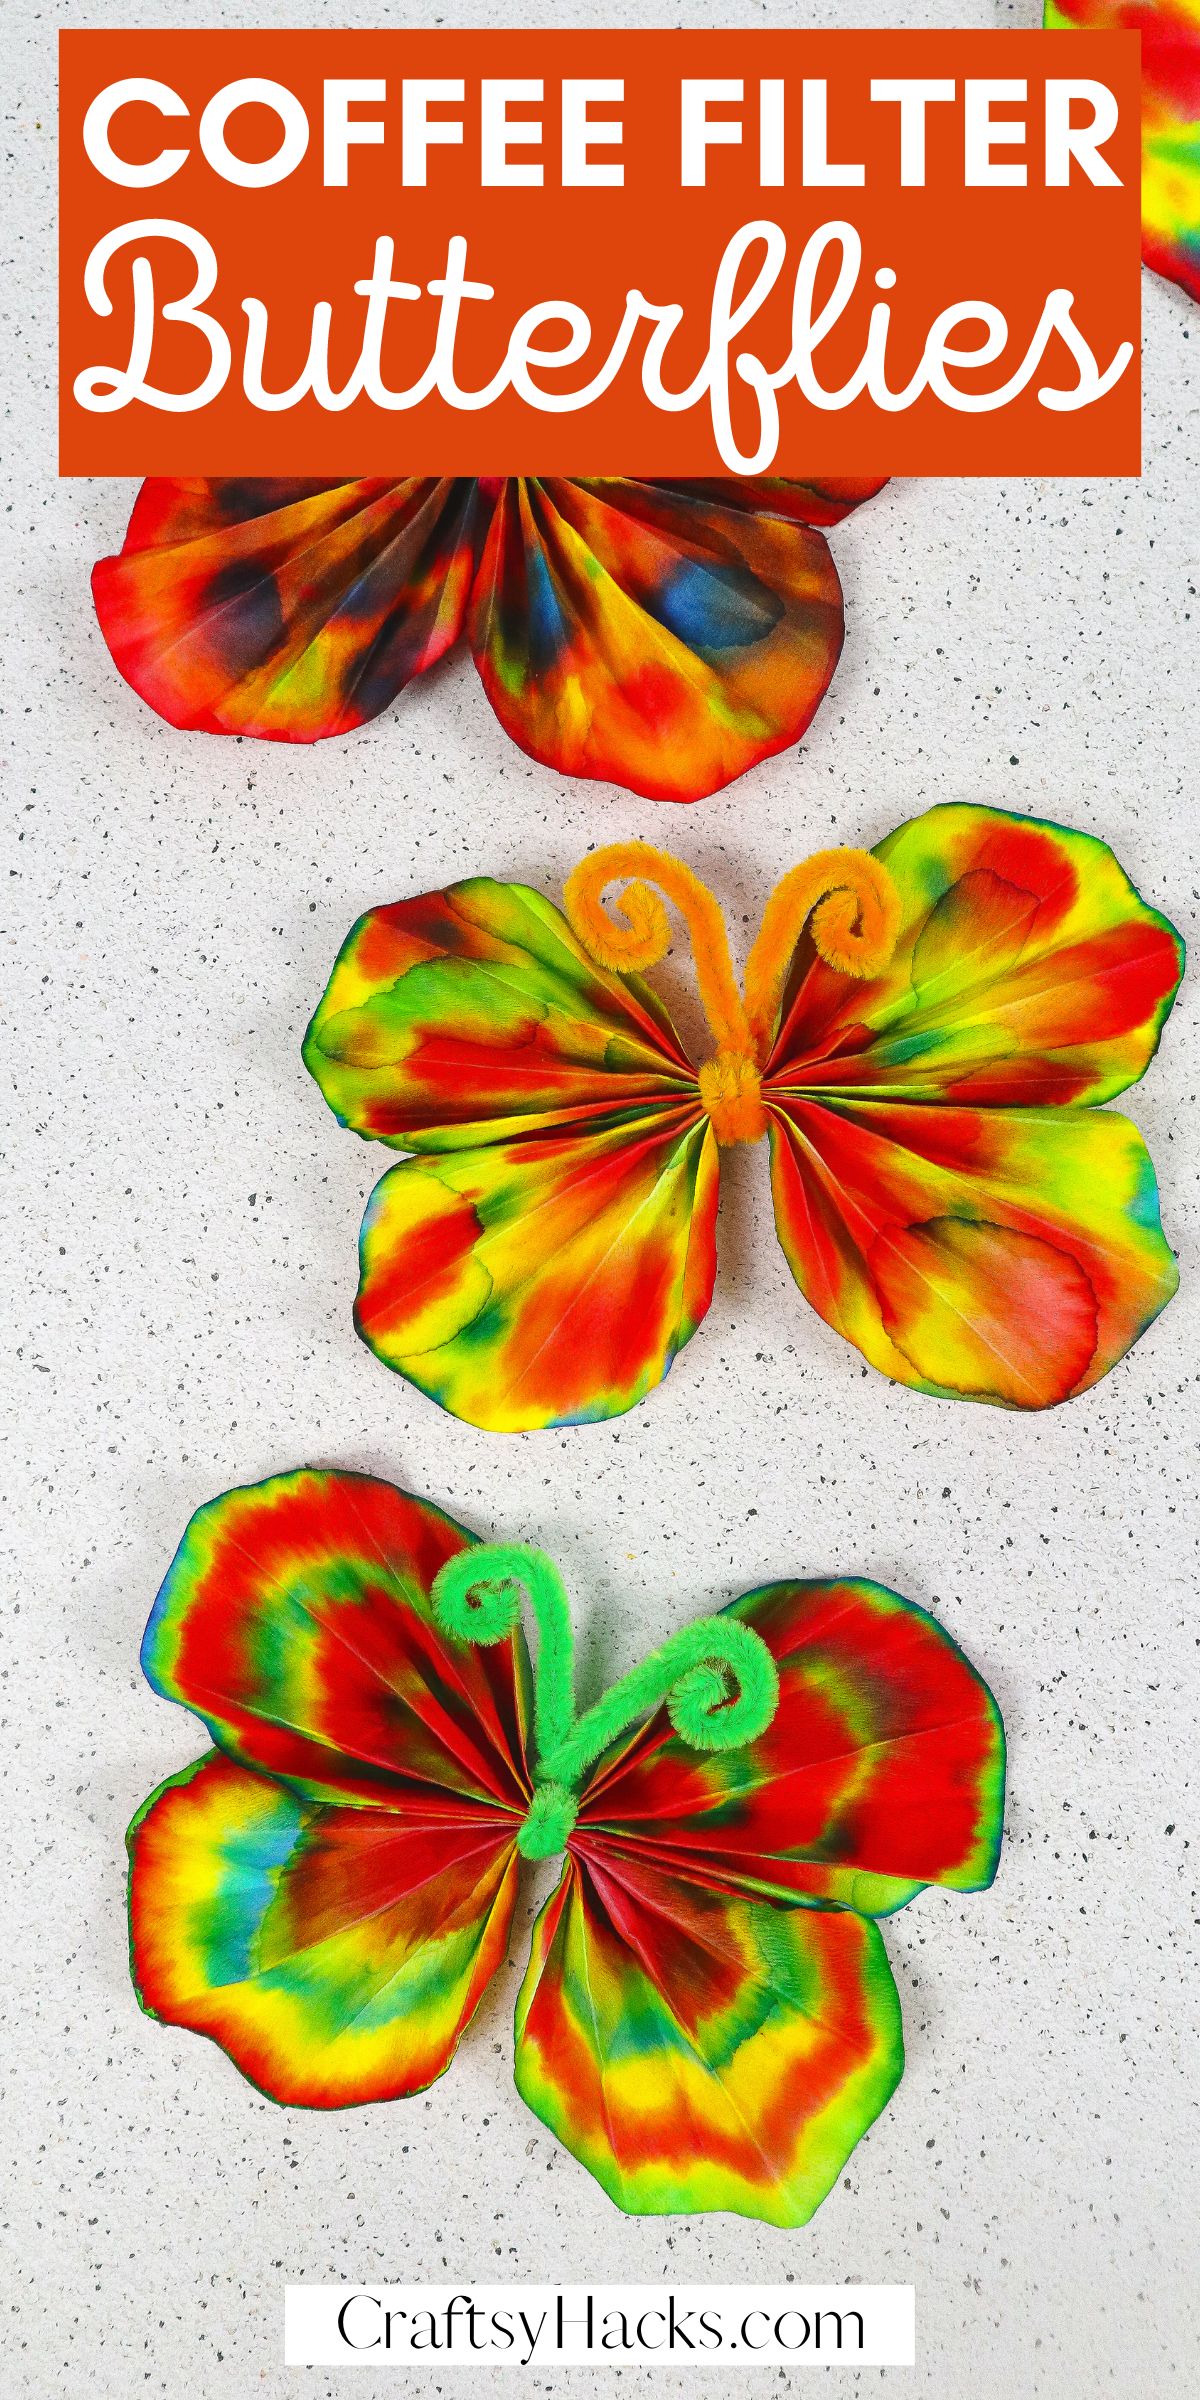
Are you looking for some darling and colorful crafts for the new year? These tie-dye coffee filter butterflies are excellent options for doing just that!
Perfect for a fun family day or a sweet, easy addition to a class project–these butterflies are adaptable for any occasion.

One of the best parts of this craft is that each butterfly is as unique as the last. The trick here is the medium (markers), the amount of water you use, and the drying time.
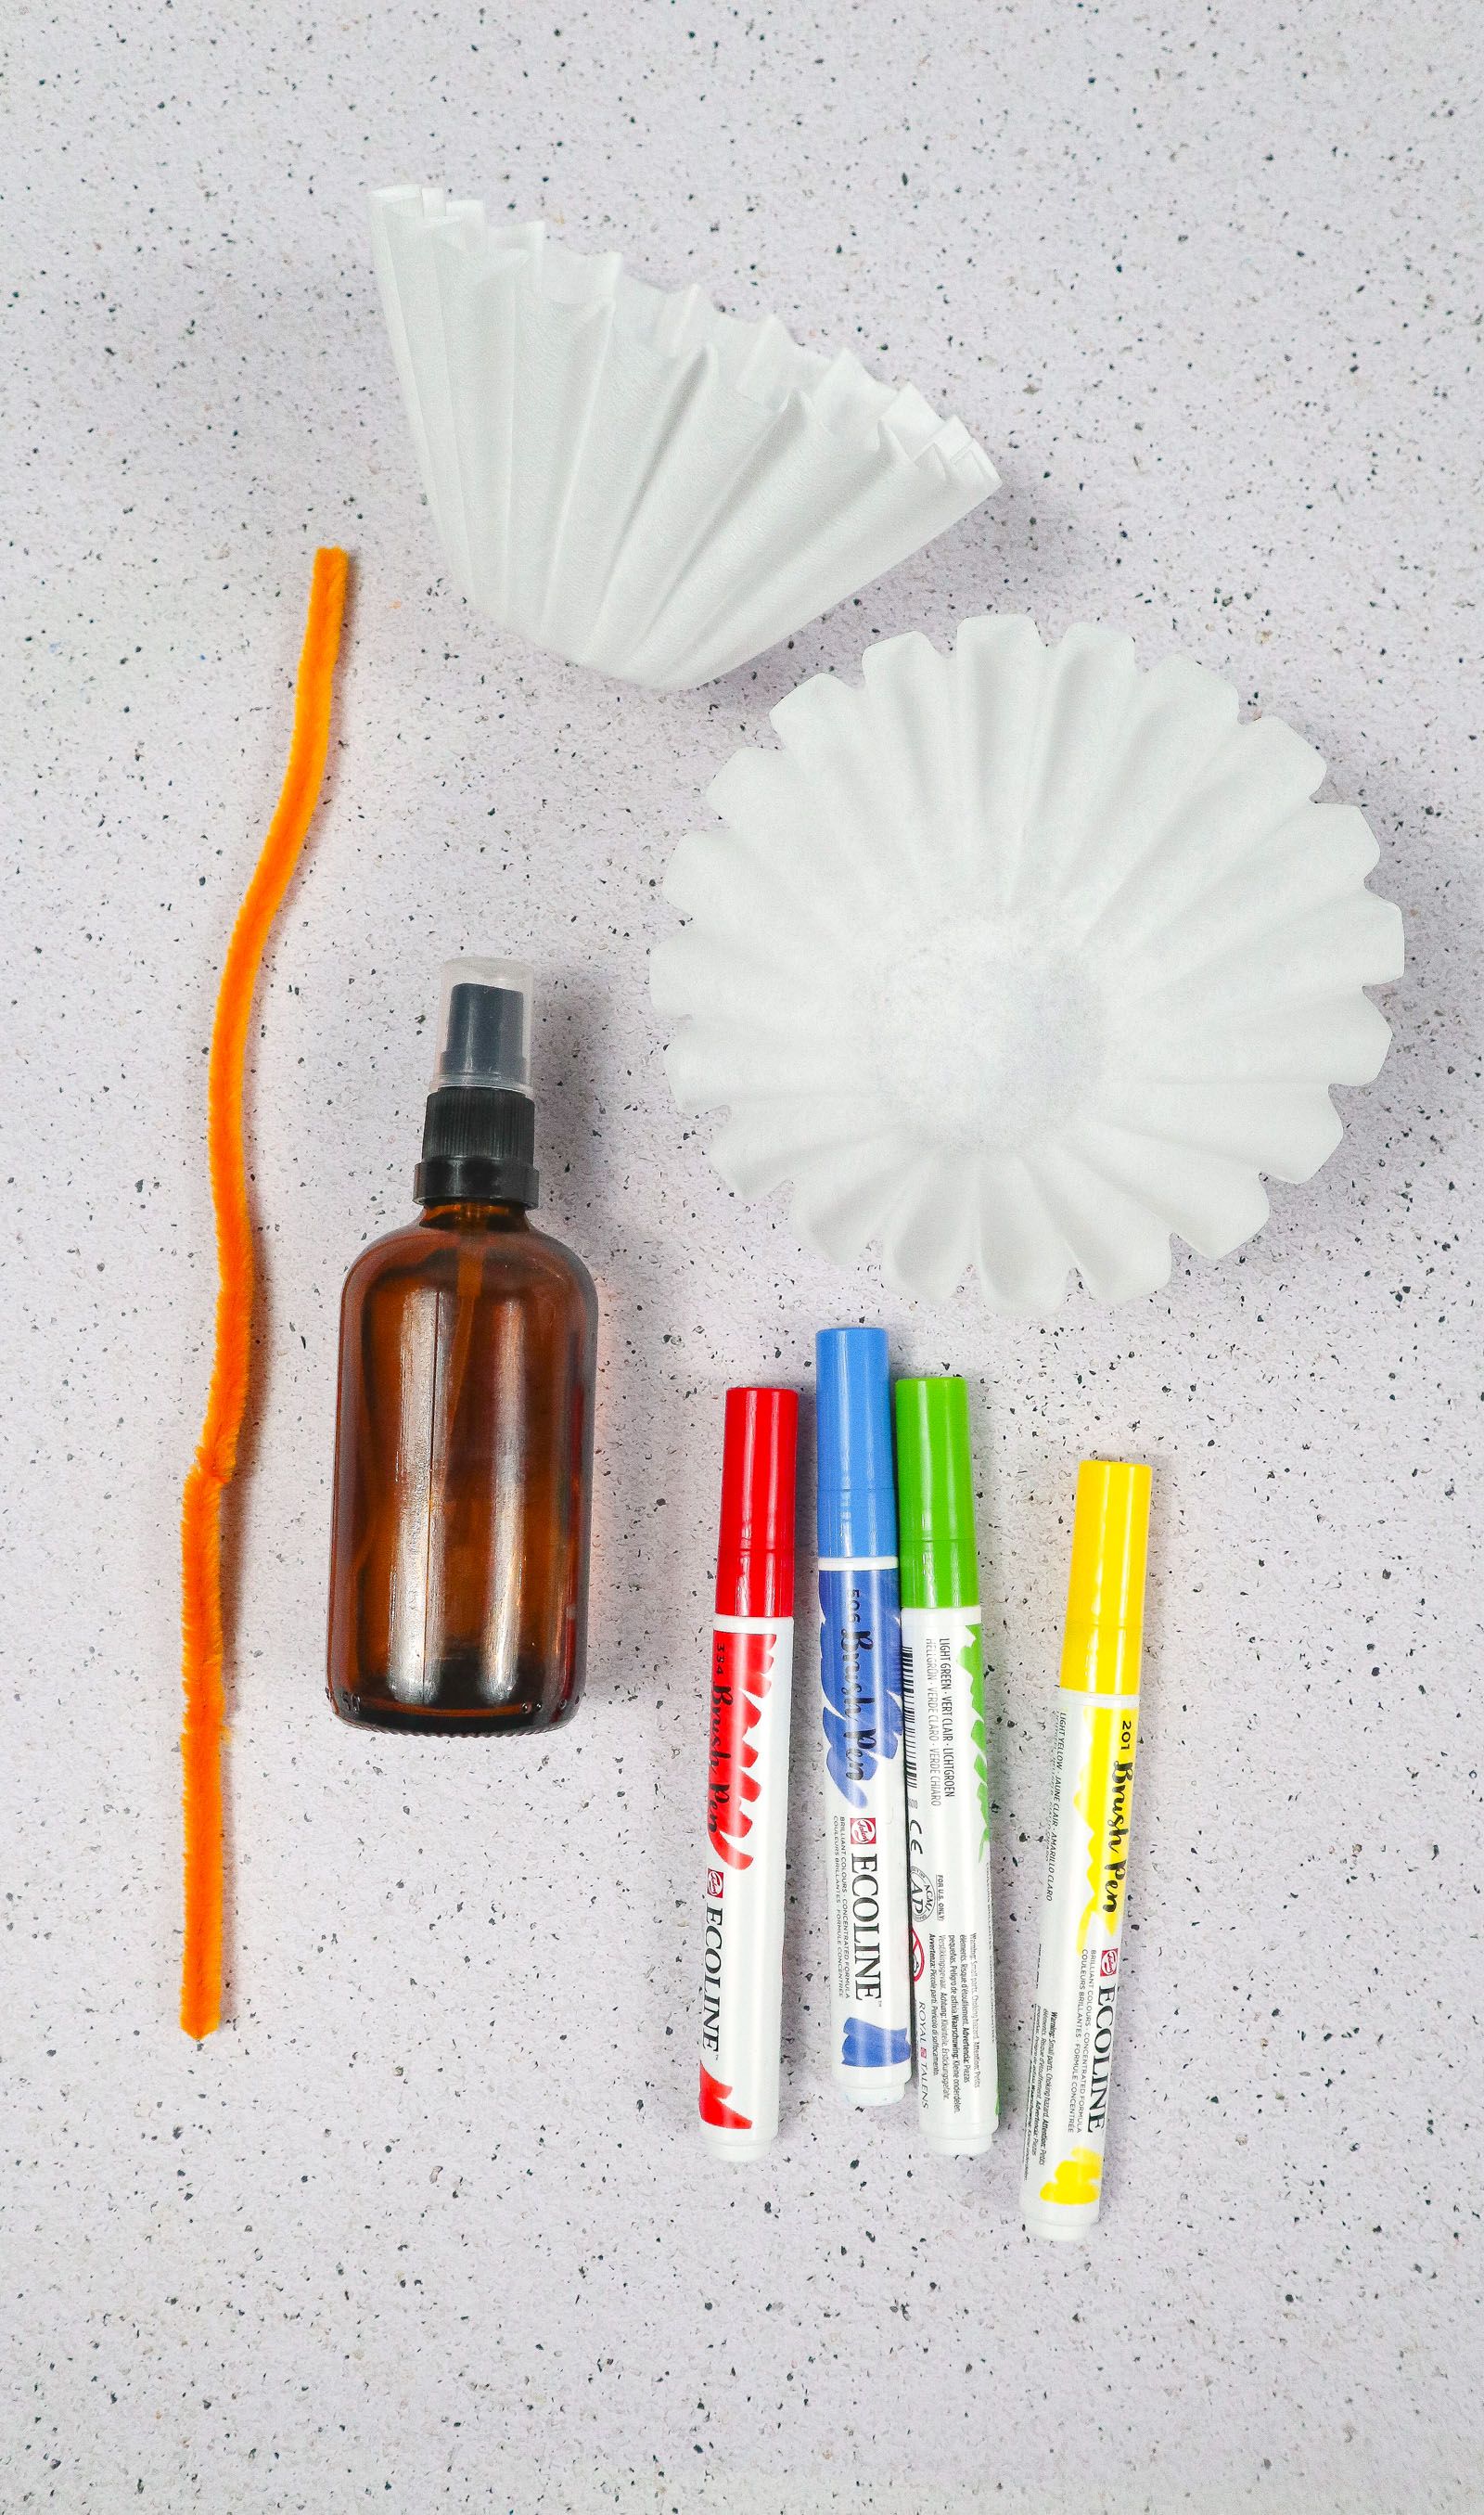
The supplies are wonderfully simple and use household items! Below are the full details and some of my recommendations.
Supplies You’ll Need
Washable markers (use saturated, bright colors)
A spray bottle with water (or a large paintbrush, pipette or a glass dropper)
1x pipe cleaner (10′ long)
How to Make Coffee Filter Butterflies
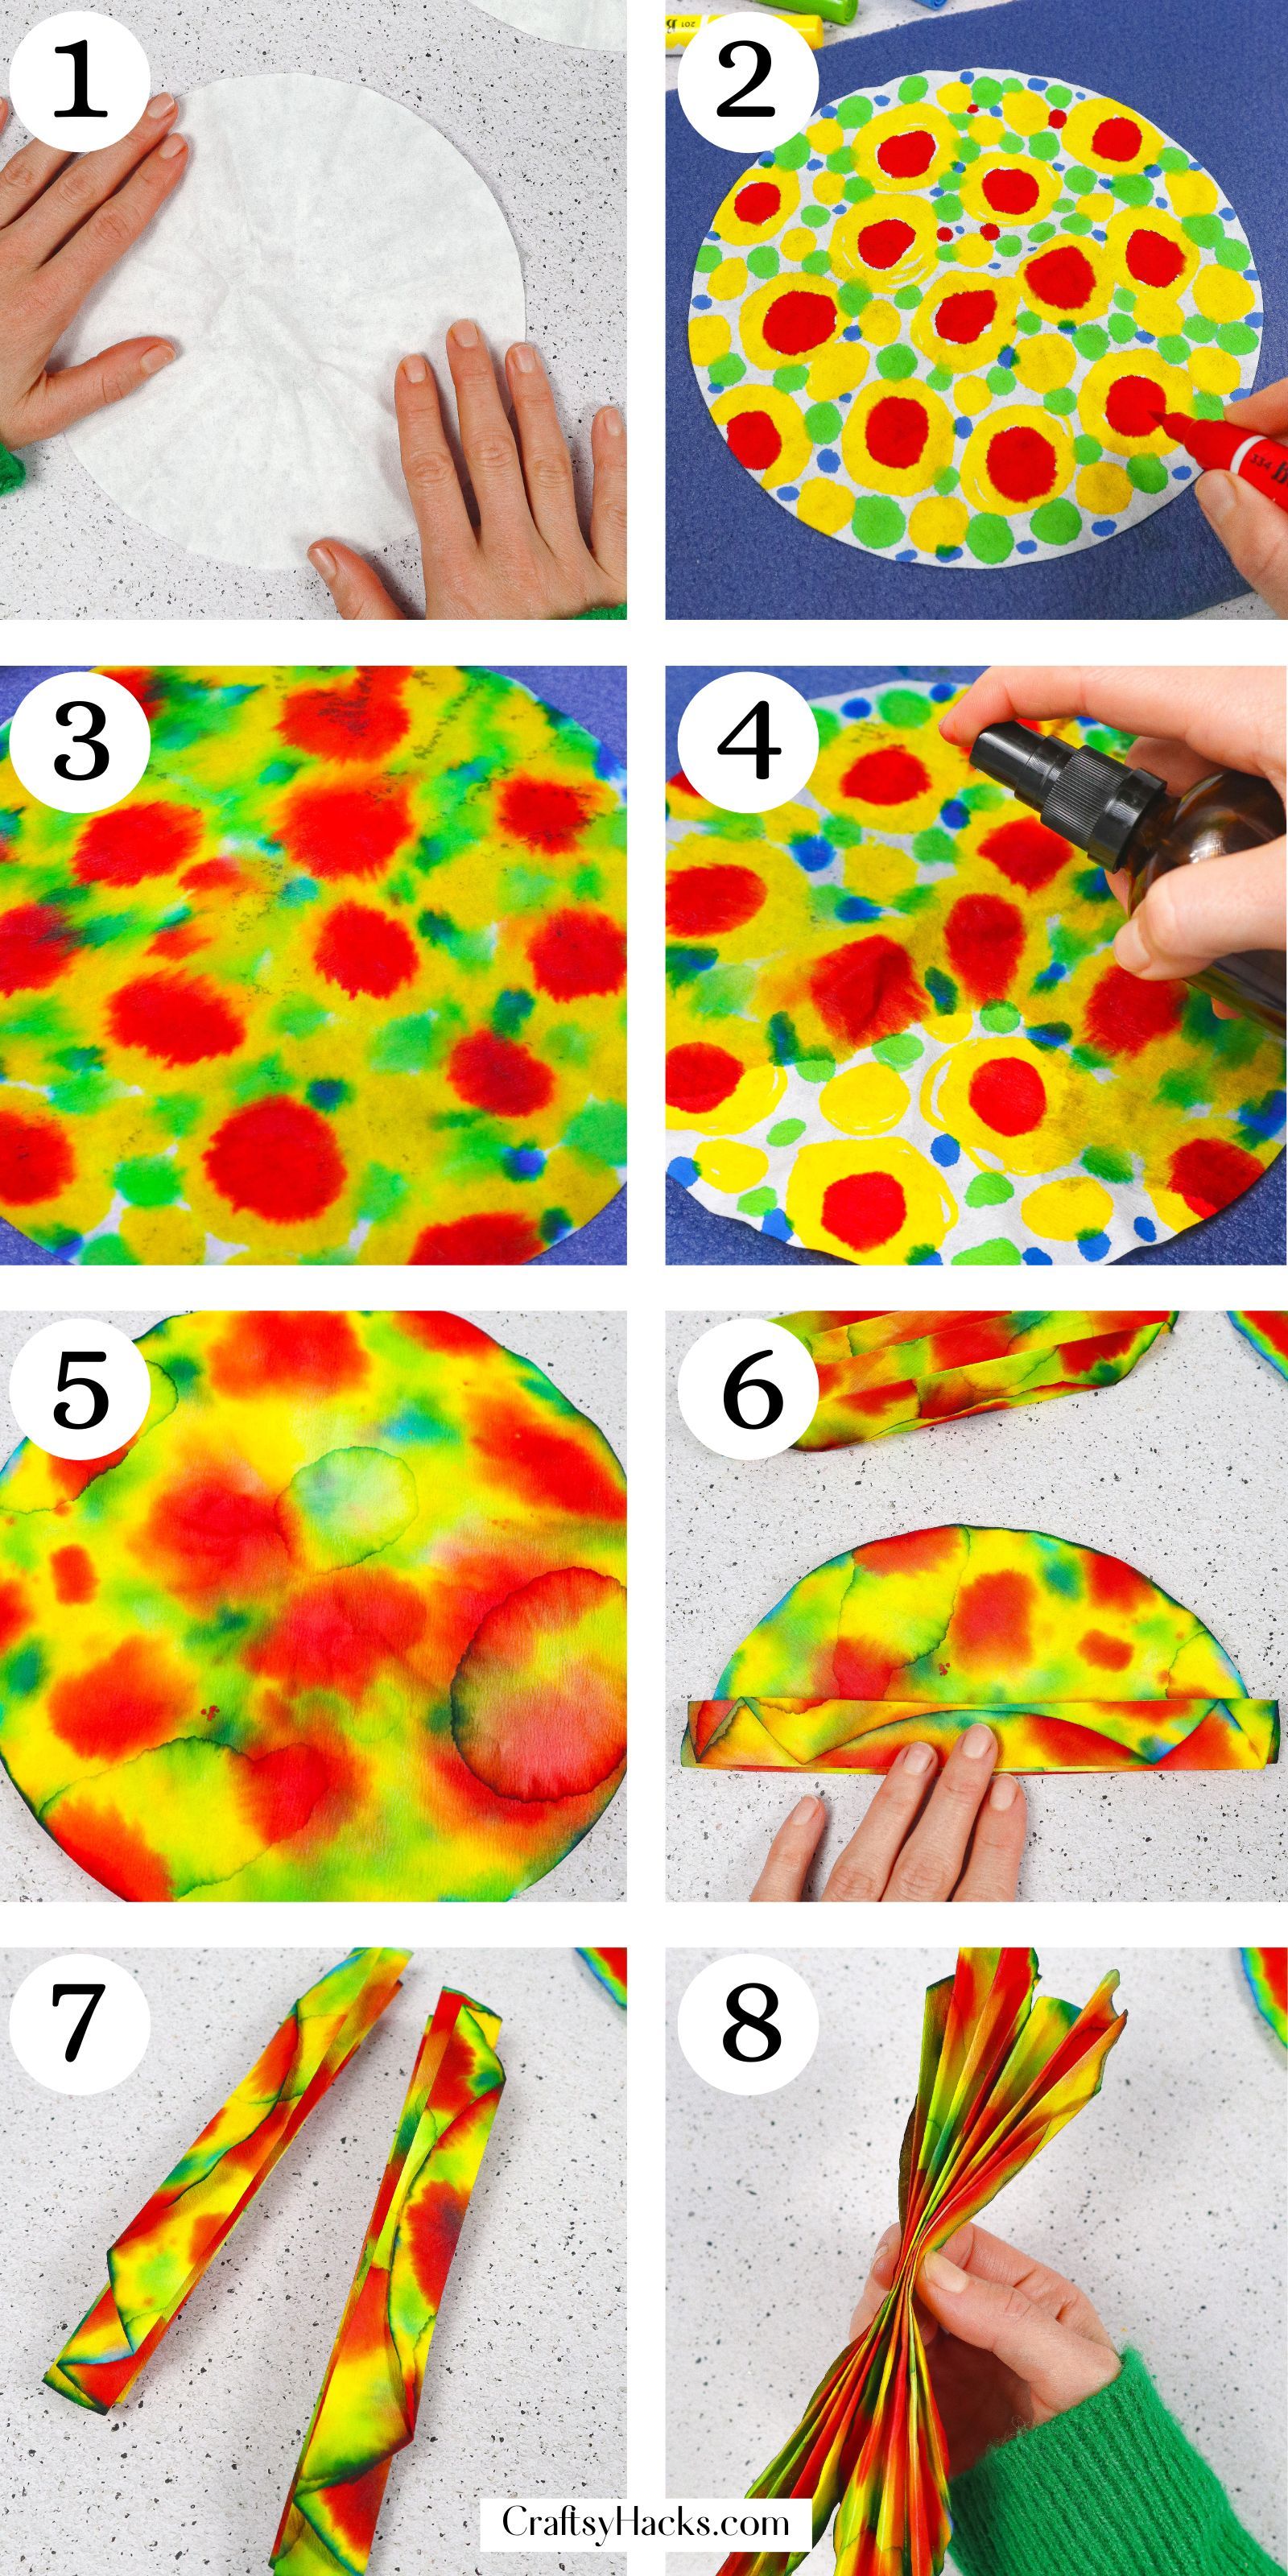
Step 1. Prepare a space to start this sweet butterfly craft. Get your filter or filters in front of you and flatten them.
Pro-tip–If you’d like to make multiples of the same butterfly, stack the filters together. If you stack them, the marker will bleed through onto any other coffee paper it’s touching.
Step 2. Once you have your materials together, it’s time to start the body of your butterfly. Color or design the filter or filters in any fashion you’d like!
It’s important to remember that this craft literally can tie-dye anything, so it’s best to have a protective mat (some items stain more than others).
Step 3. After you’re done creating the pattern or drawing on your winged beauty, it’s time to add water!
Different methods of water application are welcome, depending on what you’d like the intended result to be.
In this post, a spray bottle has been used to spritz the coffee filters. Try playing around with different applications, flicking water, eyedroppers, and even a lightly wet sponge could be fun alternatives.
Step 4. Carefully pick up and separate your filters and bring them to a safe place to sit. Set all wet filters in a safe place to dry.
Step 5. Check up on the coffee filters to see if they are dry, or let them sit overnight for complete insurance of everyone’s being dry.
Step 6. Once completely dry, accordion fold your butterflies by ⅓”. Continue the process across the entire length.
Step 7. Repeat the process with as many butterflies as your home or classroom has made. Make sure the fold sits well enough that it doesn’t completely unfold.
Step 8. Each butterfly then gets picked up and pinched in the middle to bend it in half. This process will help create the wings.
Do it gently since it is fragile, but enough to make the crease.
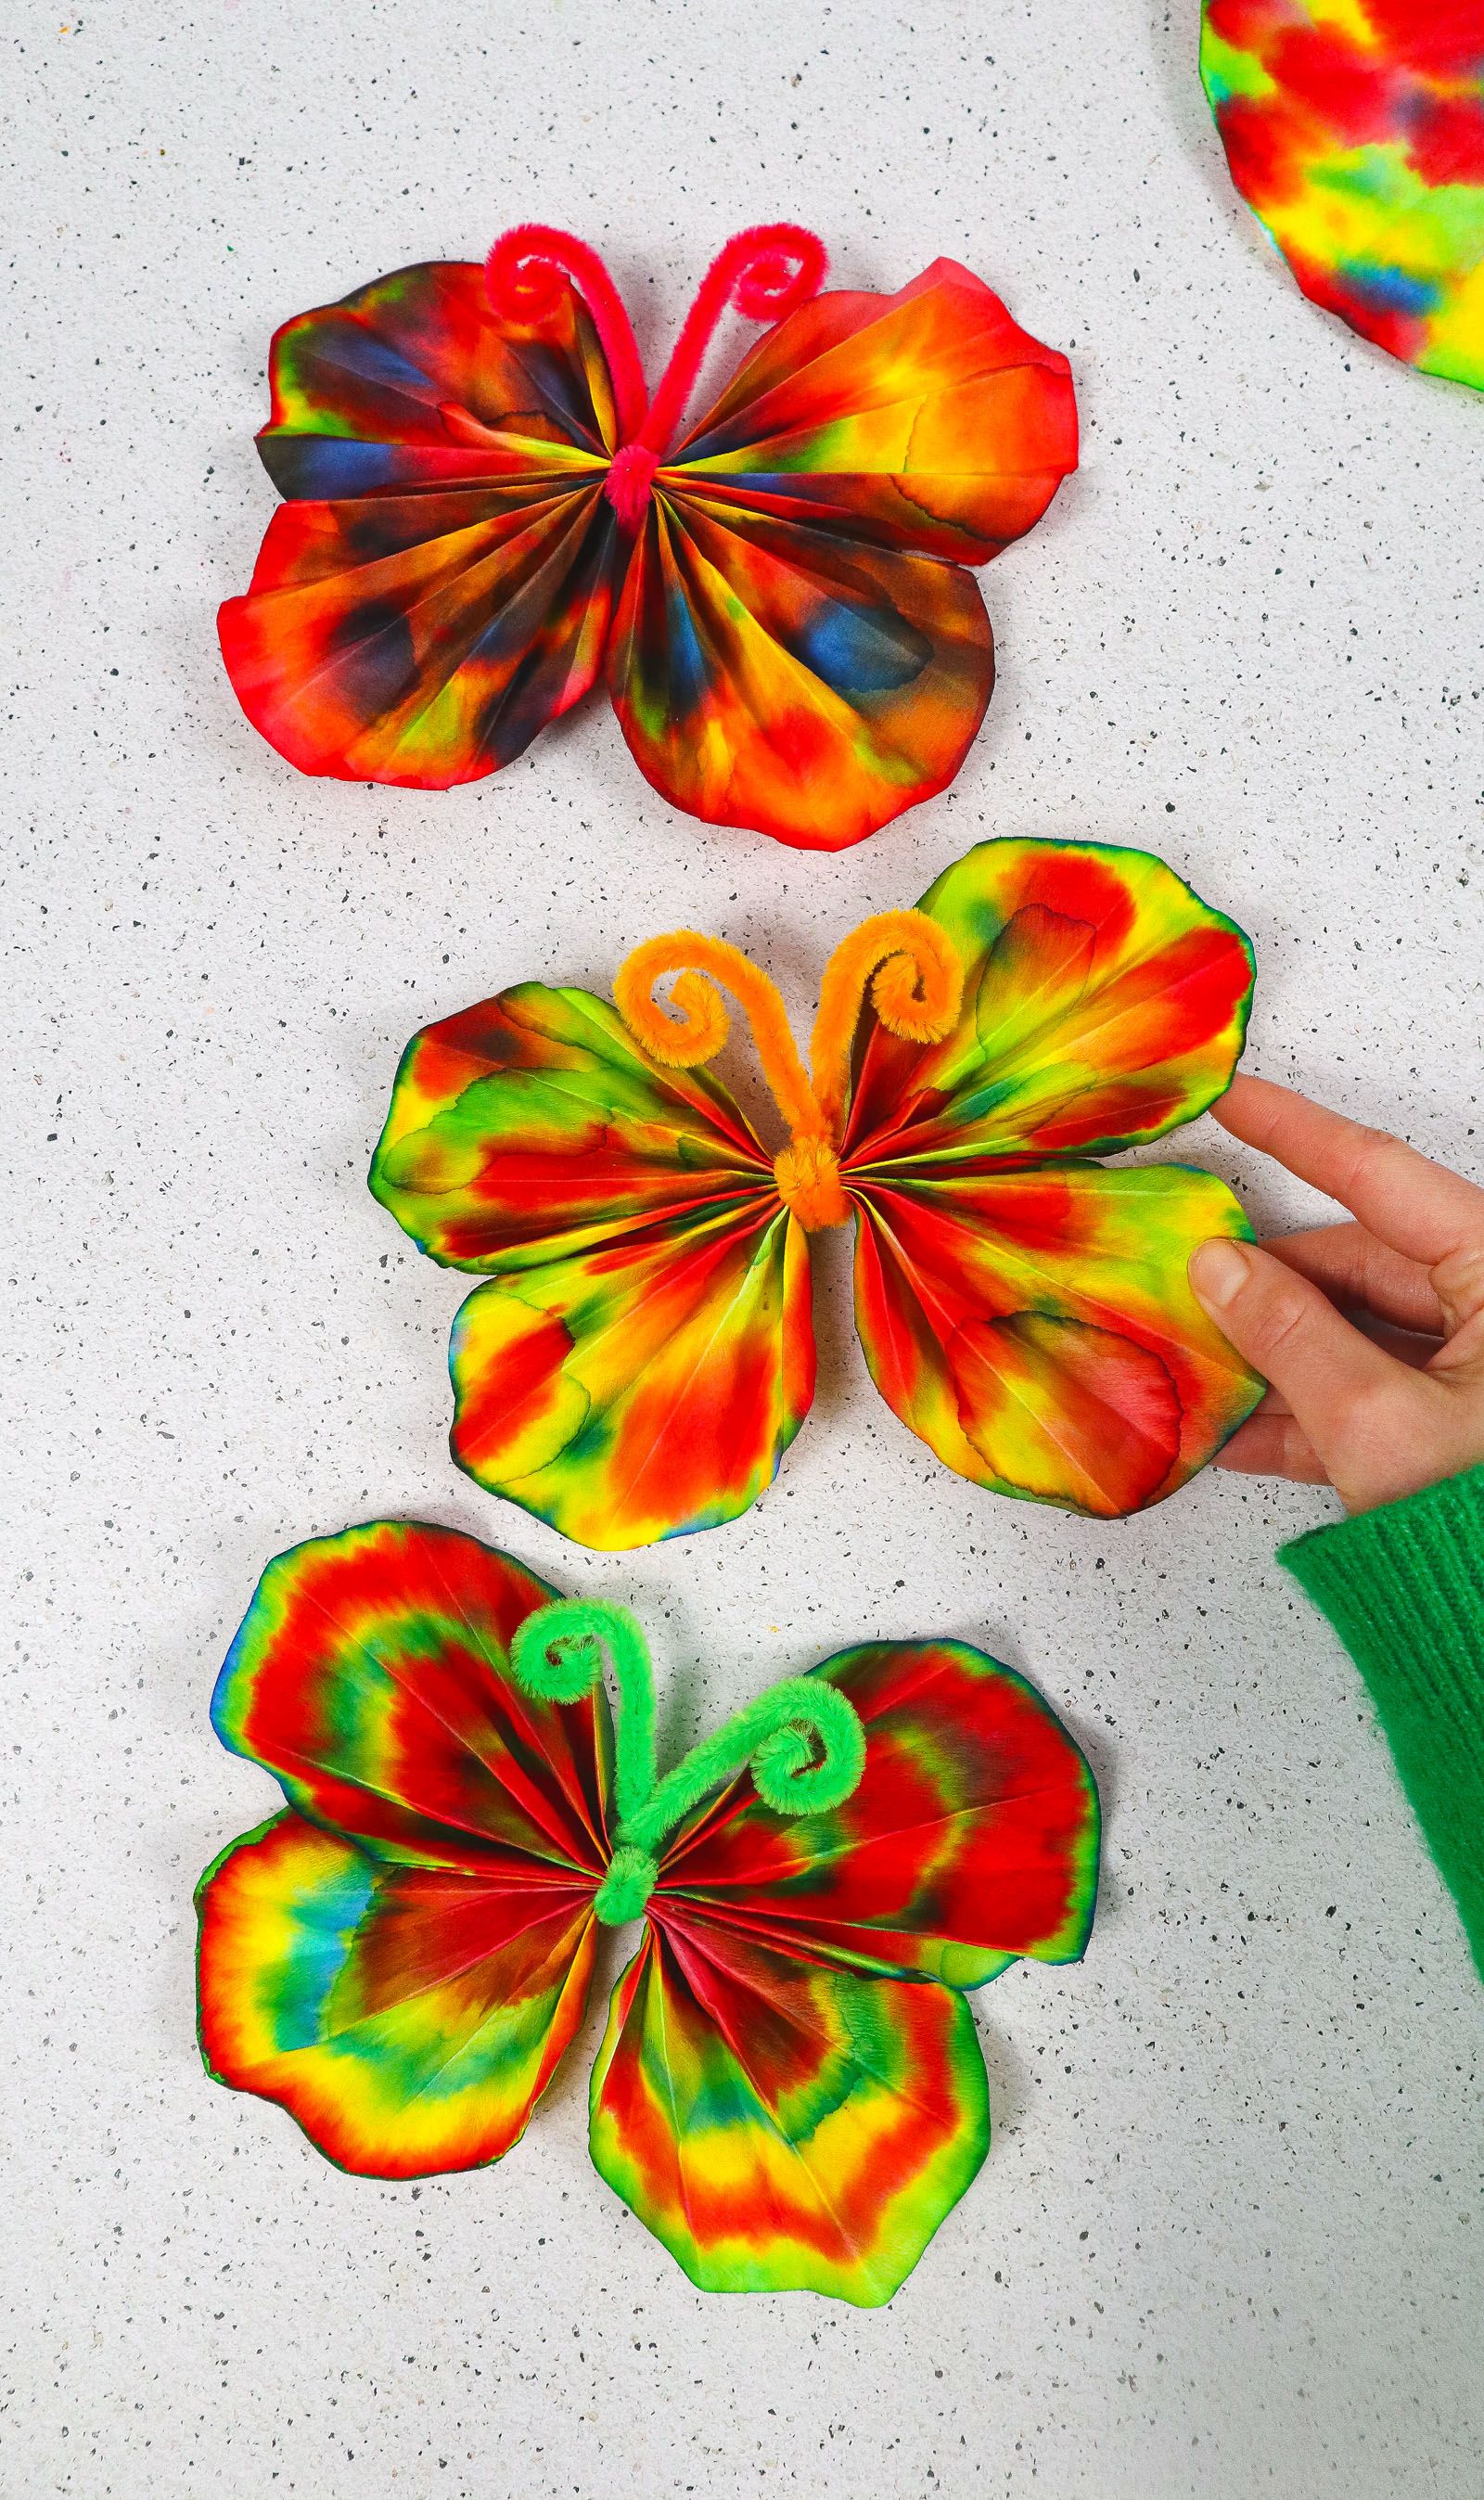
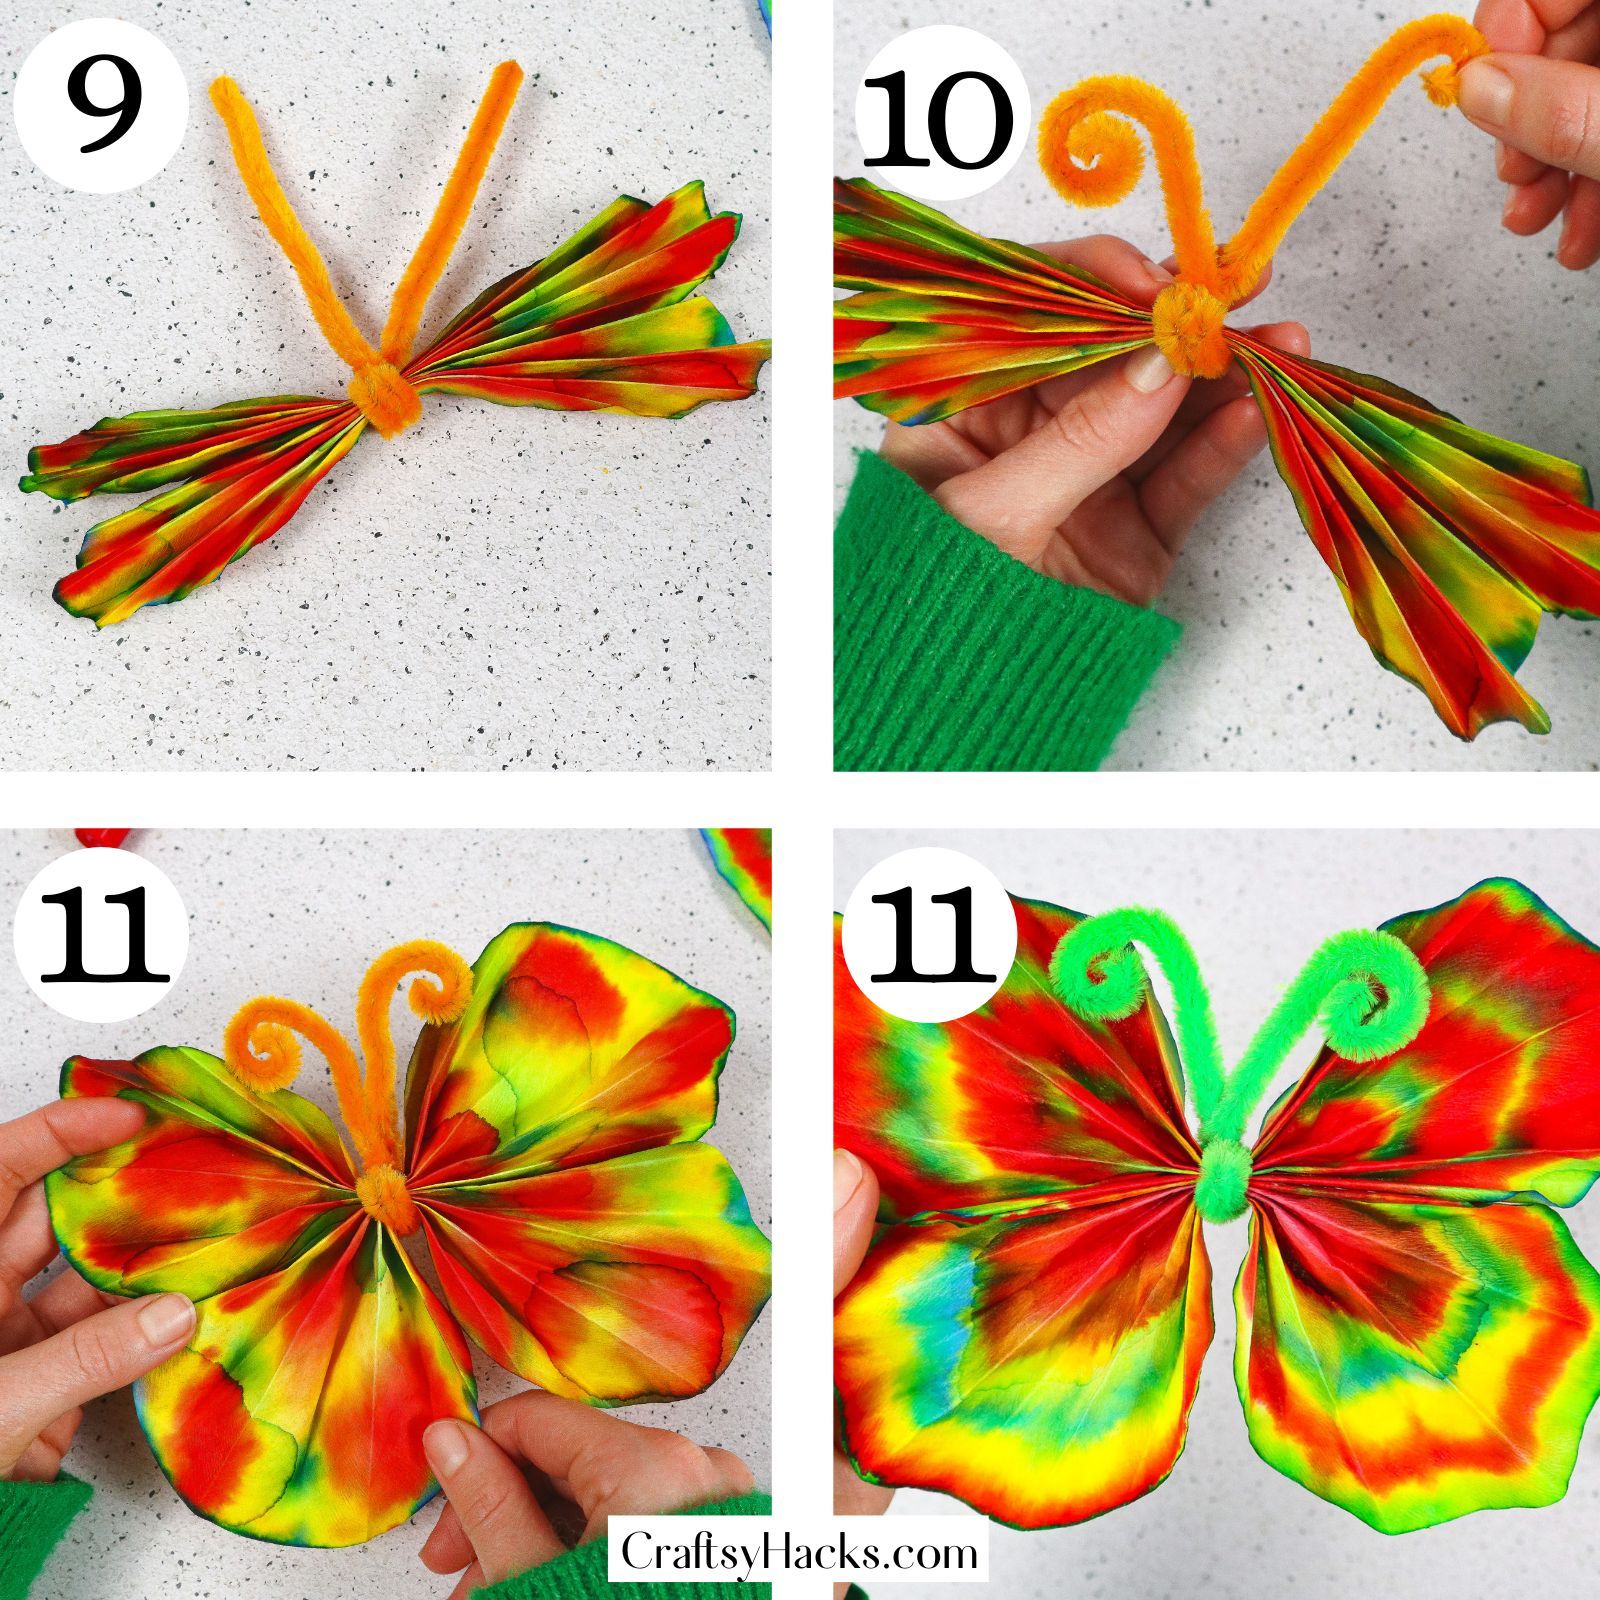
Step 9. Grab your preferred colored pipe cleaner and secure it around the middle of the butterfly. Twist it around and have either end meet so it can become the butterfly’s antenna.
Step 10. Curl the antennas to your liking for your butterfly! The more interesting, the better, in my opinion.
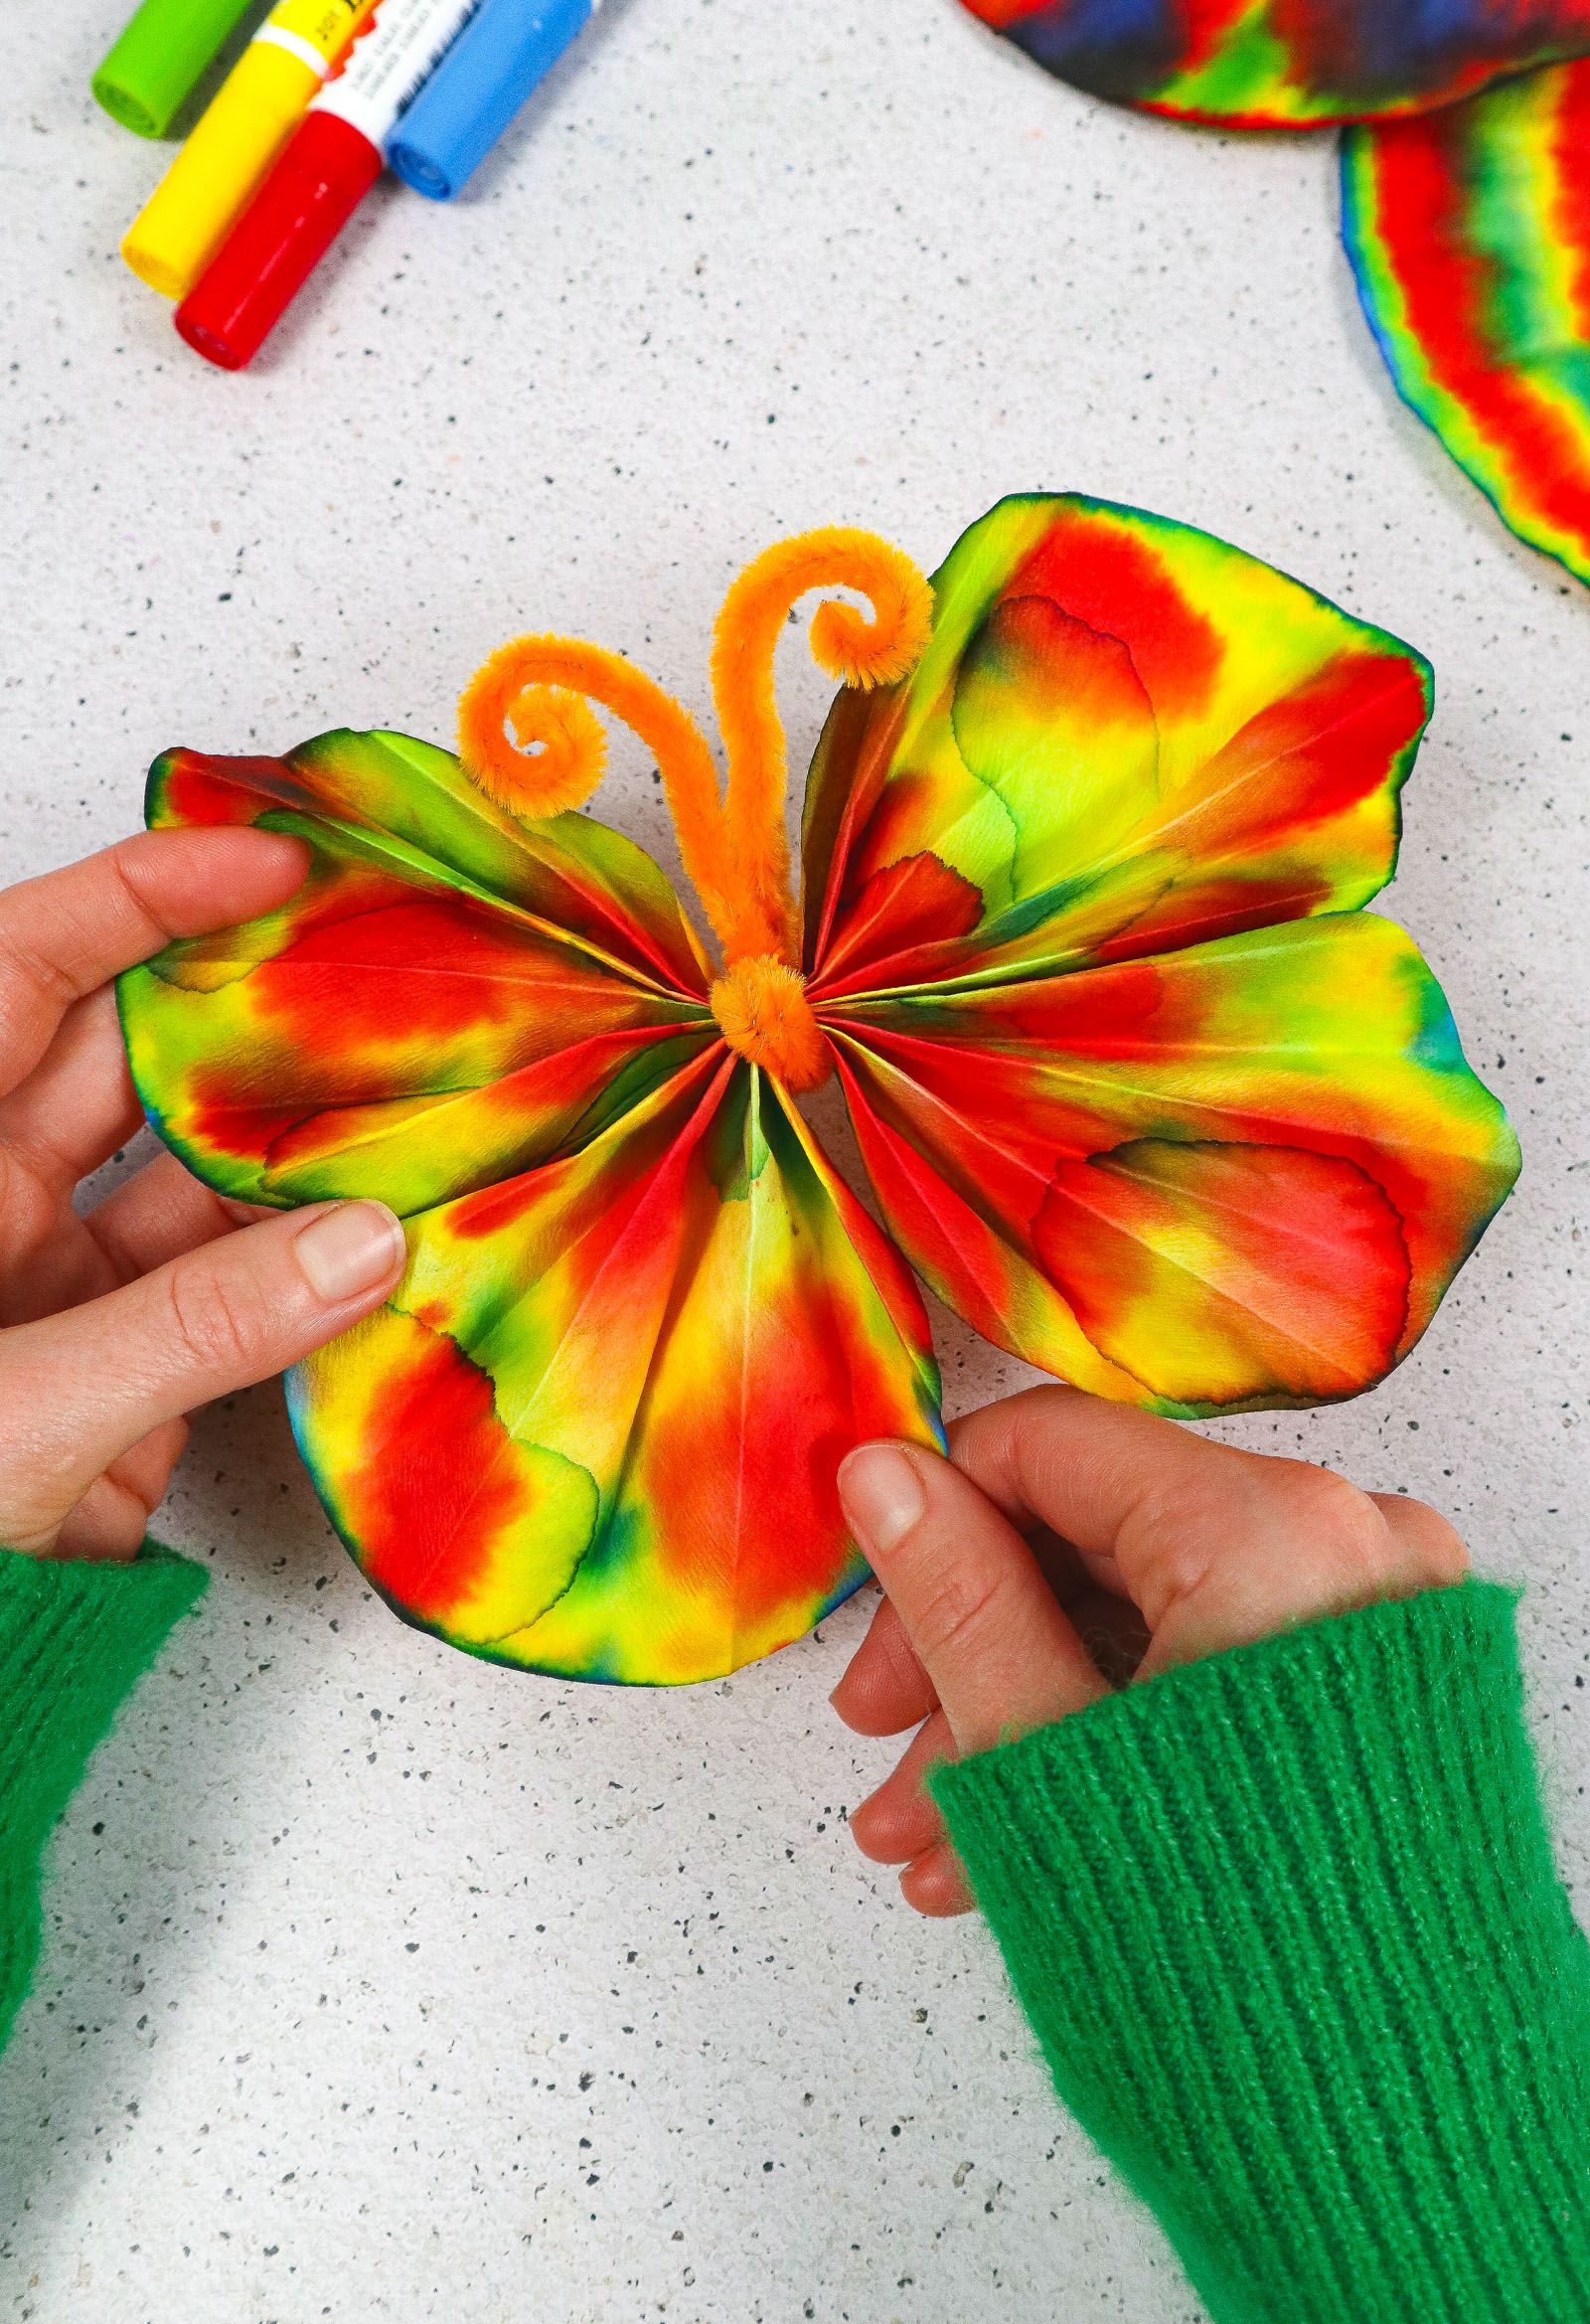
Step 11. Finally, re-adjust or adjust the wings out or as you’d like! With that, you have made your first coffee filter butterfly.
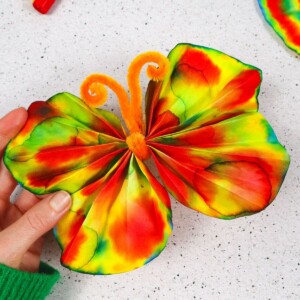
There you have it: an easy and fun coffee filter butterfly! We love these at home as a standalone project or adding them into a bigger project.
What Else Can You Make from Coffee Filters?
The options can be endless since coffee filters are a close enough equivalent to paper! I have seen pretty flowers, silly monsters, watermelon slices, and everything in between.
Whether the filters are the star of the craft or add a fun textural element, you can’t deny that the classic household item is an all-star art tool.
We always like to keep them on hand whenever the mood strikes for a butterfly or any other craft.
Watch How to Make
More Fun Craft Ideas:
Ladybug Craft Out of Toilet Paper Roll
Coffee Filter Butterflies
Equipment
- Washable markers (use saturated, bright colors)
- A spray bottle with water (or a large paintbrush, pipette or a glass dropper)
Materials
- 2 x coffee filters
- 1 x pipe cleaner 10′ long
Instructions
- Prepare space and flatten coffee filters.
- Color or design your coffee filters as you want with markers.
- Wet your coffee filters appropriately in a safe space with a mat.
- Carefully take your wet filters to a safe space to dry.
- Let the coffee filters sit for a couple of hours or overnight.
- Once dry, accordion fold your filters by ⅓” strips–the whole thing.
- Repeat step six for each butterfly.
- Pinch the middle of the butterfly and fold it in half. Repeat for all butterflies.
- Add a pipe clean and secure it in the fold to create its antenna.
- Curl or bend the antenna to fit your butterfly wants.
- Fluff the wings of the butterfly to result in the end product.


