DIY Rock Photo Holders
This post may contain affiliate links: full affiliate disclosure.
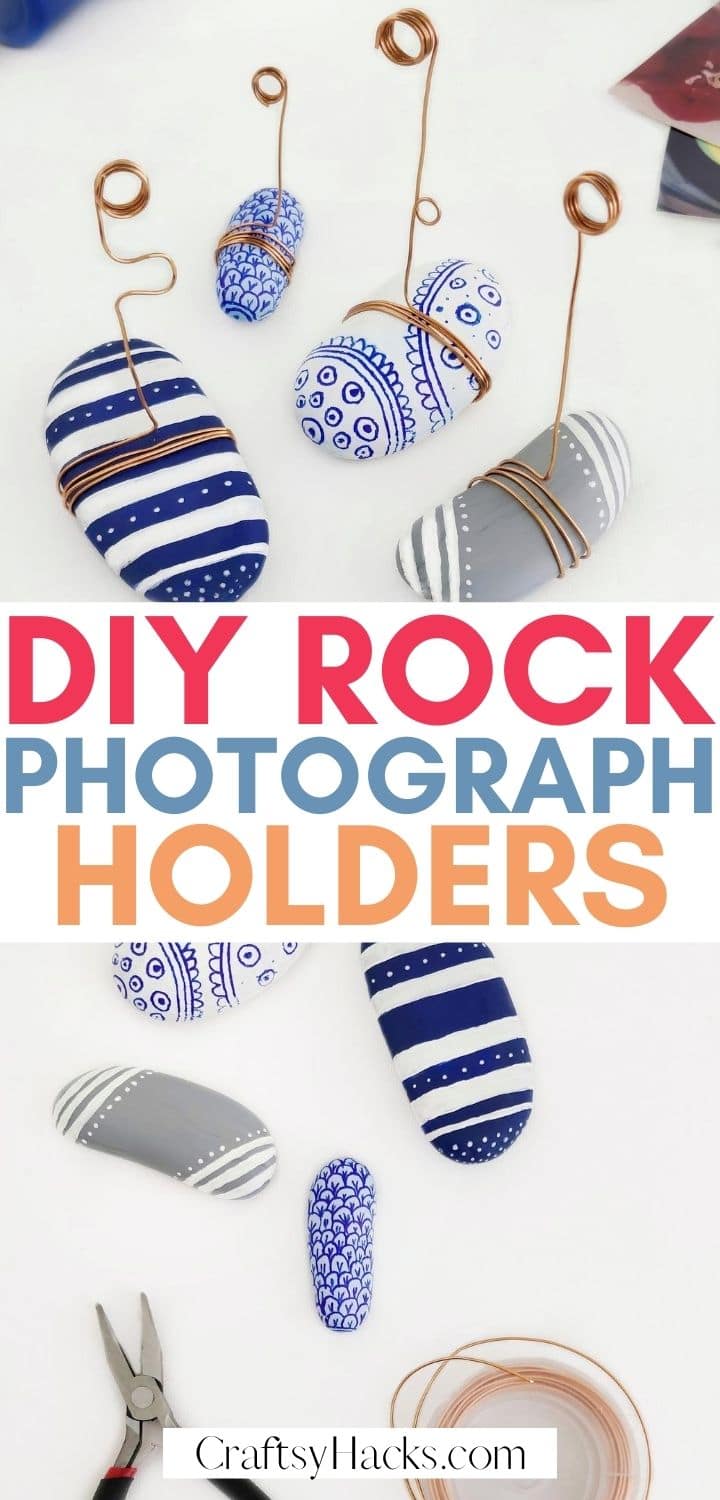
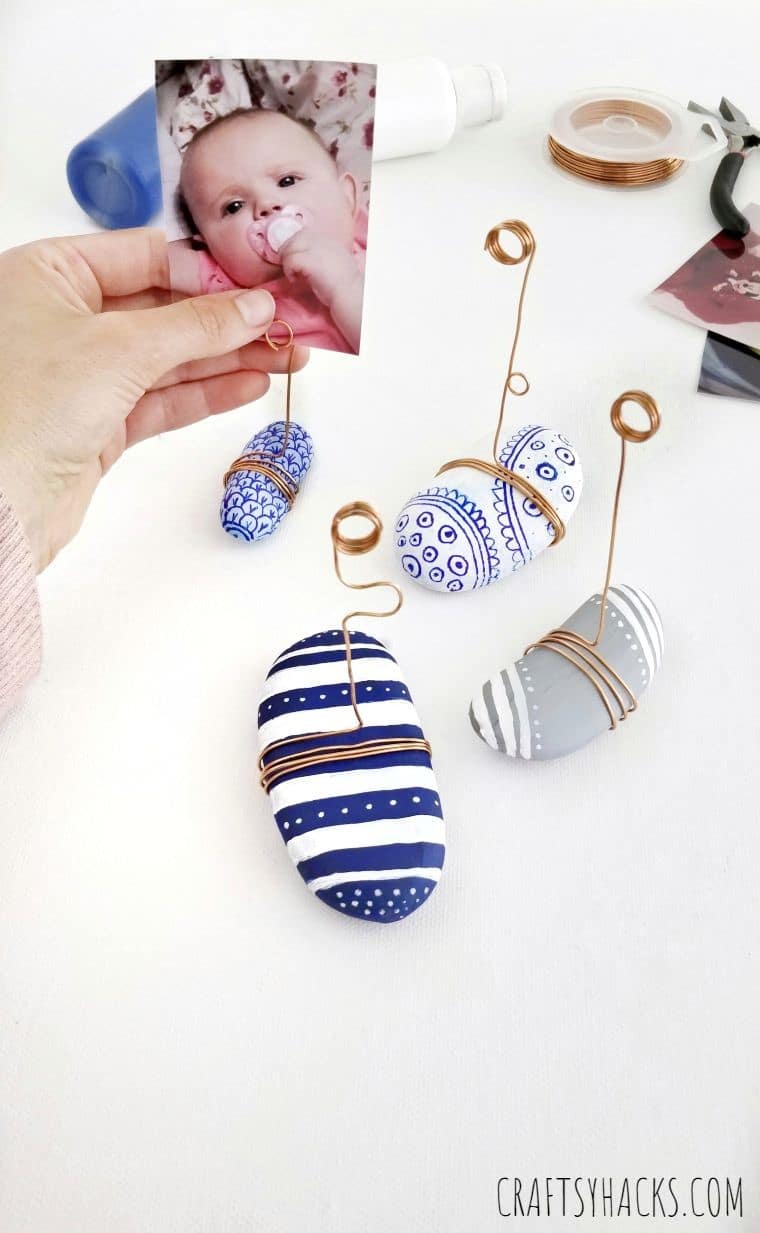
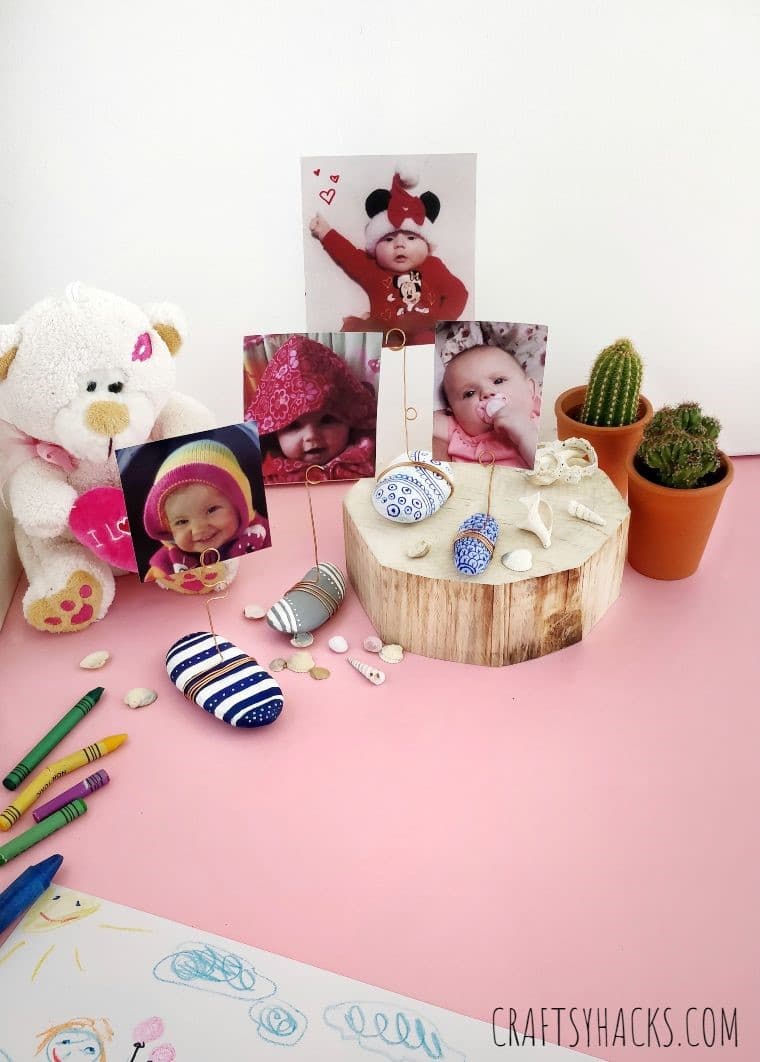
Turn your rocks into photo holders. This is a simple, creative craft you can use to decorate your home and keep those photos around.
In this world of smartphones and digital cameras, I am a person who still loves printing photos! I just love the feeling I get each time I look at a photo displayed around my home – it somehow brings back those happy memories to life.
My home is filled with framed photos of my loved ones and our favorite memories, but I also have a few photos clipped on rocks. This allows me to occasionally change the photos, depending on the season or my mood.
Scroll down to see how I made these DIY rock photo holders.
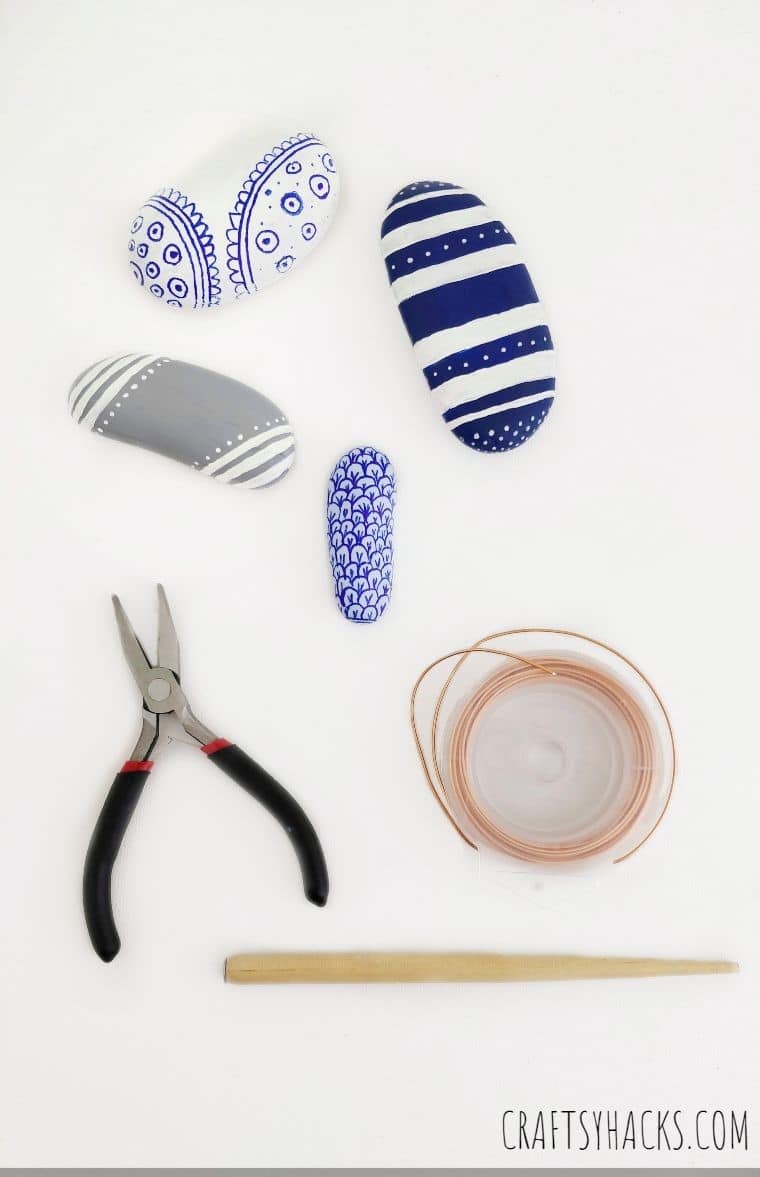
You’ll Need
- Smooth stones
- Acrylic paint
- Needle nose pliers
- Copper wire (18 Gauge)
- Pen/marker/wooden stick
- Paintbrushes

How to Make DIY Rock Photo Holders
Let’s get to it!
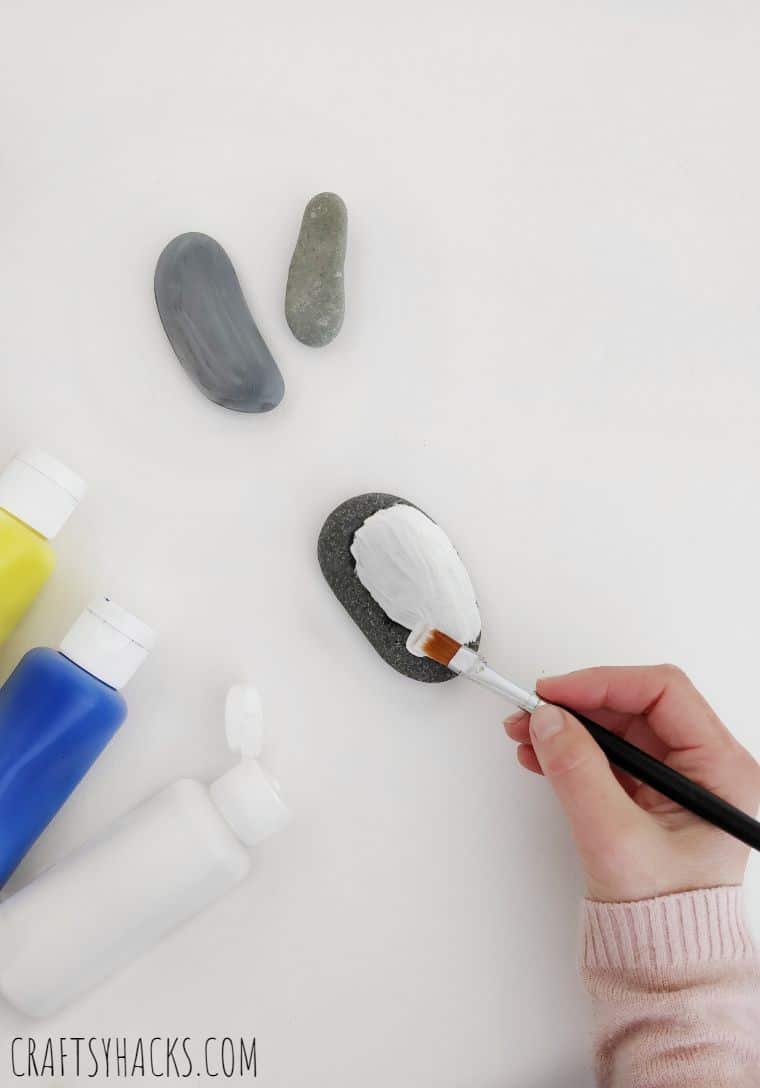
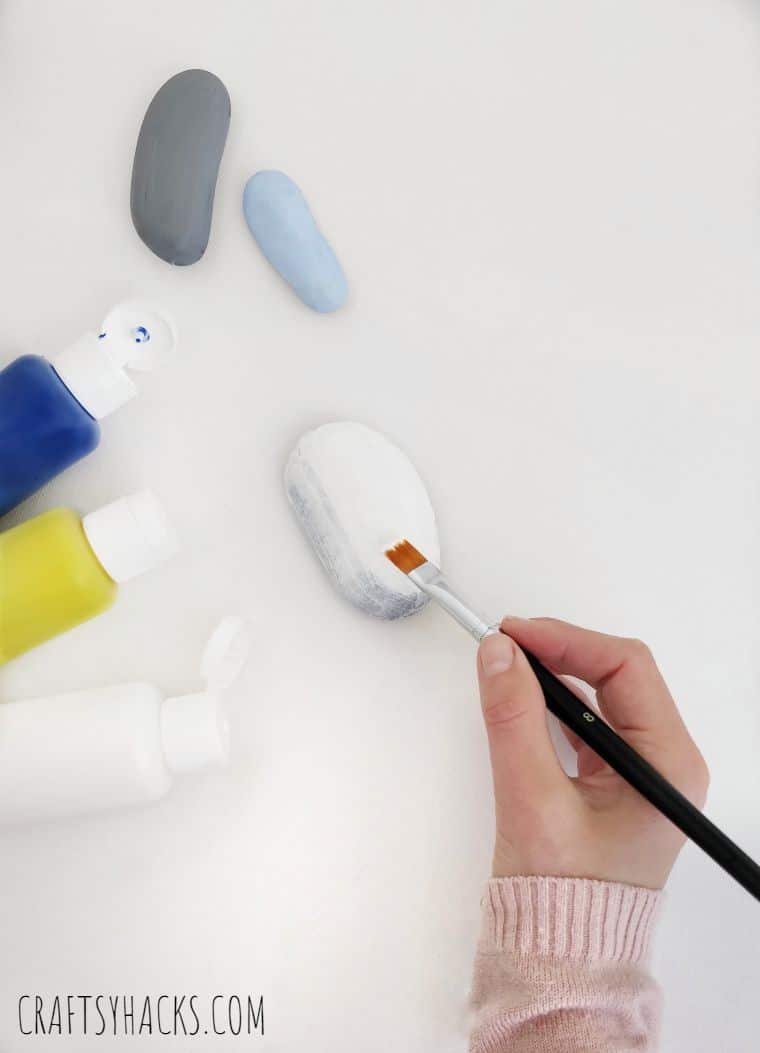
STEP 1
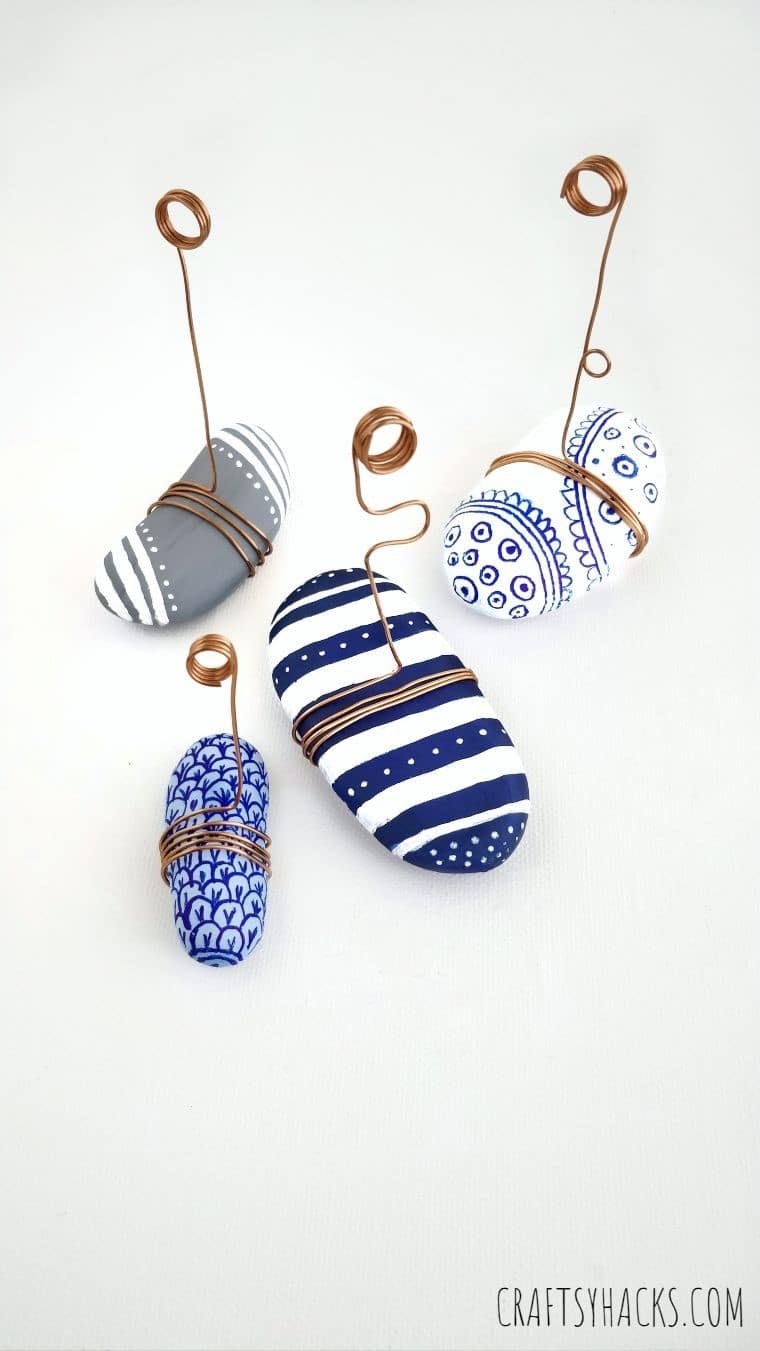
Gather all your equipment. I like to use different shapes of rocks just to give my holders added character. Use small-sized rocks to holder smaller photos and larger ones for enlarged photos.
Start by painting your rocks with your choice of solid color.
Quick Tip 1: If you want your colors to pop even brighter, paint your rocks over with a base coat of white.
STEP 2
Once the initial coat has dried, you may want to do a few more coats to achieve a completely opaque color. Once you’ve achieved the shade you want, leave the rocks for a while to allow the paint to dry.
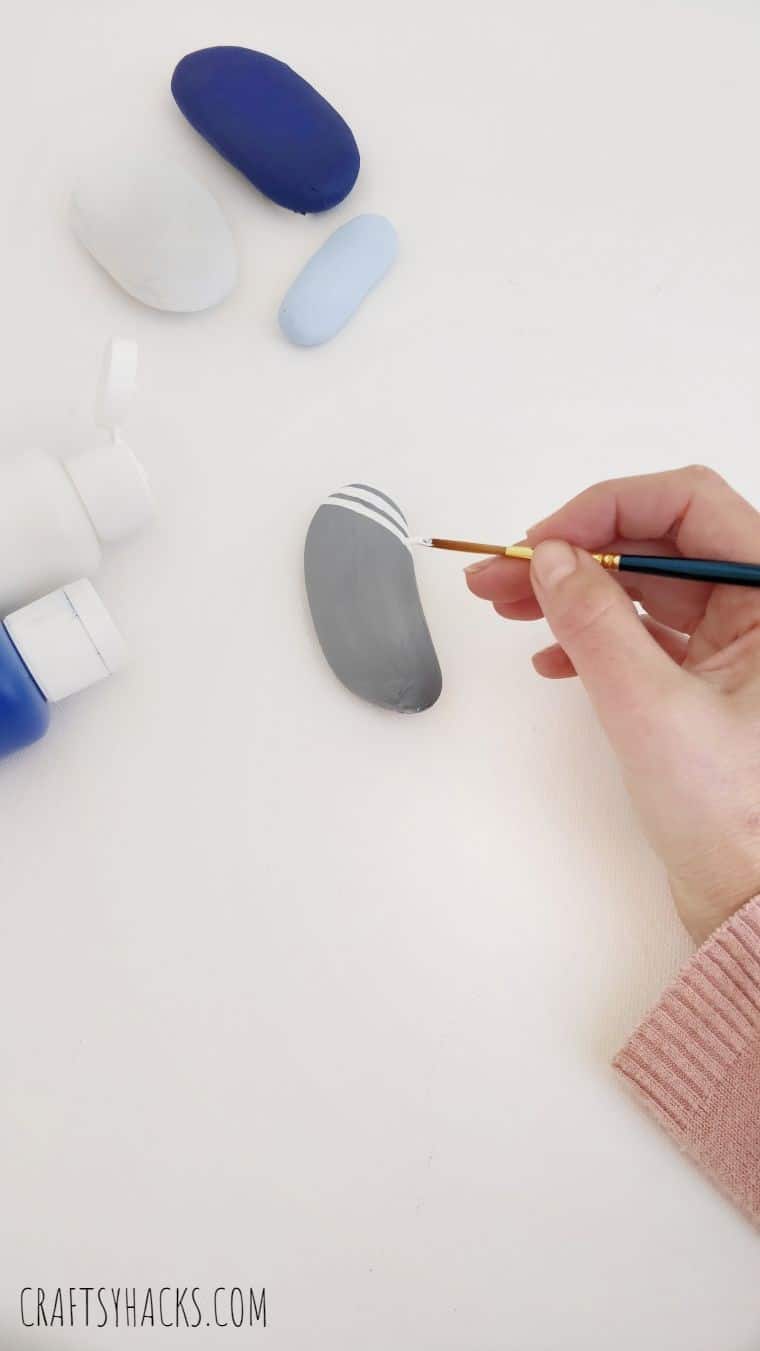
STEP 3
How you complete this step is completely up to you. There are so many designs you can do, such as stripes, polka dots, illustrations, mosaics – the possibilities are endless, and it all boils down to your creative geniuses.
When you’ve achieved your design goal, leave the rocks again to allow the paint to dry.
Quick Tip 2: If you want to protect your paint design and make it last longer, you can spray paint the rocks with an acrylic sealer like the one available here.
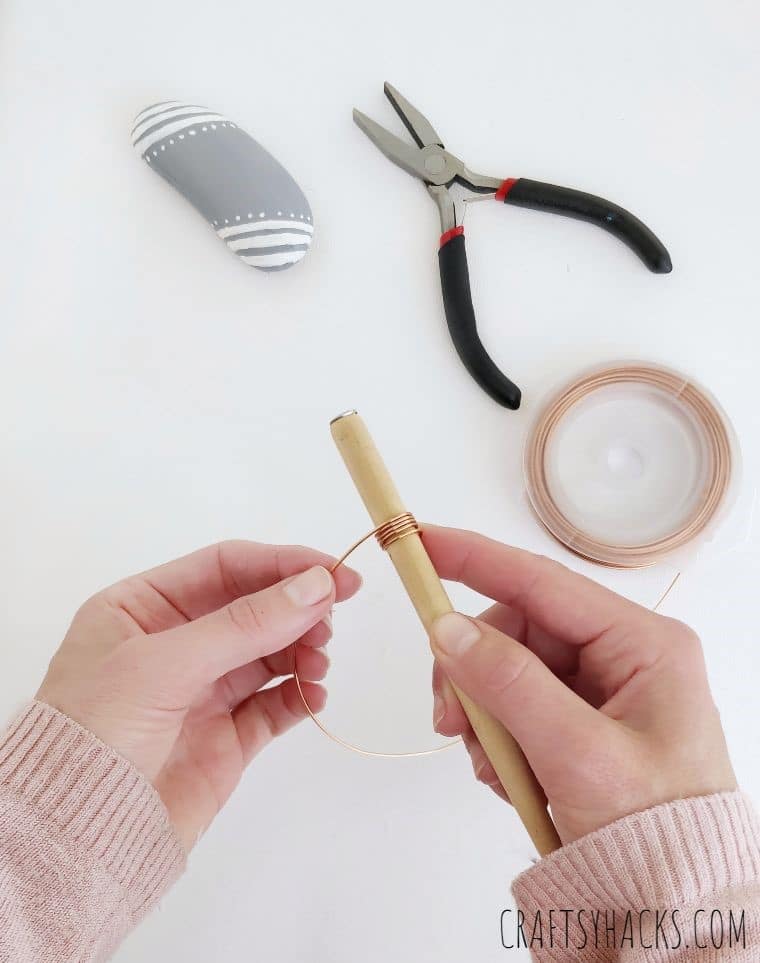
STEP 4
Grab your copper wire and roll it over the wooden stick, pen, or marker about three to five times. Ensure that you roll it just the right amount of tightness to easily slide off the wooden stick afterward.
STEP 5
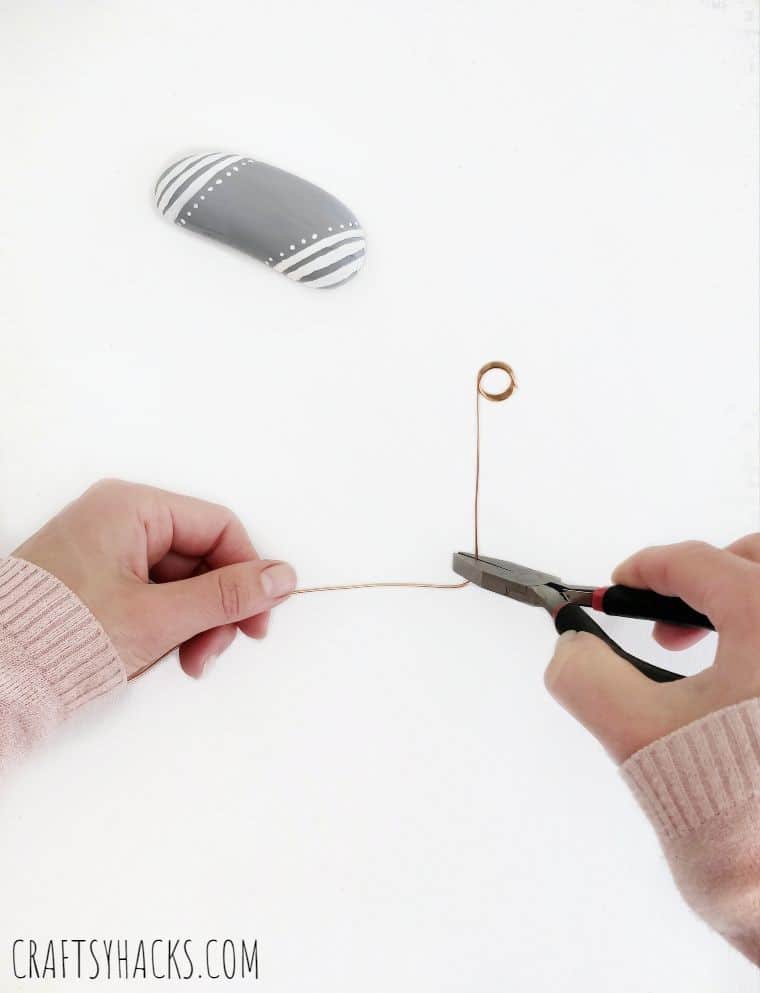
Straighten out the rest of the wire. The length is up to you, but usually, a 2 to 3-inch length is enough.

STEP 6
Use the blunt end of your needle nose pliers to hold the copper wire, where you intend the length to be. Bend the rest of the wire to create a 90-degree angle.
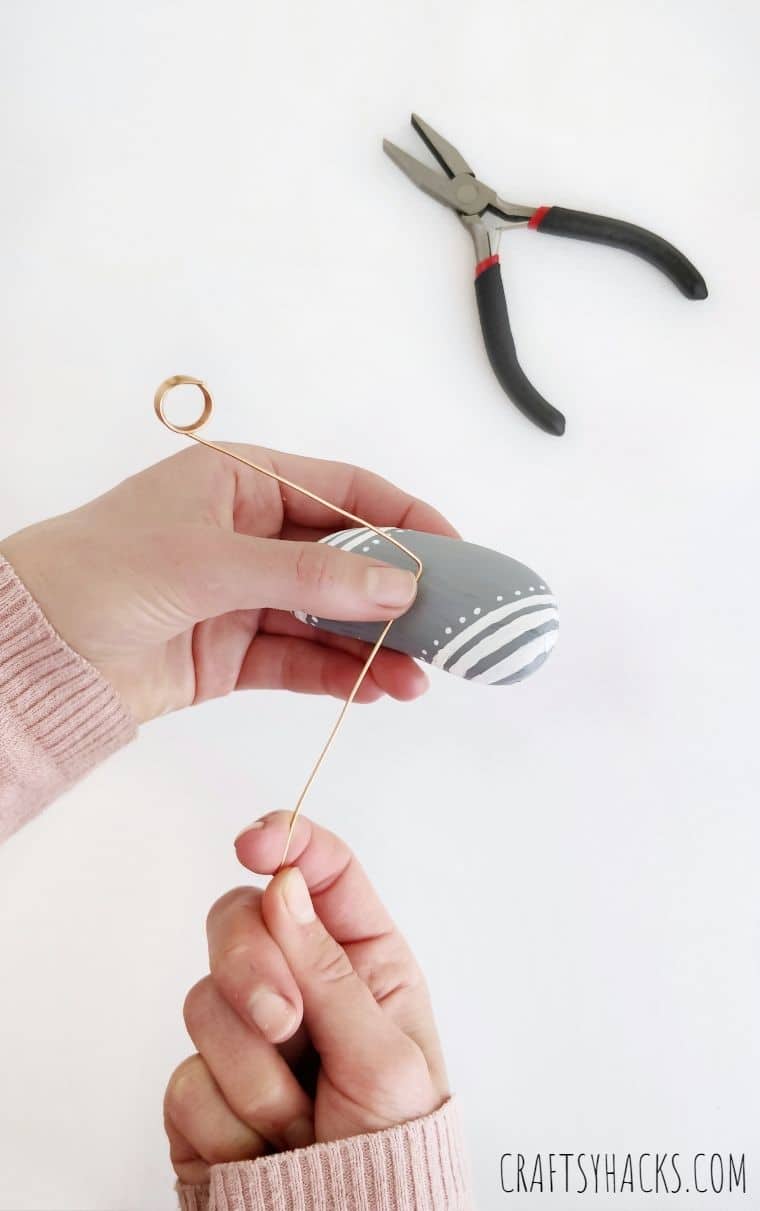
STEP 7
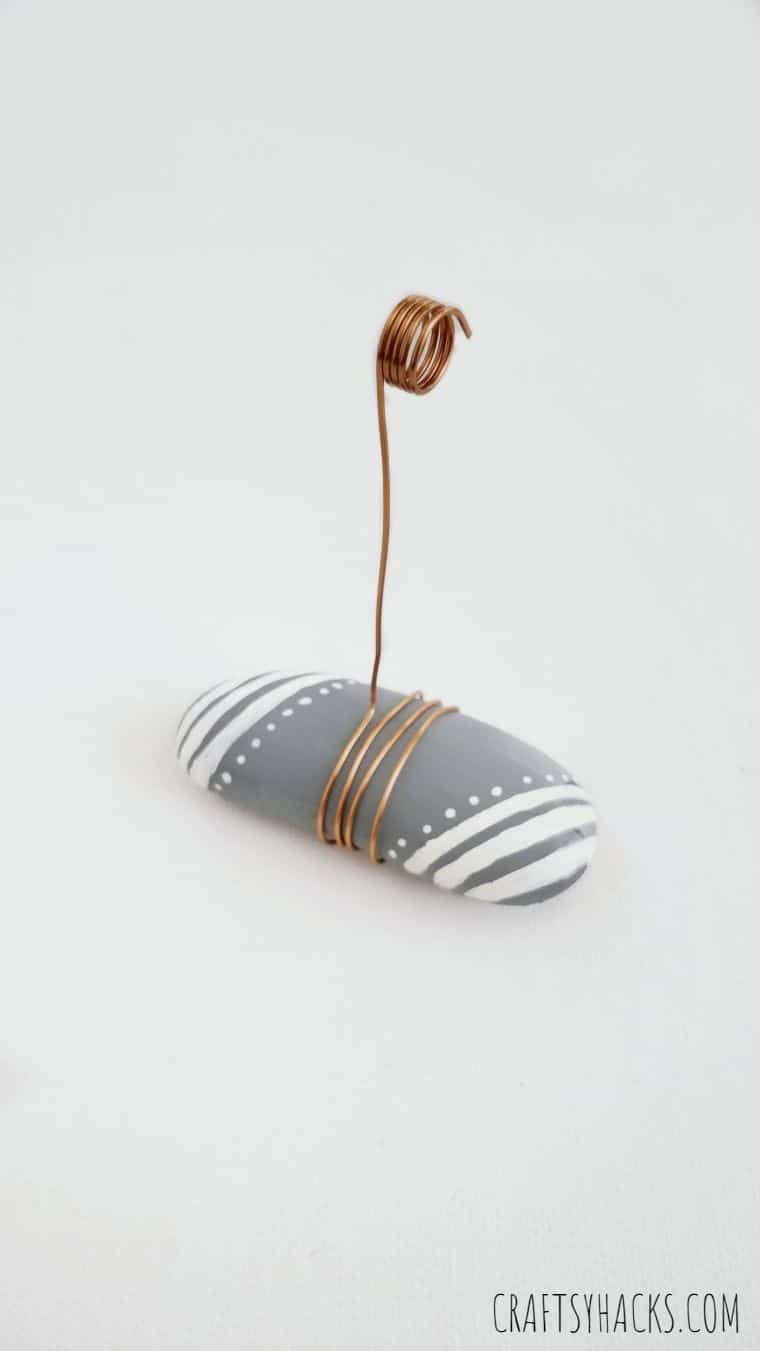
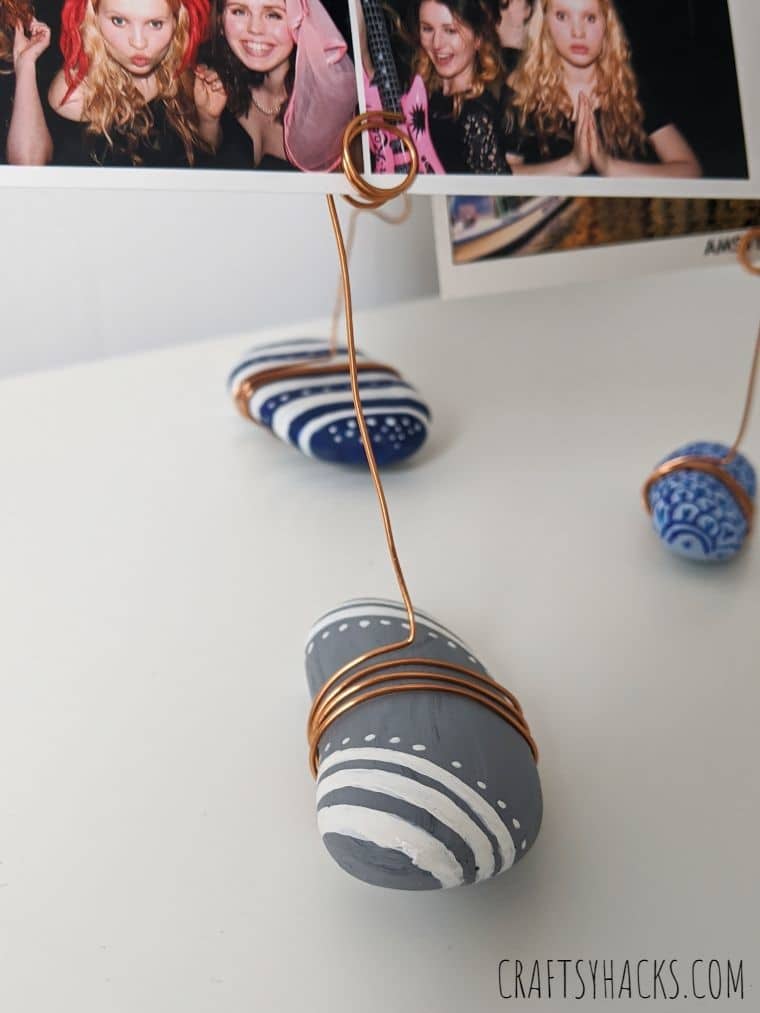
Grab your rock and roll the horizontal part of the wire around it.
STEP 8
You may want to do a few more rolls around the rock to ensure stability and a strong hold.
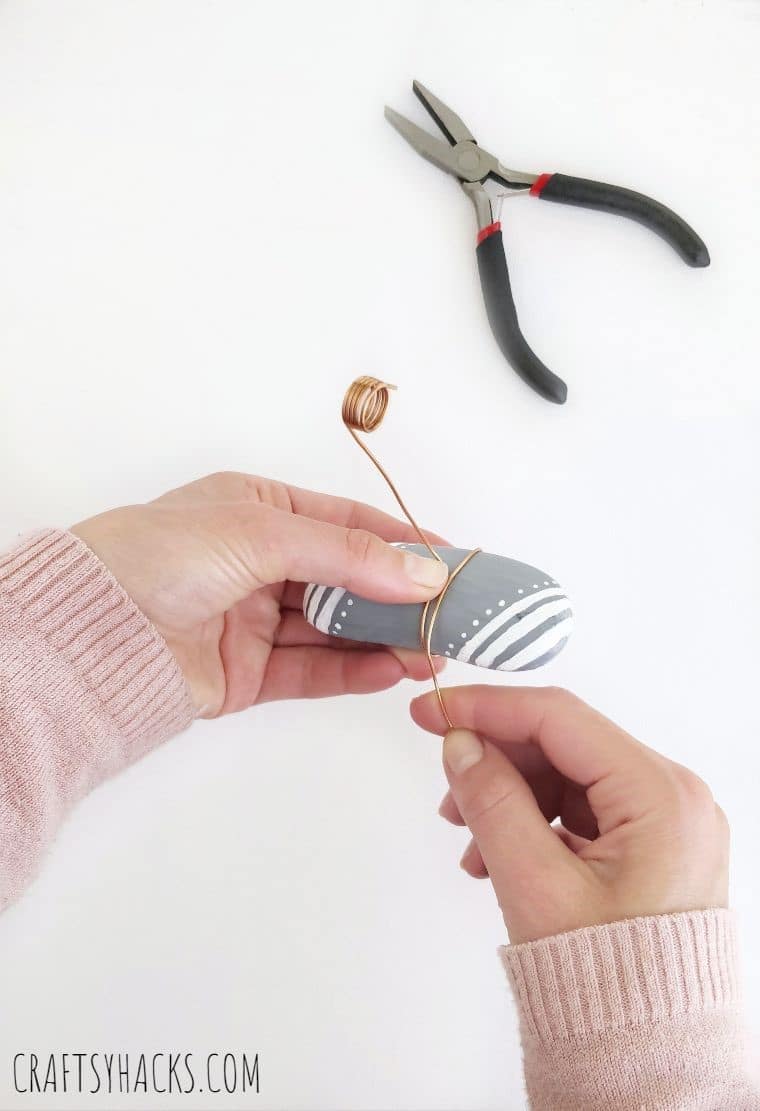
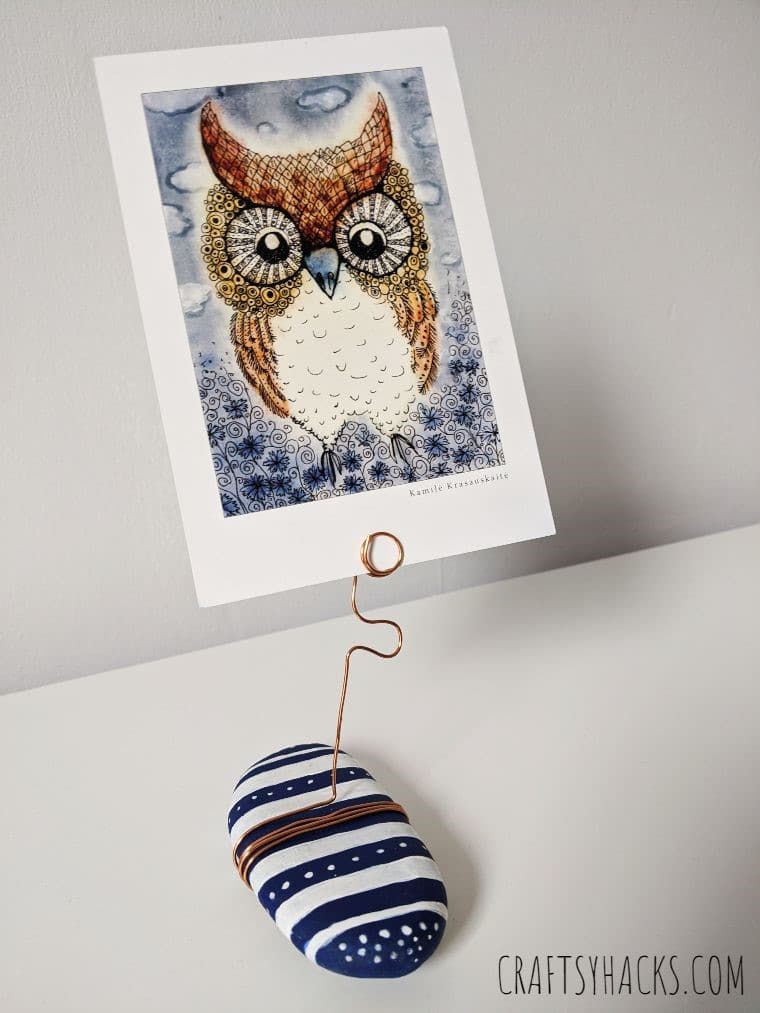
Tadaa!!! Your DIY rock photo holder is done!
STEP 9
Okay, I know I said it was done a step ago. But here’s another step to add another level of character to your rock holder.
Note: This step is optional, but if you want to do it, it should be done before making that 90-degree angle and wrapping around the rock.
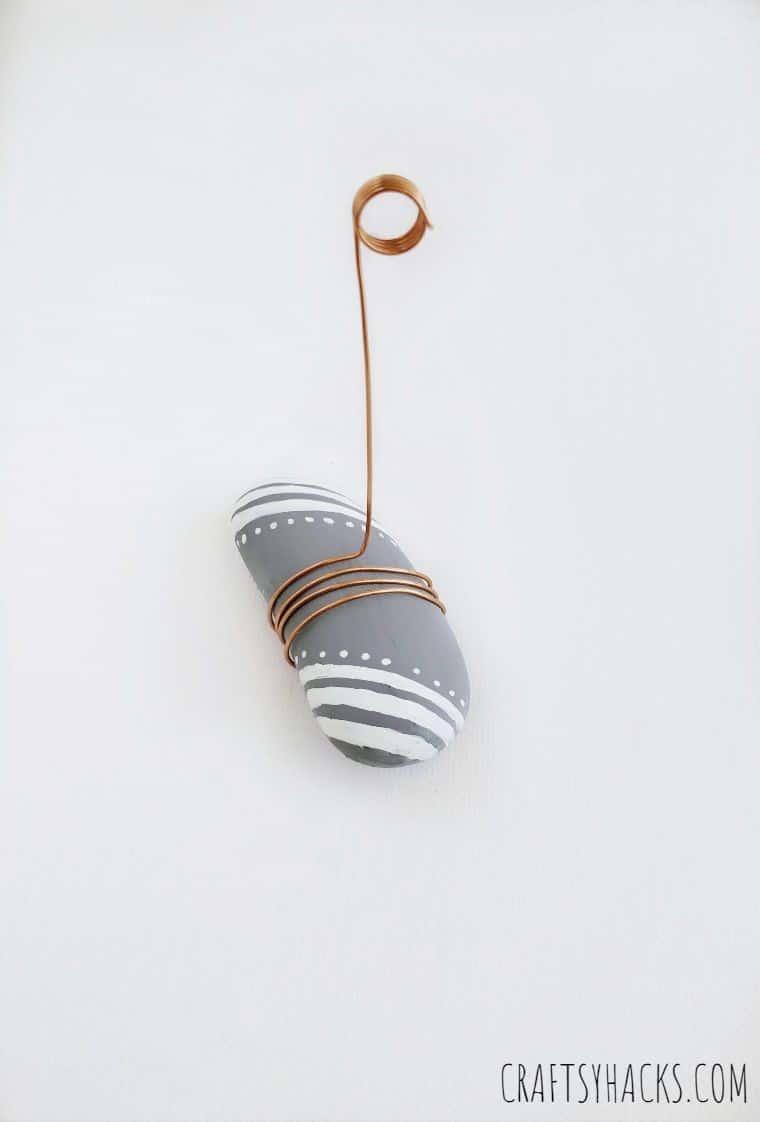
Using your pliers, create funky patterns with the wire. I used a few curves for one of my rocks and a small full-loop for another. Again, this is where you let your creativity kick in.
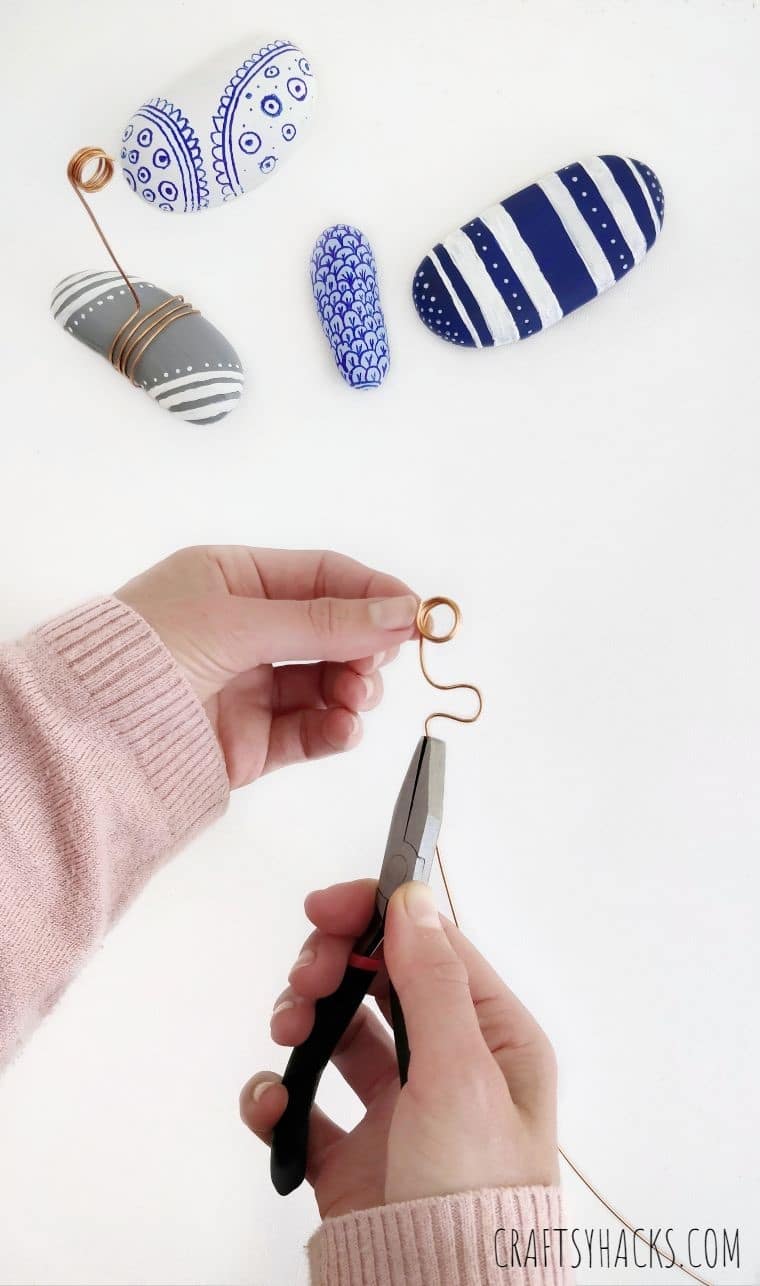
Notice how the patterns on the wire give them a three-dimensional feel? It’s as if the curves and bends added more life into them!
Other Ways to Use DIY Rock Photo Holders
Other than holding your photos, these rock holders can also be used to hold other things.
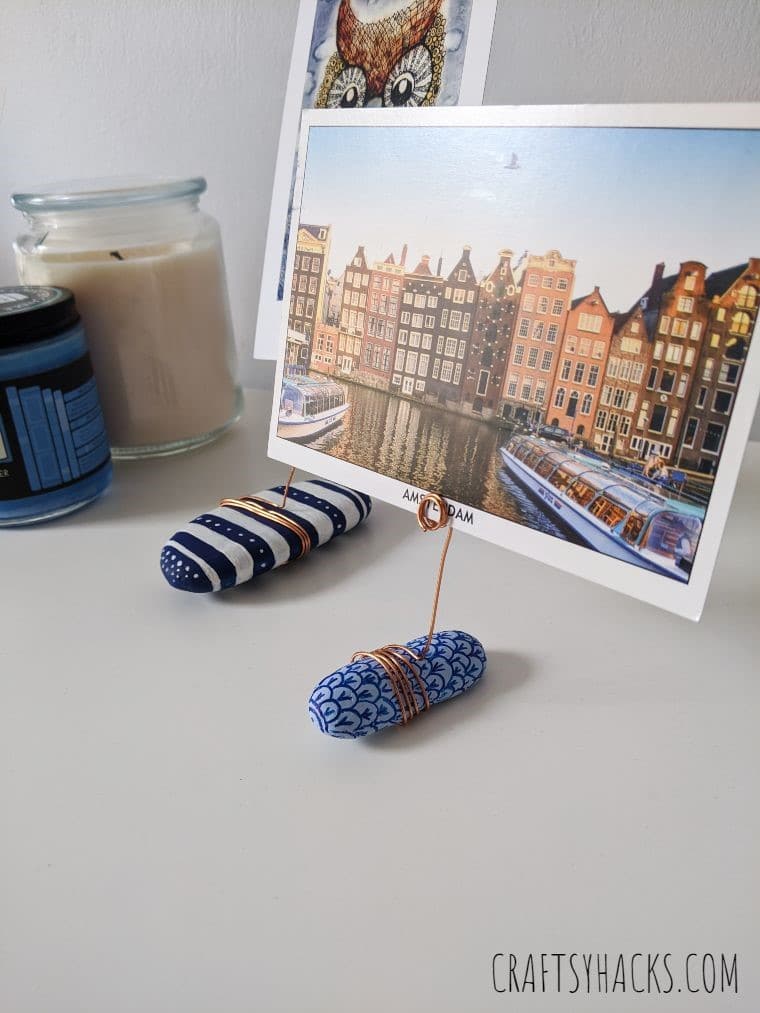
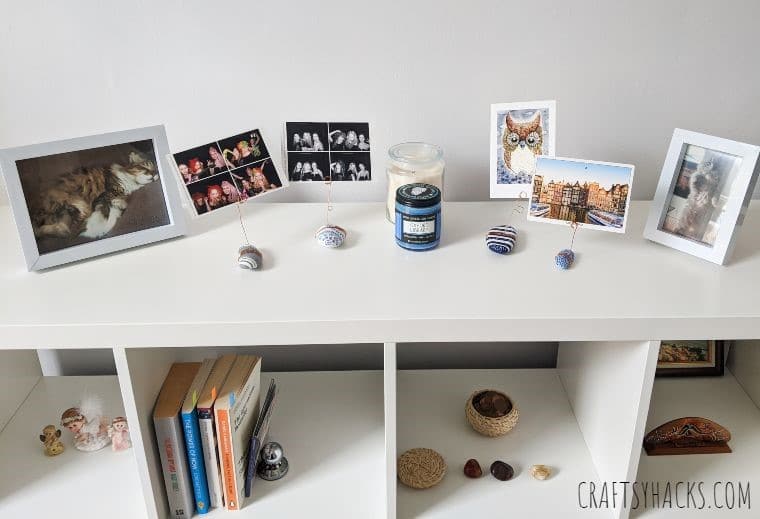
- These rocks are great to display postcards of places you’ve been. Add a few of these on your bookshelves as an additional decorative accent.
- We have two of these sitting on our hallway table. One is there to hold any reminders for the day, such as “don’t forget soccer practice” or “pick up my coat from the dryers”. The other one is used by the kids to hold the mail they have collected from the mailbox.
- Instead of sticking your kids’ artwork on the fridge, why not use one of these rock holders to showcase them? This probably won’t work with larger art projects, but the smaller card-sized ones will do.
- Make one for each of your kids’ study tables. You can use it to hold a mini monthly or weekly calendar or hold sweet little notes and messages from you or the rest of the family.
- I like having one on my home office desktop. It holds inspirational and motivational quotes I’ve written on little cards. The way these holders are made allow me to easily change the quotes every day.
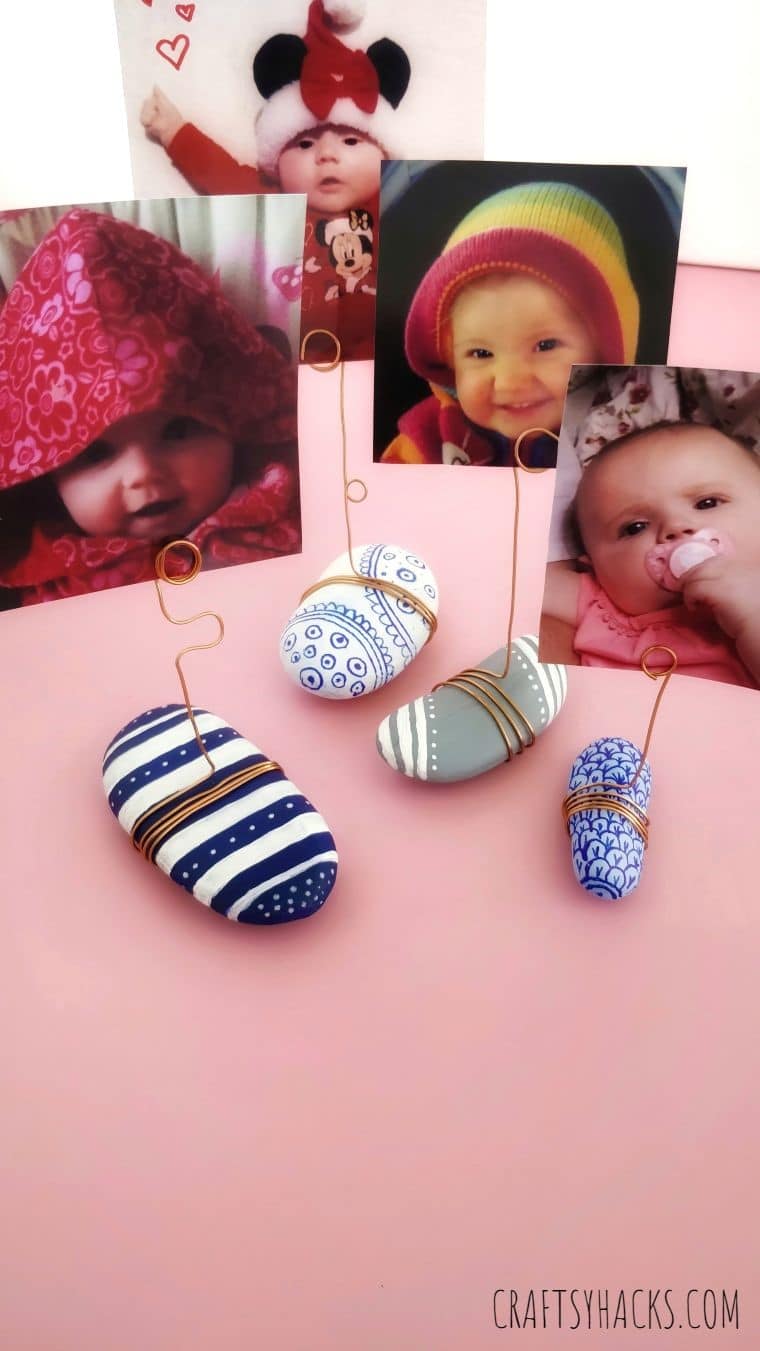
- These rock holders are also great to incorporate with party décor. Create 12 of these for a first birthday party and use each rock to showcase your favorite photo of the celebrant for each of his first 12 months.
- Another party idea is to use these rocks as place cards for your tables. If going for this idea, you probably want to use smaller rocks and smaller cards, so they don’t take up too much space.
Can you think of other ways to use these beautiful rock holders? Let me know in the comments below.
Other DIY Projects for Your Home
- DIY Picture Frames from Paper
- Yarn-Wrapped DIY Glass Vase
- Yarn-Wrapped DIY Flower Pot
- 20 Dollar Store Decorating Ideas
- 40 Cute DIY Crafts for Teen Girls
- 20 Craft Projects for Adults to Have Fun


DIY Rock Photo Holders
Video Tutorial
Equipment
- Needle nose pliers
- Pen/marker/wooden stick
- Paintbrushes
Materials
- Smooth stones
- Acrylic paint
- Copper wire 18 Gauge
Instructions
- Gather all your materials.
- Use acrylic paint to fully paint the rock with your desired color of choice. For a brighter shade of color, use a base coat of white paint first.
- Add a few more coats of your desired color until you achieve the desired shade or opacity.
- Use acrylic paint again to decorate your solid-colored rocks.
- Grab the copper wire and roll it around a wooden stick or a marker for about four to five times.
- Slide off the wooden stick and straighten the bottom of the copper wire for about a 2 to 3-inch length.
- Use the pliers to mark the desired length and bend the remaining wire, creating a 90-degree angle.
- *An optional step is to use the pliers to create funky decors on the wire before straightening it out and making an angle.
- Wrap the horizontal part of the angle around the rocks for about two to four times to ensure stability.
- You’ve just created a stunning piece of DIY rock holder!


Tried this cute craft today in Sunday School. One thing I learned is that the rocks need to be longer lengthwise and the 2 long sides of the rocks need to be closely parallel. If one side is straight and the other even at a slight angle the wire will slip off. And I had to secure the bottoms of the loops that hold the picture or they would open like a spring and not remain close enough to hold a photo. (The wire step is not something young children would be able to do.) I primed my rocks and put a coat of white latex on them then the kids painted designs on them the next day. But wish I had done more coats-I tried to keep the wire snug as I wound it around the rocks and it marked up the design on the edges.
Question about the wire. Where would be your suggestion for buying wire? I went to Dollar Store thinking it was the right size but it bends too easily so I’m guessing I didn’t buy the right size. Thanks
You want an 18 gauge wire – you can get it on Amazon
How much in length of the wire is needed to make 1 photo holder? I would like to do this for about 100 kids, but wasnt sure how much i would need for all. Thank you!
Hi Sarah, it will highly depend on the size of the rock but we approximately needed around 10-11 inches of wire per 1 photo holder.
This is such a cool and useful project. Please note, however, that the copper wire that is referenced here (28 gauge) is way too thin. Looks like you are using 18-20 gauge.
Hey Alexa,
thank you for pointing this out. Yes, I was using 18 gauge but 28 is referenced. I’ll fix that up. Thank you very much! 🙂