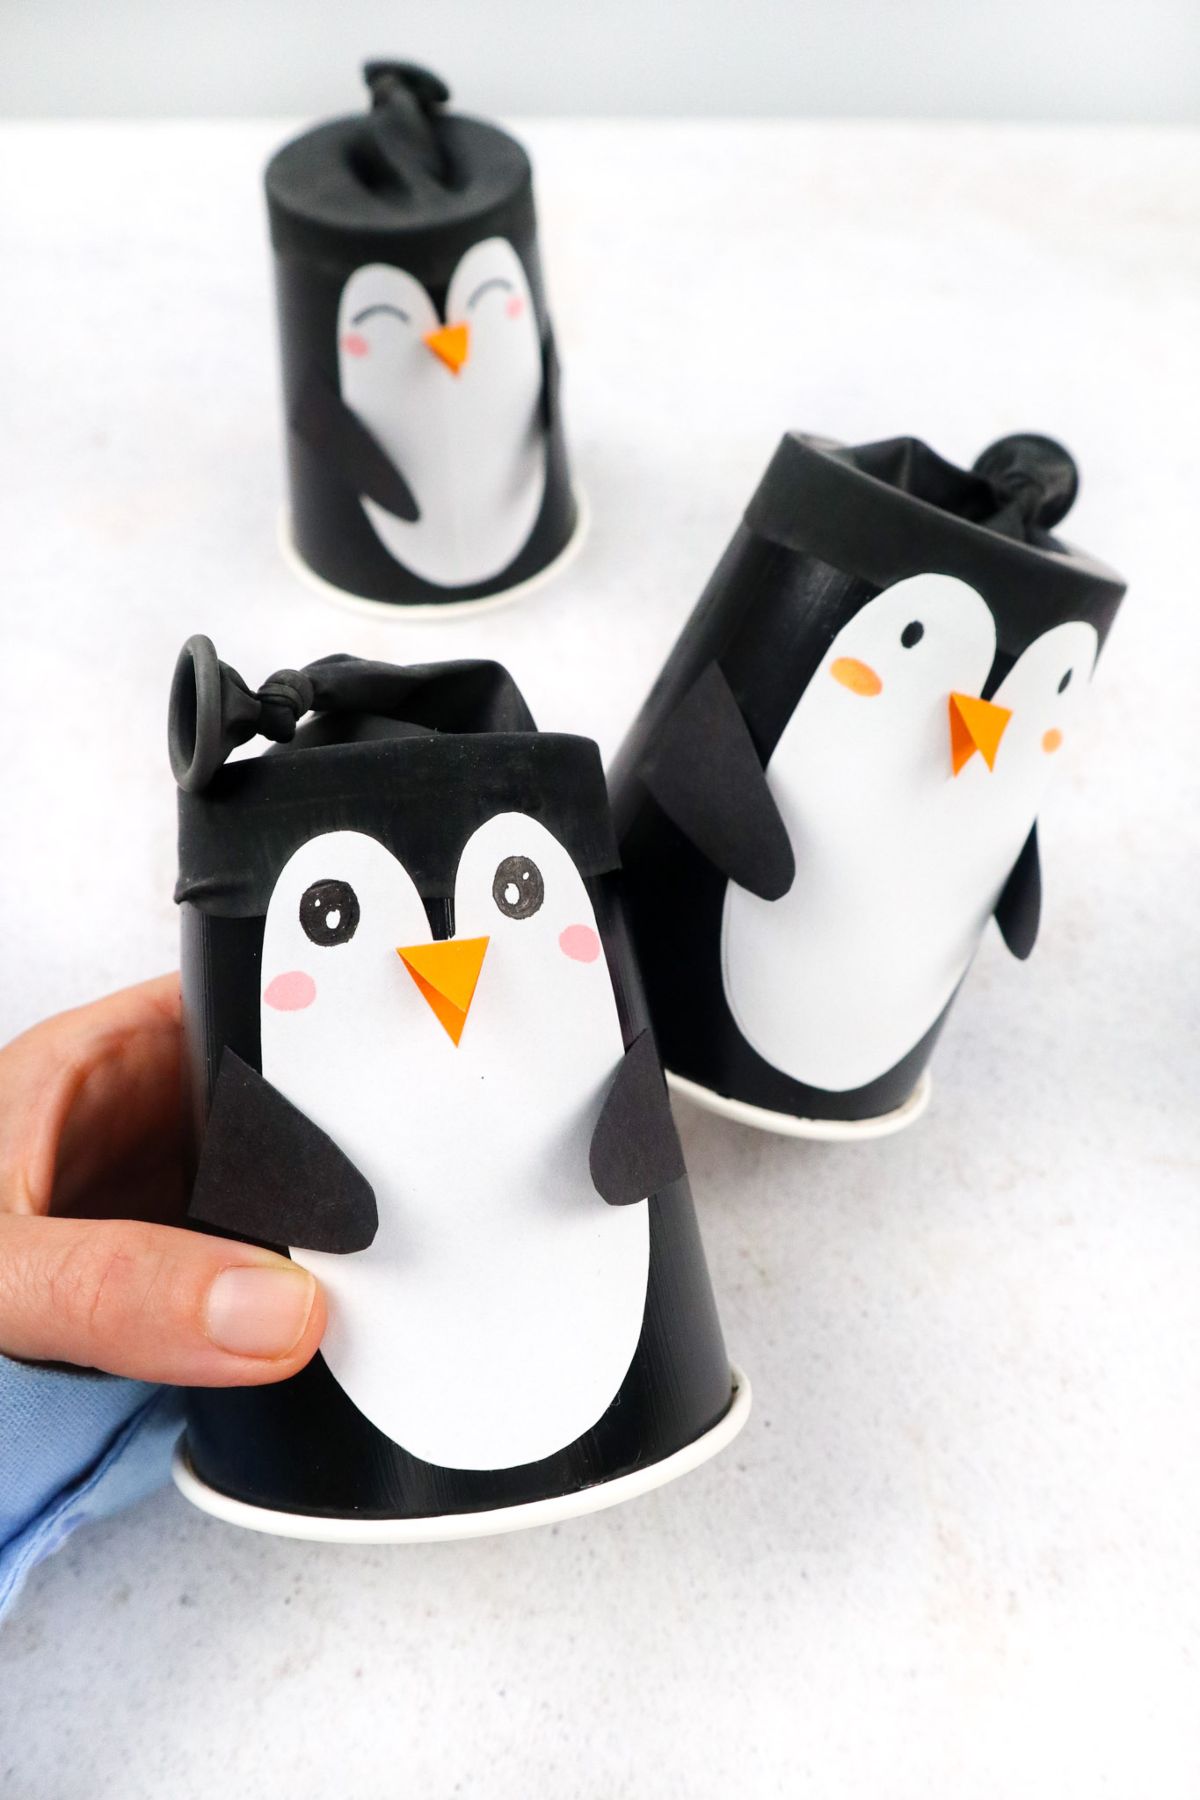
DIY Penguin Poppers
This post may contain affiliate links: full affiliate disclosure.
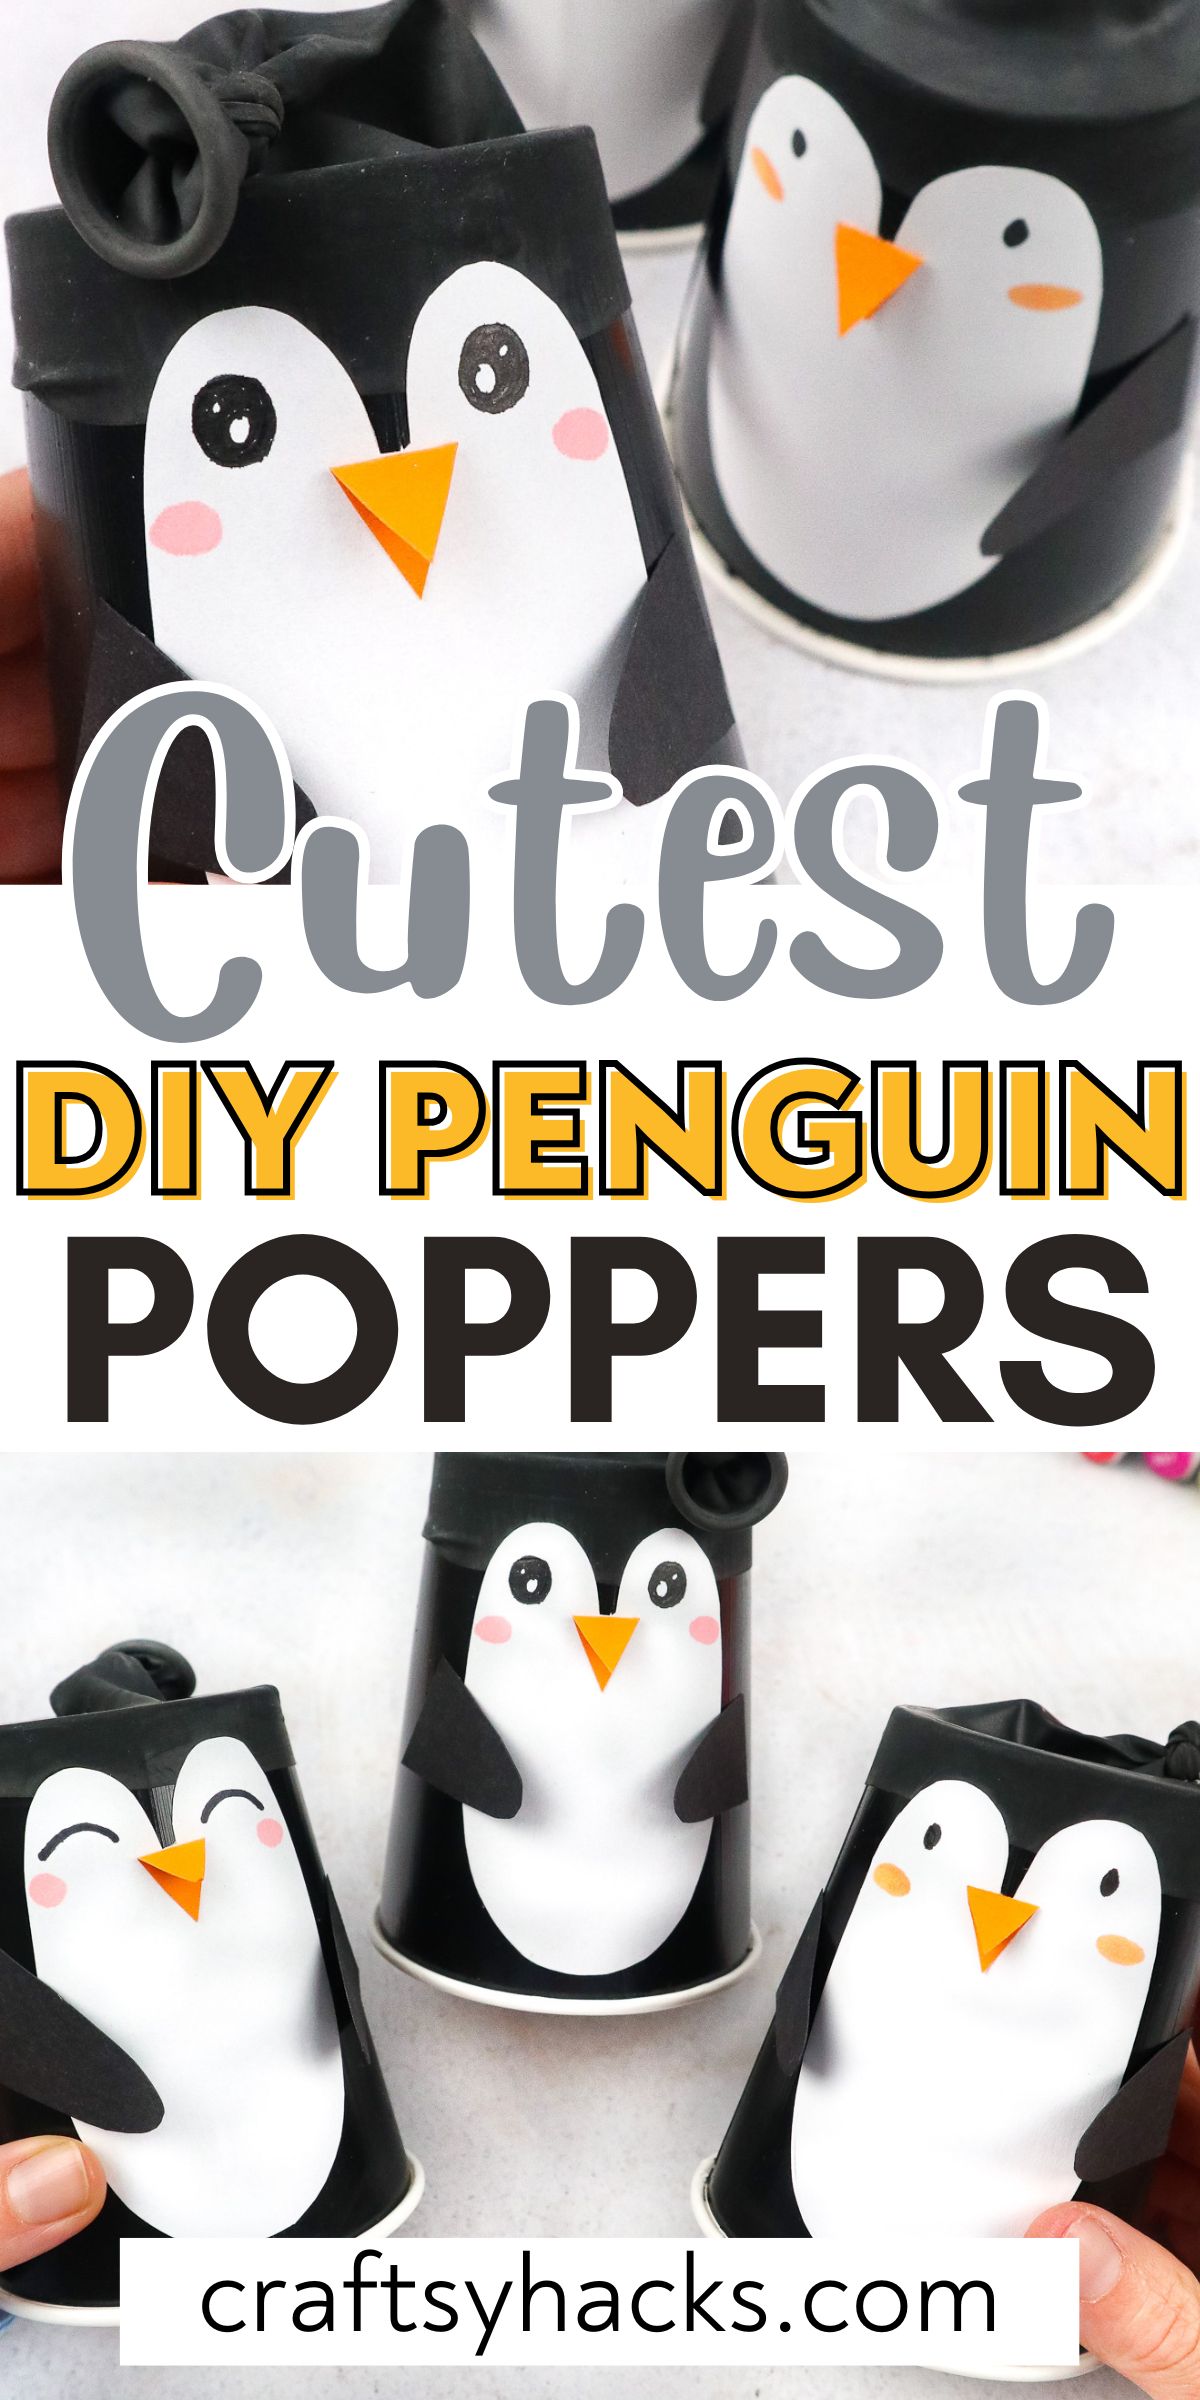
When I go to the zoo, I always make sure to carve out a good amount of time to look at the penguins. They are so cute with sweet faces and waddling bodies, just like these DIY penguin poppers.
If you have been looking for a fun craft to do with a little one, you should try making these adorable penguin poppers. They pop just like real party poppers!
These would be the perfect addition to a penguin-themed kid’s birthday party. They would also be fun to make if you want to add some festivity to a boring rainy day.
You and your little ones will enjoy making and using these. Cheers to a fun time for all you penguin lovers out there!
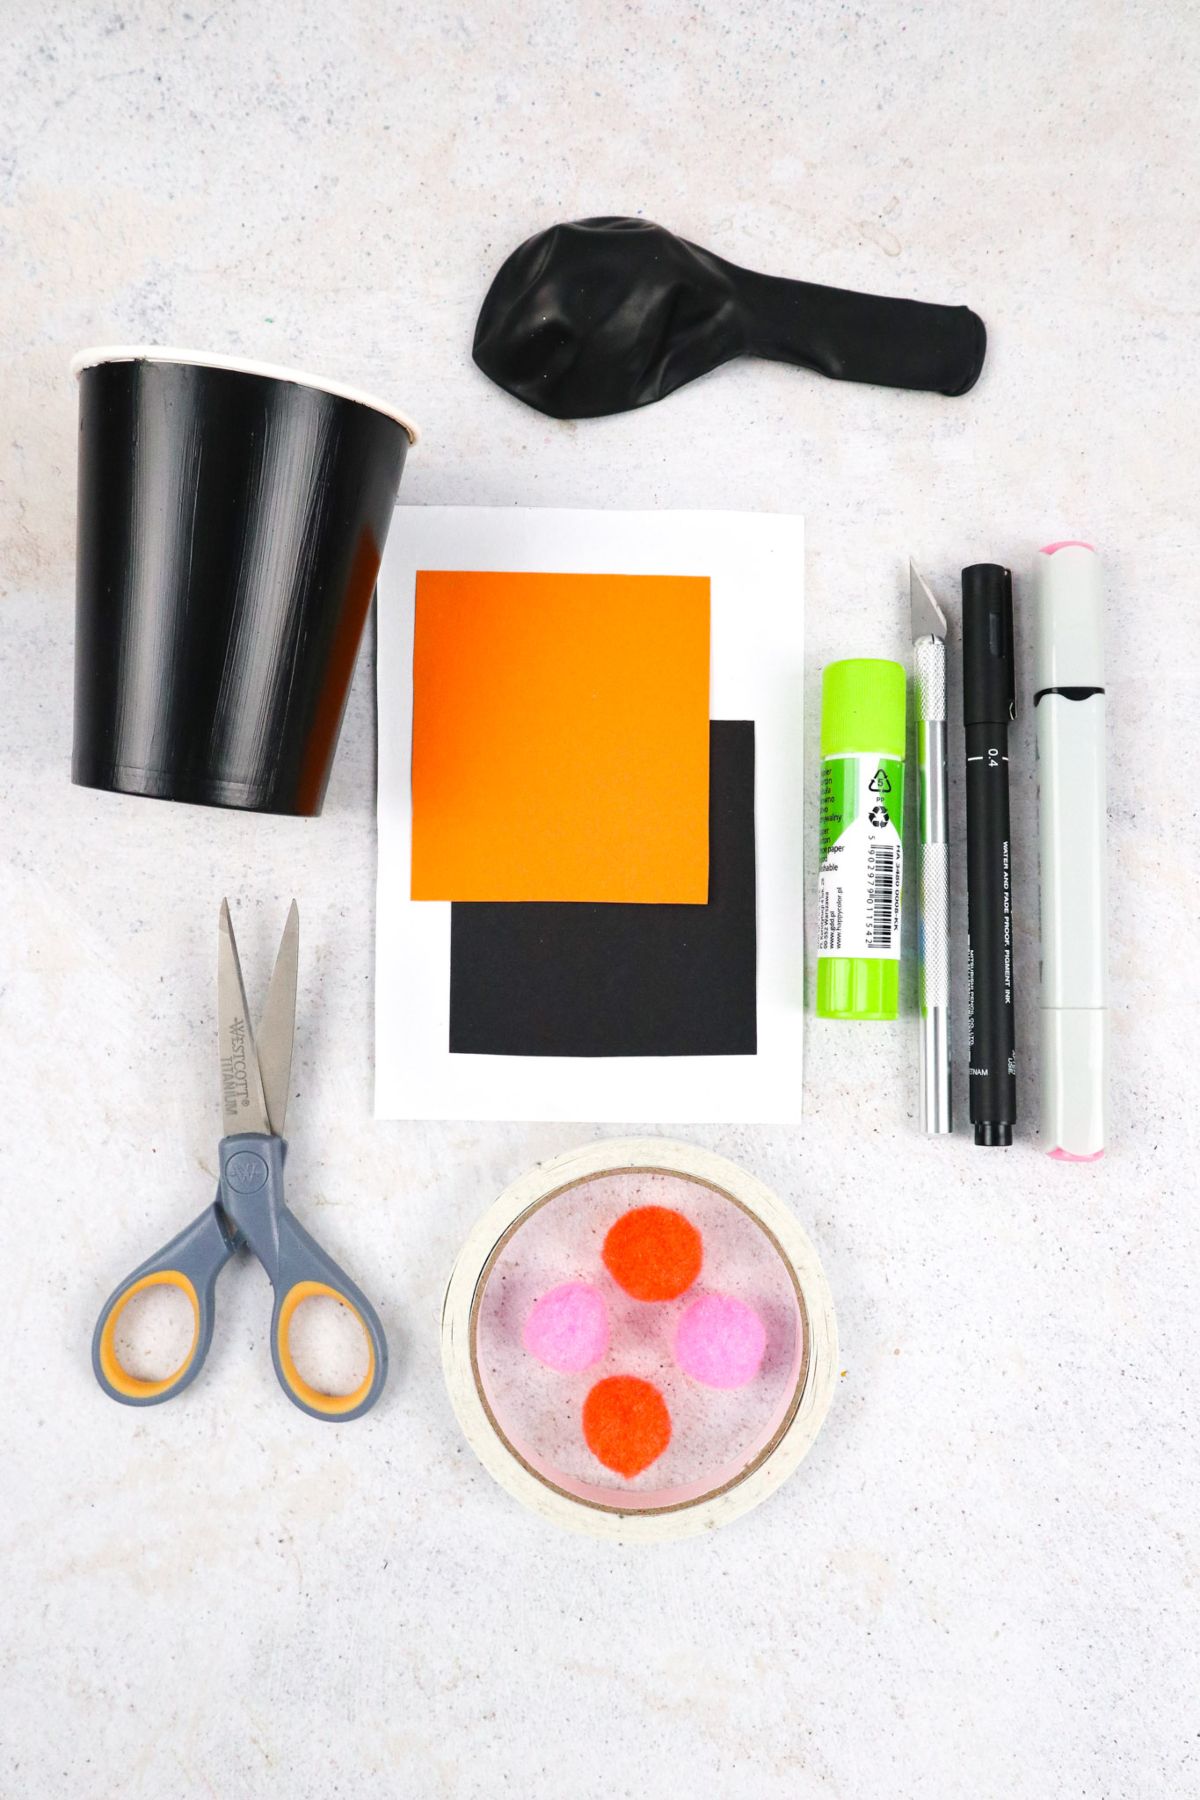
Supplies You’ll Need
- Black paper cup
- Black balloon
- Black construction paper
- Orange construction paper
- White thin paper
- Black marker
- Pink marker
- Glue stick
- Double sided tape
- Pom poms
- Scissors
- X-acto knife
How to Make Penguin Poppers
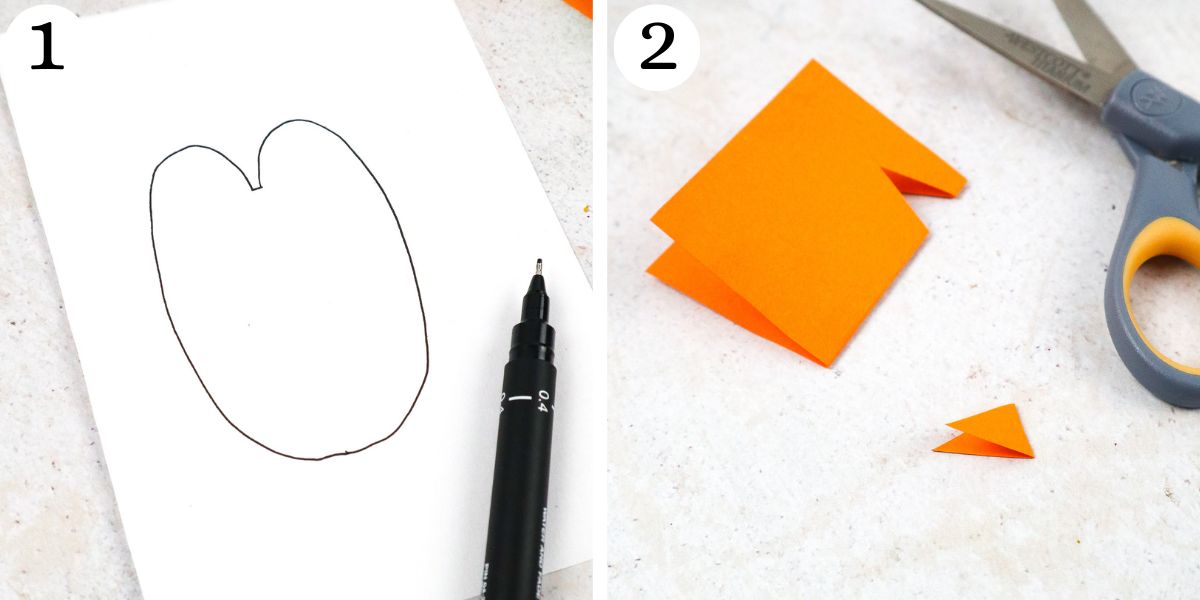
Step 1. To begin, we need to make the shape of our penguin’s body. To do this, draw the round, apple-like shape on a piece of paper (as shown) and cut it out with your scissors.
Step 2. Next, we will start to make the features of our penguin. To do this, fold a piece of orange paper in half and draw a triangular beak shape.
Then, cut out your beak.
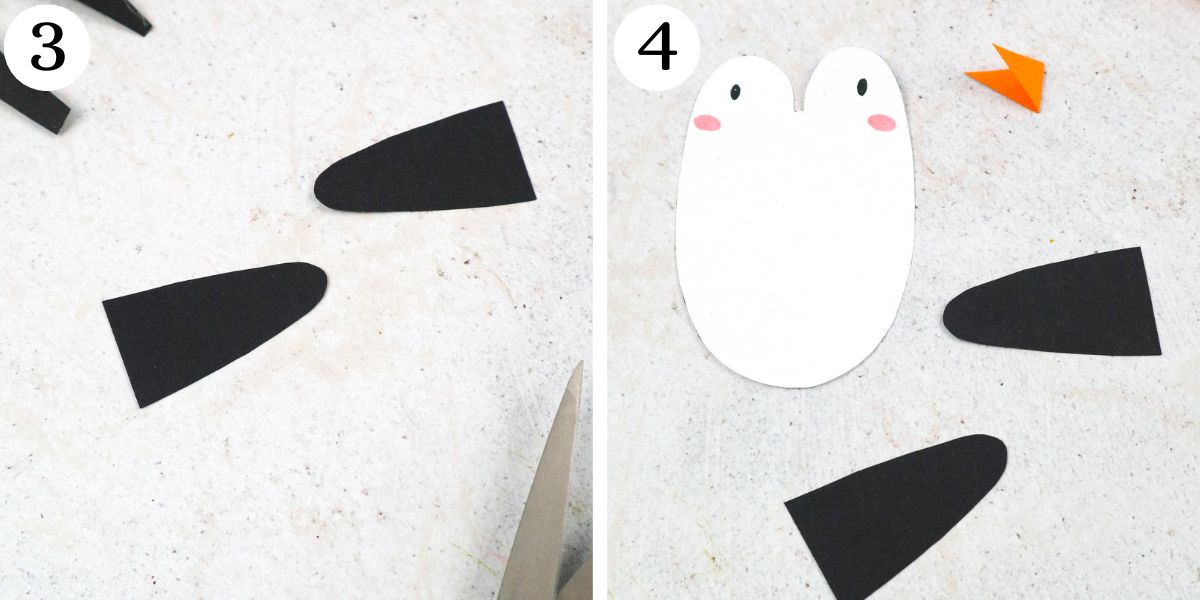
Step 3. The next step is to make the wings. Draw them on your black construction paper and cut them out.
Step 4. Next are the eyes and cheeks. These will be drawn directly onto your penguin.
Use your black marker to draw some round eyes. Then, use your pink marker to add some rosy cheeks.
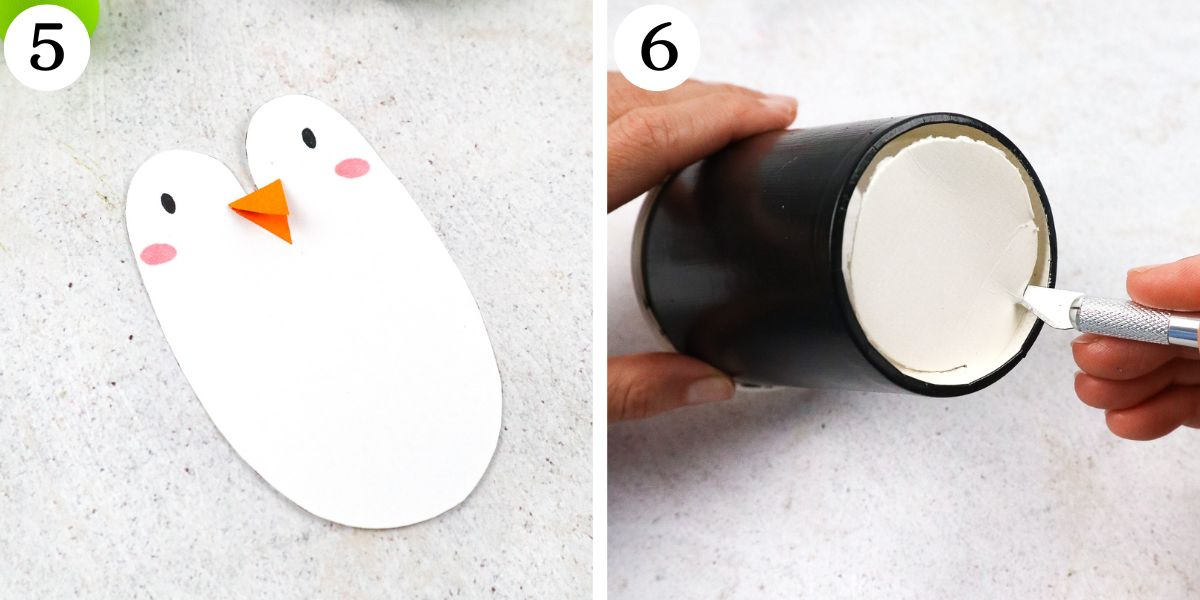
Step 5. Now, grab your orange beak that you have already cut out. Glue it onto your penguin.
It should be placed in the center of the face, underneath the eyes, and in between the rosy cheeks.
Step 6. Now, get your paper cup. Use your craft knife to cut the bottom/base of the cup out completely.
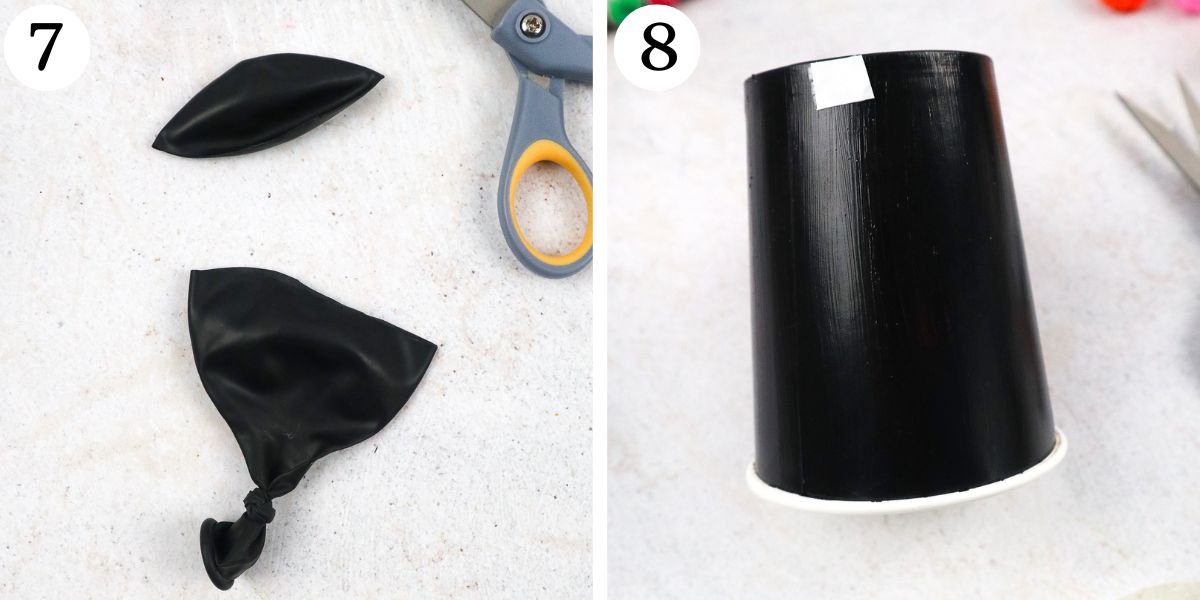
Step 7. Next, take your balloon and tie a knot at the end. Cut off the rounded end.
Step 8. Turn the cup upside down so that the hole you made with your craft knife is facing up. Add double-sided tape in a few places around the rim.
Step 9. Stretch the balloon over the rim of the base. It should stay in place, especially since you have already reinforced it with the double-sided tape.
Step 10. Now, use your glue to attach your penguin body to the cup.
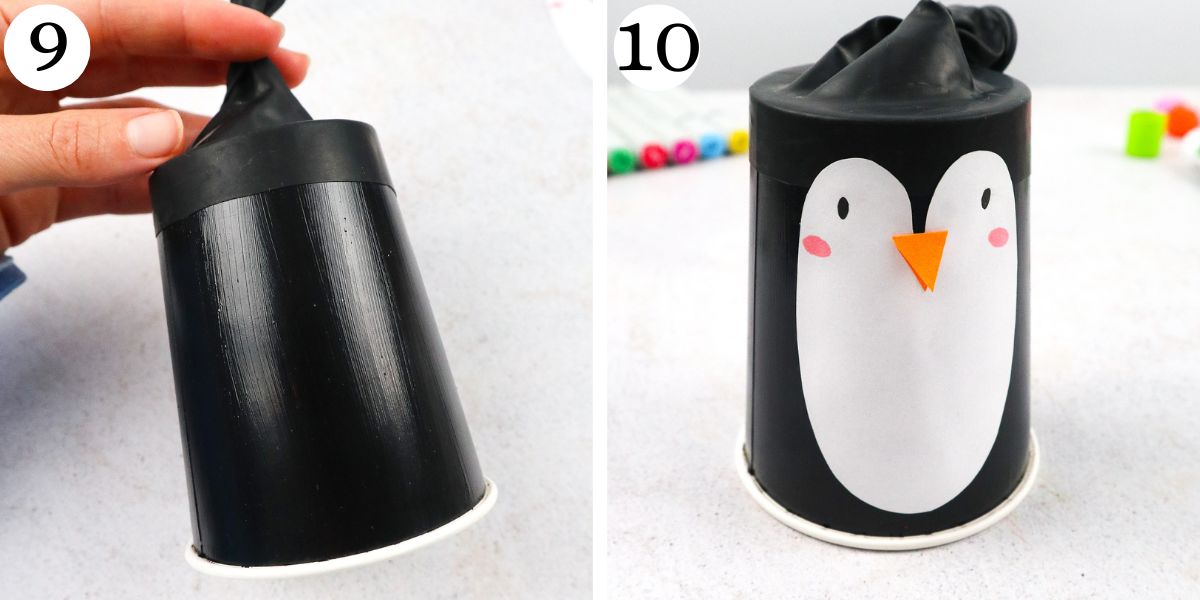
Step 11. Glue the wings on either side of the cup.
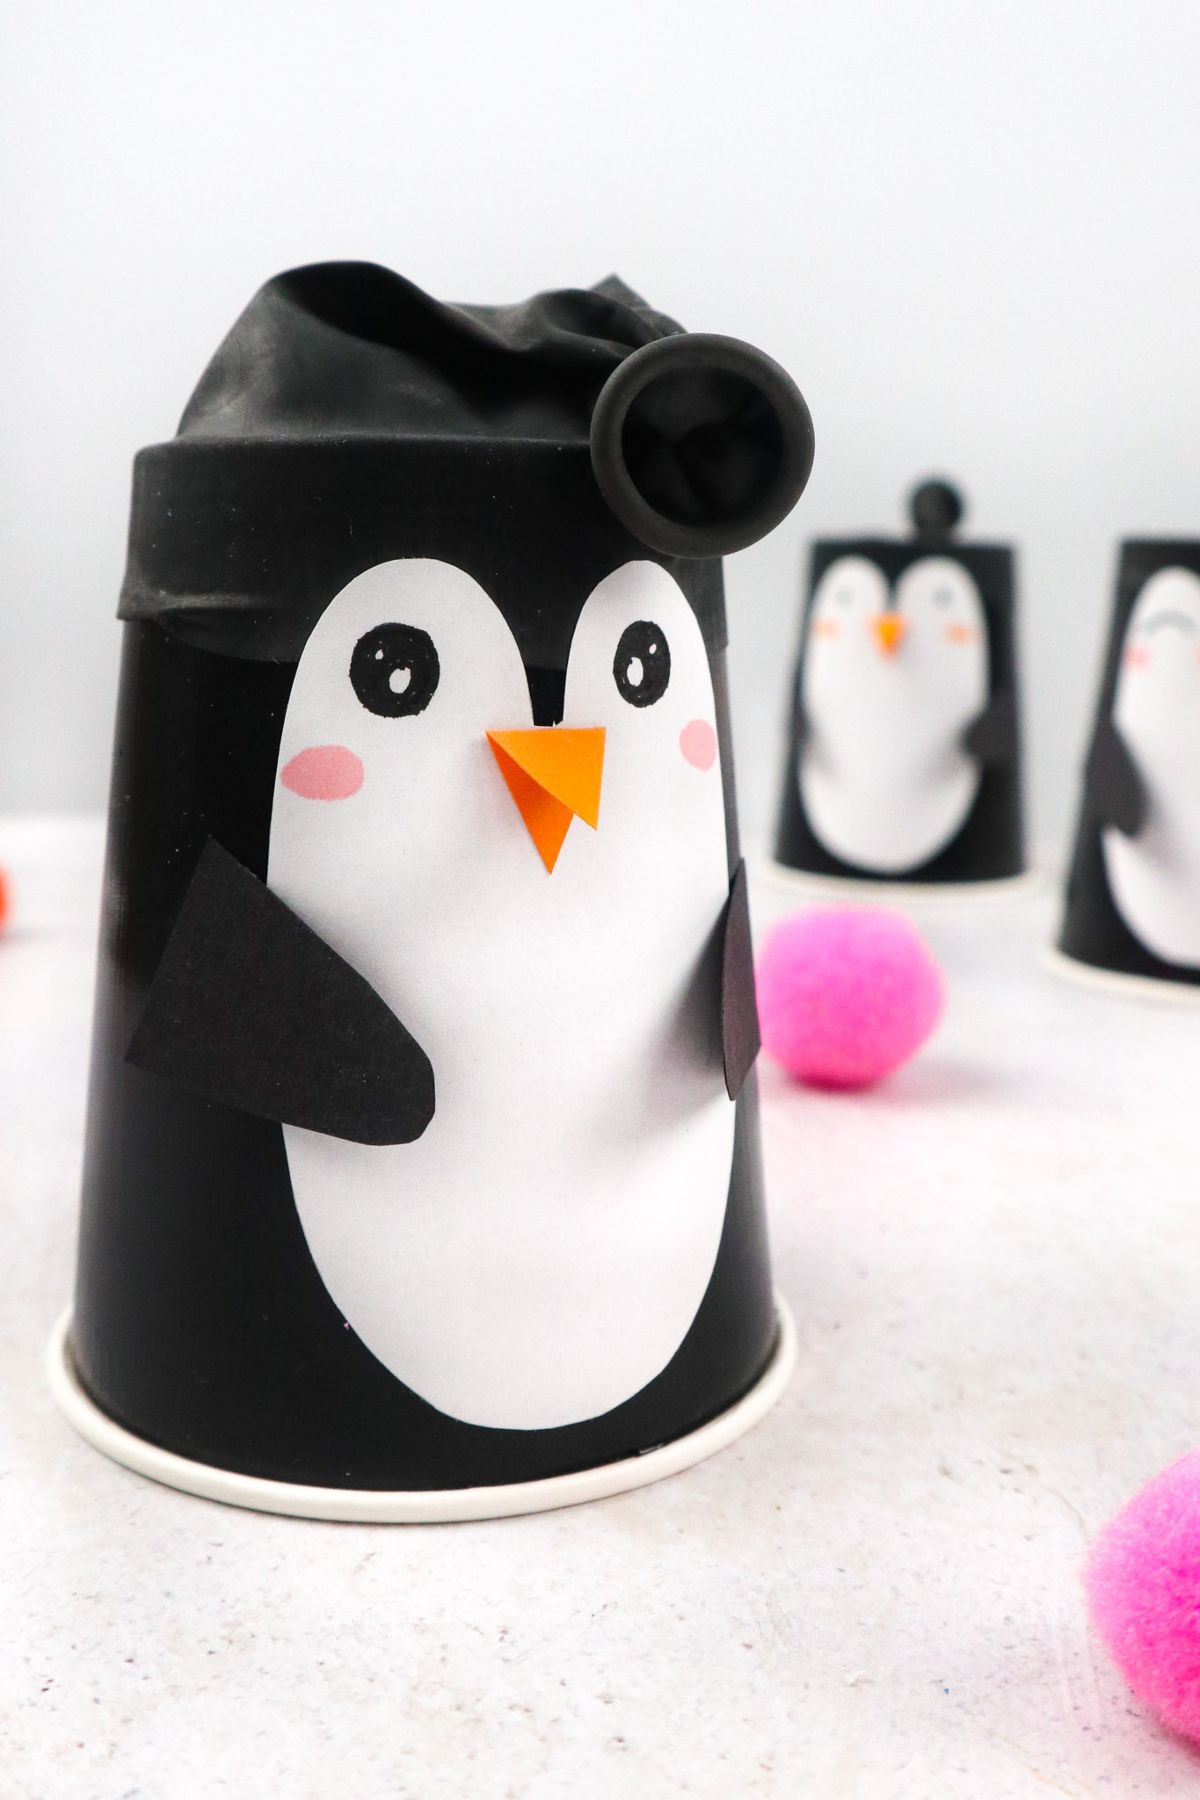
Step 12. Finally, add your pom poms into the cup. Your penguin popper is ready!
To use it, pull back the knot of the balloon and shoot the pom poms out. Have fun and enjoy!

How Long Do These Penguin Poppers Take to Make?
These penguin poppers are relatively quick to make. Each one should take about 15 minutes to make in total.
You can easily make enough for a party in a couple of hours. Drawing and cutting out the penguin’s body and features will take you about 10 minutes.
Preparing the cup and balloon will take a couple of minutes as well. The finishing touches only take a minute or two to complete.
More Crafts Like This
DIY Penguin Poppers
Equipment
- Scissors
Materials
- Black paper cup
- Black balloon
- Black construction paper
- Orange construction paper
- White thin paper
- Black marker
- Pink marker
- Glue stick
- Double sided tape
- Pom poms
Instructions
- First, let’s make our penguin’s body. To do this, draw a round, apple-like shape on a piece of paper (as shown) and cut it out.
- Next, fold a piece of orange paper in half and draw a triangular beak shape. Cut it out.
- Let’s make the wings. Draw them on your black construction paper and cut them out.
- Next are the eyes and cheeks. These will be drawn directly onto your penguin with your black and pink markers.
- Now, grab your orange beak and glue it onto your penguin’s face. It should be placed underneath the eyes and between the cheeks.
- Now, use your craft knife to cut the bottom/base out of the cup completely.
- Next, take your balloon and tie a knot at the end. Cut off the rounded end.
- Turn the cup upside down and add double-sided tape in a few places around the rim. This will be to add extra support for your balloon.
- Stretch the balloon over the rim of the base. It should stay in place.
- Now, use your glue to attach your penguin body to the cup.
- Glue the wings on either side of the cup.
- Finally, add your pom poms into the cup. Your penguin popper is ready! To use it, pull back the knot of the balloon and shoot the pom poms out. Have fun!


