How to Make Clay Rings (Step-by-Step)
This post may contain affiliate links: full affiliate disclosure.
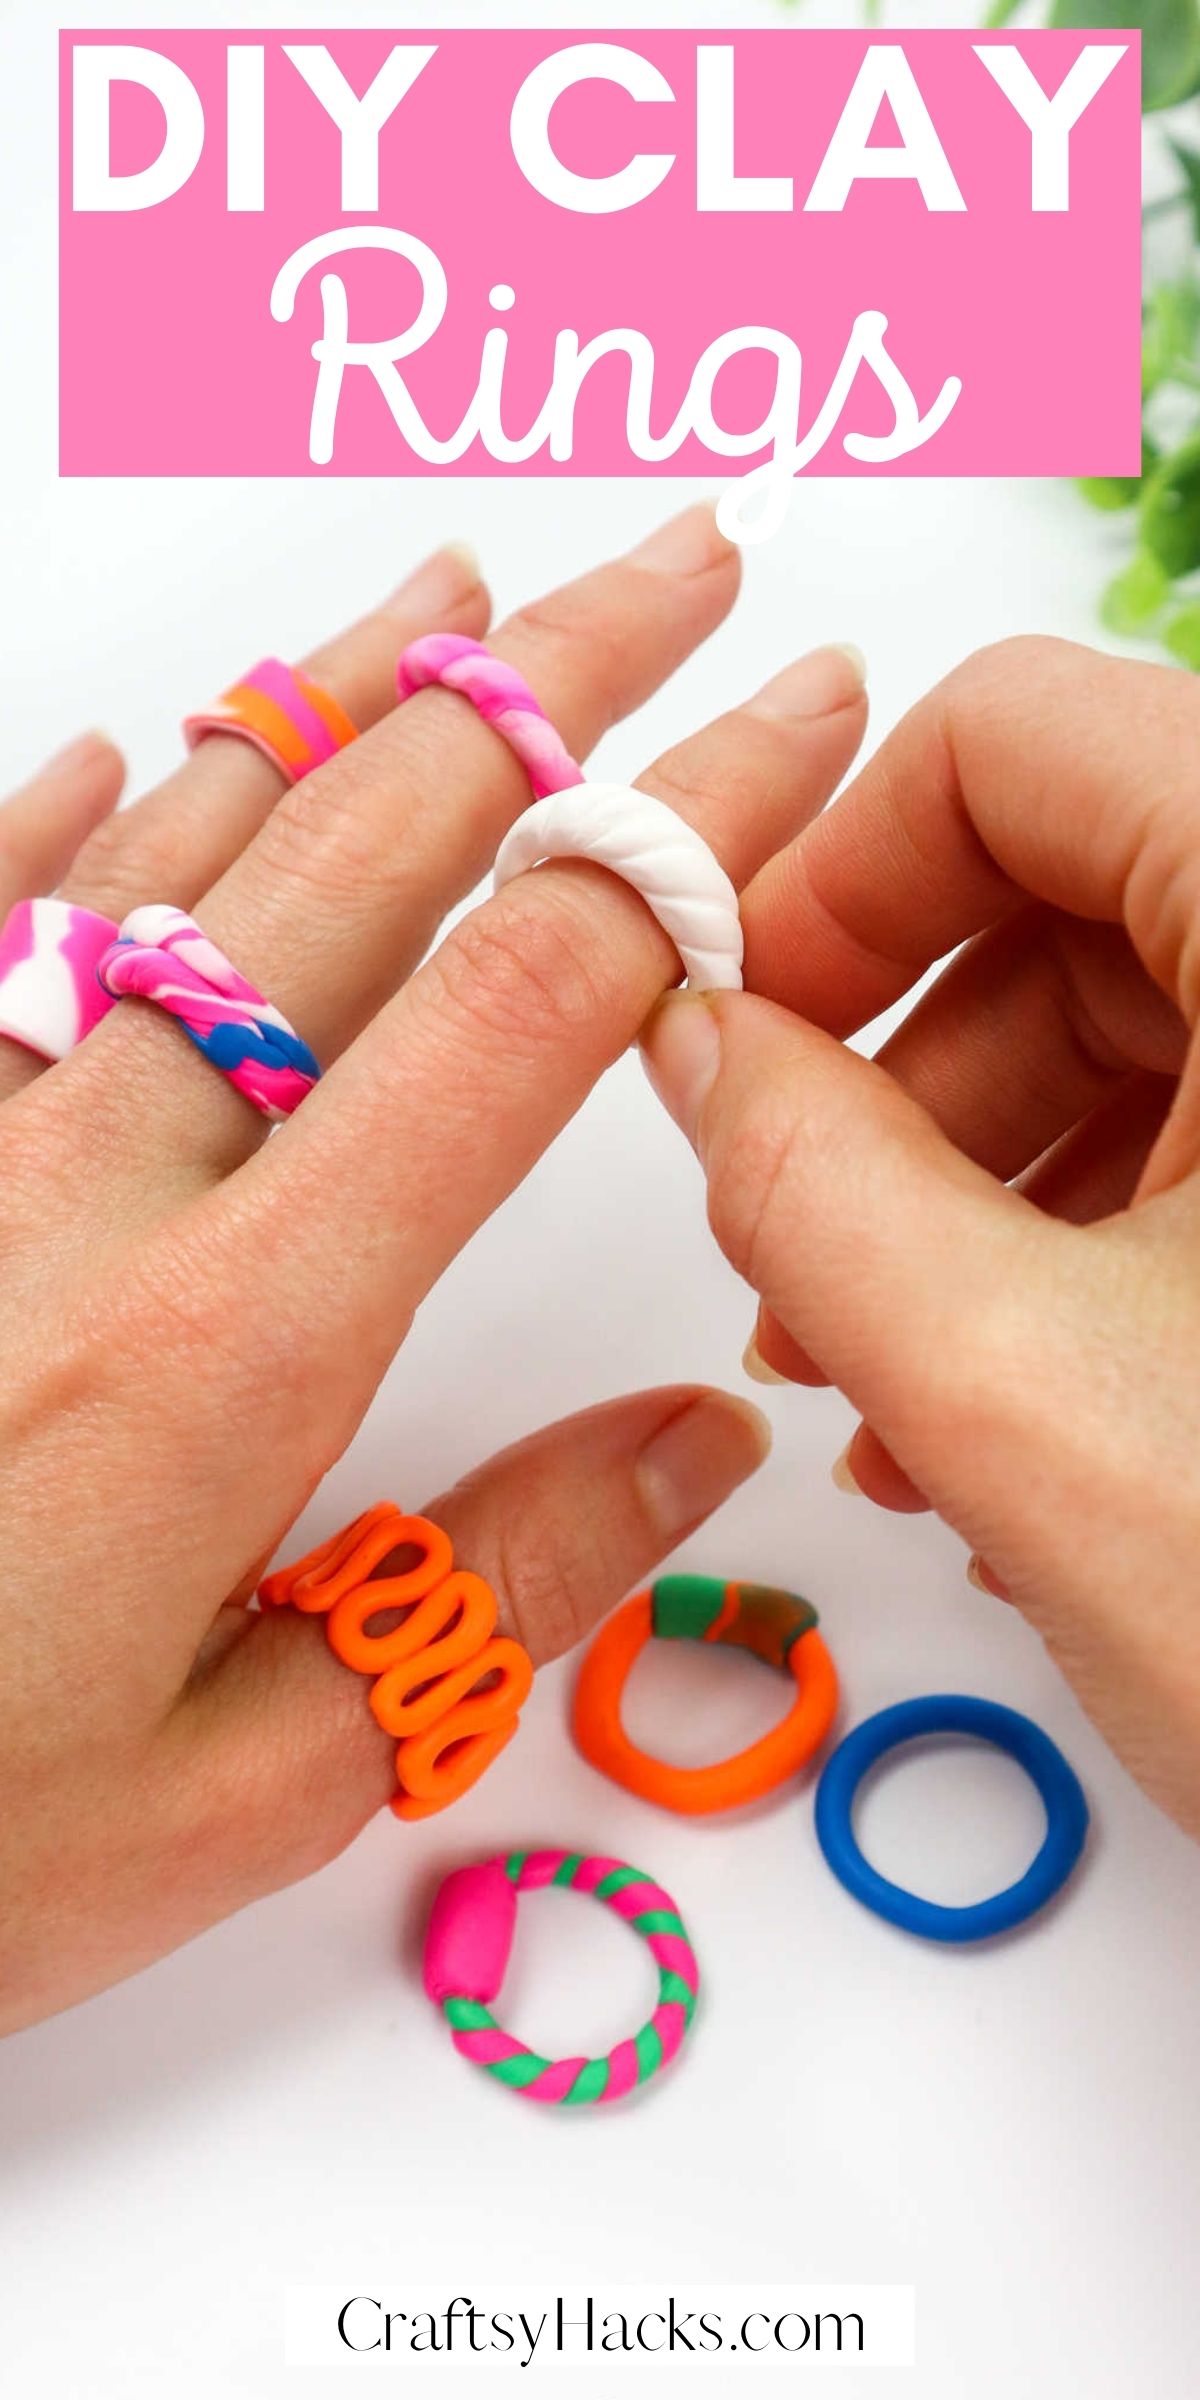
Got some clay and want to engage the little ones? This is a step-by-step tutorial on how to make clay rings. Simple and cute!
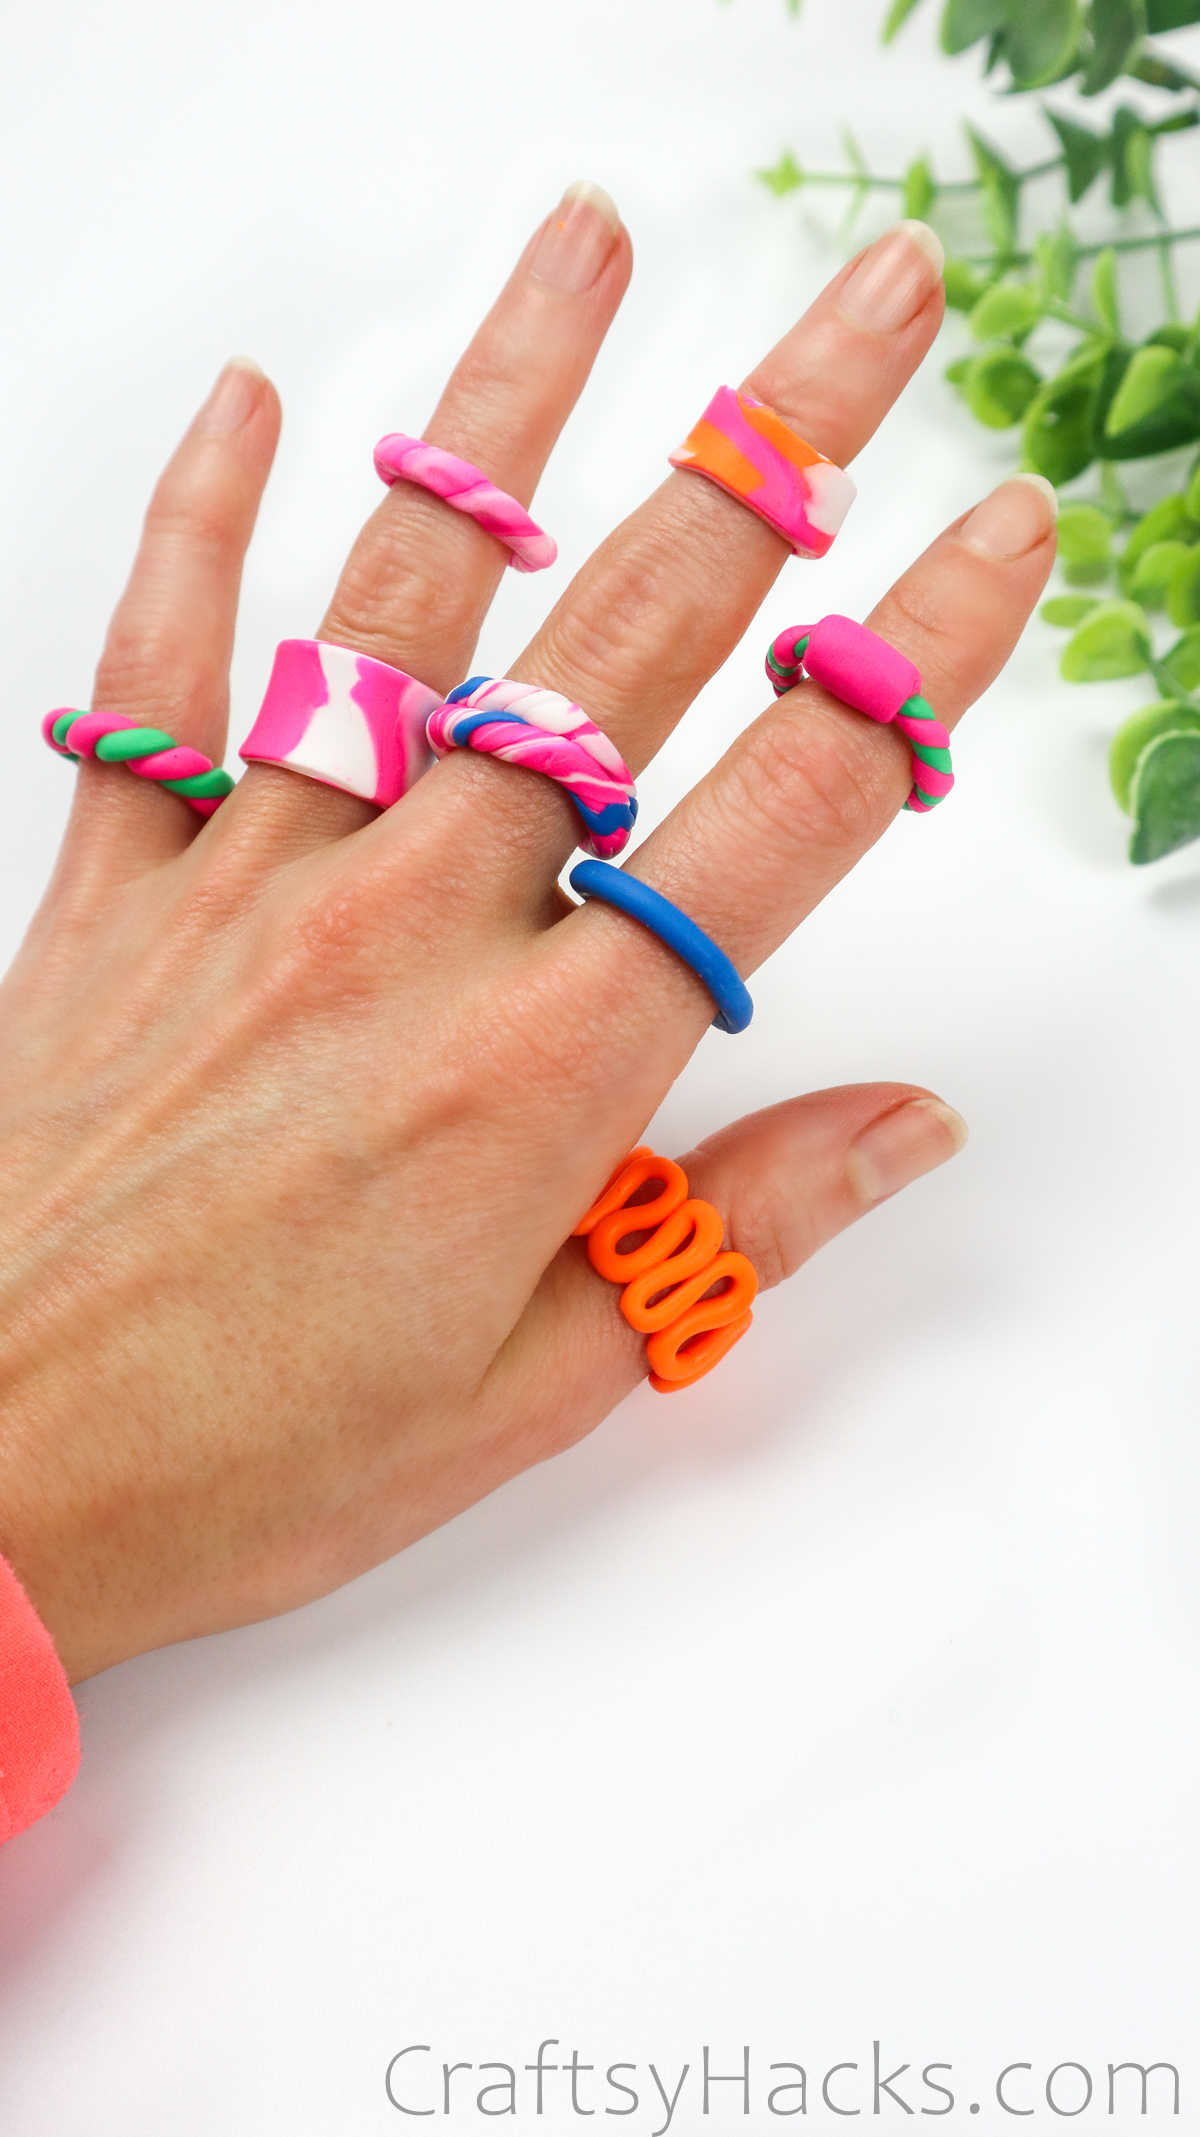
I love query rings on my fingers. I love how they look on my hands, especially when I’m working or even pottering away on some craft project.
They have a lovely tendency to detract from the monotony of any chore you’re doing, and they’re just colorful to boot.
Whether it’s to jazz up your hands, or you’re looking for a quick and easy DIY craft project for you and your little ones to work on, these clay rings should definitely be on your list. You can even make plenty of these ahead of time and use them as party favors and gifts!
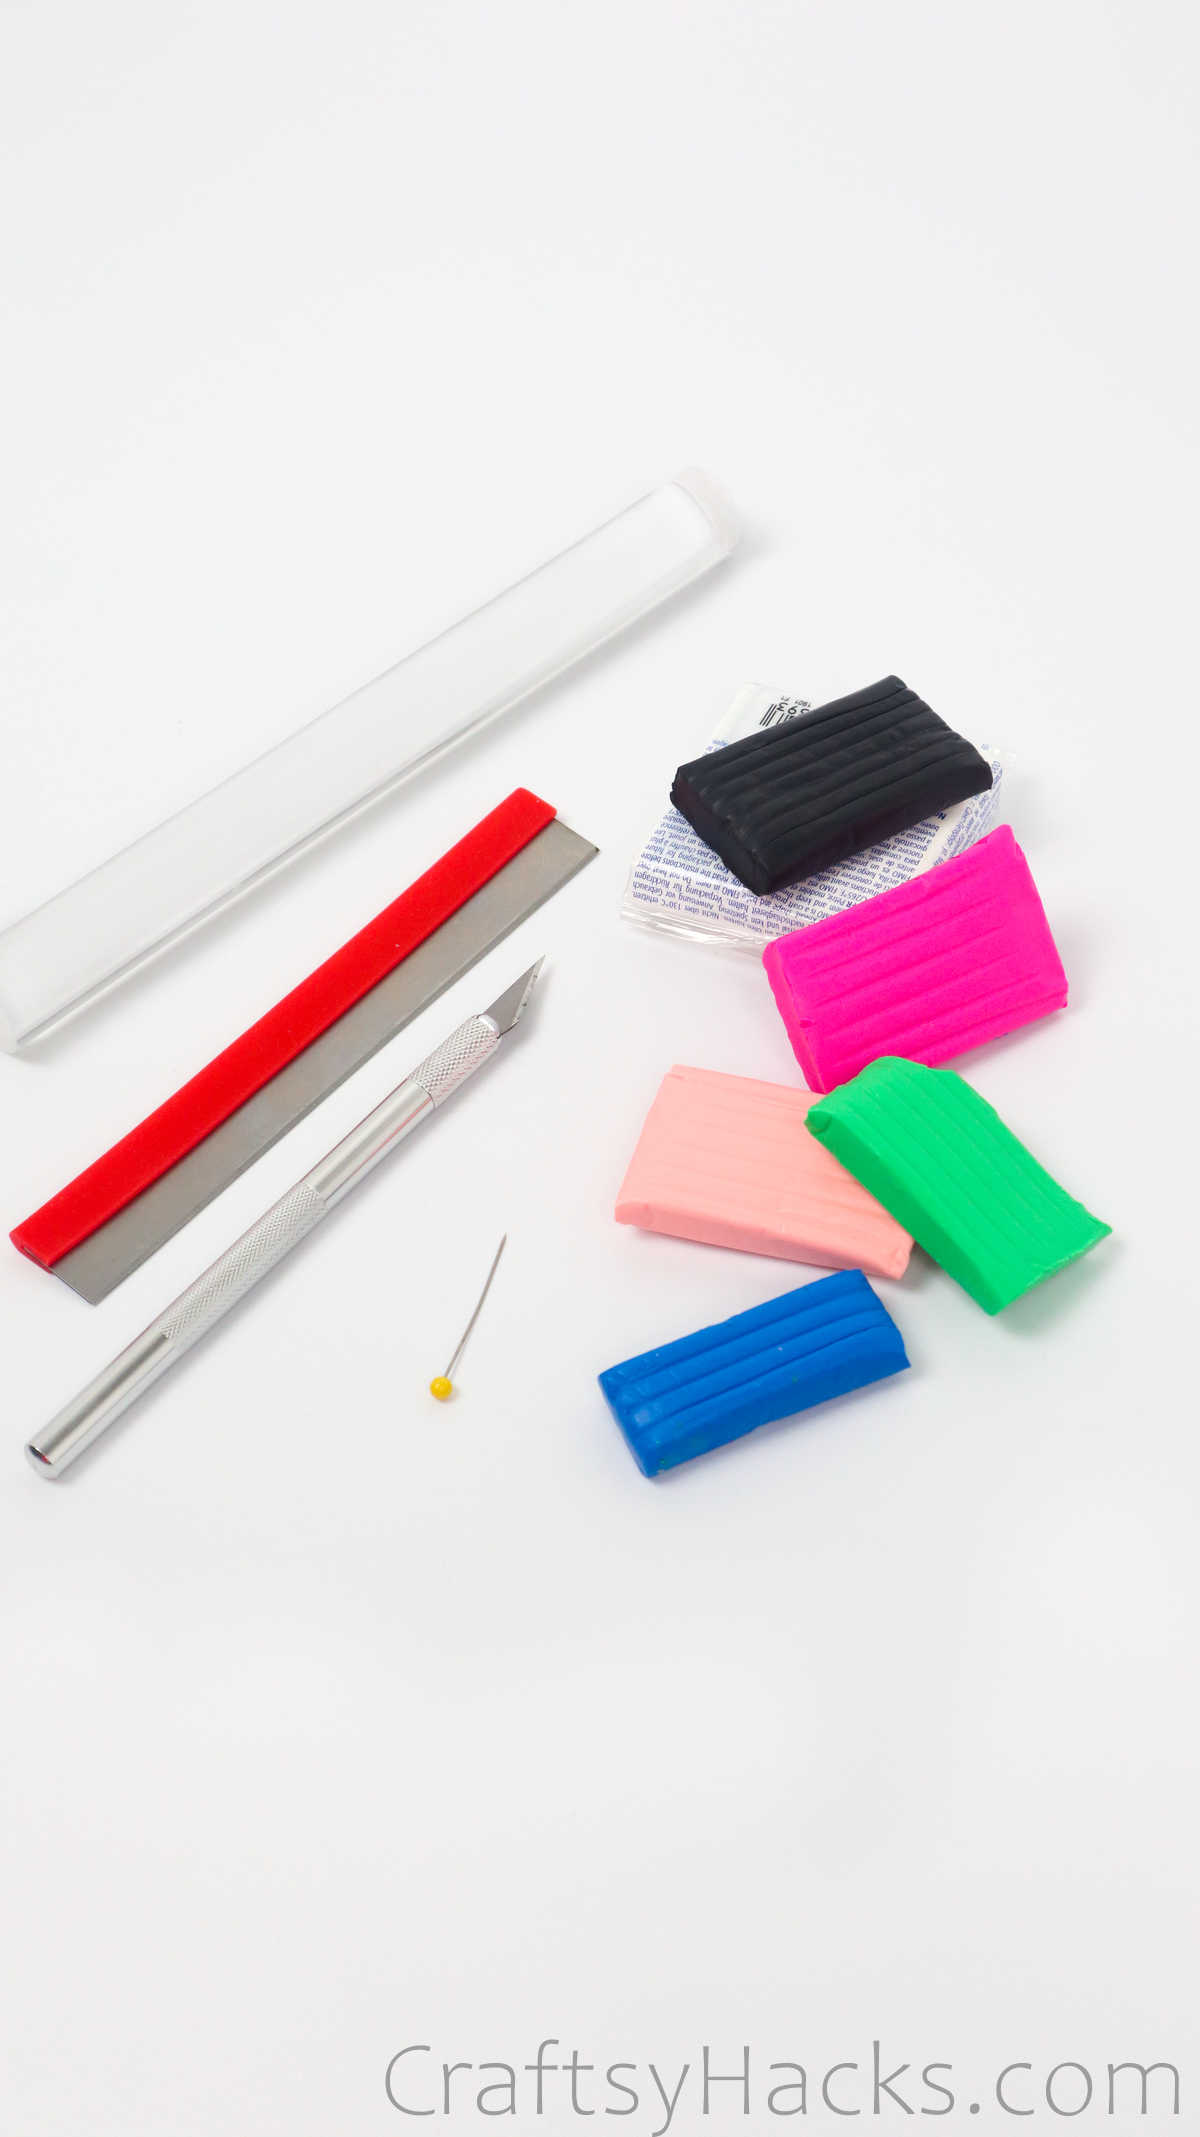
Before you get right down to it, take a look at the supplies and tools you’ll need to work on this project.
Supplies and Tools You’ll Need
- Polymer clay
- Rolling pin
- Cutter blade
- Craft knife
- 1x sewing pin
After you’ve crafted your rings, you’ll need to ‘set’ them by baking. So here’s what you need for that next step of the project.
For Baking
- Aluminium foil
- Baking tray
- Parchment paper
How to Make Clay Rings
How to Make Clay Rings
You’ve gathered all your ingredients and tools, and you’ve laid out newspapers to help control the mess that’s bound to happen. You will be working on five–five!–different designs, so it’s time you get started!
Video Tutorial
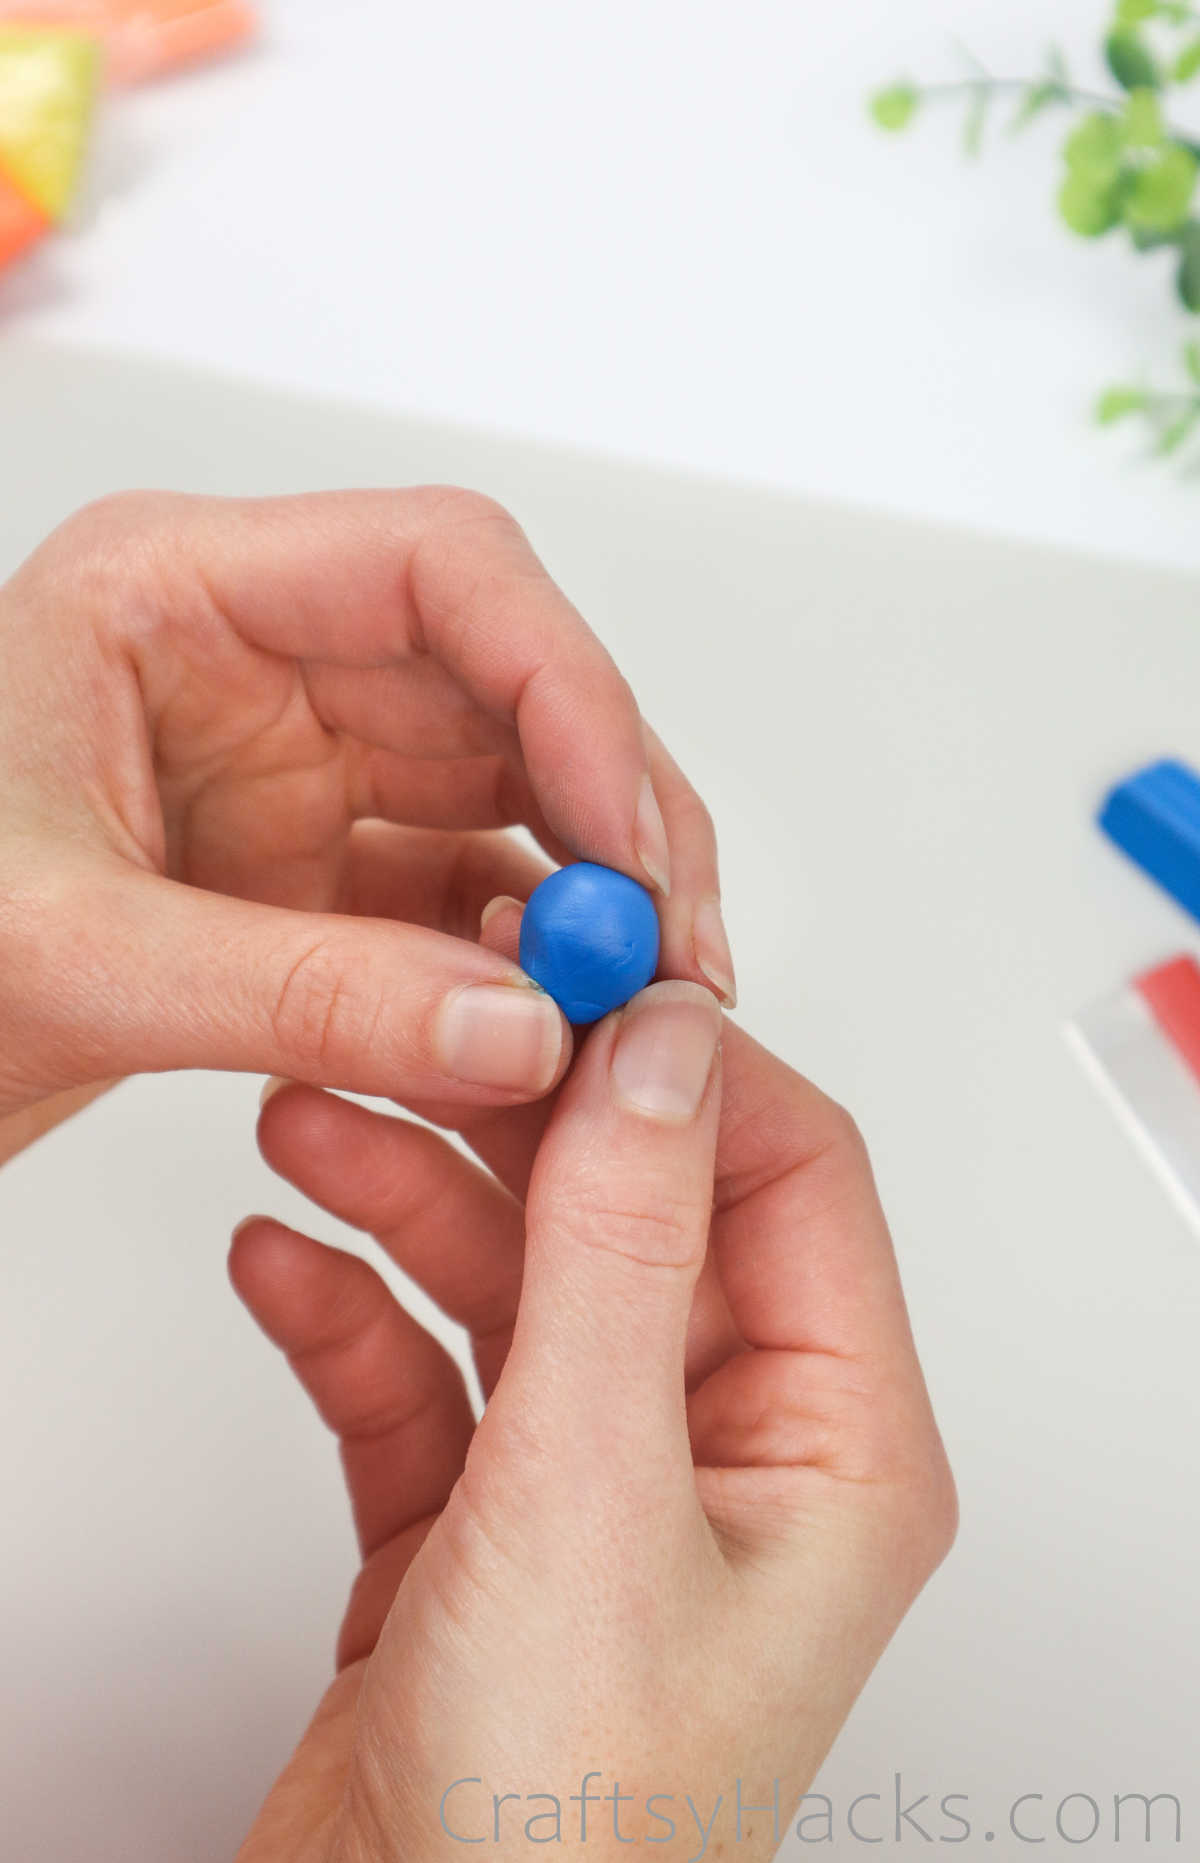
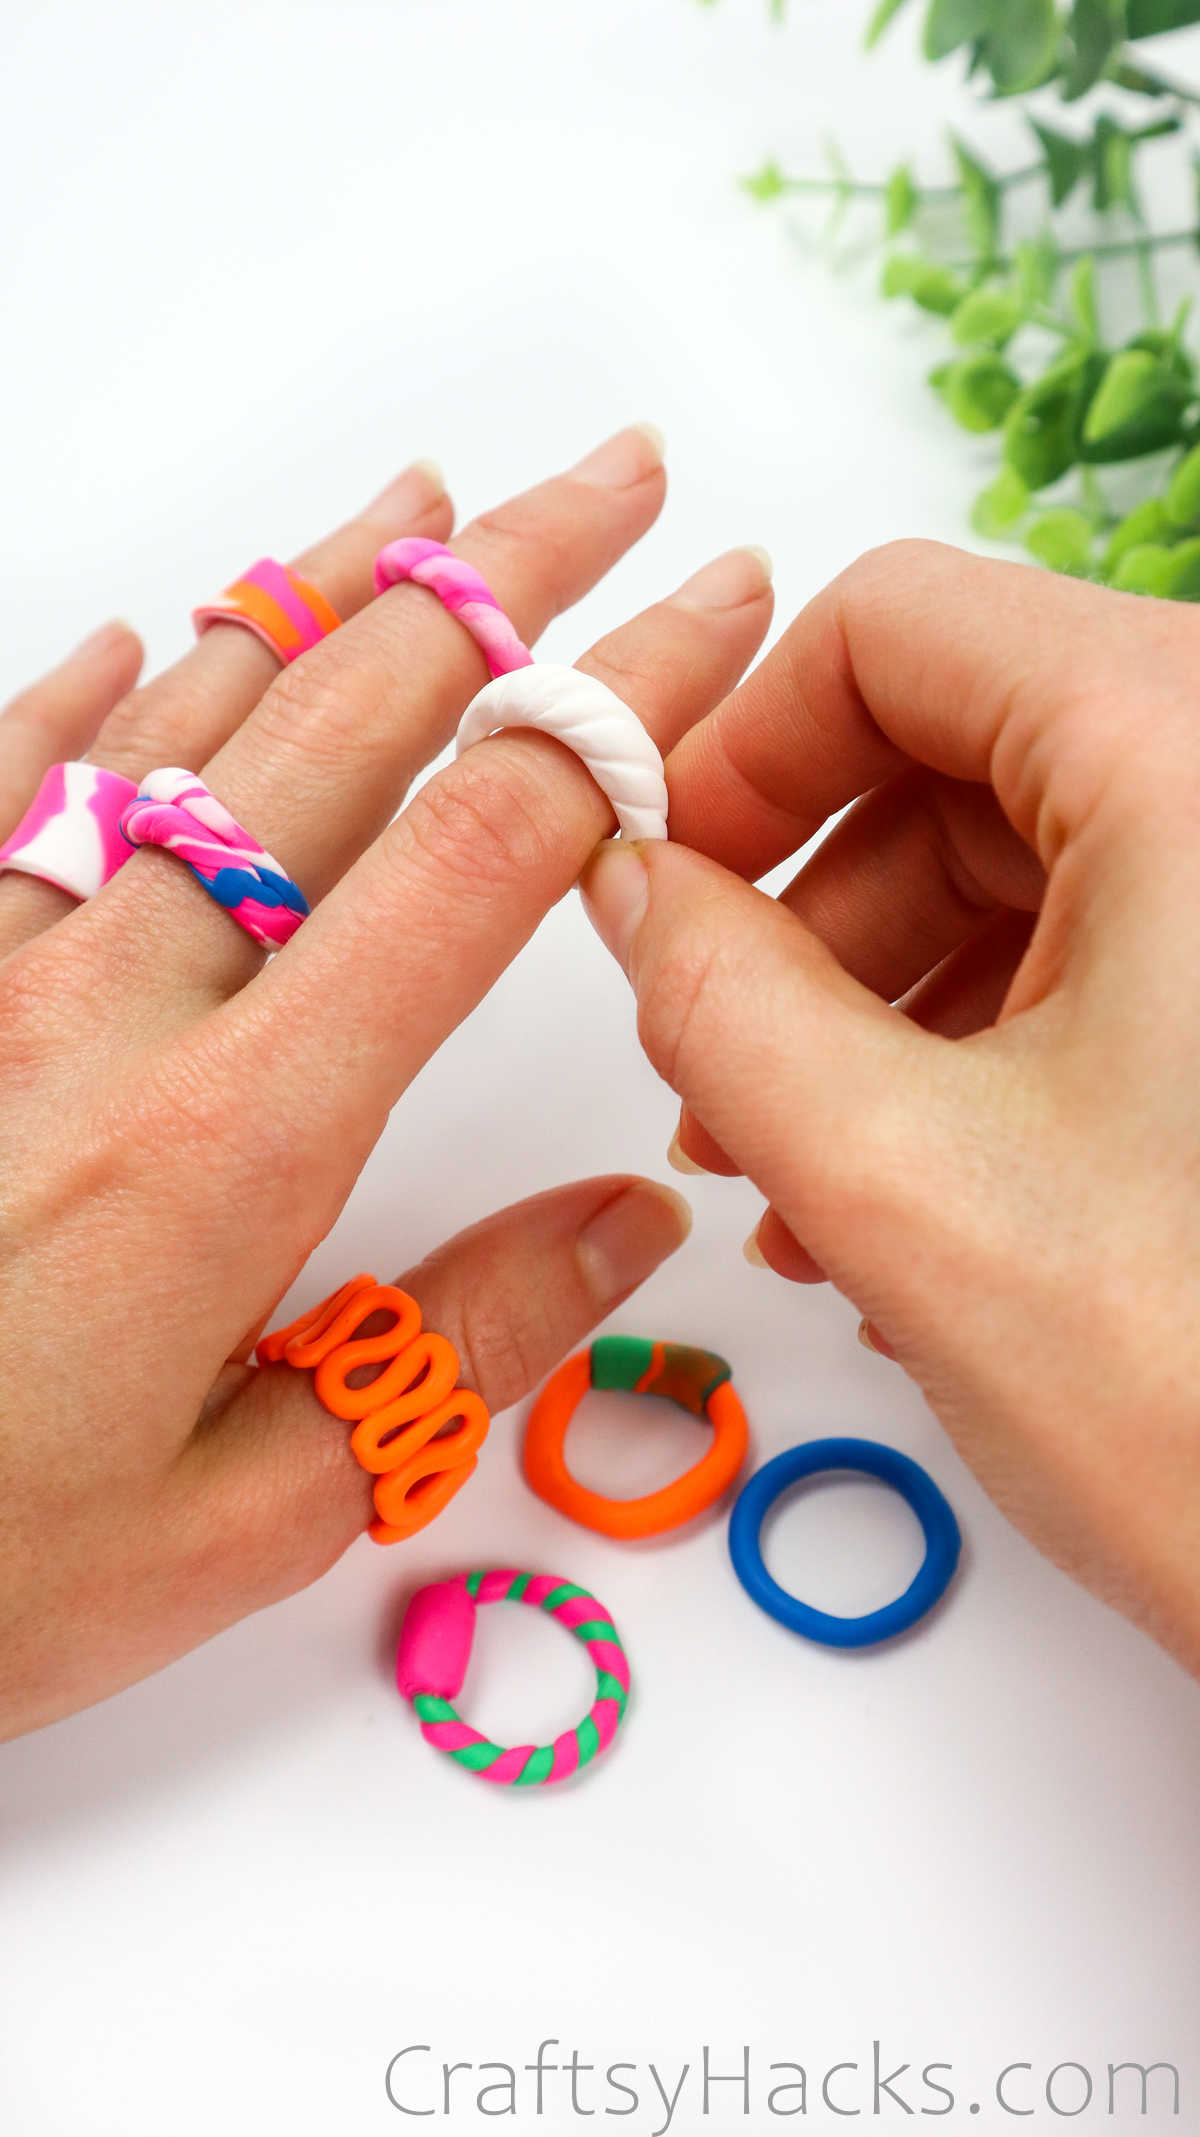
Pattern 1
Pull apart a portion of clay and roll it into a tiny ball, just so. If you knead it too much, the dough will soften up too much. If this happens, just set it aside and allow it to cool and harden a little before proceeding.
This step is the same for just about any ring you make, with a few alterations if you decide to add multiple colors to the mix.
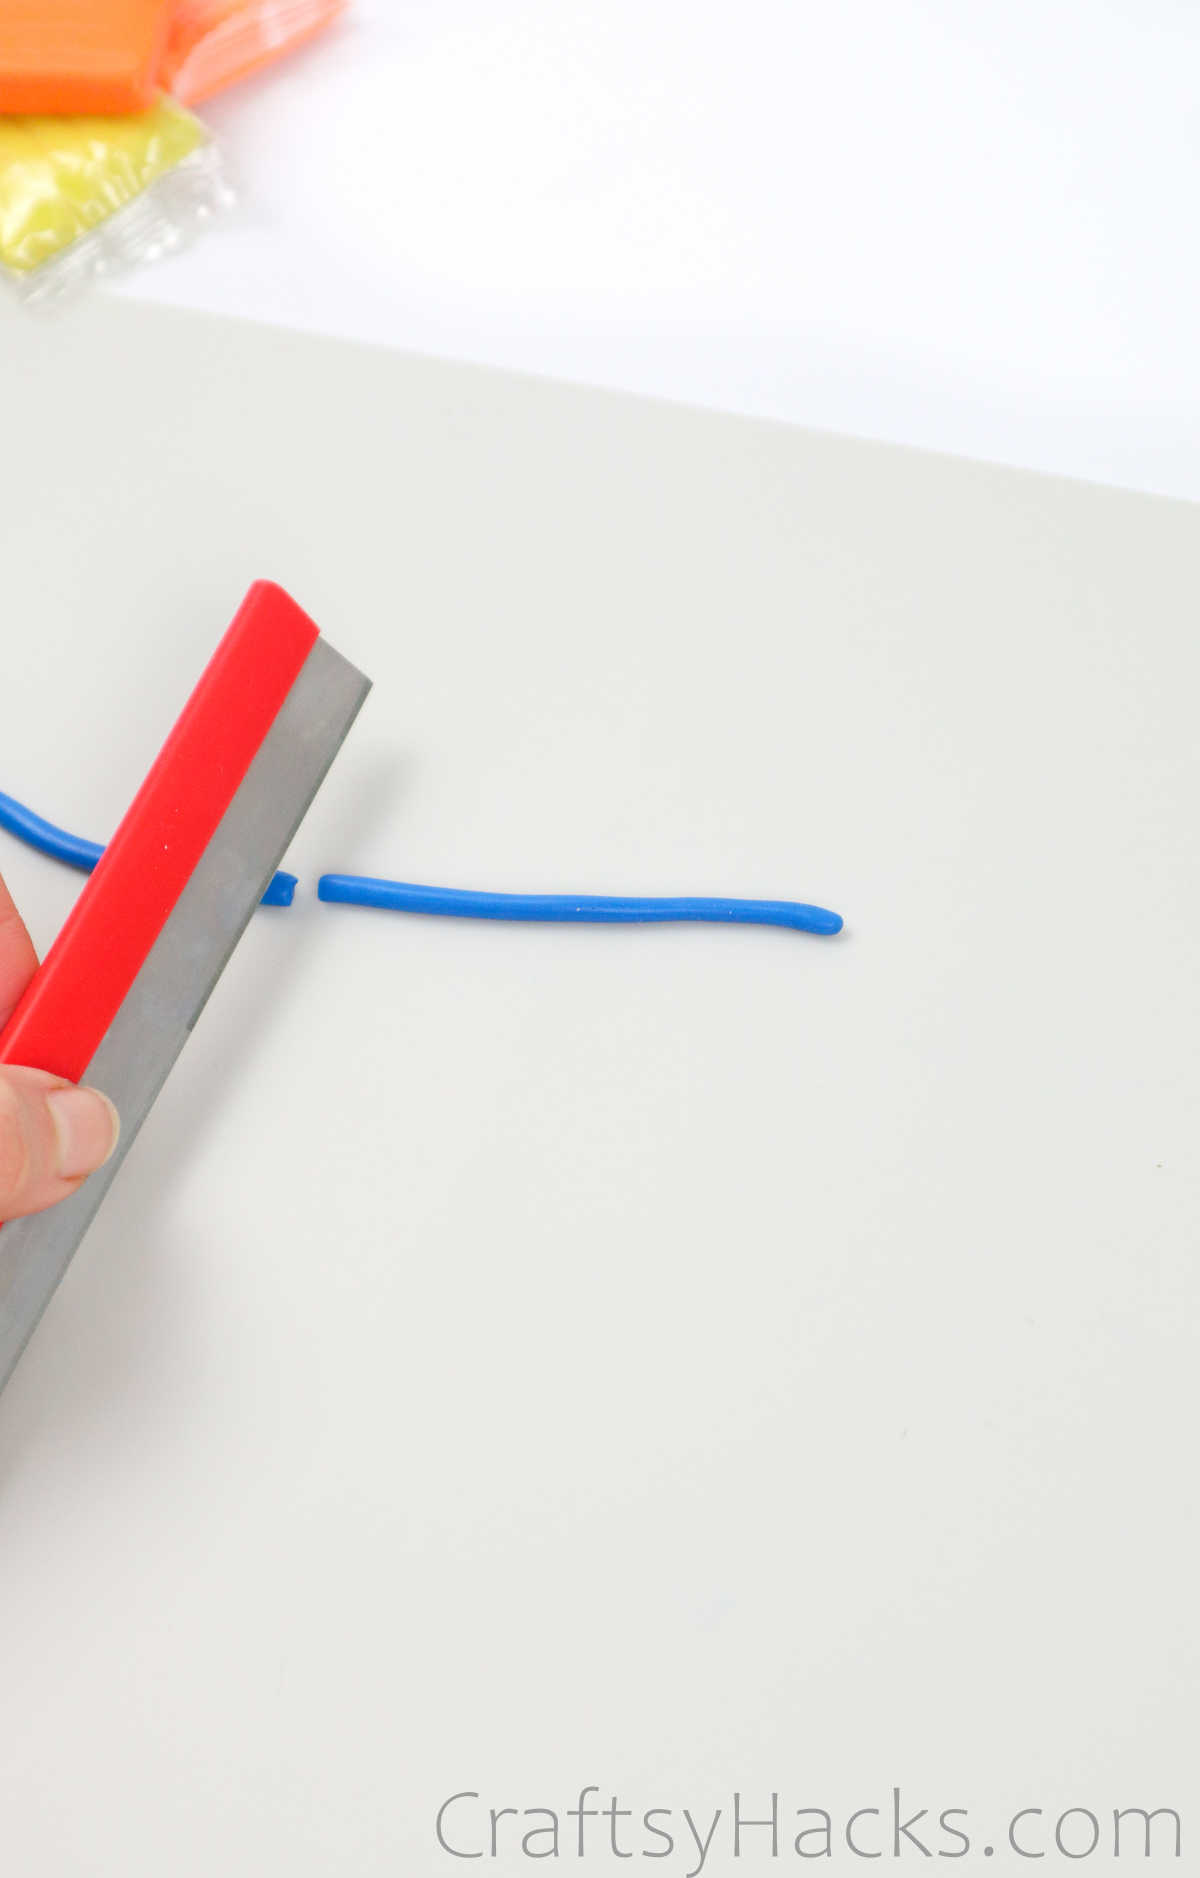
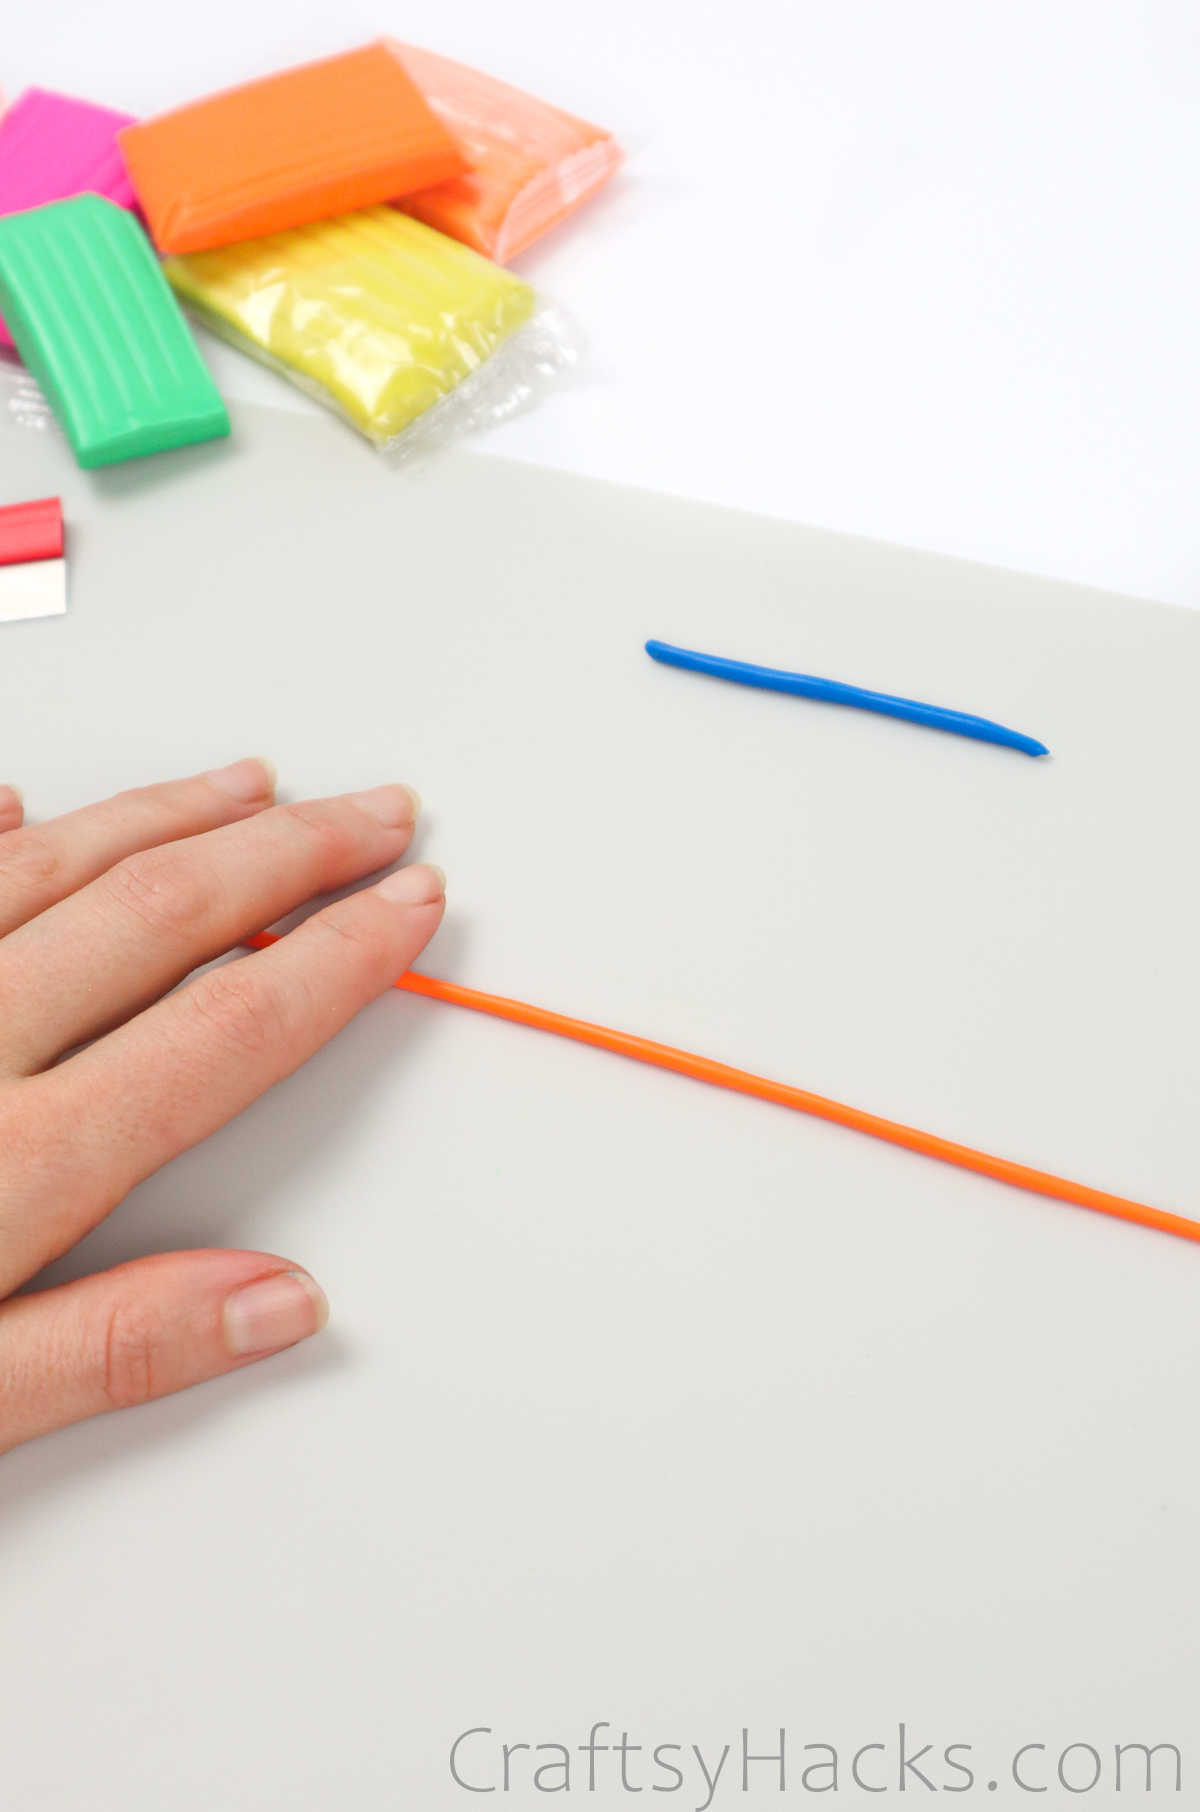
Next, using the flat of your parm, gently roll out the clay into a long and thin cylinder against a flat working surface.
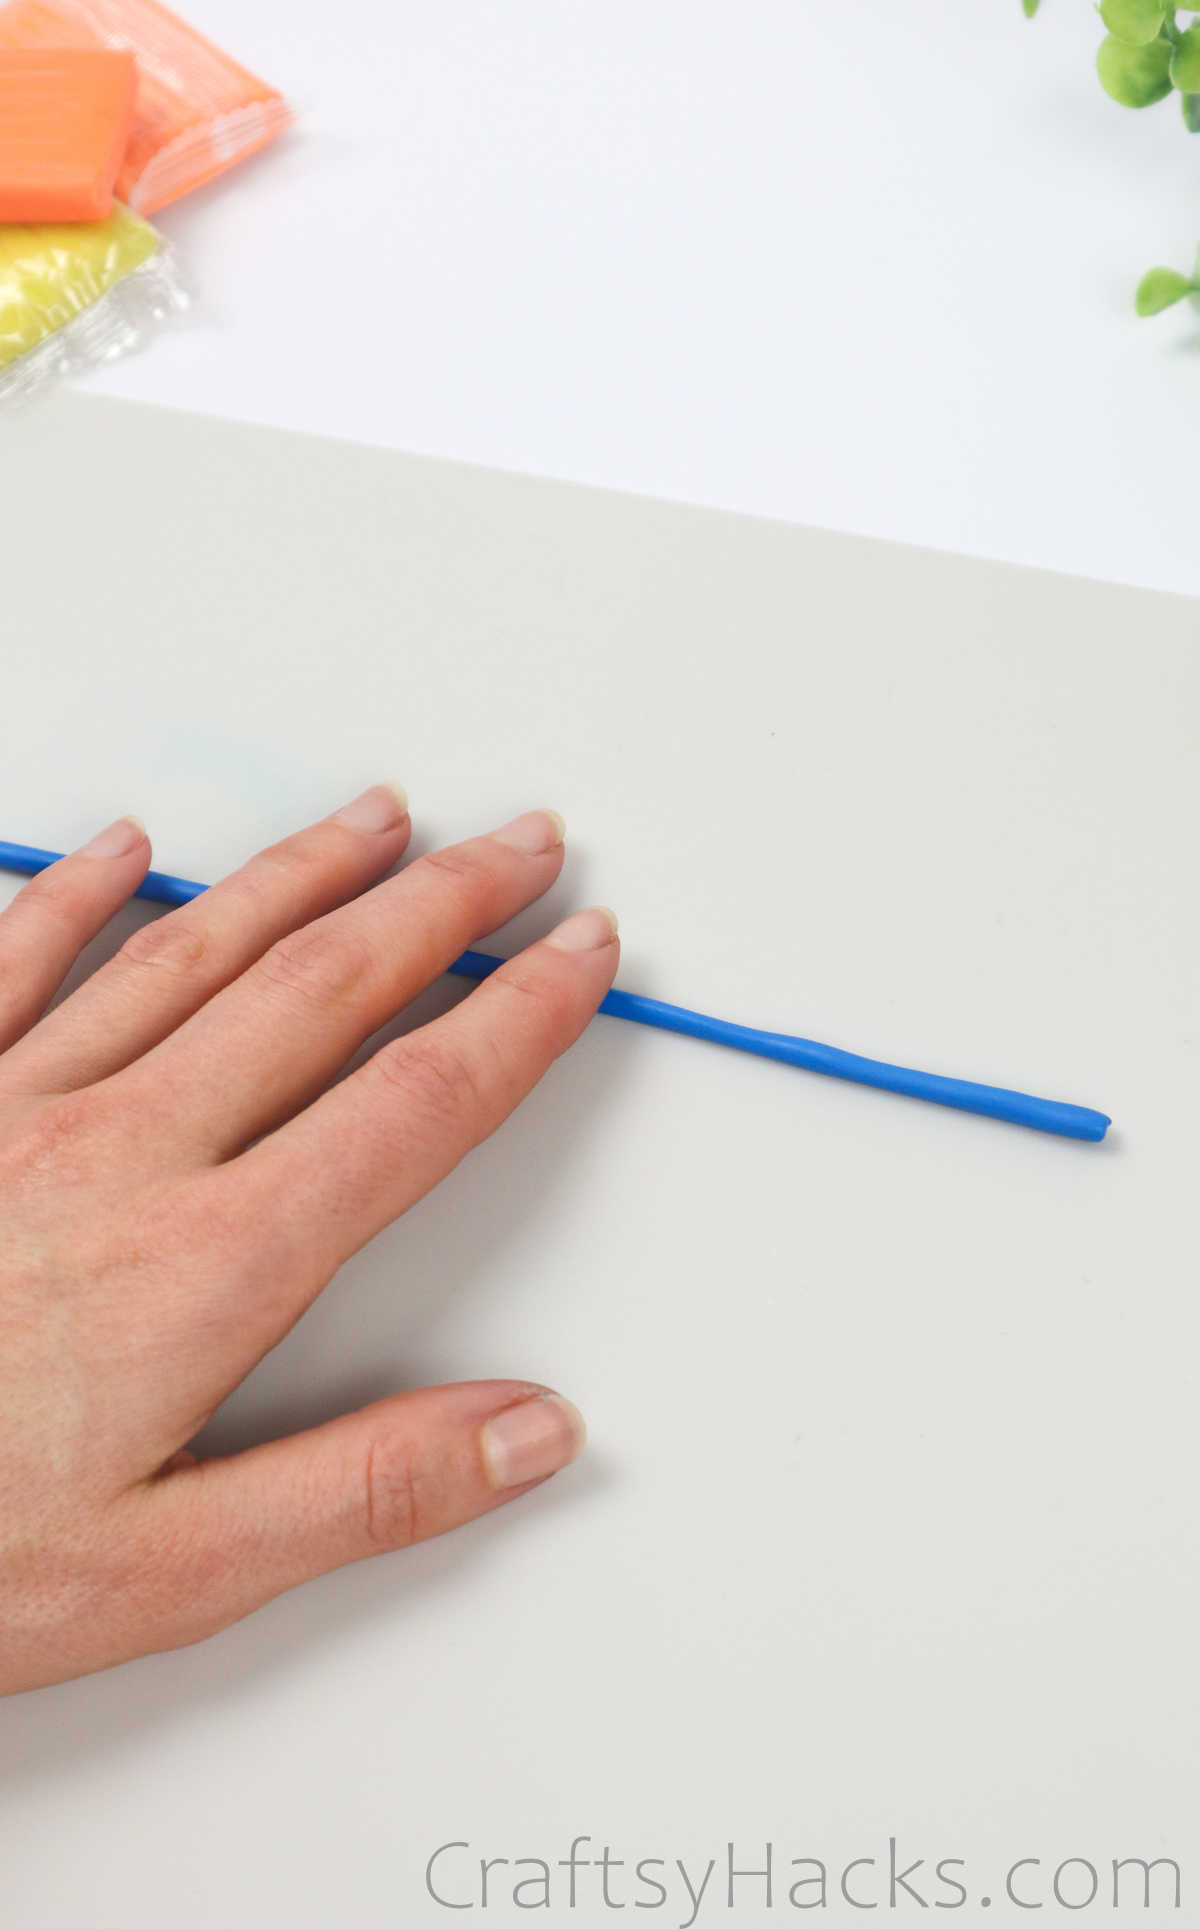
Wrap this thin line of clay around your finger to measure the circumference of the ring.
Grab your cutting tool and simply cut away the measured length. Set aside the rest of the clay.
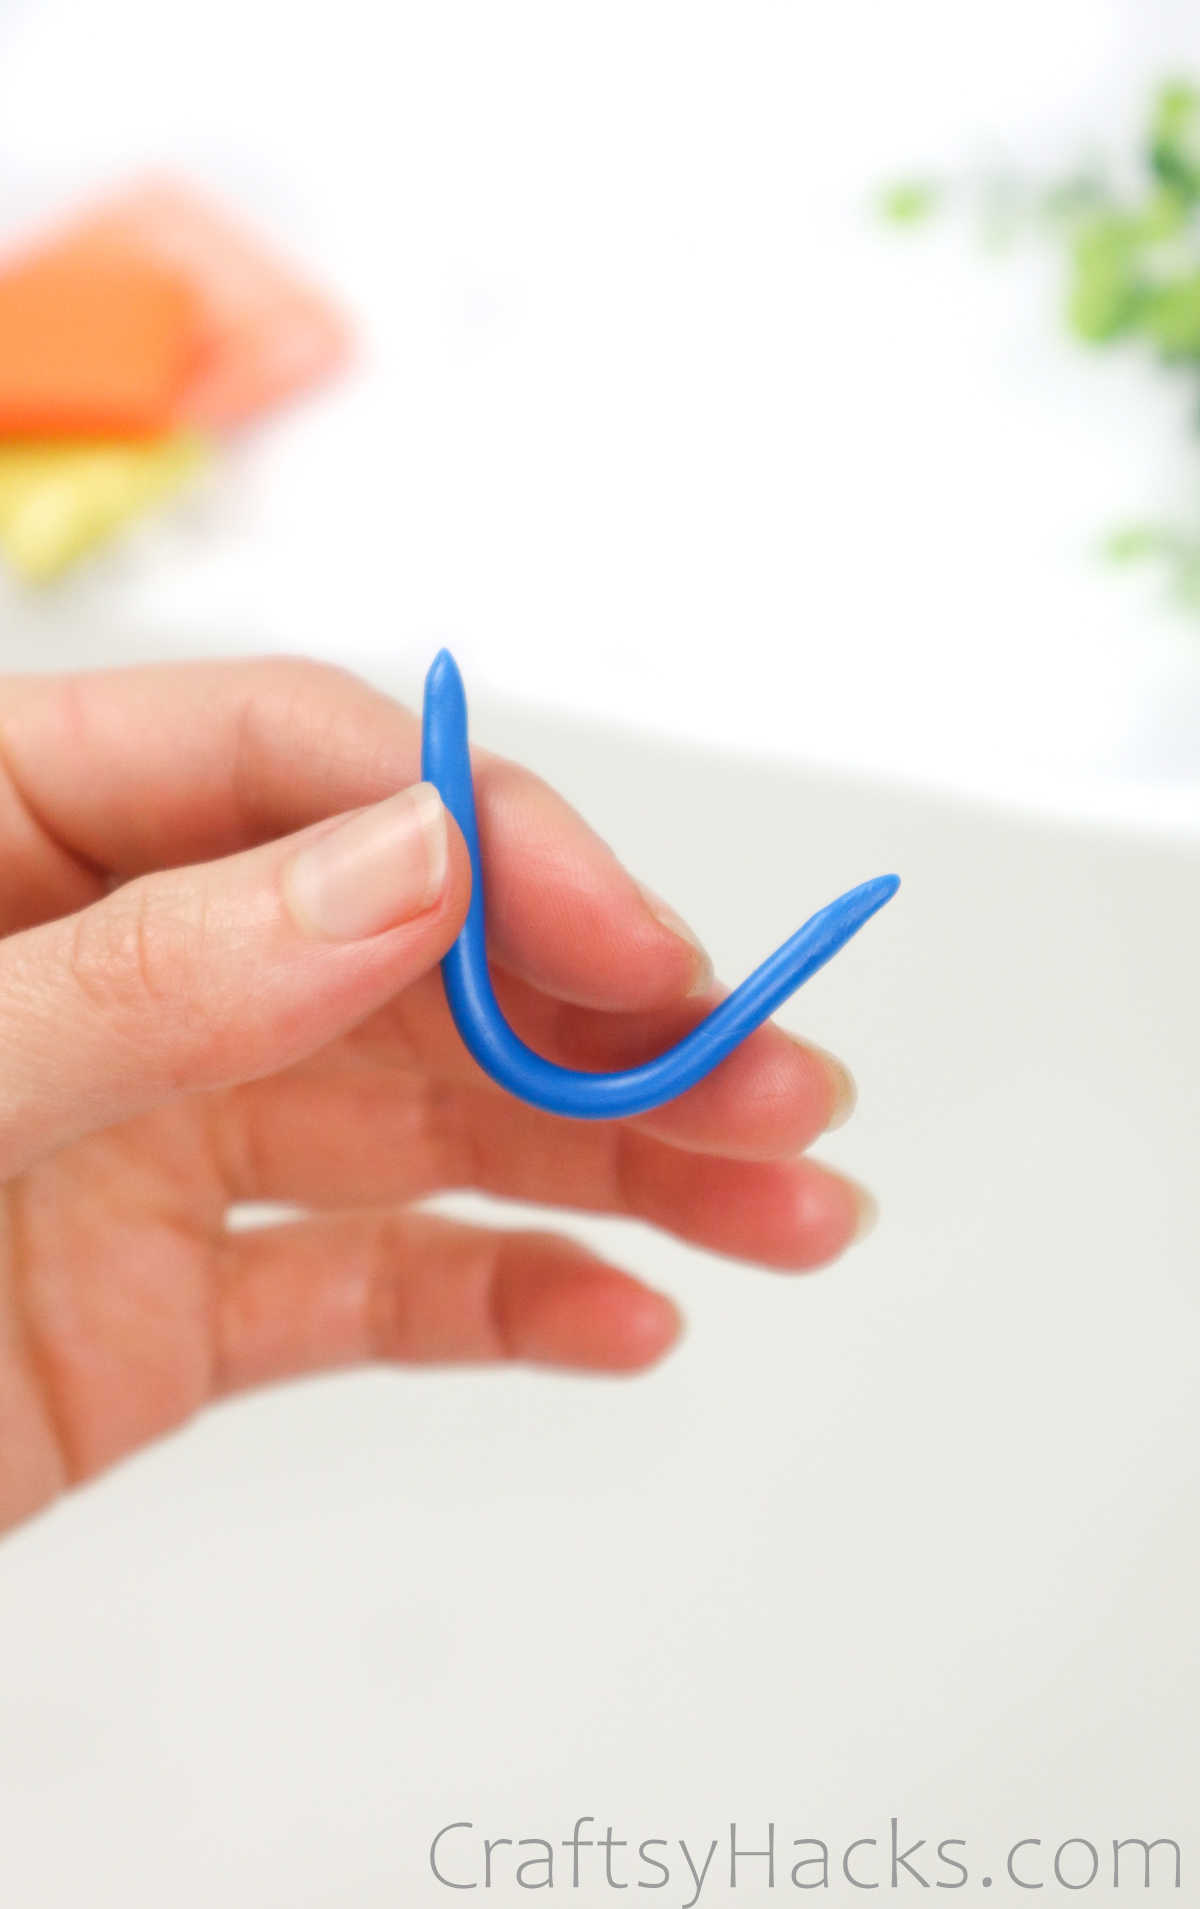
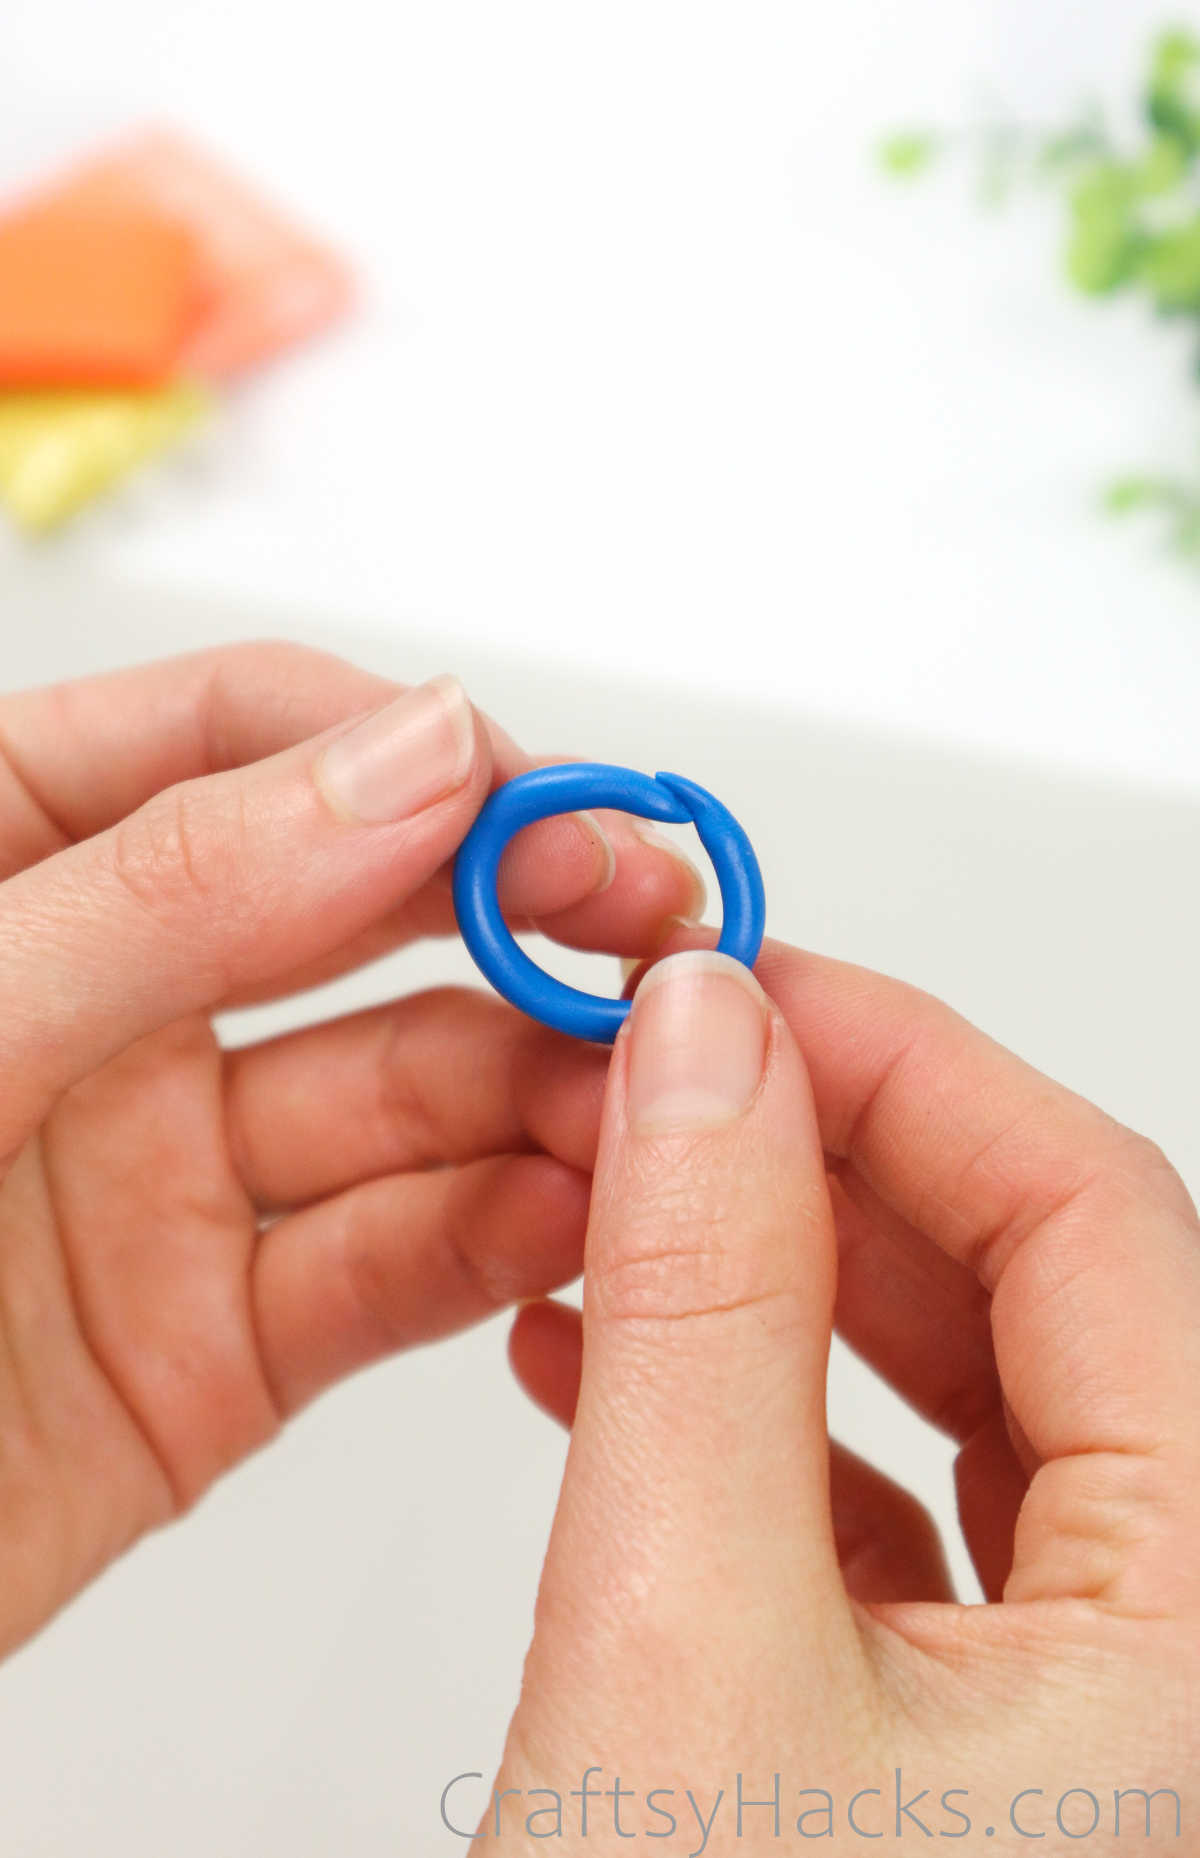
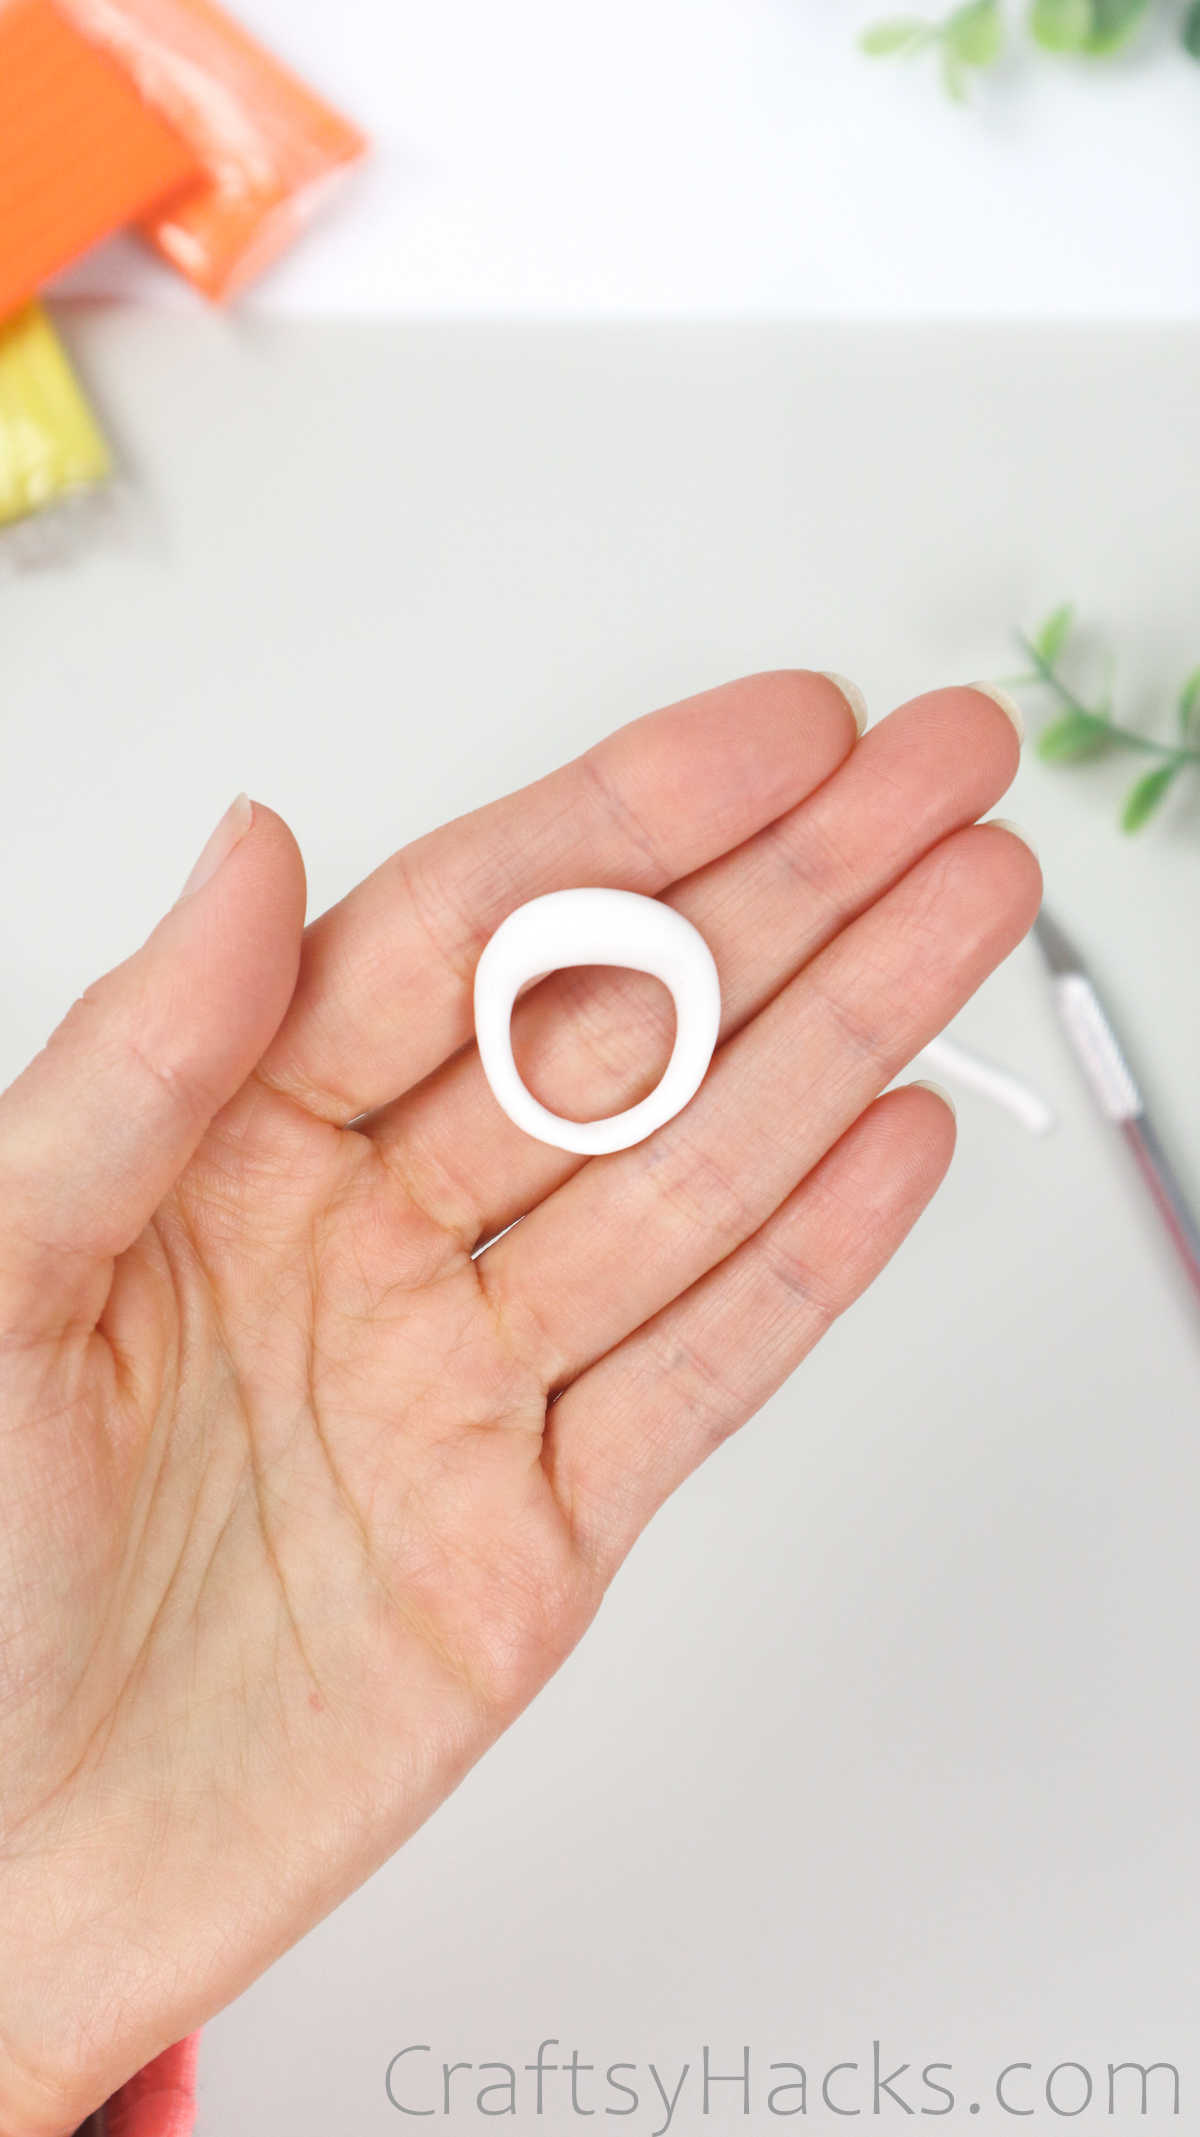
Next, you’re going to attach the ends. For this, just bring the two ends together and press them to blend the clay. Use your fingers to merge the clay and even roll it into the same girth as the rest of the ring.
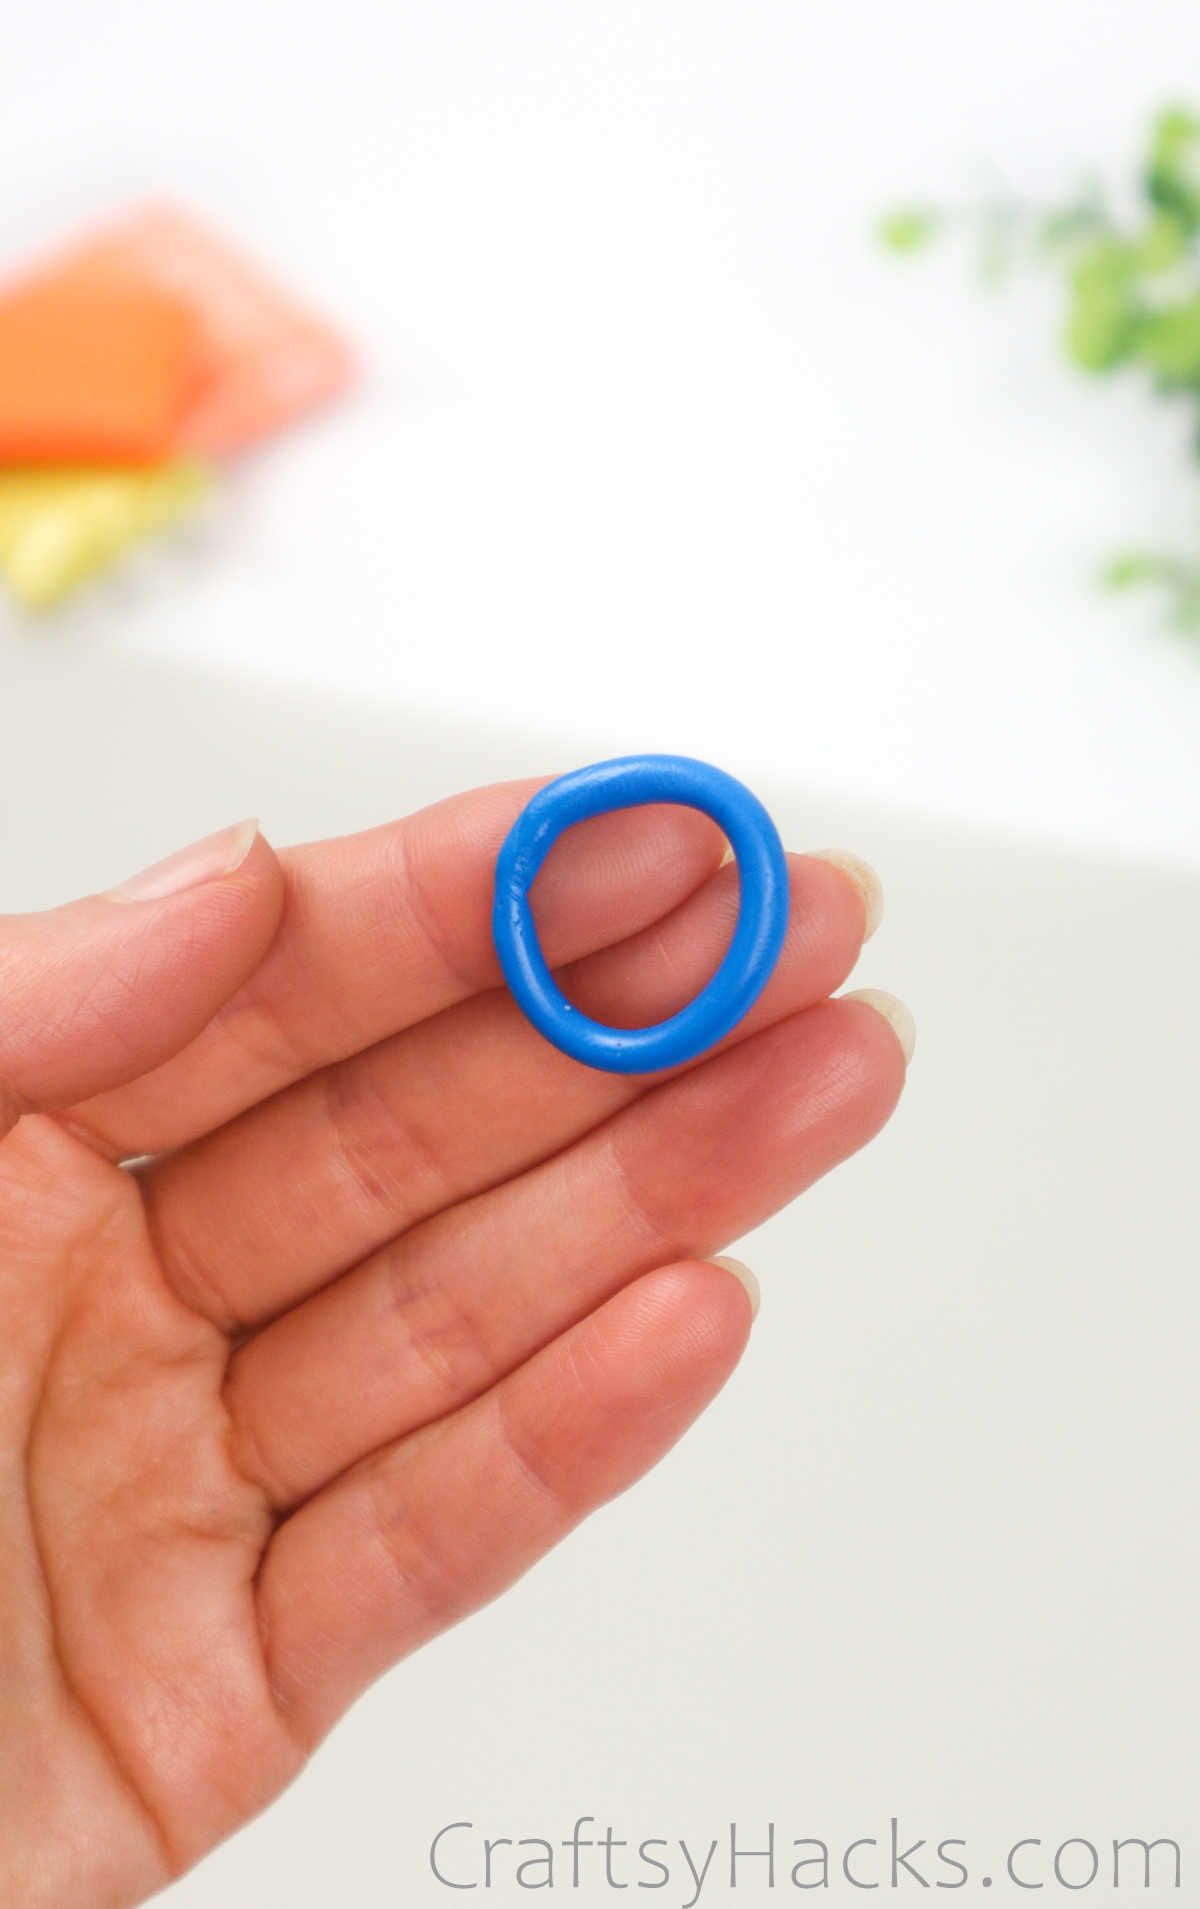
Set it aside on a baking tray for now.
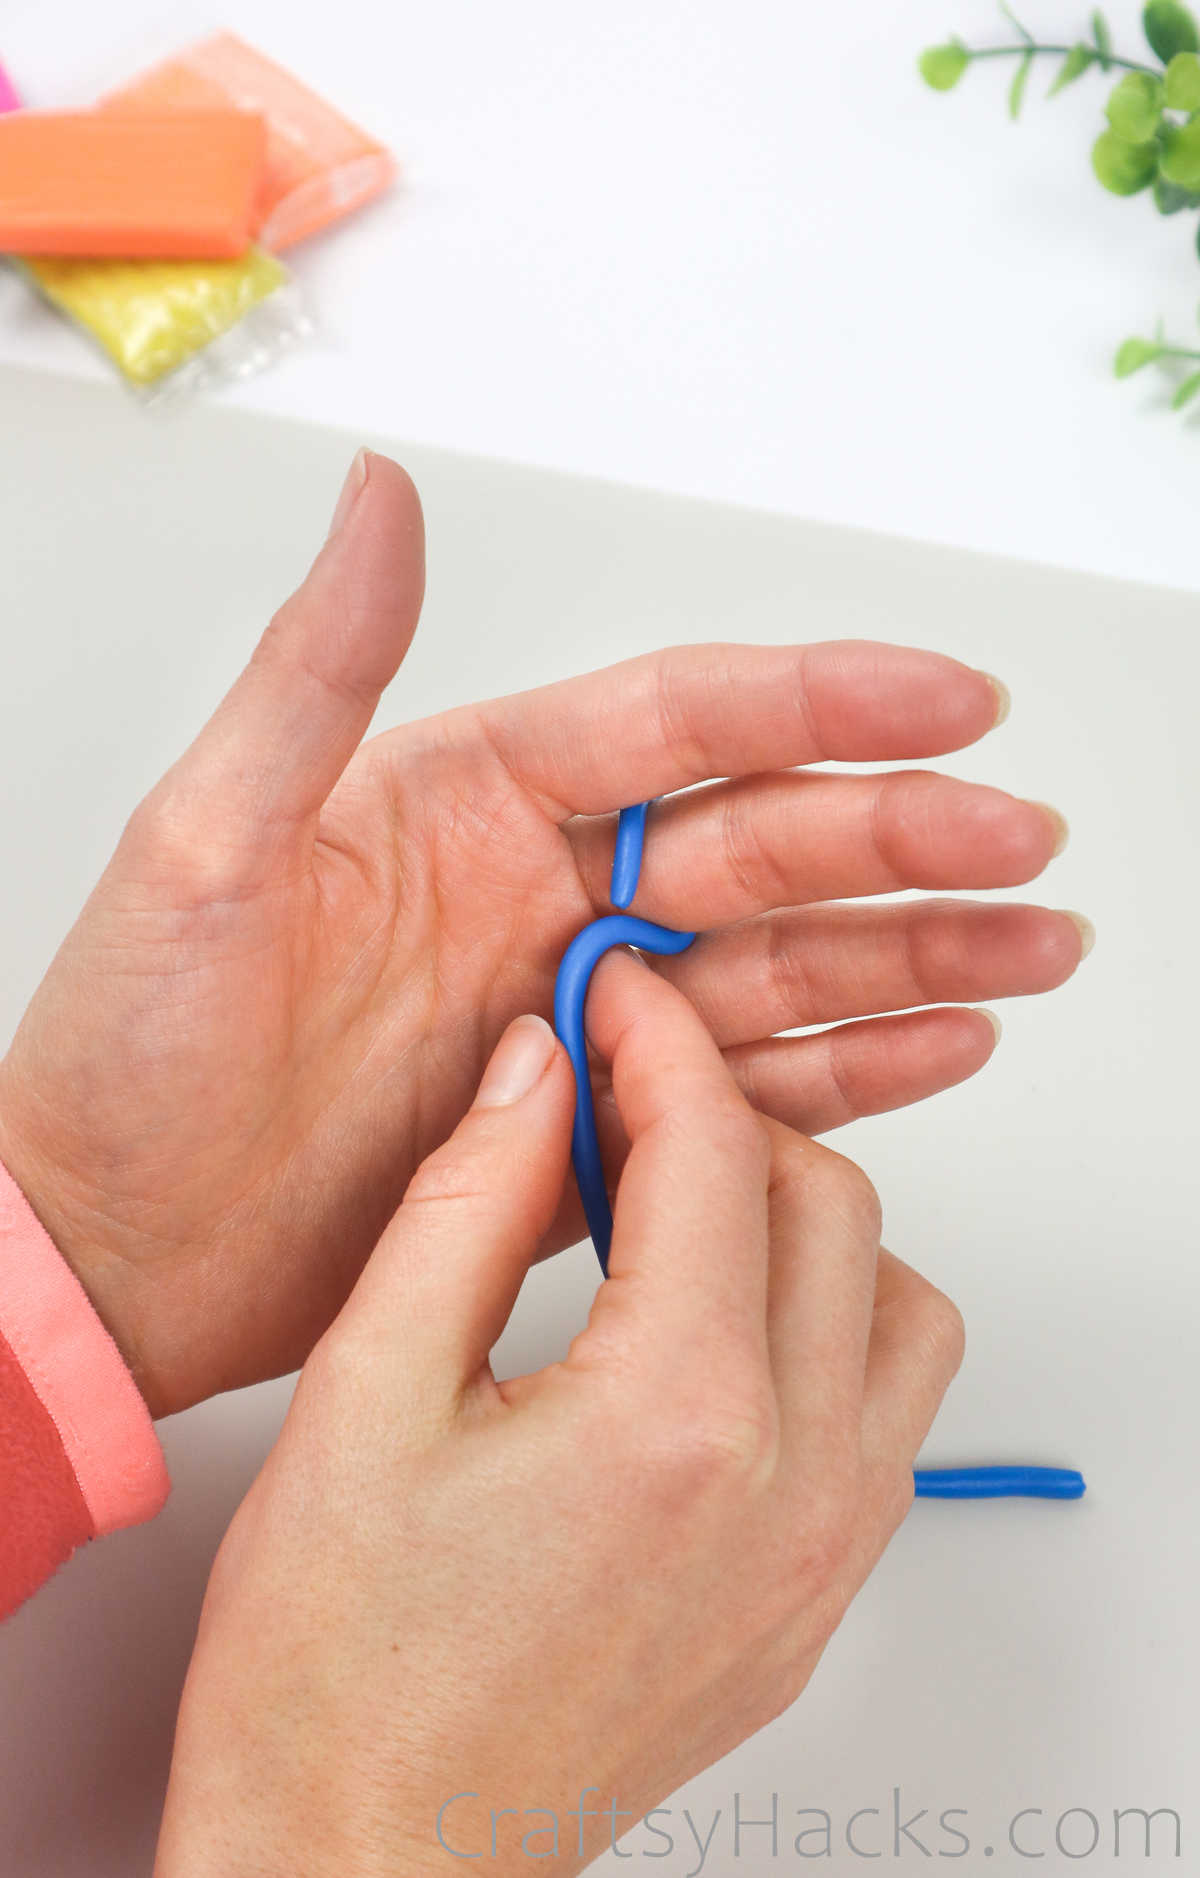
Pattern 2
Let’s make another ring, and this time, why don’t you play around a little with the color–and even the shape– and use this opportunity to explore your creative side?
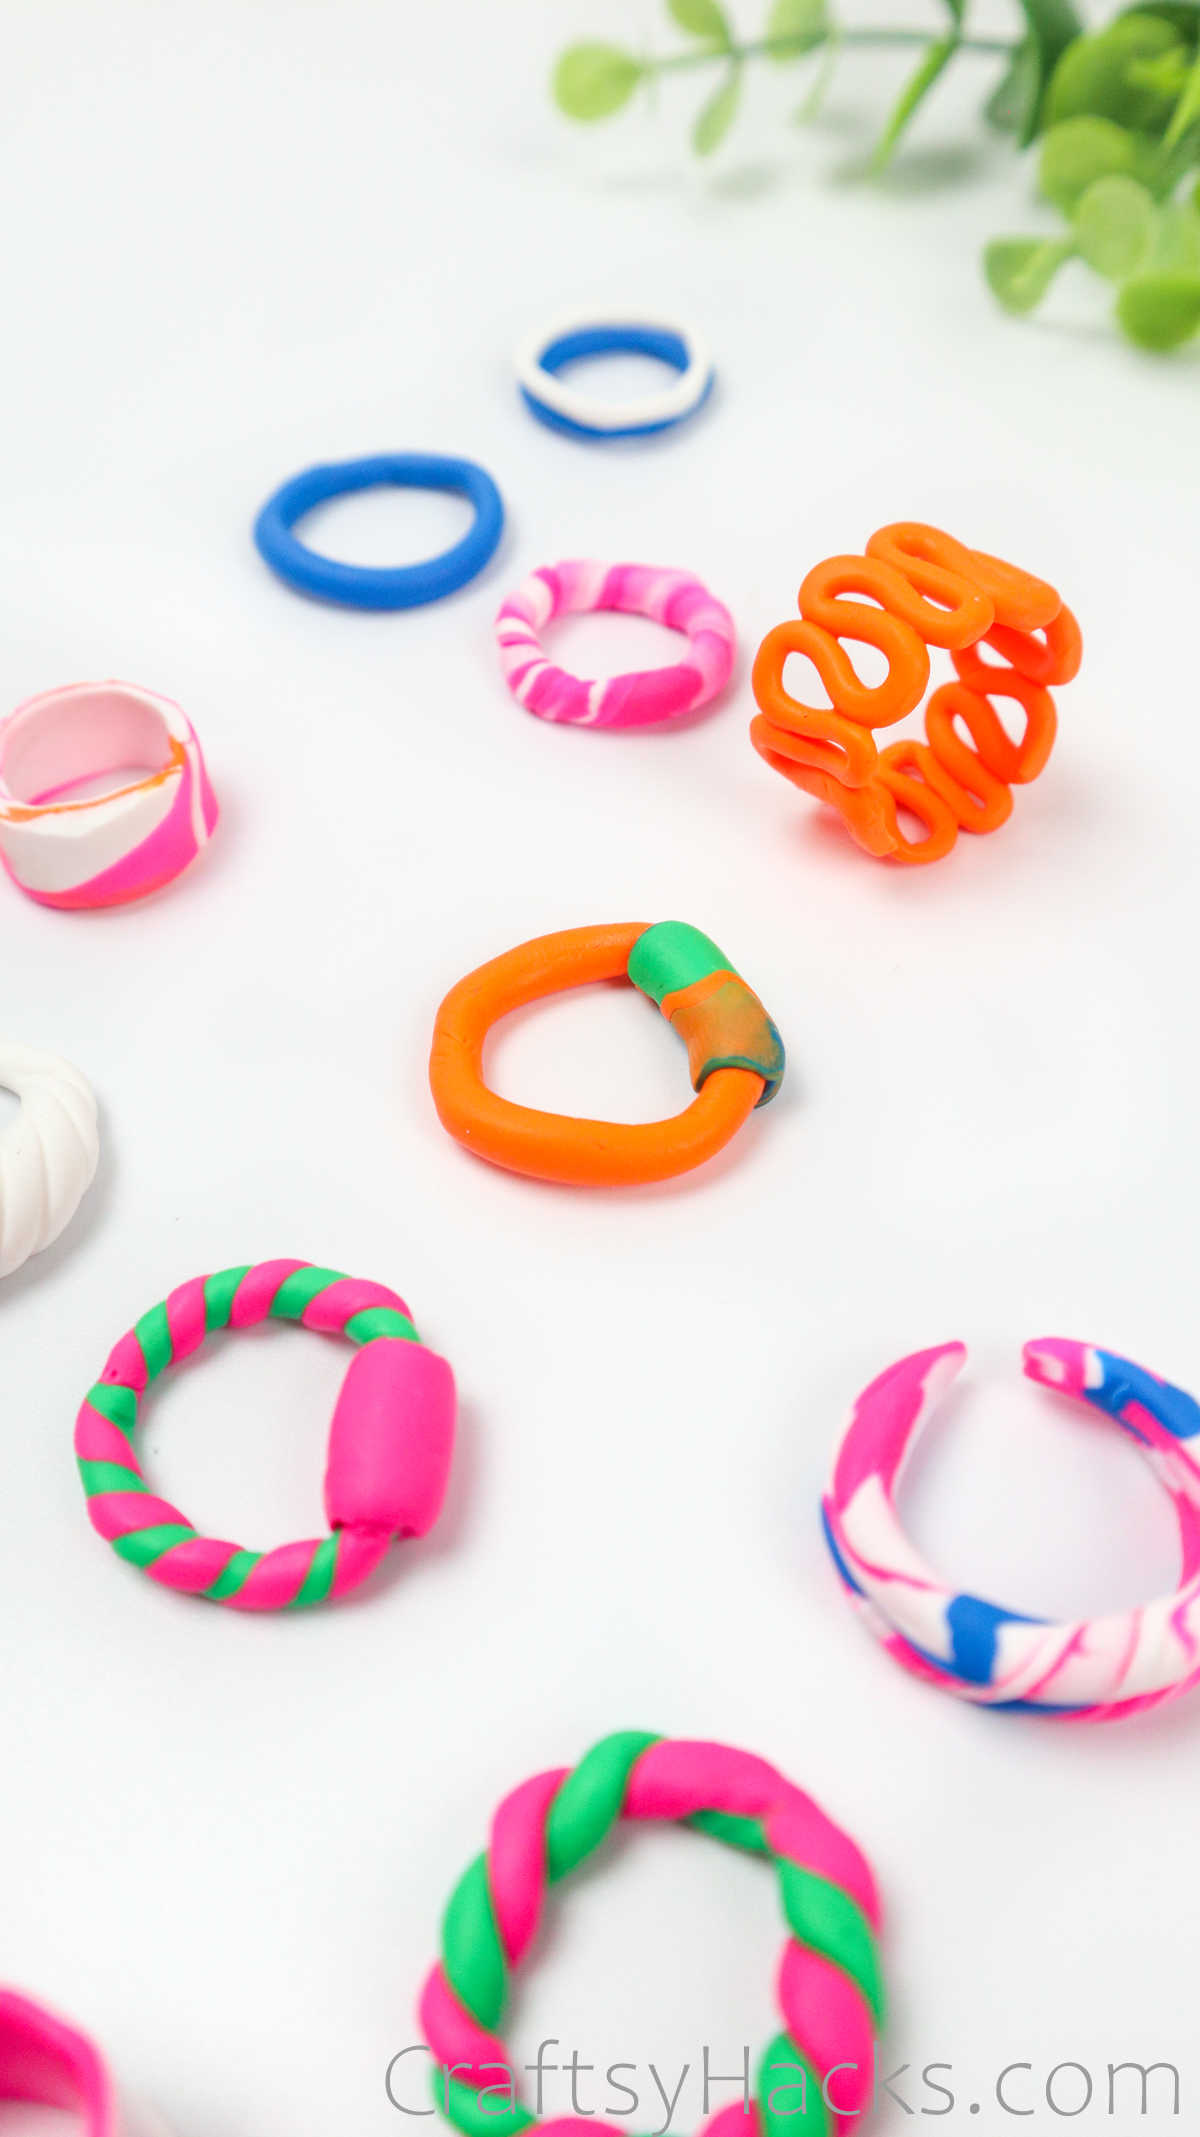
This squiggly ring is such an expression of fun and quirkiness. It’s got a lovely serpentine squiggly design that’s bound to be an instant hit.
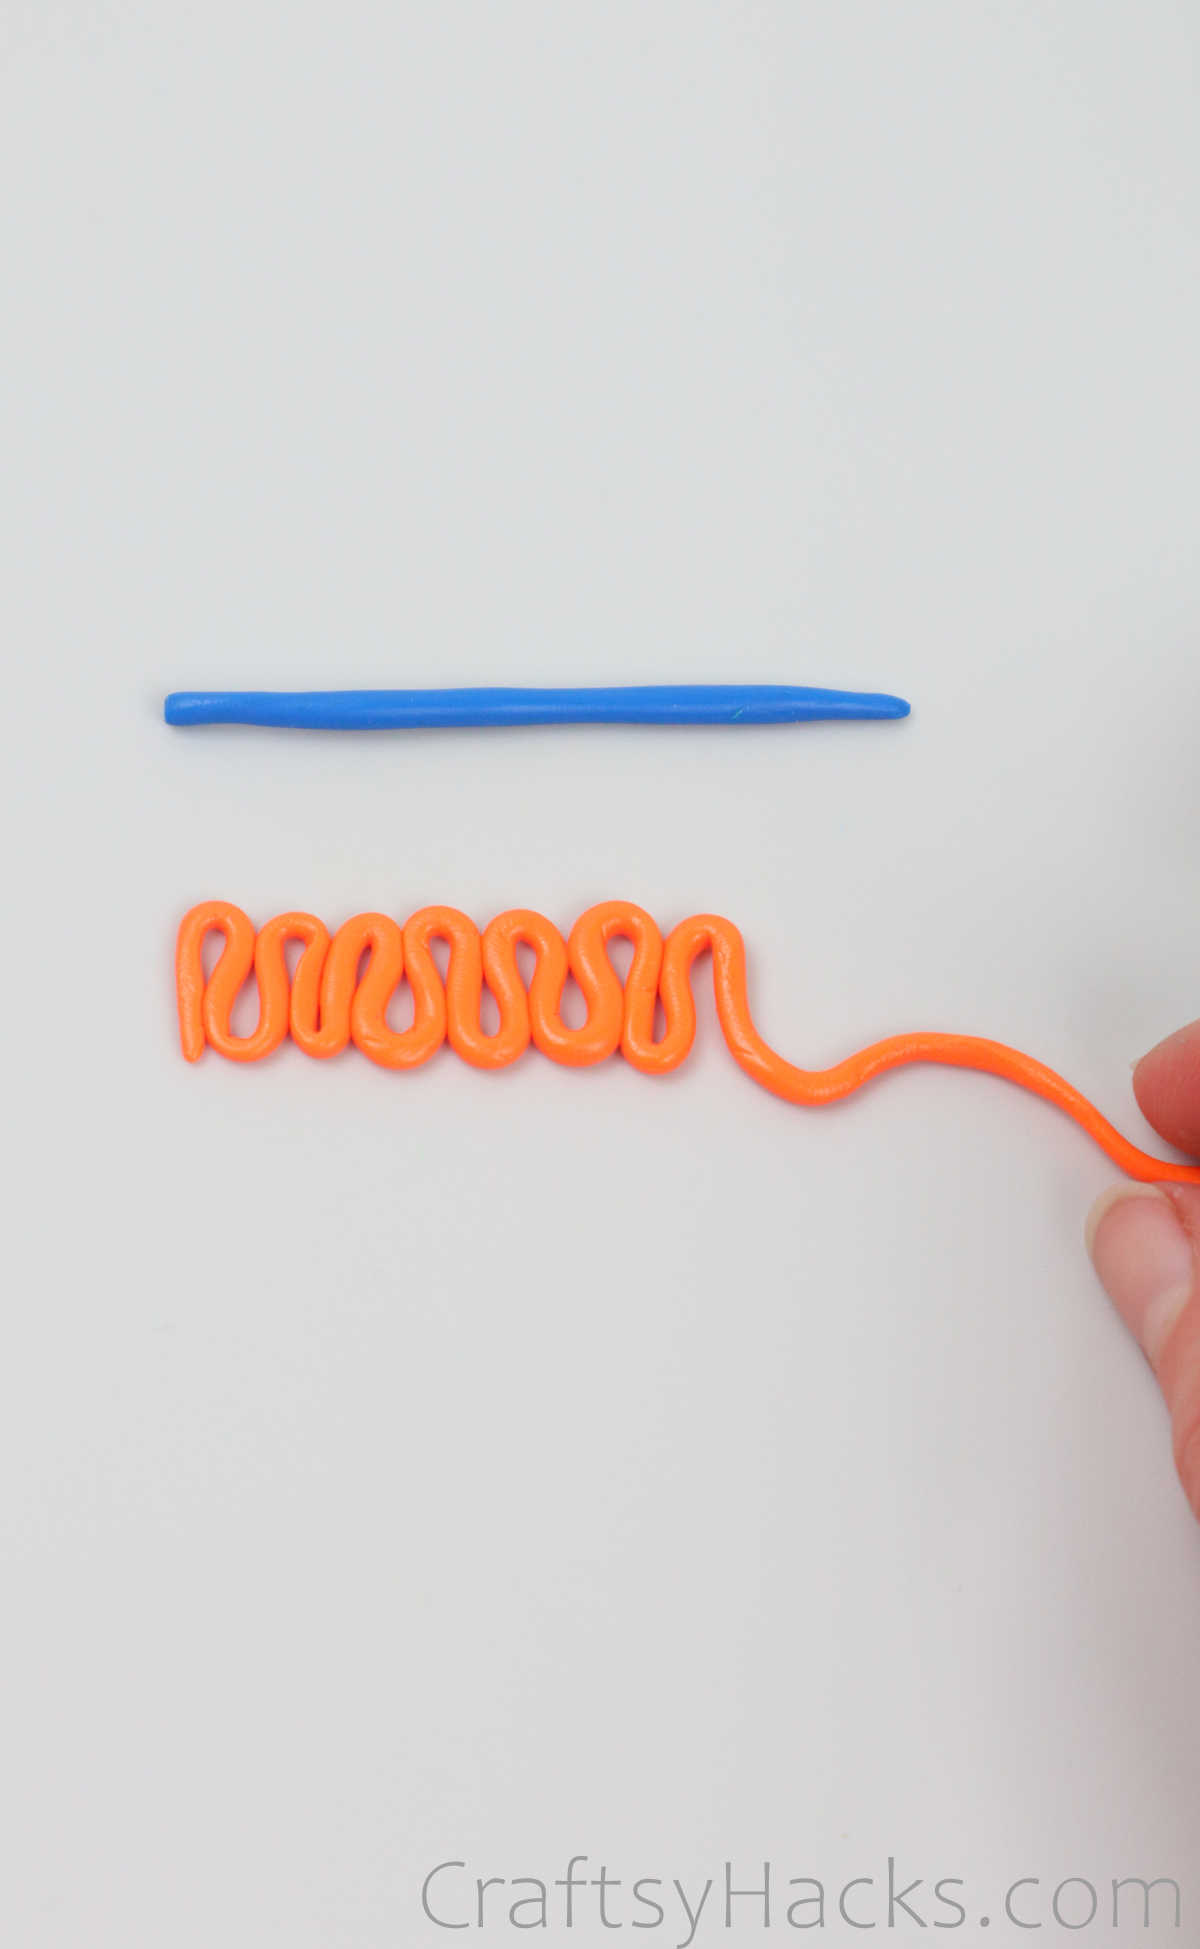
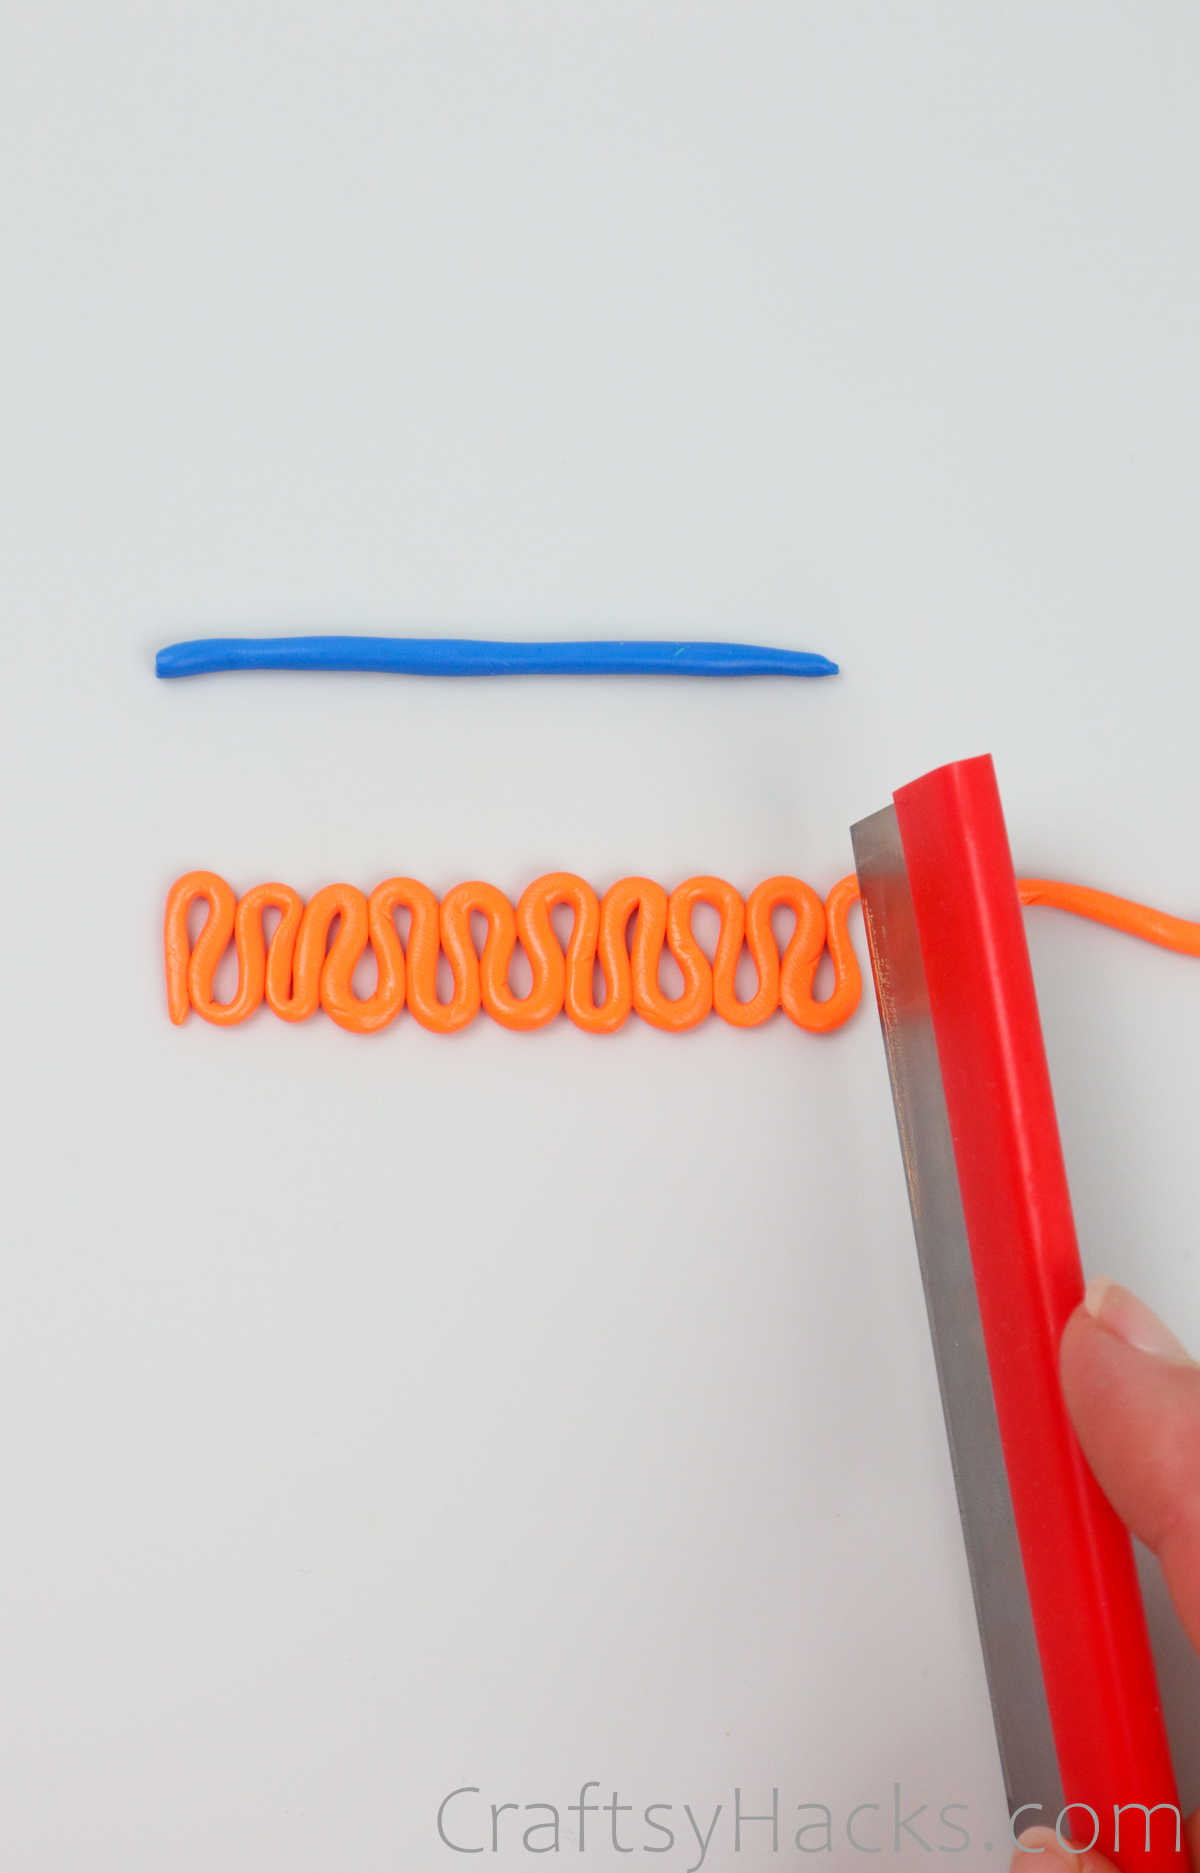
Go ahead and fashion the ring and cut off the ends when you’ve reached the required circumference. Once again, just press the ends together to blend the clay evenly. Set it on the baking tray, right next to that first ring.

Pattern 3
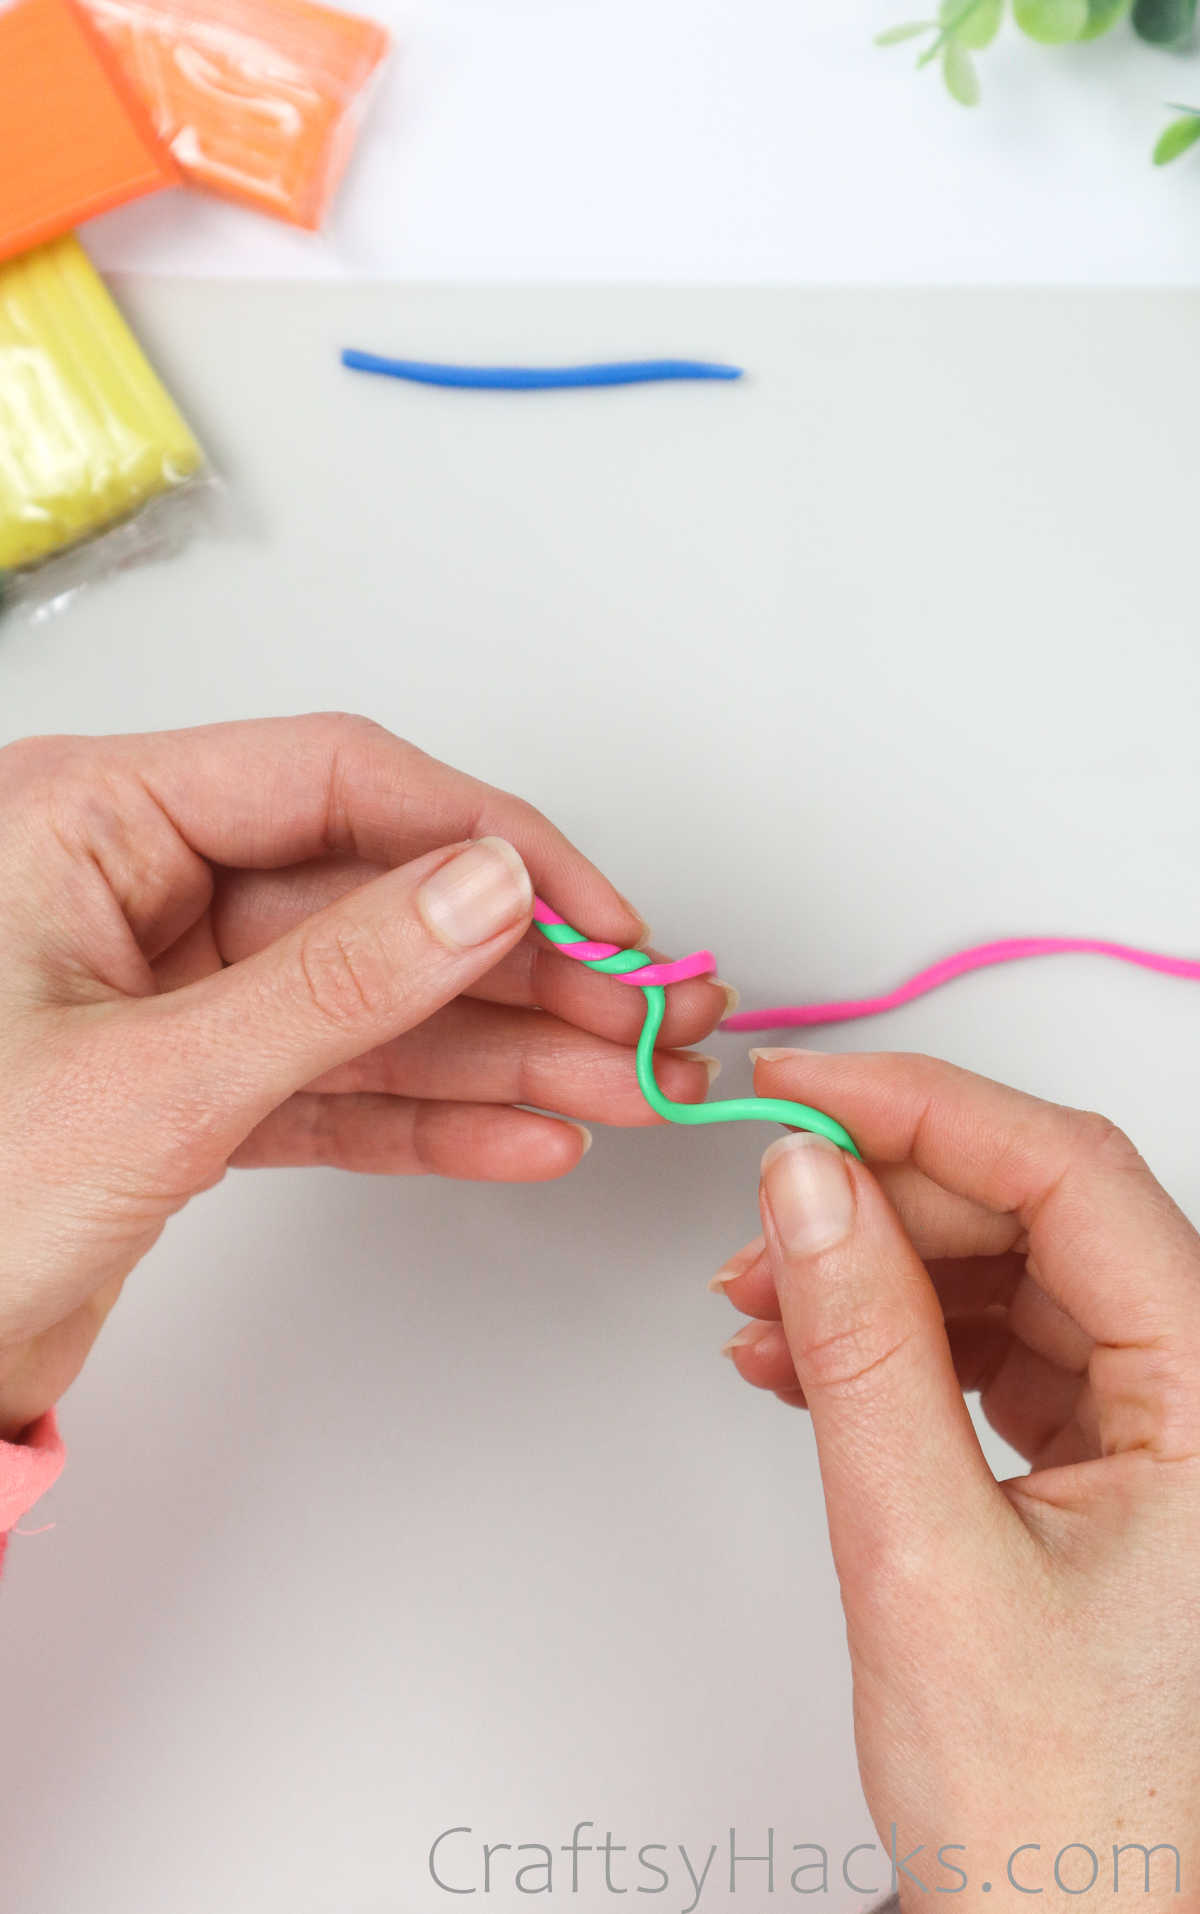
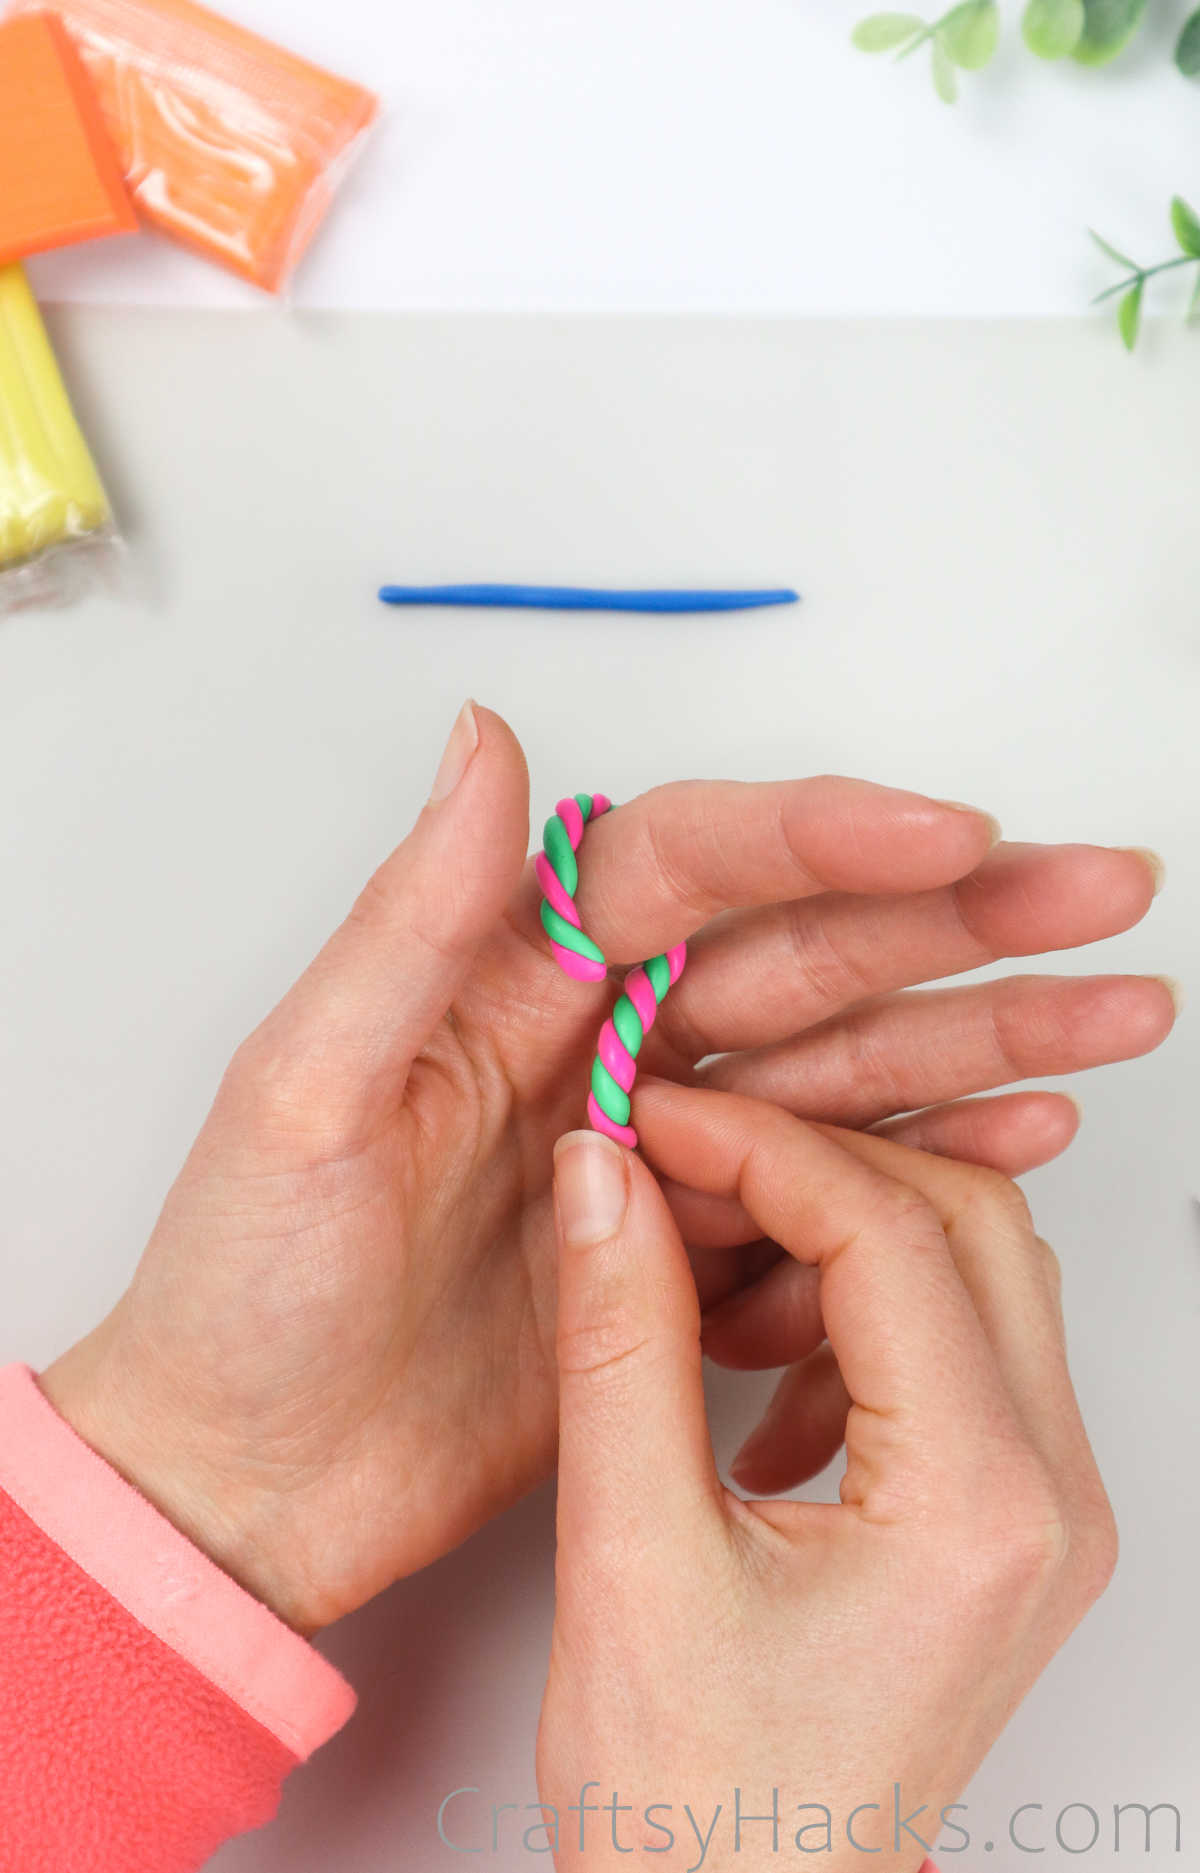
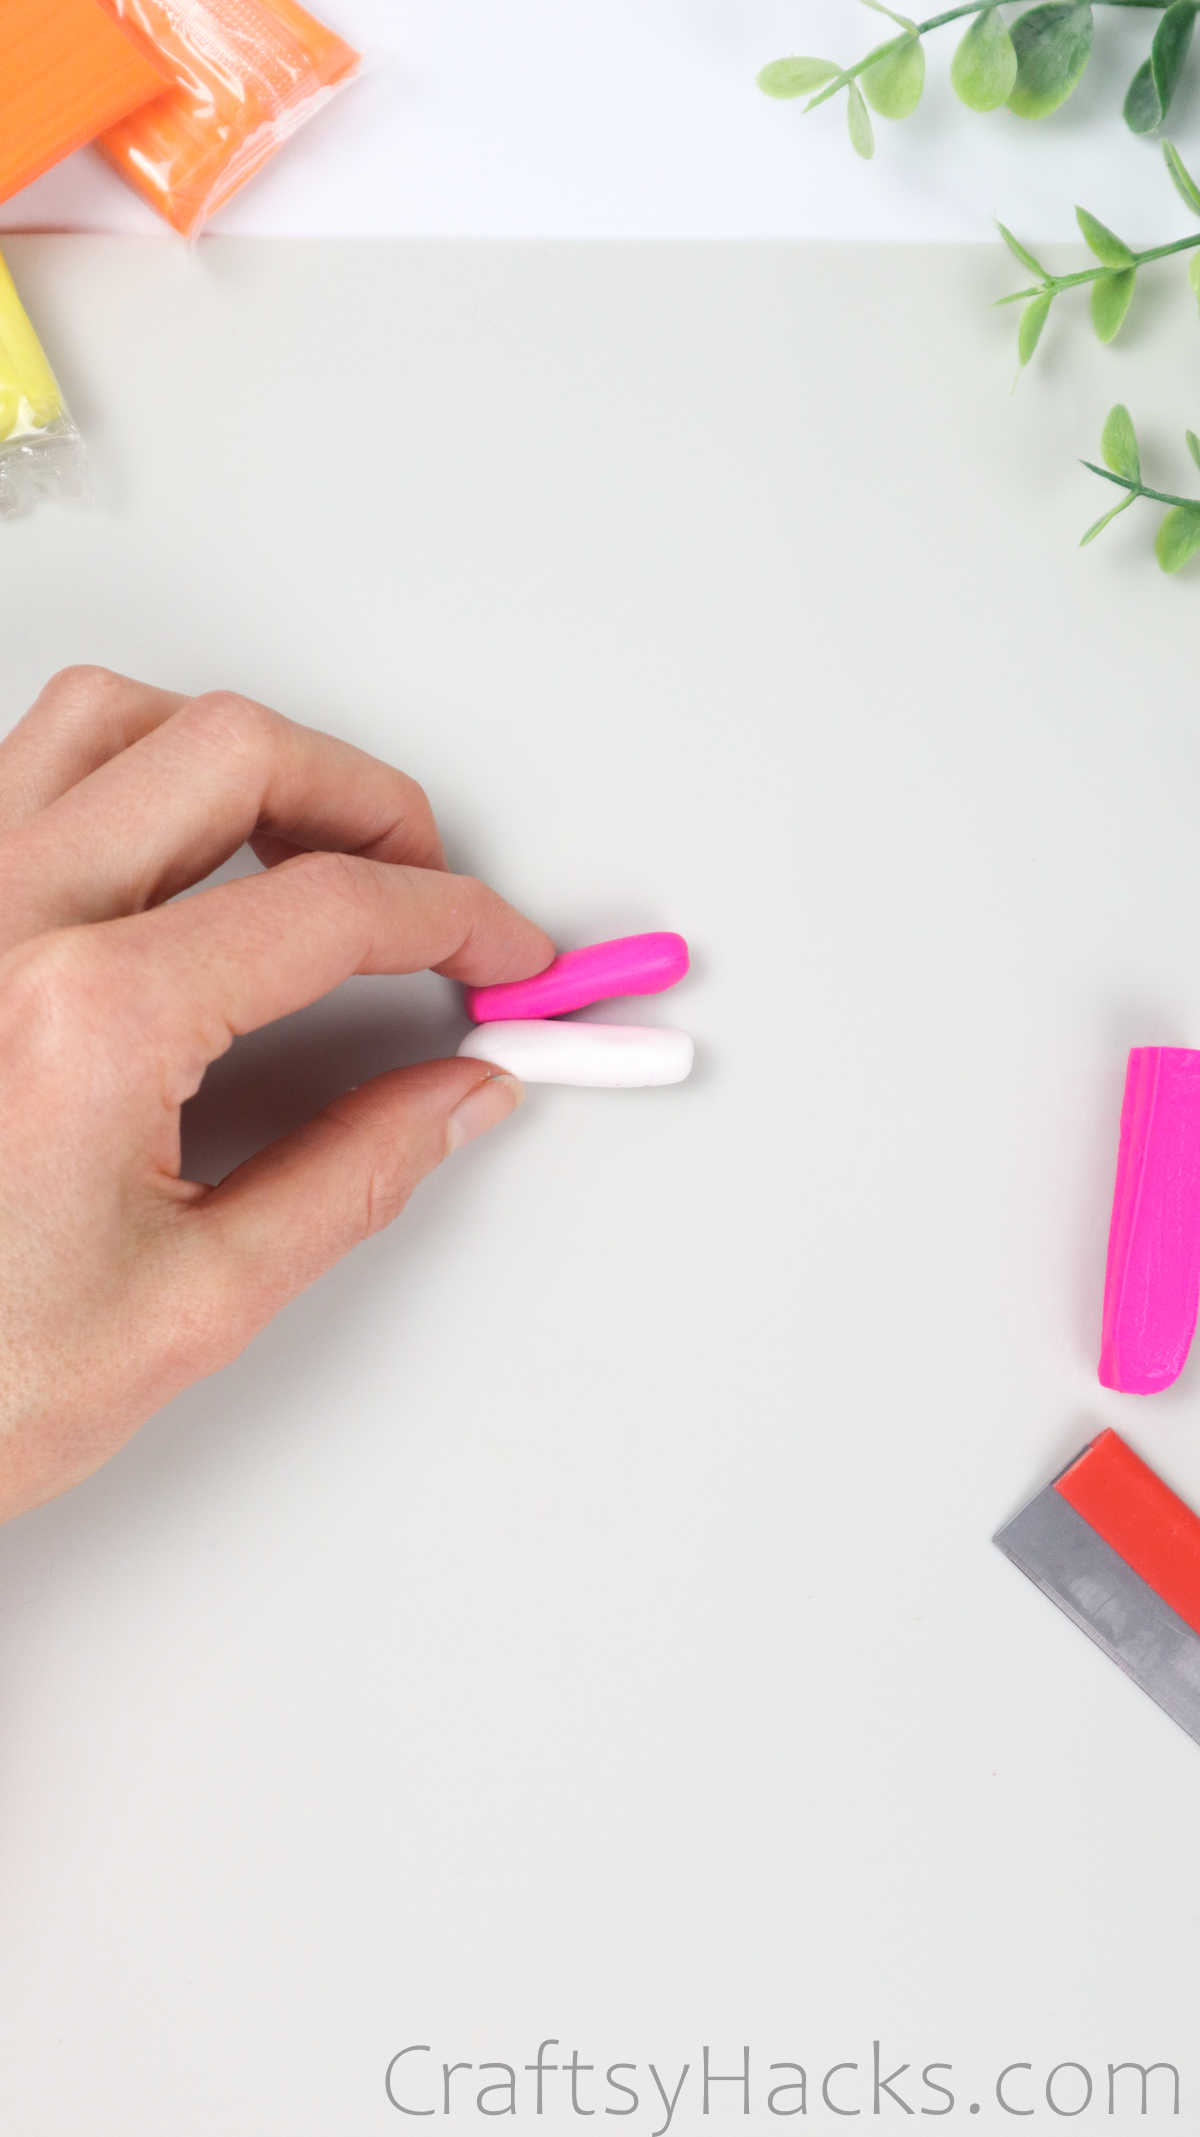
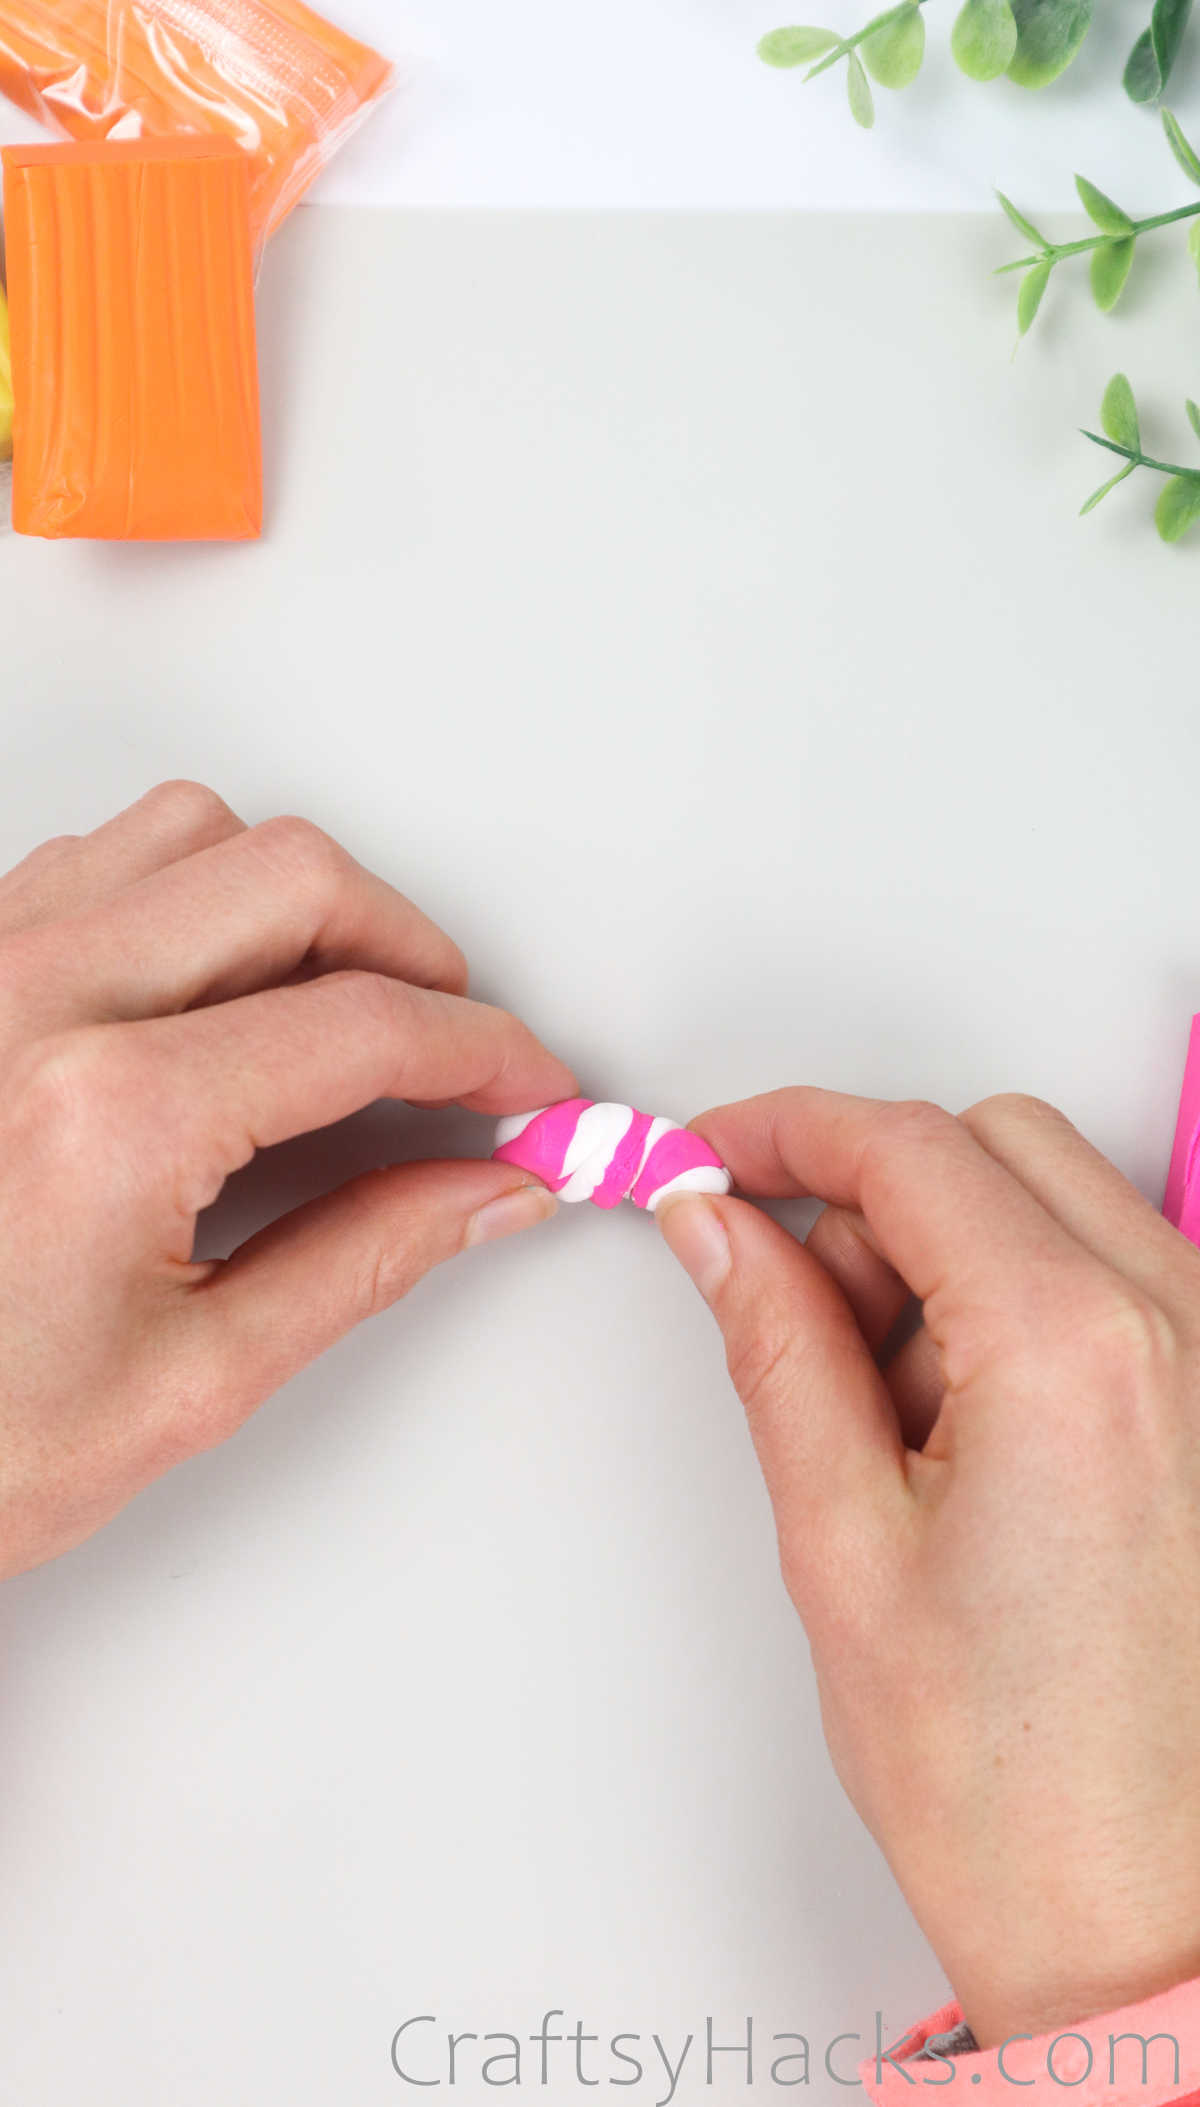
This next ring is like a candy cane–fun and twisty with two colors to work with. Just roll up two different lines of clay, each in a different color. You can even go for three colors if that’s where the wind takes you.

Next, line up the two lines of clay, as you can see below, and start twisting the two around the other. Just remember not to press the dough together too much or the ring will be flat and smudgy.
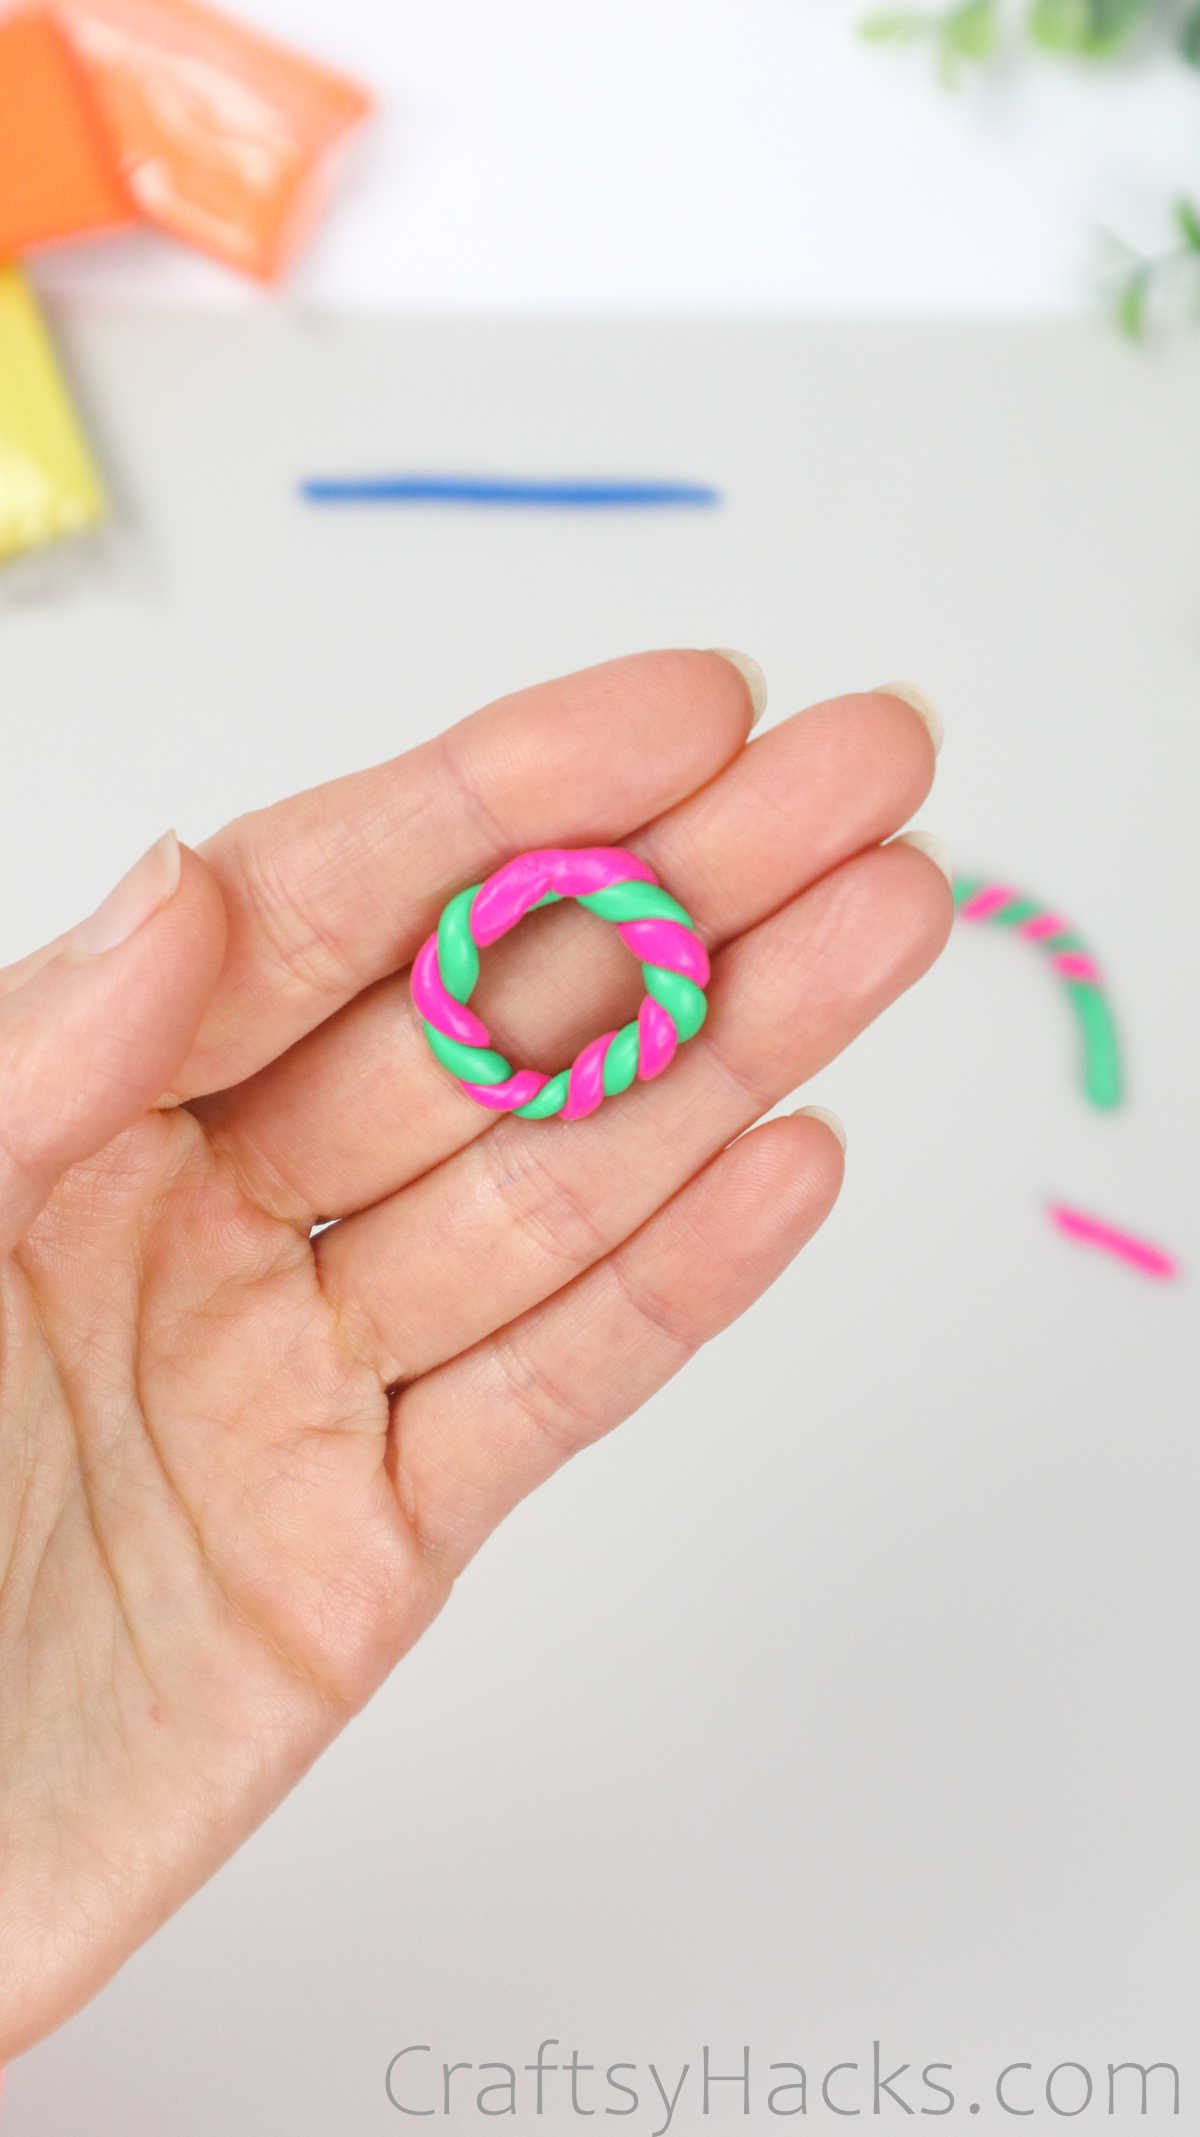
When you’ve rolled the two together, just wrap the clay around your hand to measure the circumference and snip off the excess clay.
Finally, just blend the two ends together to complete the ring. Don’t worry if this bit gets a little smudgy, you can just turn the ring to the inside of your finger and hide the closure point.
Pattern 4
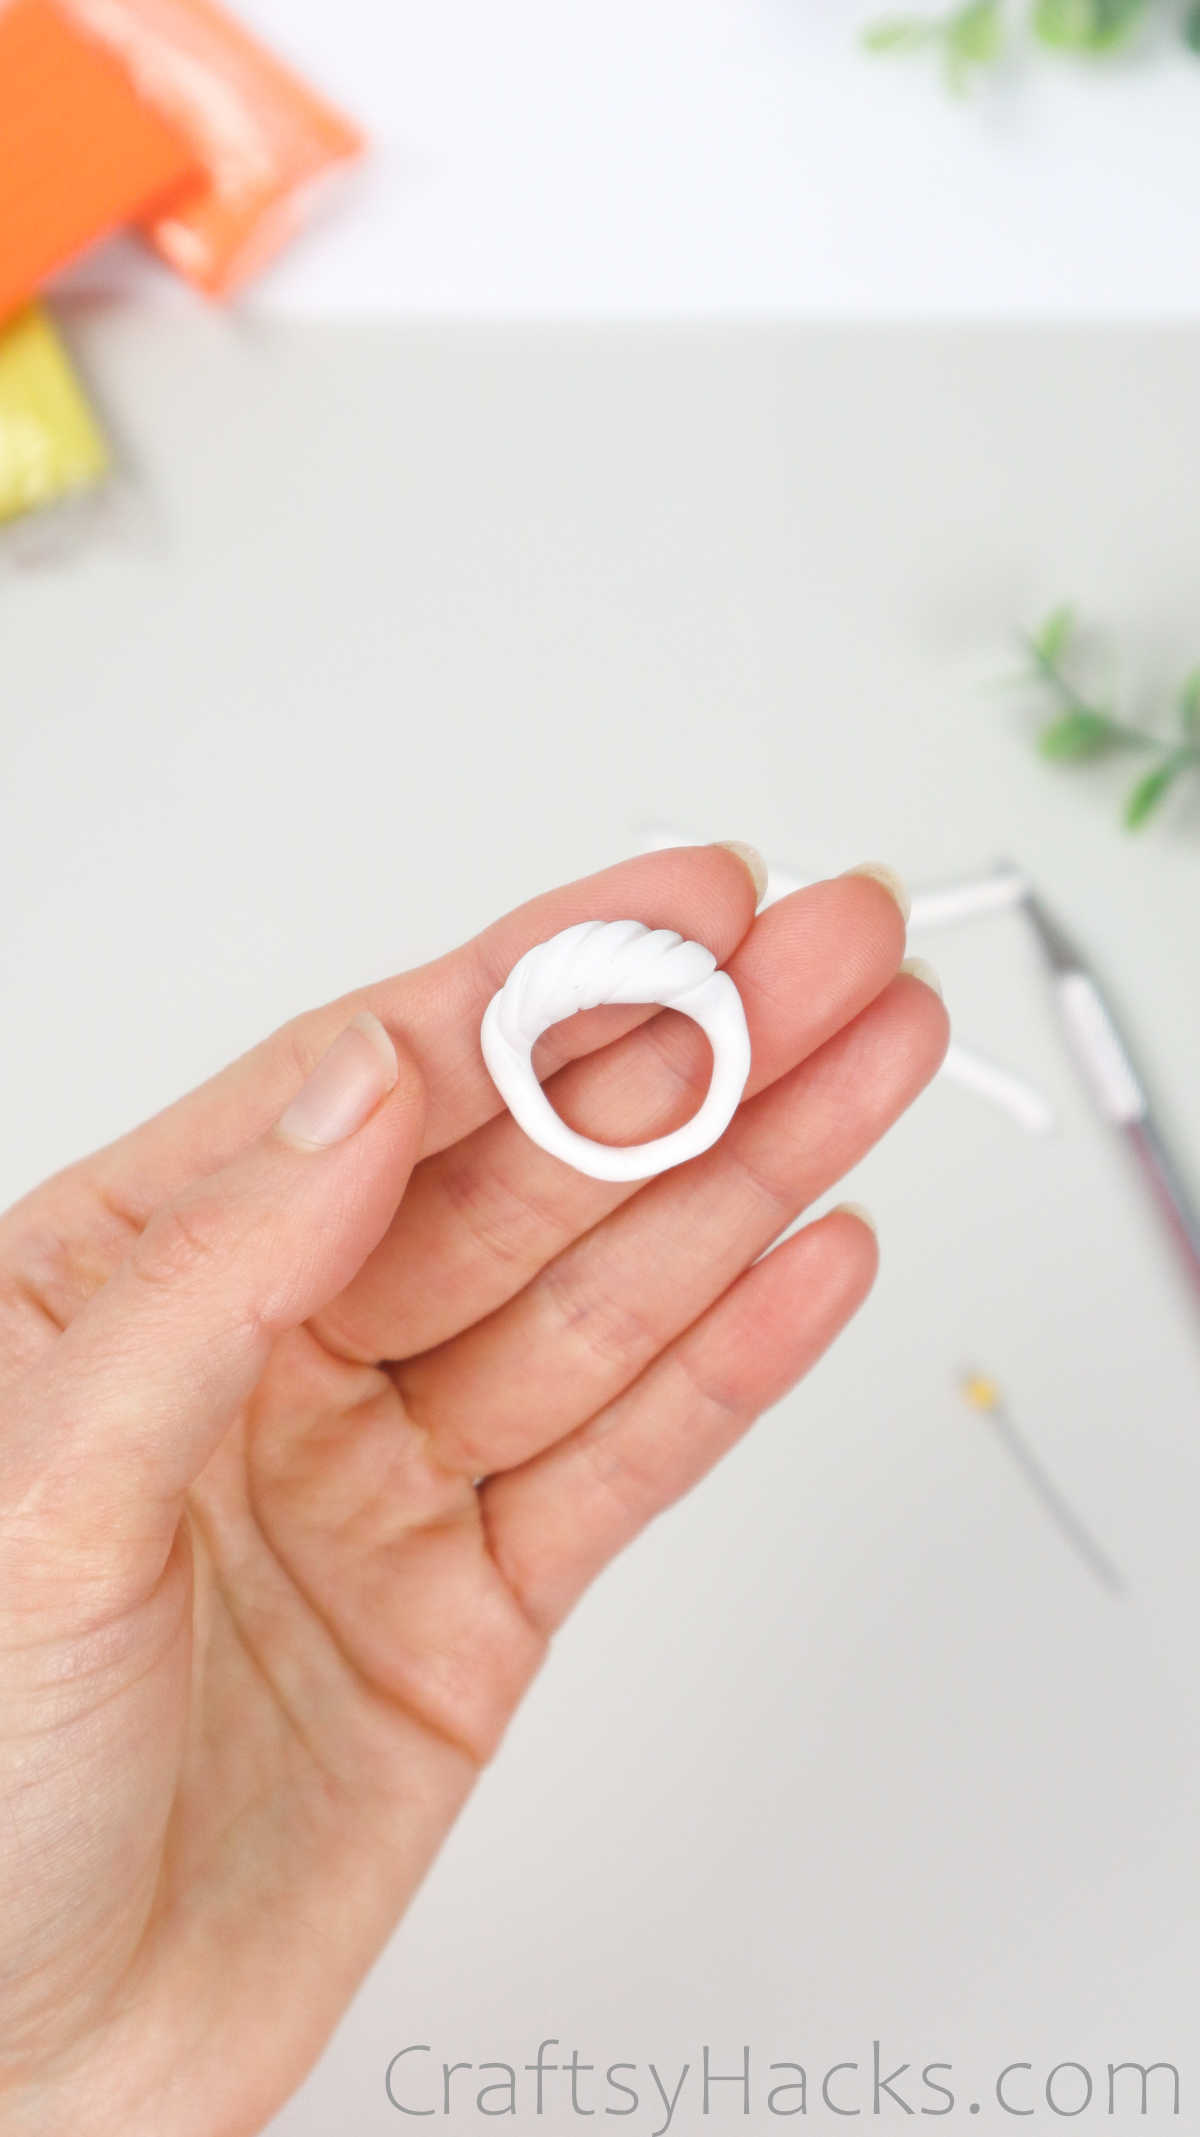
This next ring has a raised head at the top, which adds a lovely and distinctive pattern. There’s also a little addition of some texture at the head, where you can see some grooves.
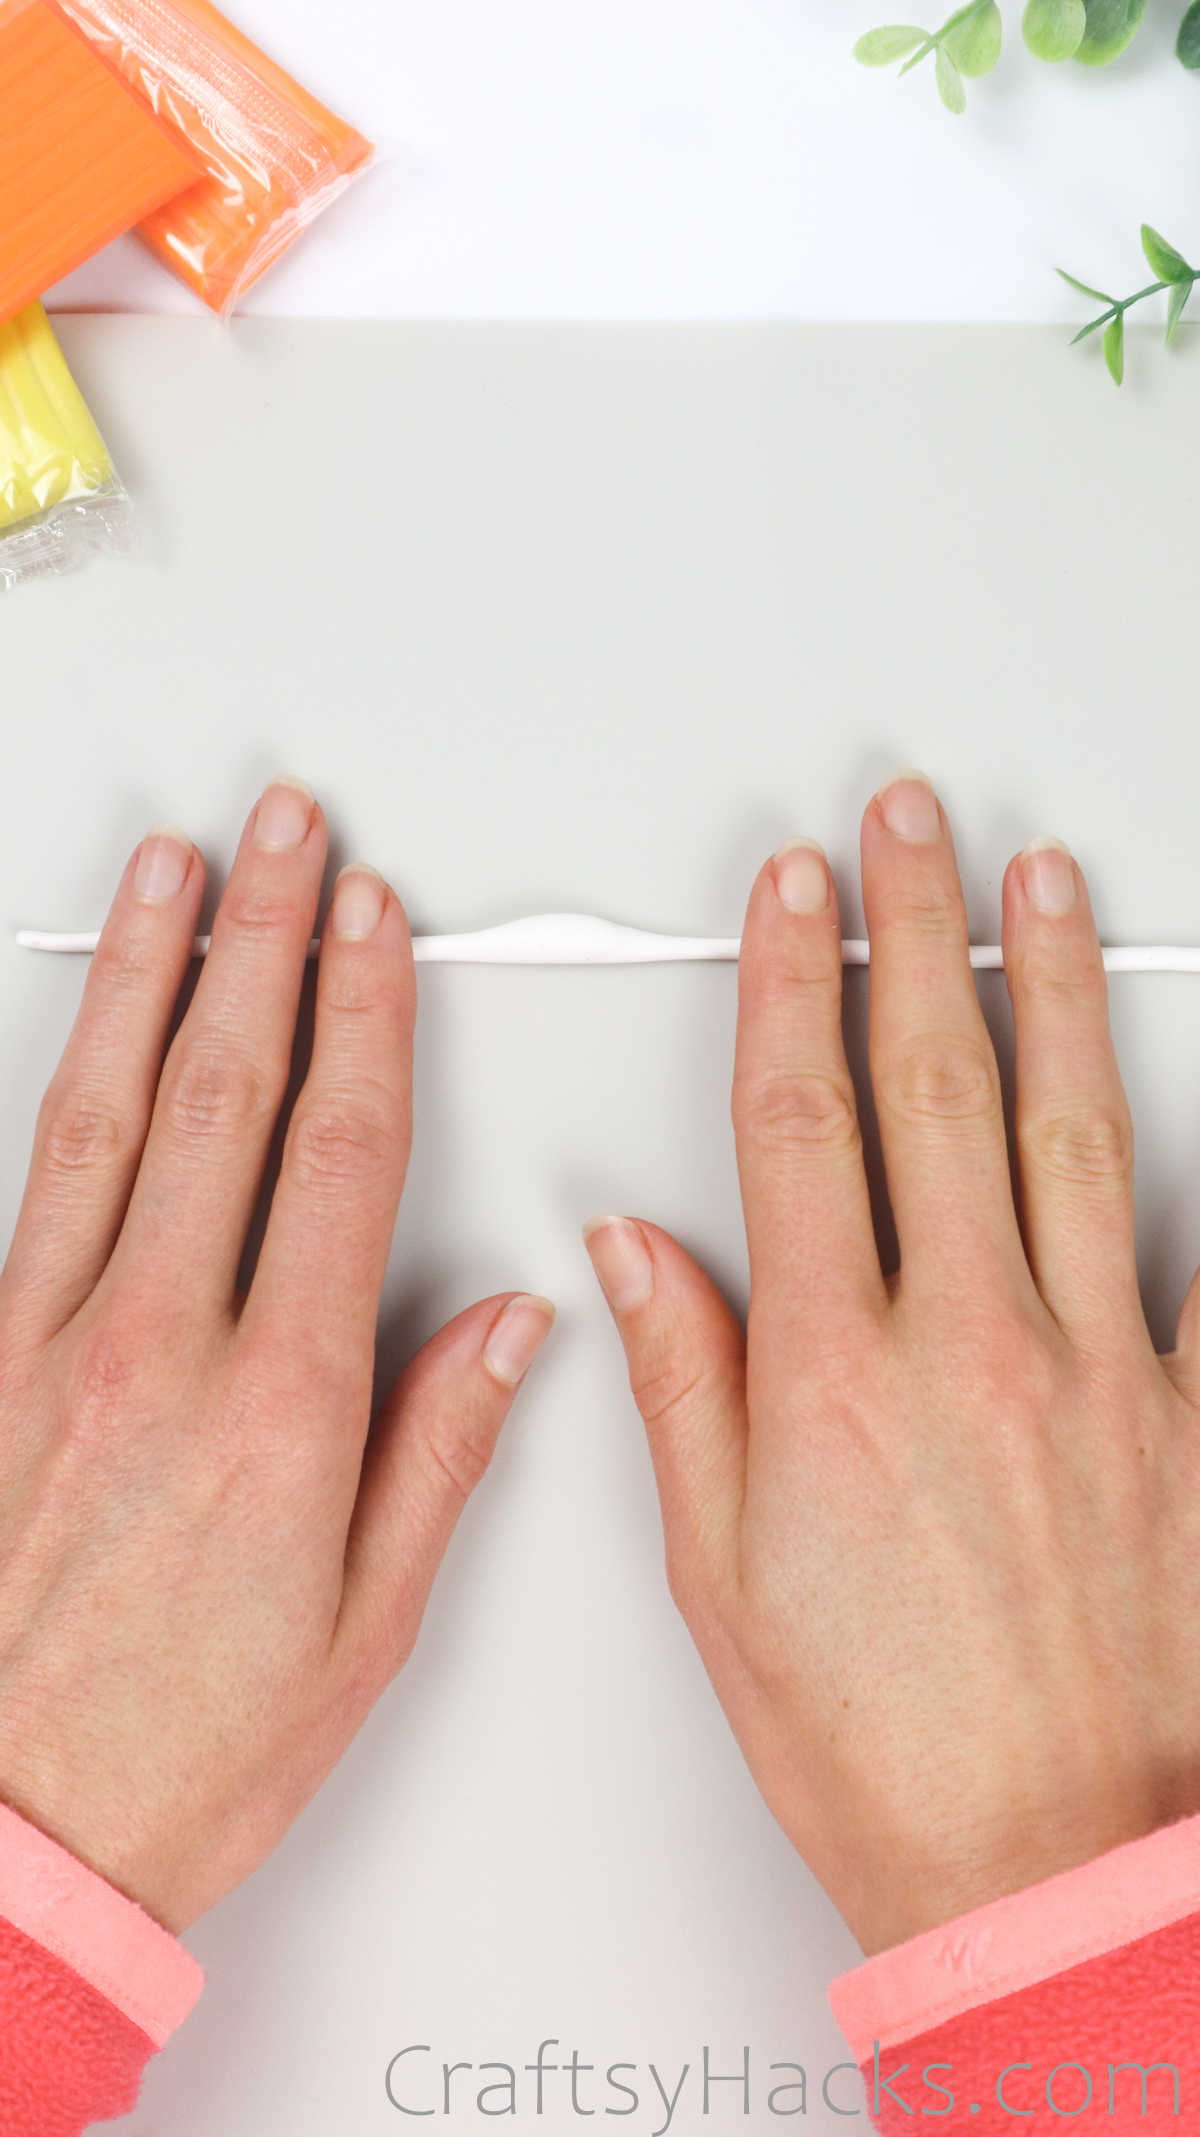
Take a look at how to make this ring! Start by rolling the clay into a long line, but instead of trying to have an even girth, leave a little bump around the middle, as you can see below.
Now cut the ends off at the desired length and just blend them together to join the two.
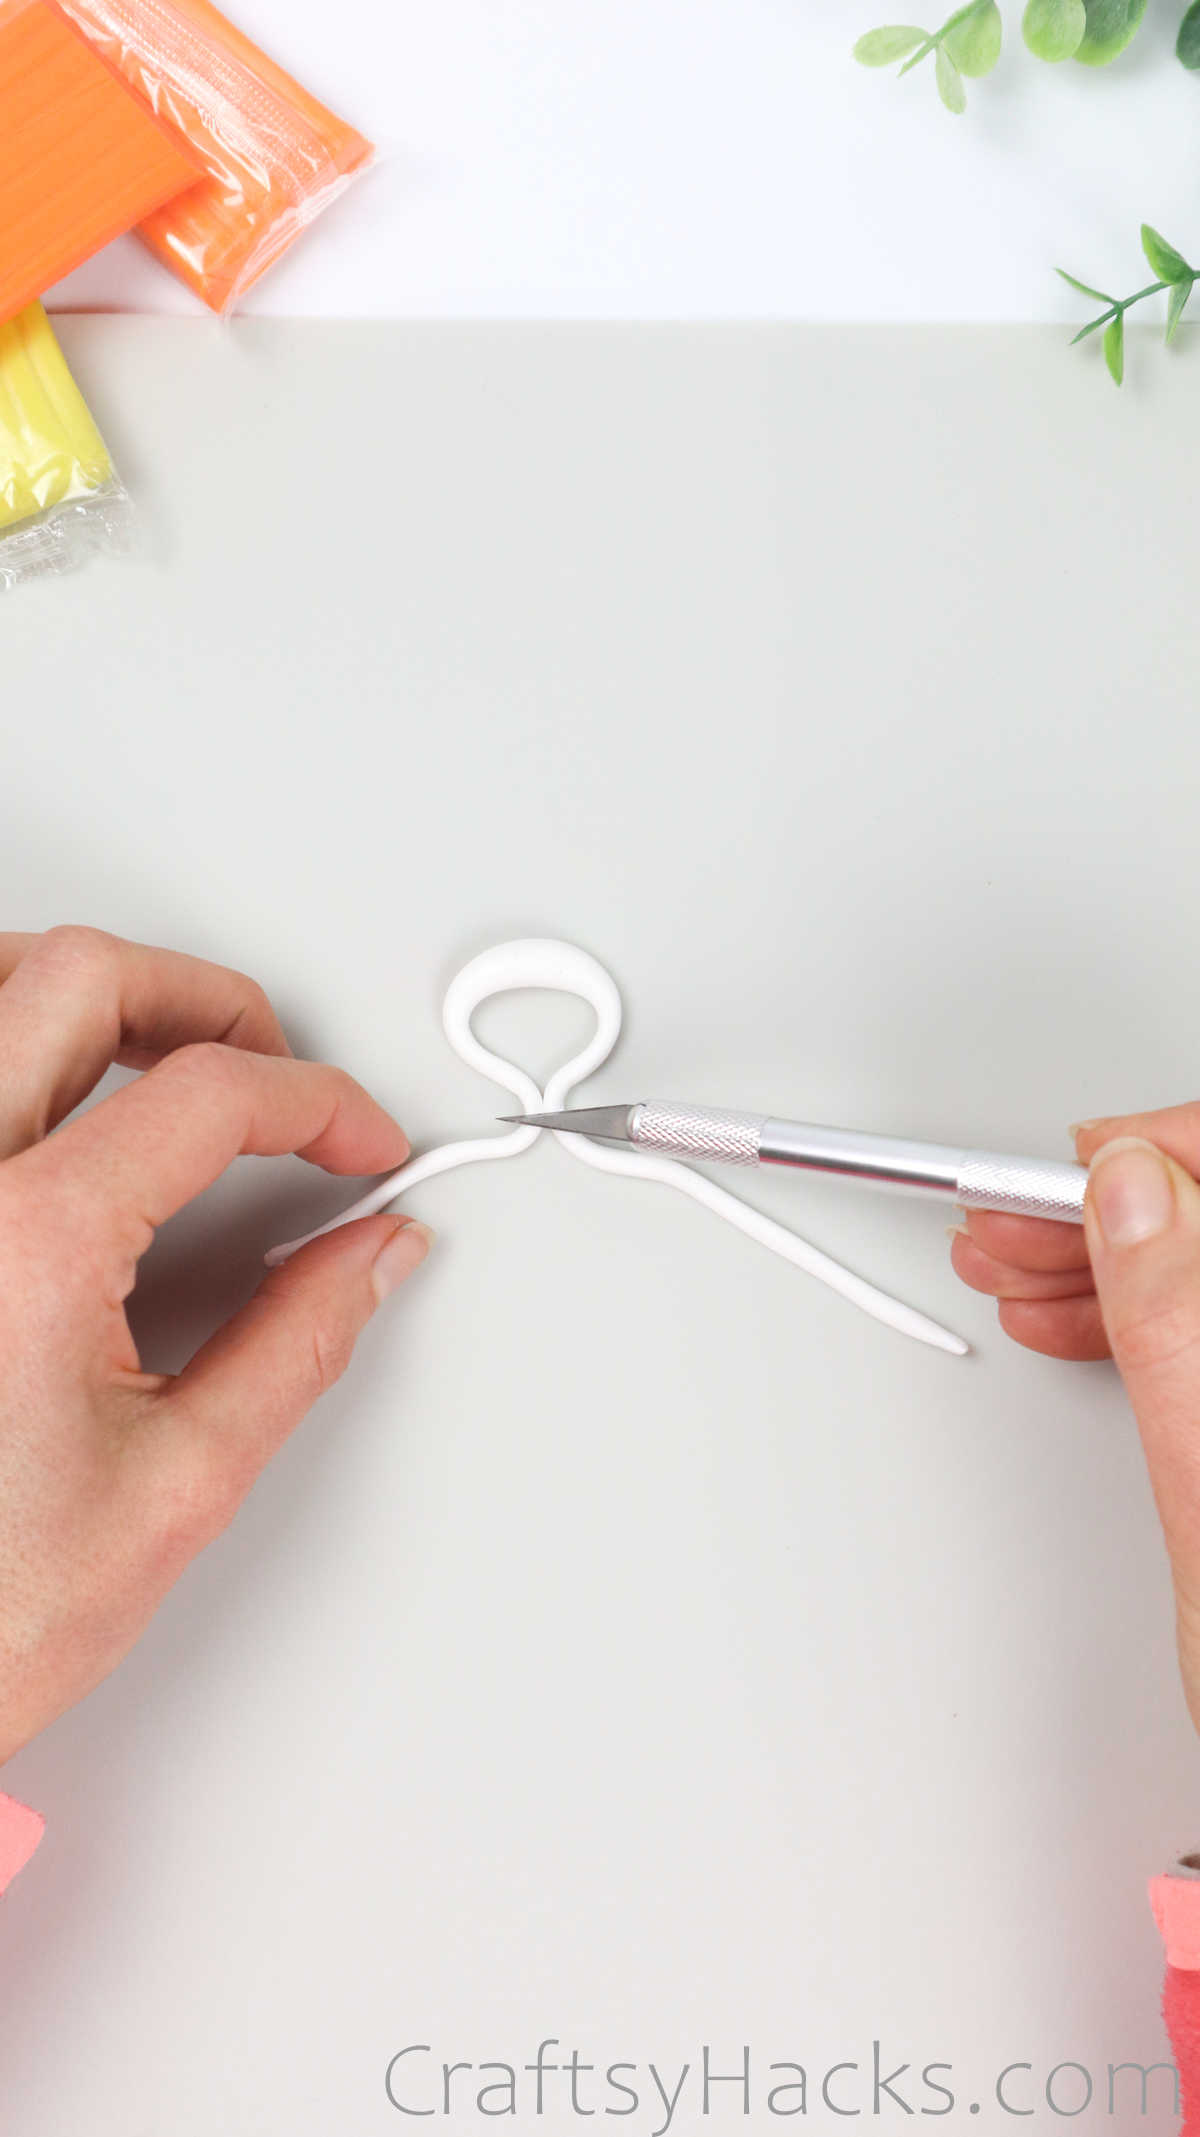
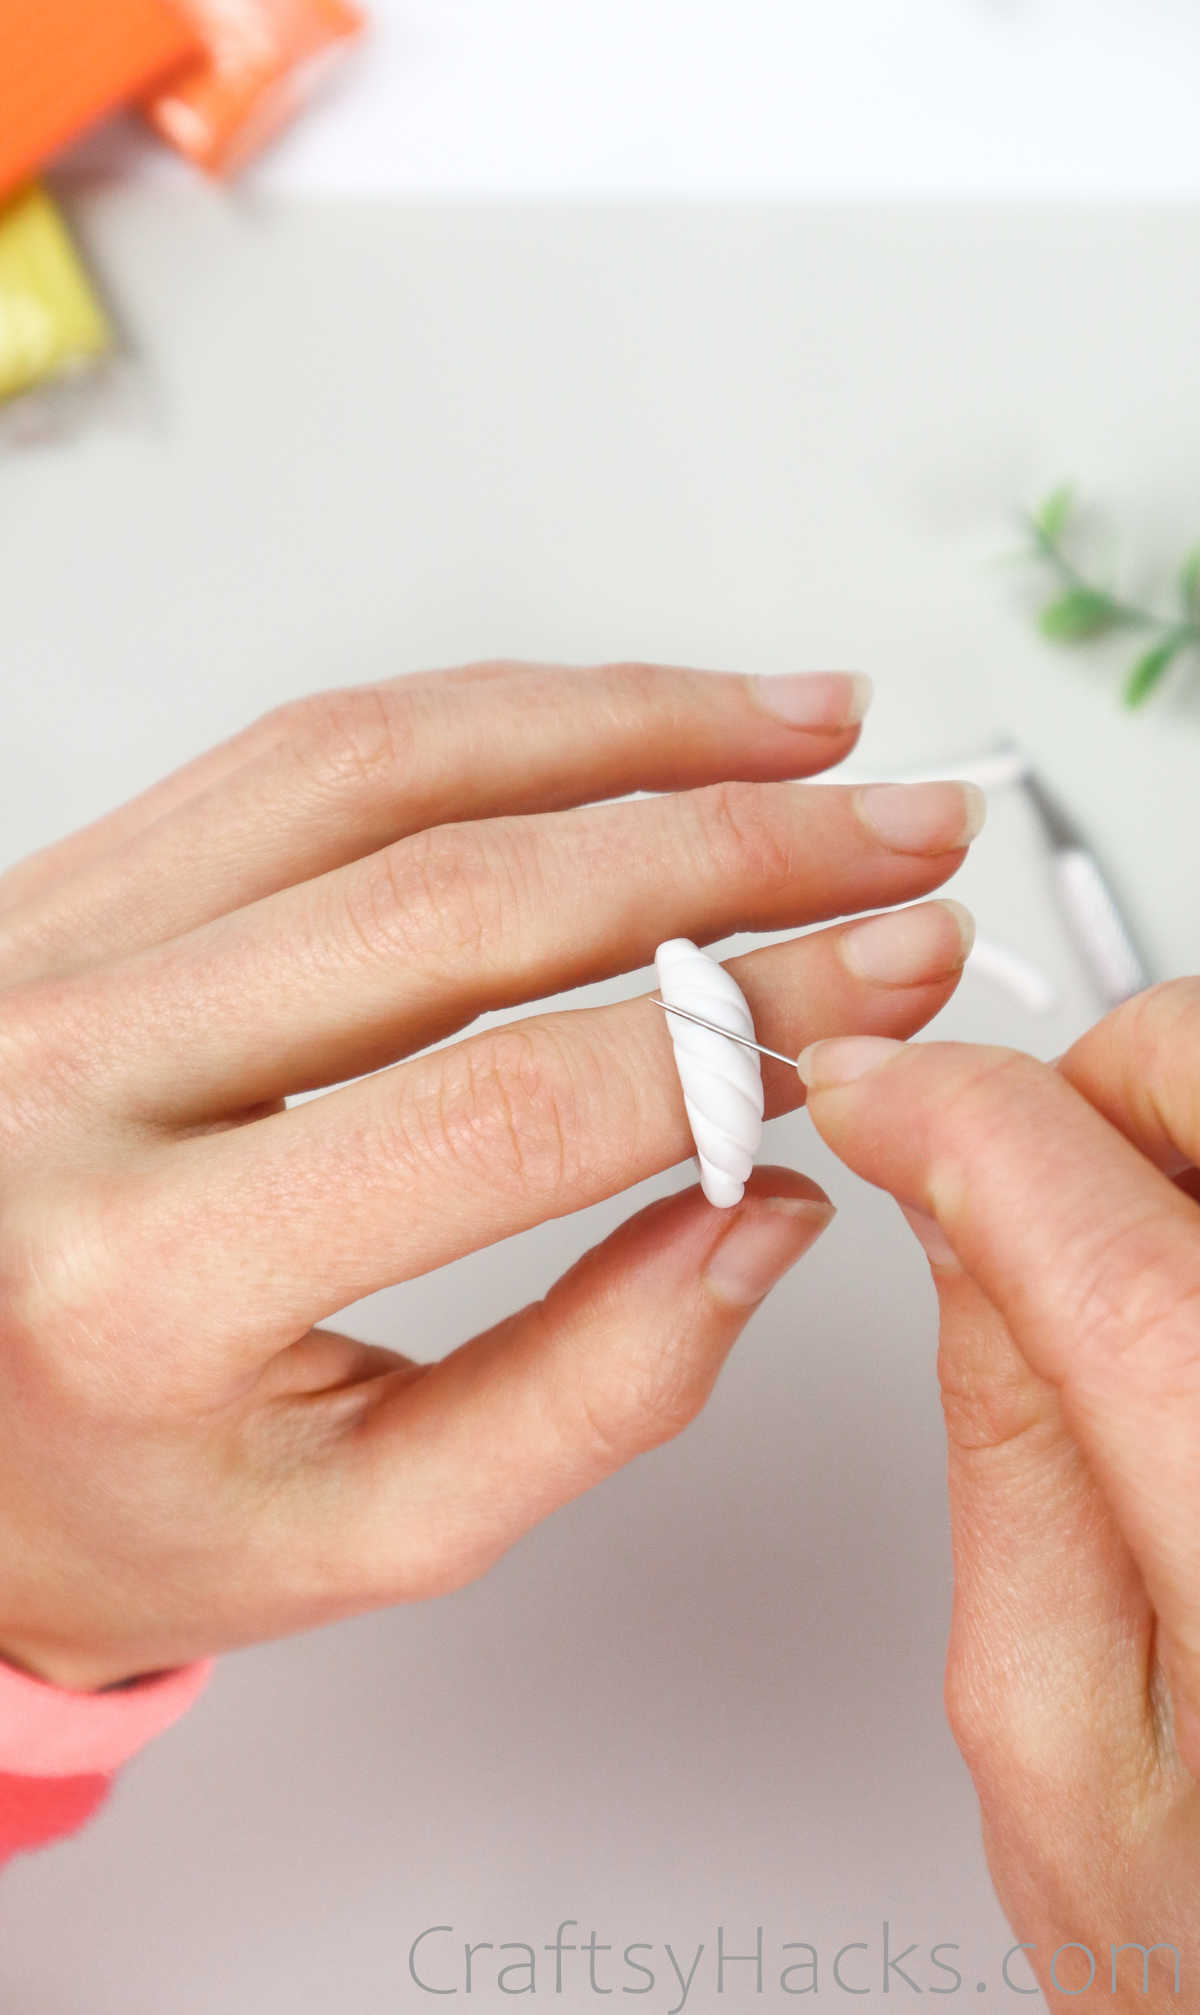
You’re not done yet! Grab a cutting tool, or even just a needle or a pin, and make some indentations along the bump.
Set it aside on the baking tray with the other rings while you work on the last ring!
Pattern 5
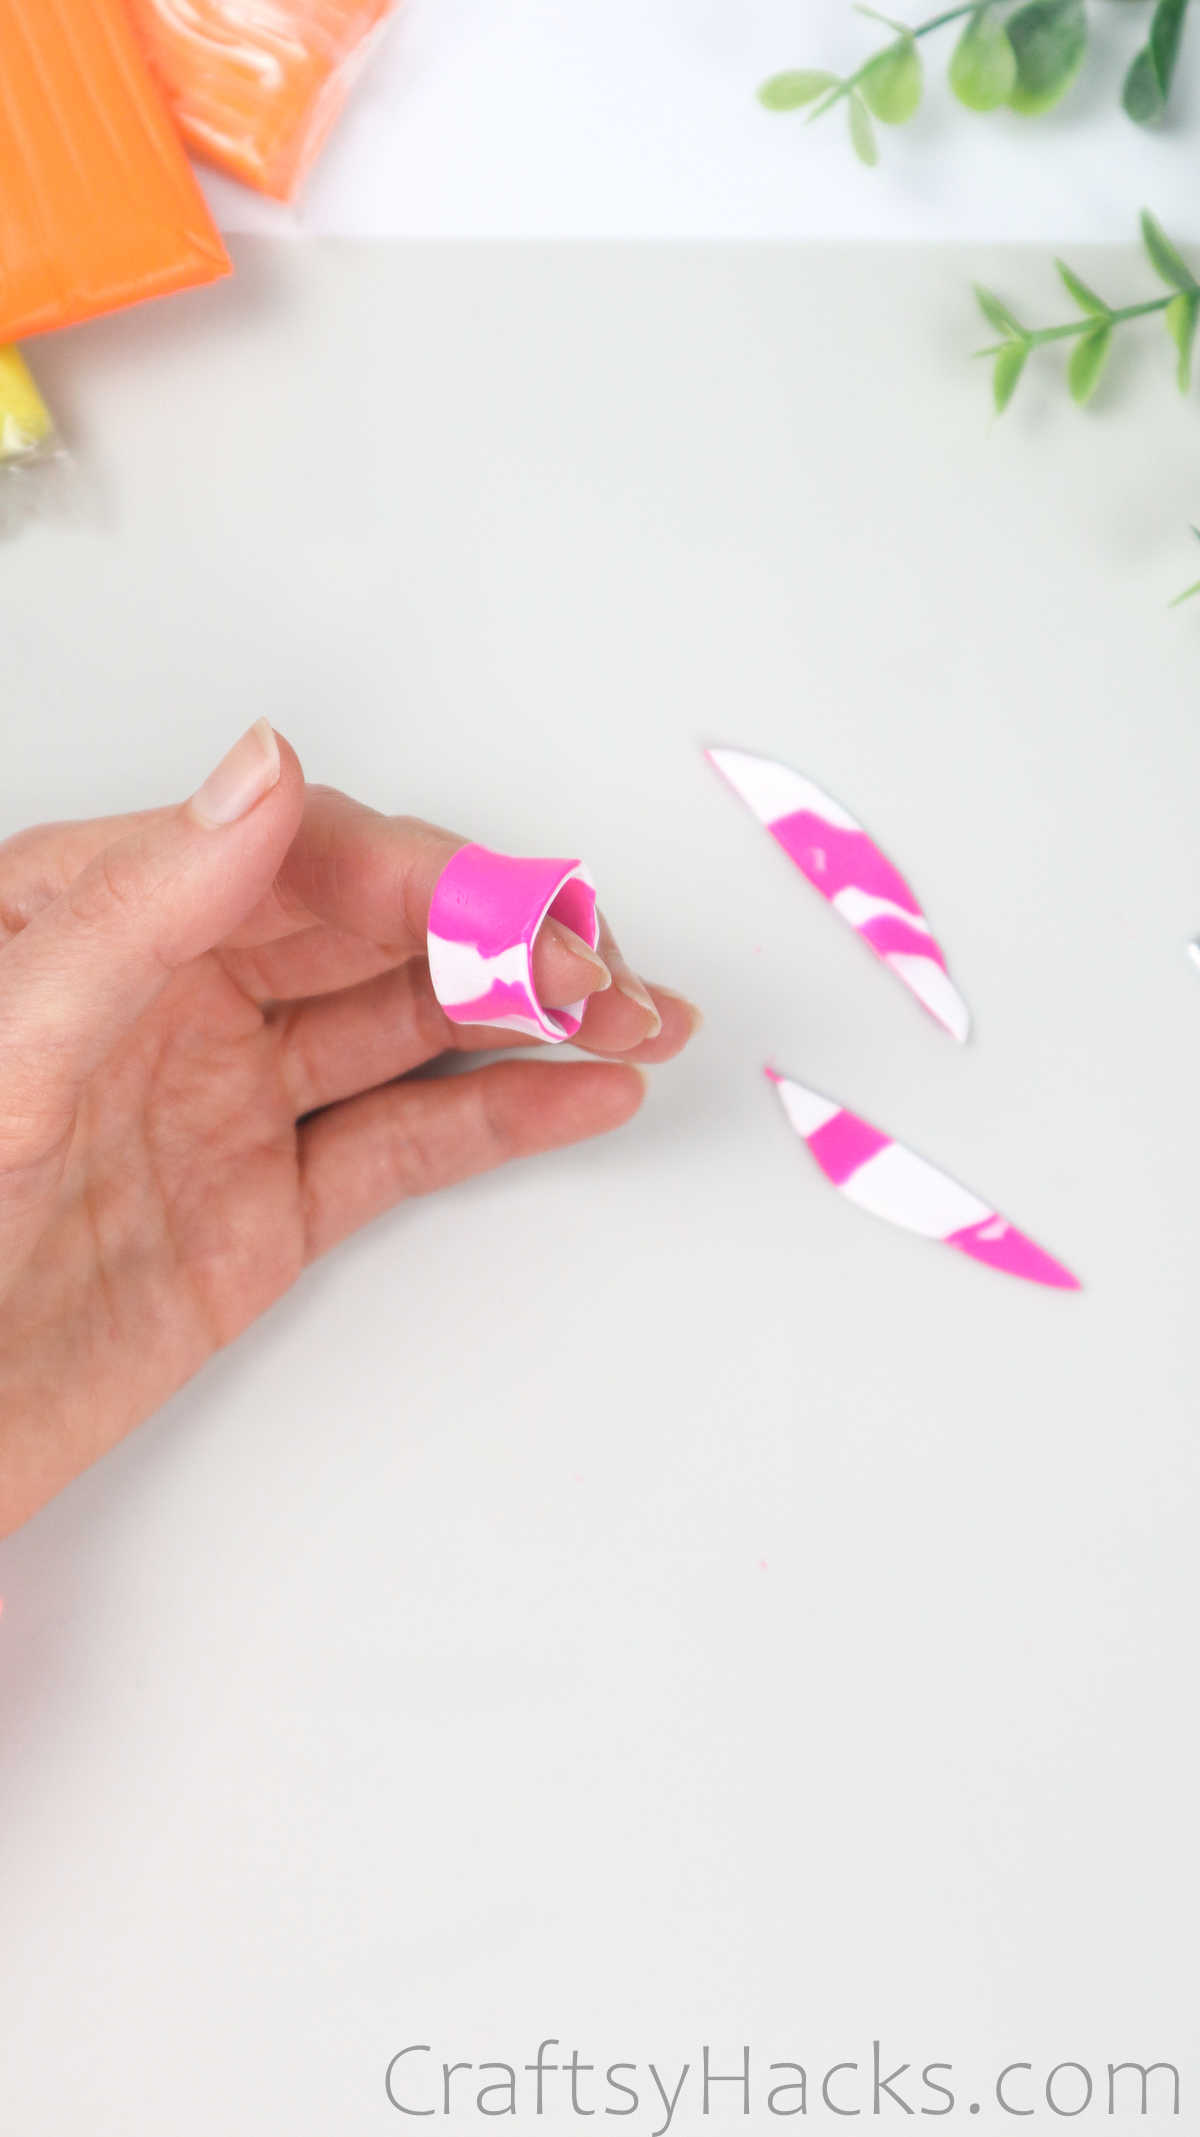
This next ring is one of my favorites. It’s a great way to use up leftover clay from your previous rings seeing as how you’re just going to be blending them all together anyway.
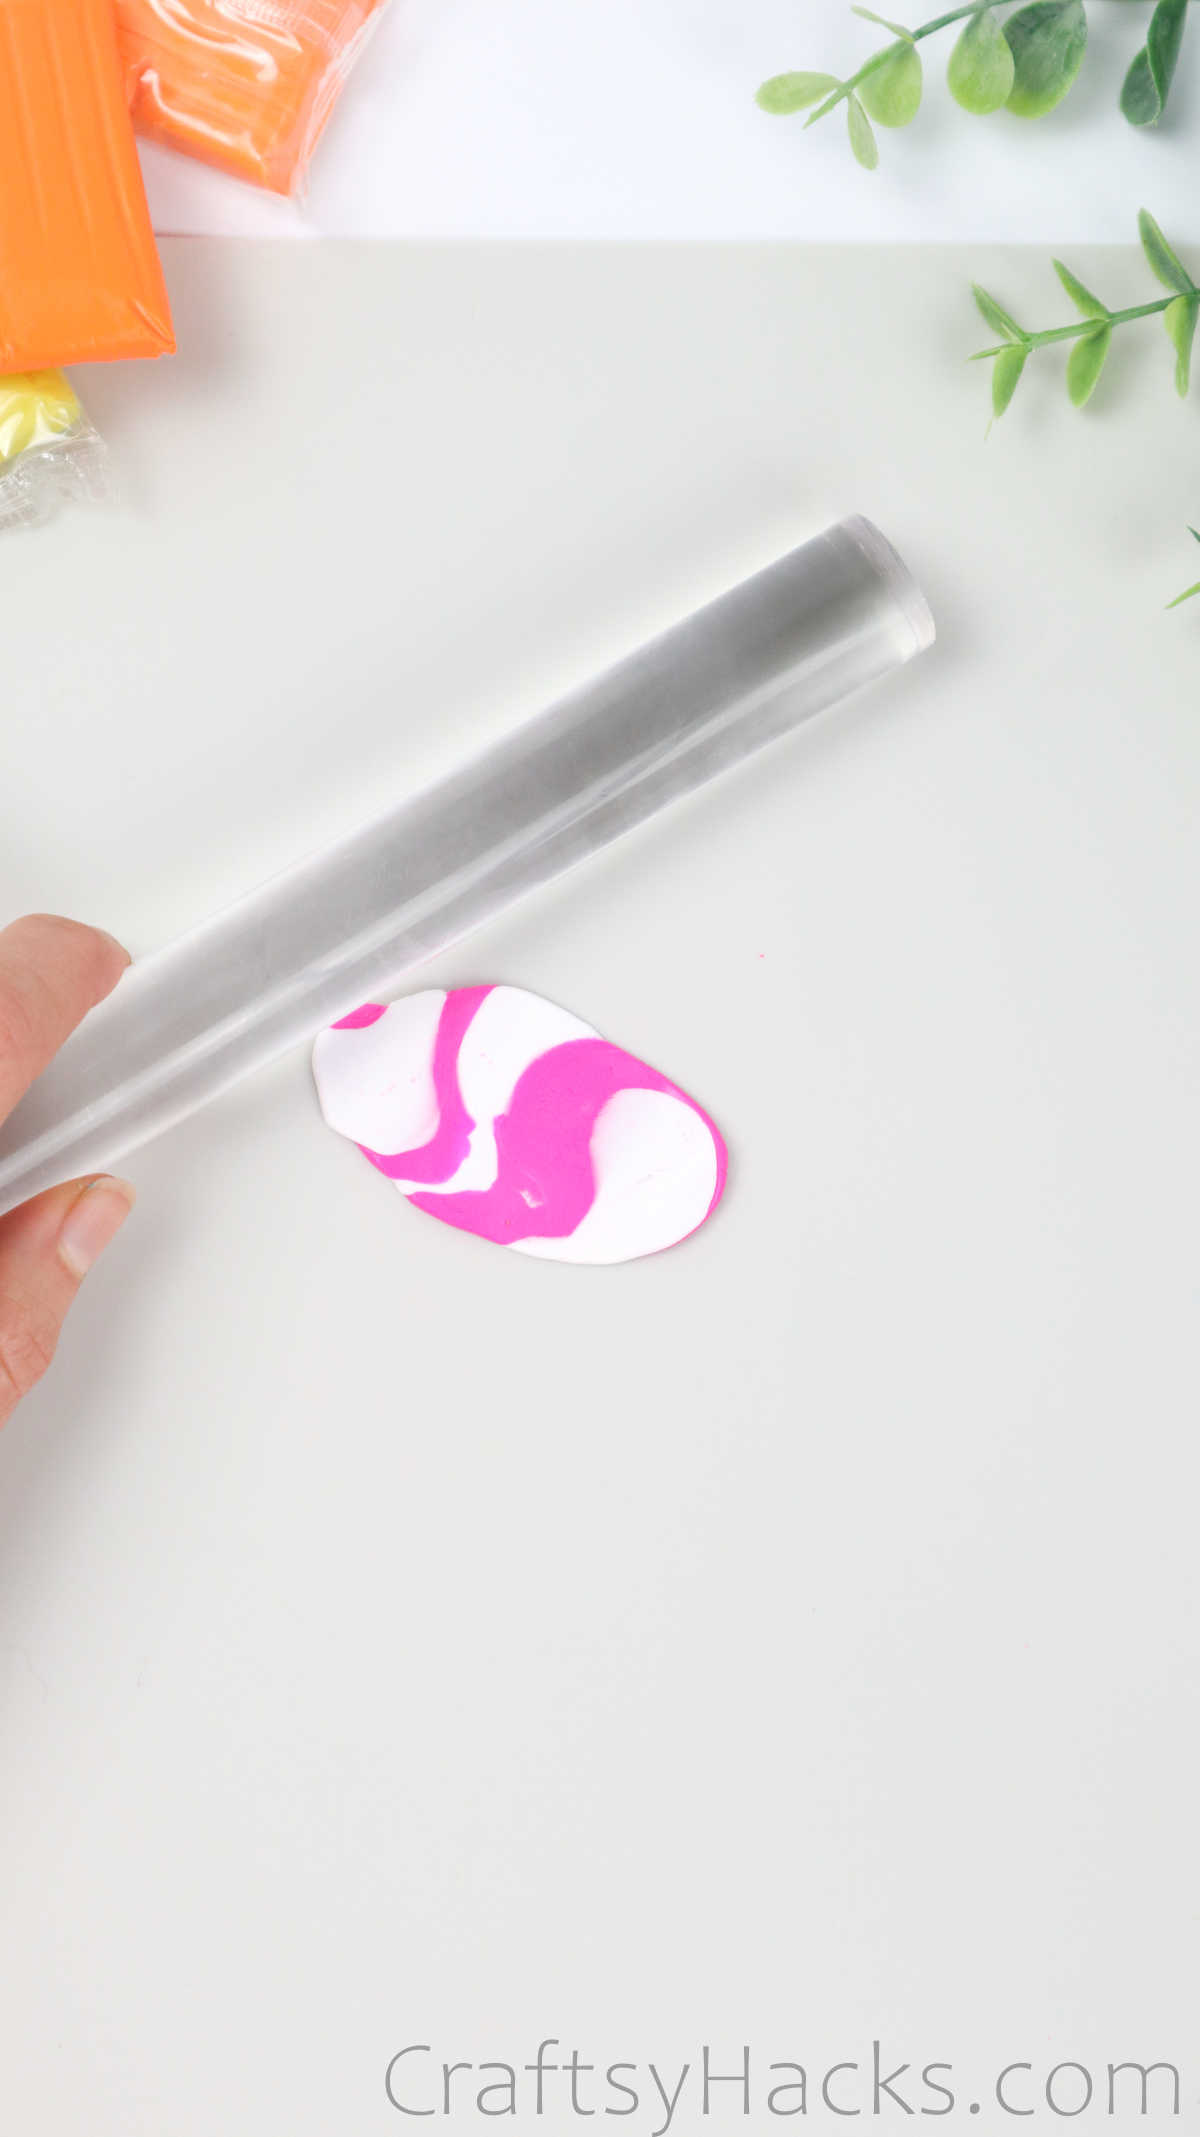
Just smush the different pieces of clay together just so and roll them around a little, without kneading too much. If you knead the clay, the colors will start blending into another color altogether and you will not have that marbled pattern you want to see.
Grab a rolling pin, a water bottle, or even a glass tumbled and just flatten the clay out on your work surface.
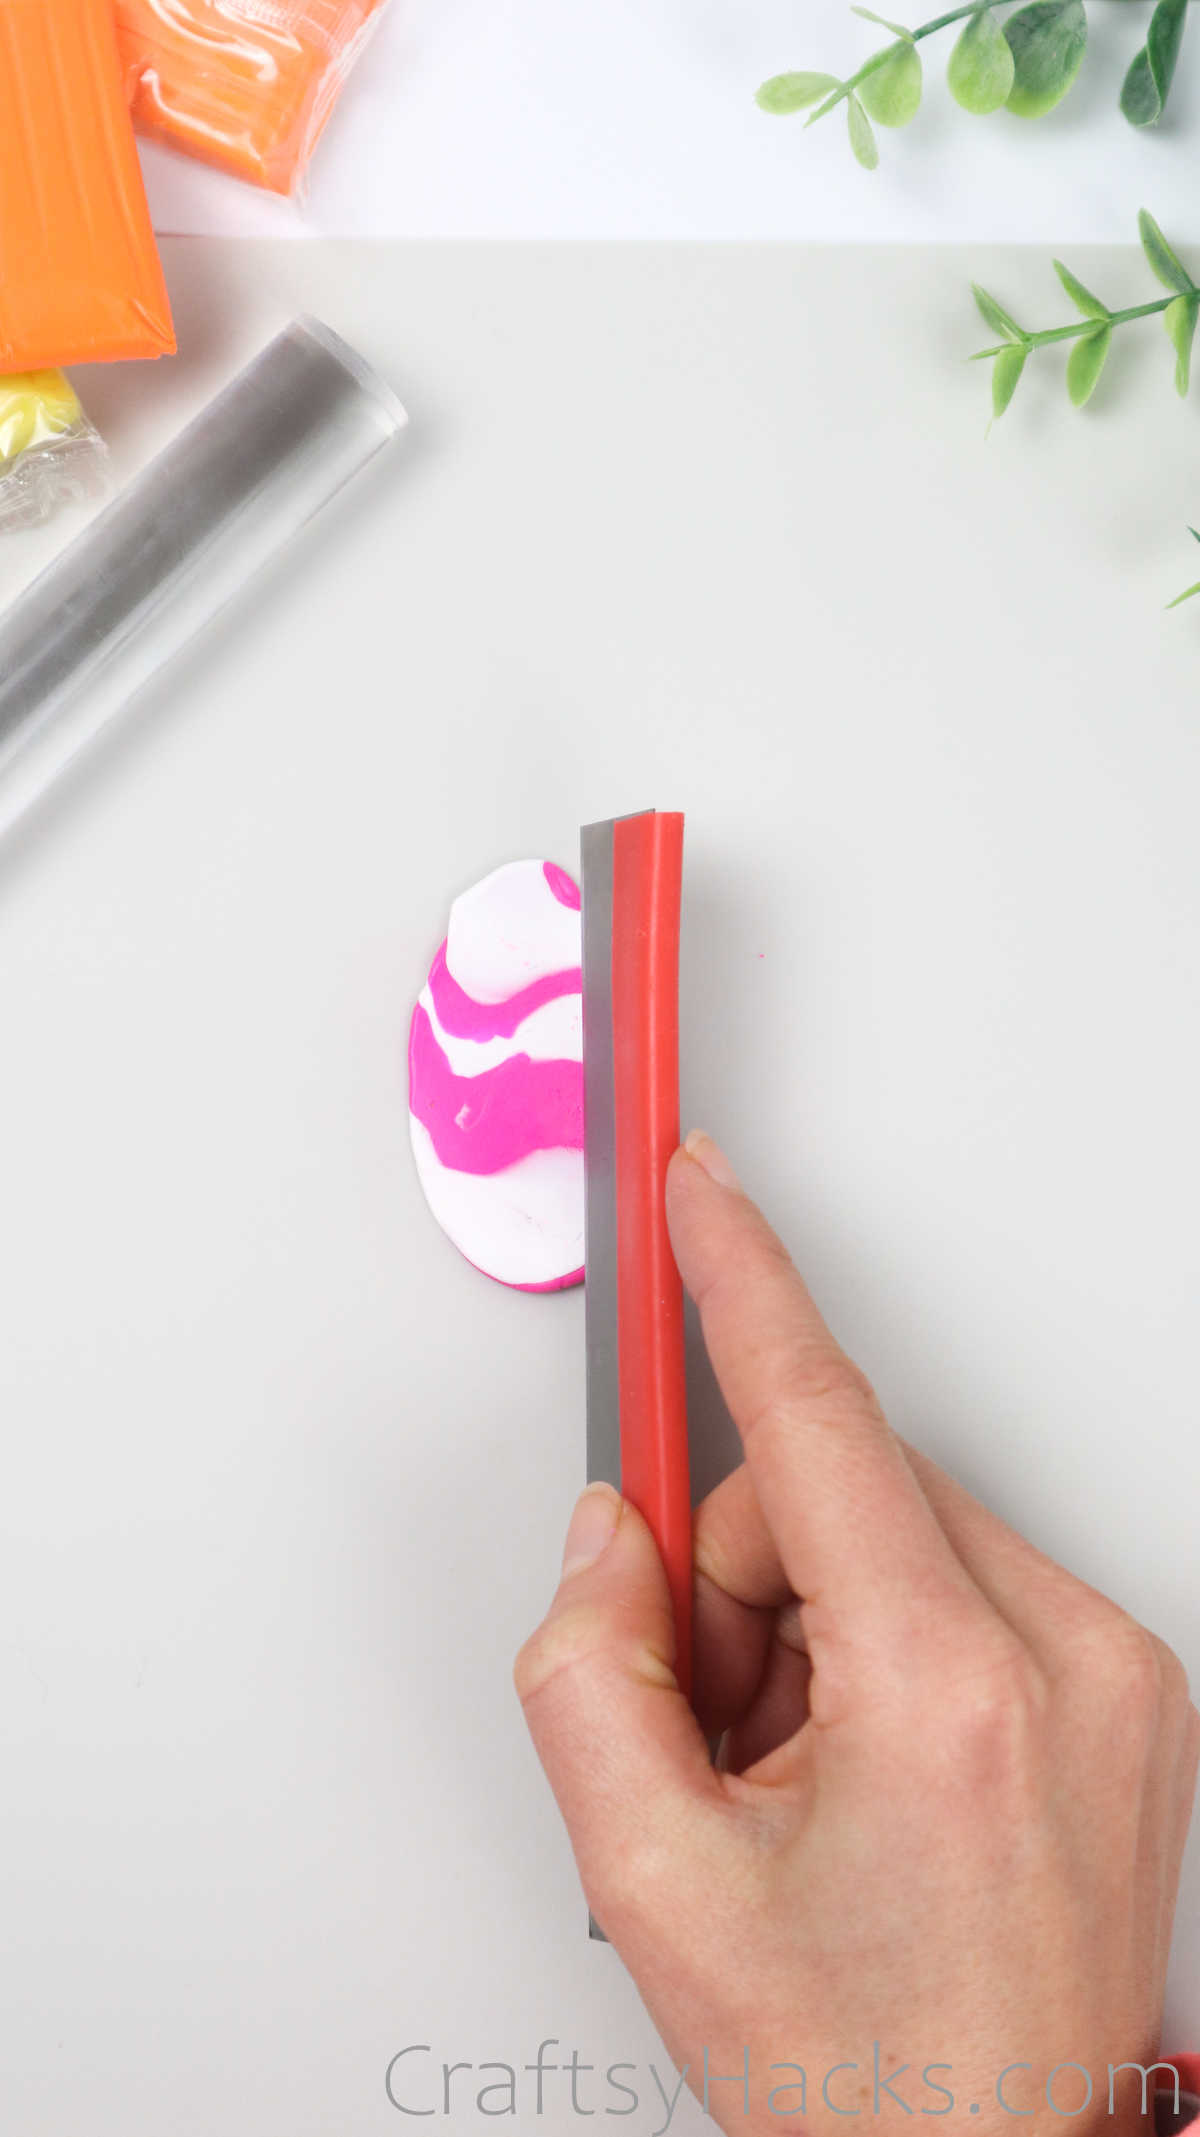
Next, use your cutting tool to cut the clay into three pieces, as seen here.
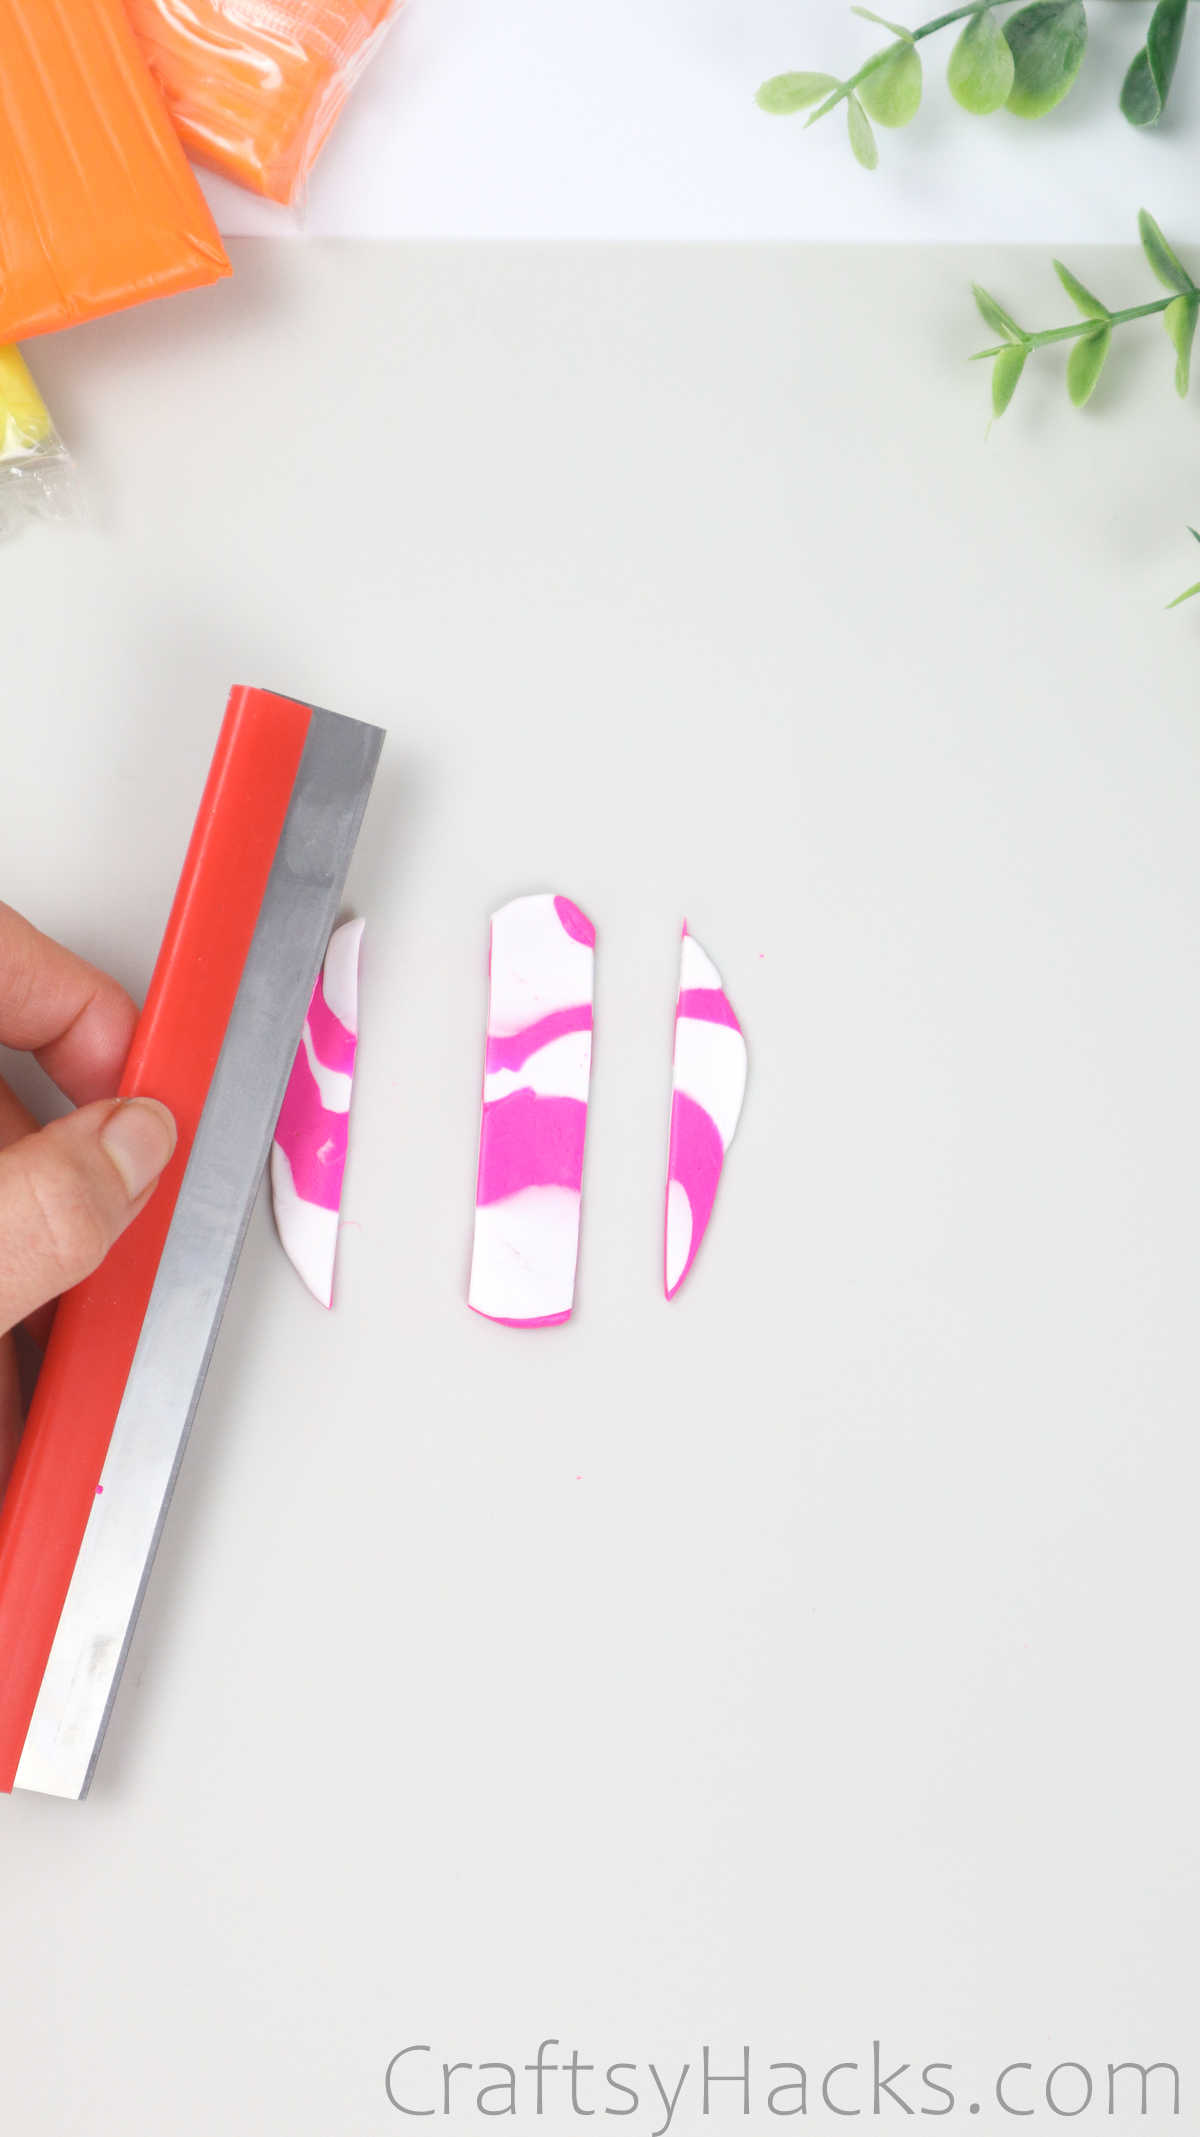
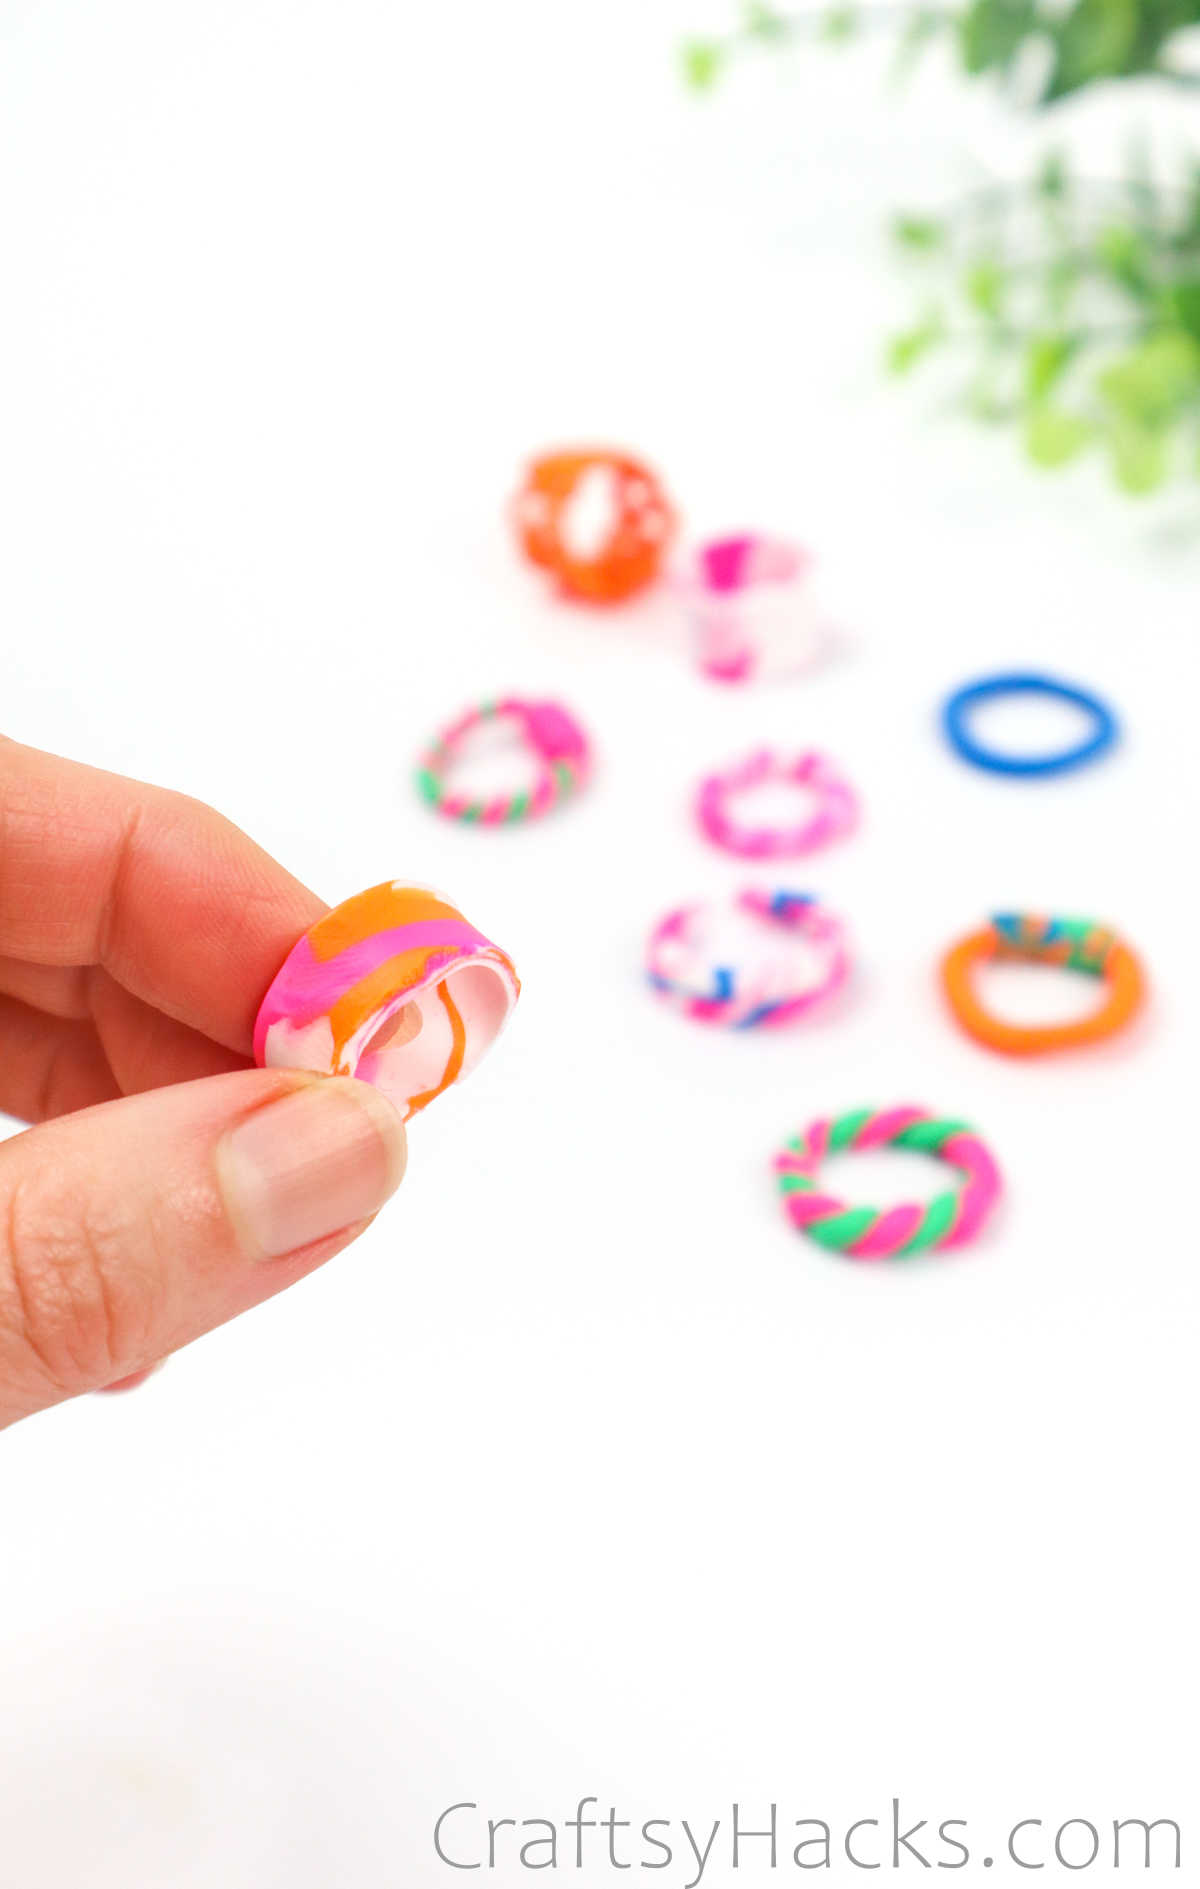
Carefully bring the two ends of the different components together to for an asymmetric ring like this. Doesn’t it look fabulous?
Baking
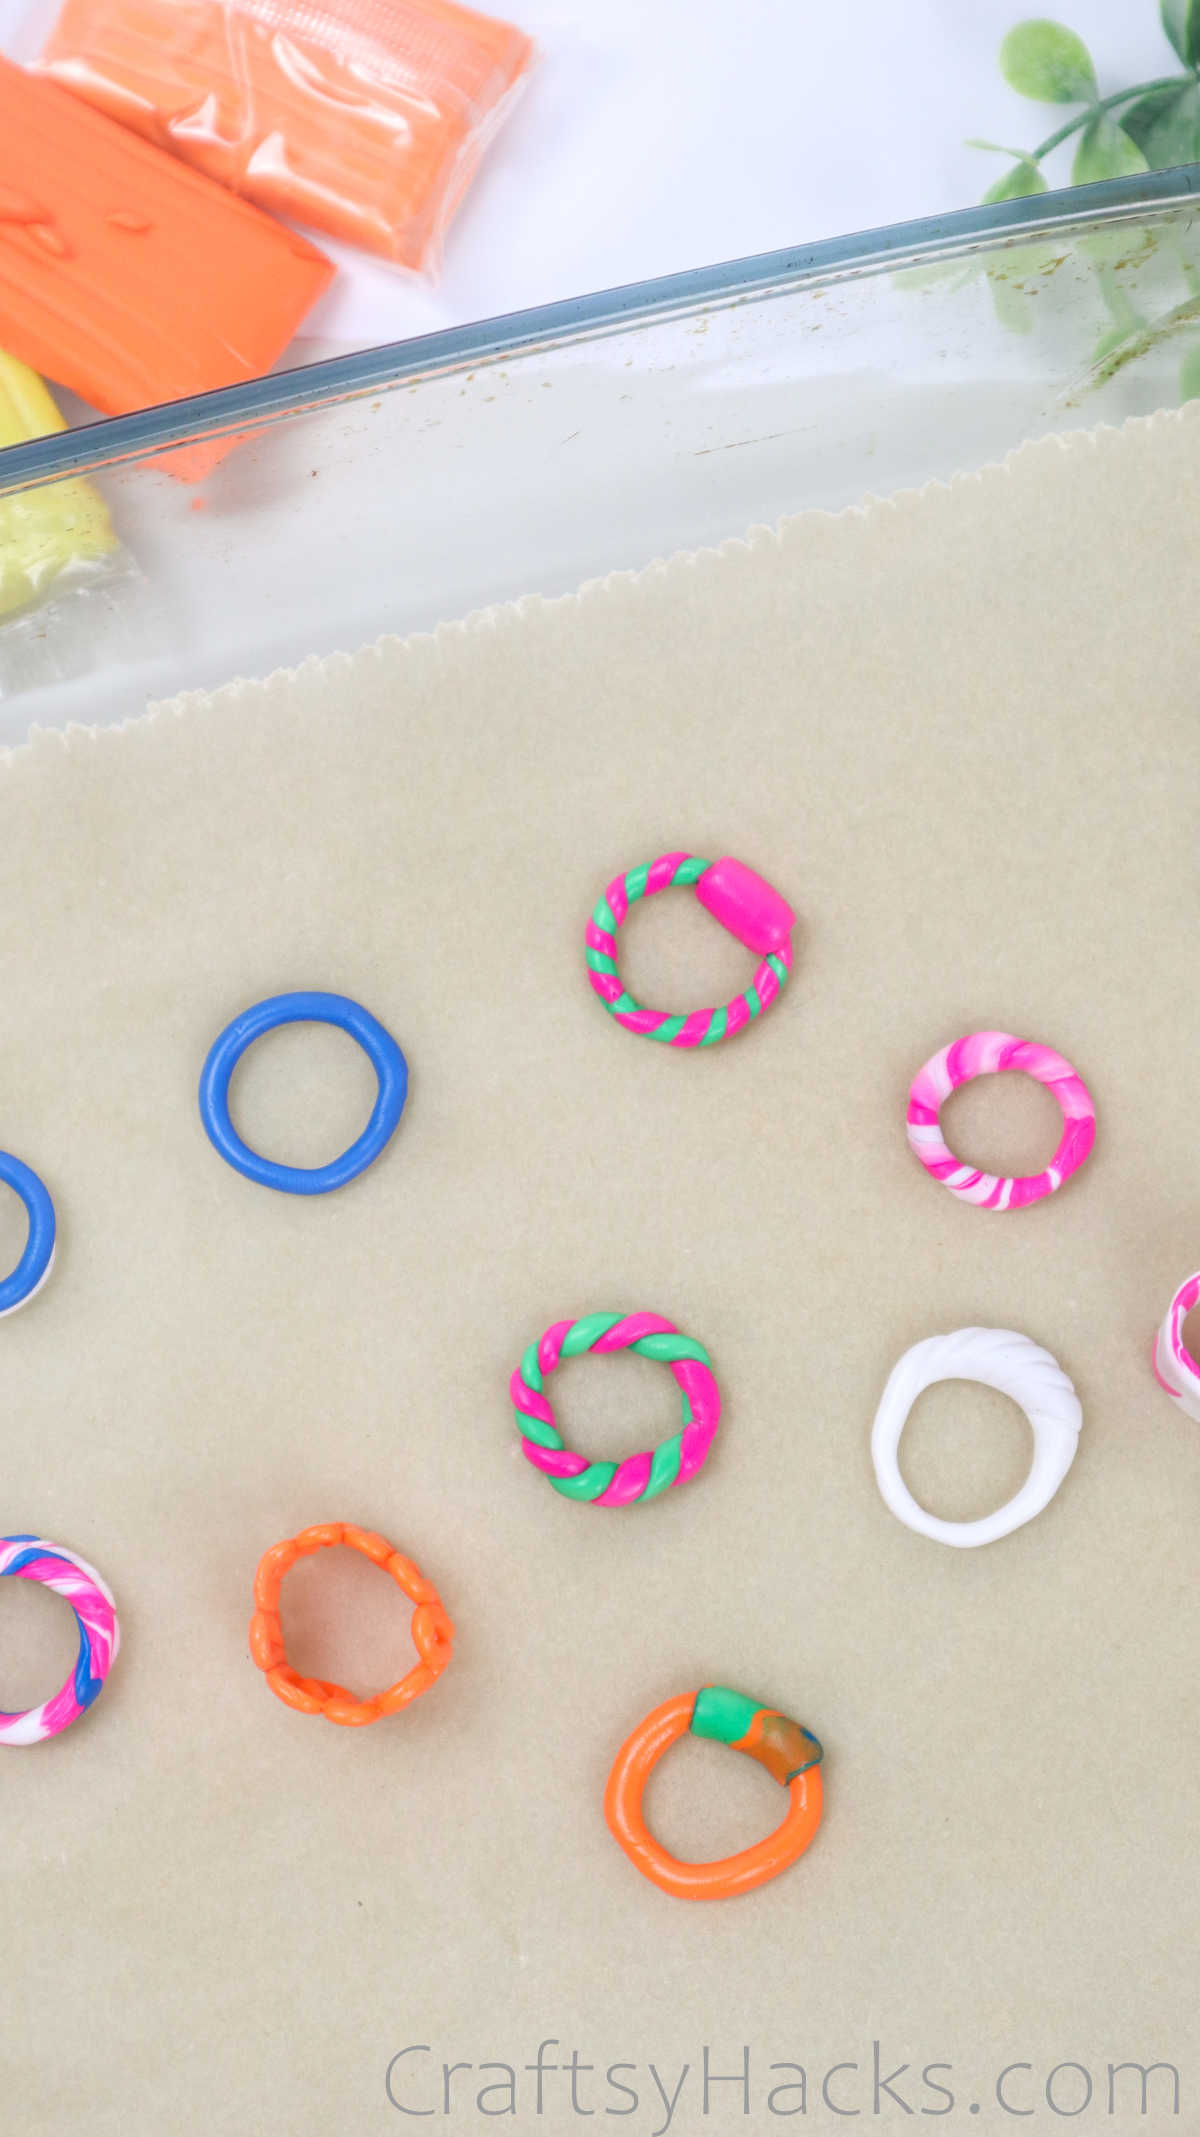
It’s time to bake! Once you’re done making all your different rings, go ahead and place them on the baking tray.
Remember to preheat the oven first. So, when you’re working on pattern 4 or 5, just turn on the oven and let it preheat in time.
Grab some aluminum foil and cover the tray before popping it into the oven. Make sure that you read the instructions on your box of clay to figure out just how long you need to bake the clay for.
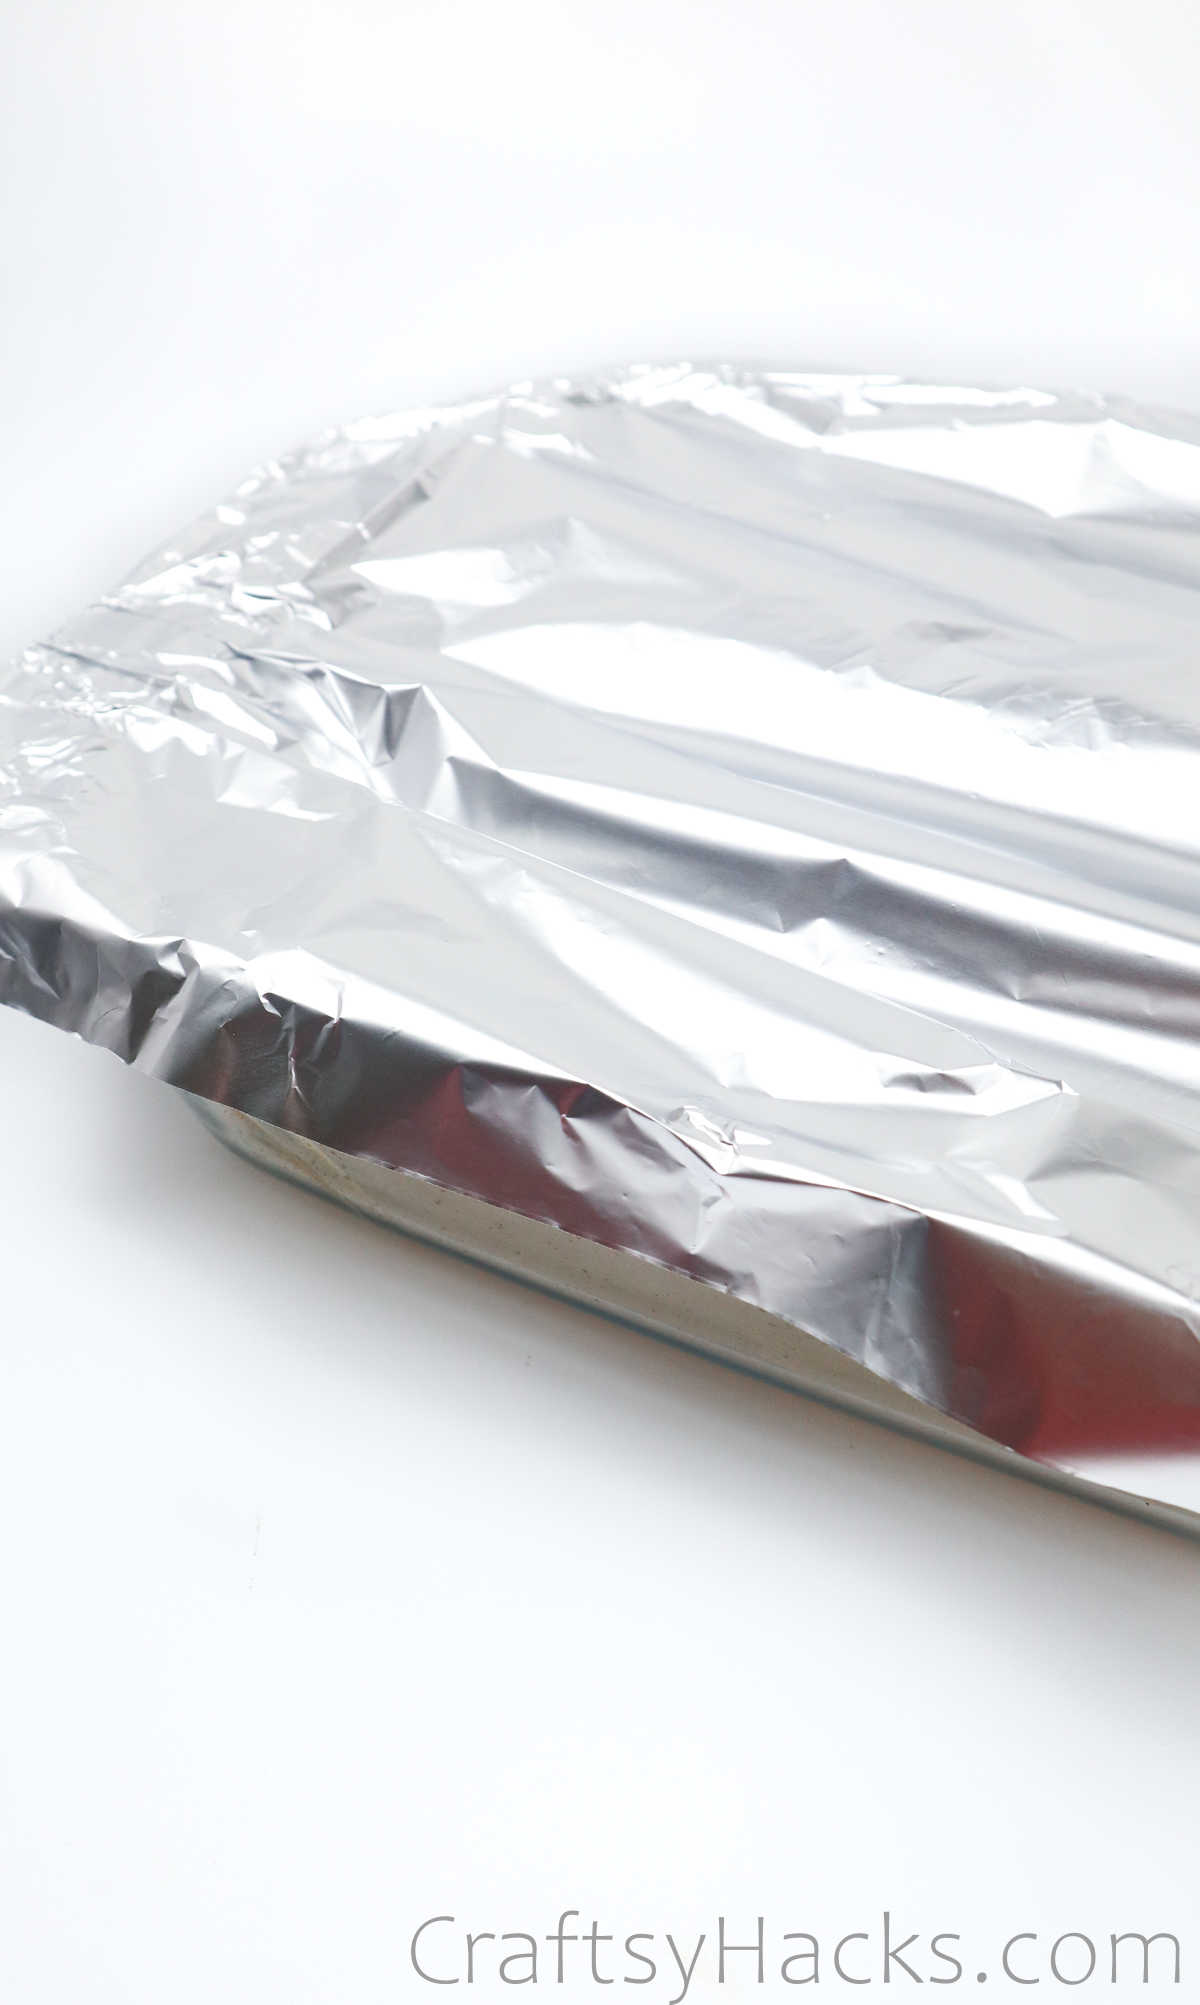
The thing about polymer clay is that you need to bake it for just the right time. Too little or too long and the ring will harden too much, crack, or crumble. SO just make sure you read the instructions carefully about the baking process and time.
Also, here’s a fun tip. If you want a non-matte, glazed finish on your rings, just spray some varnish specifically designed for polymer clay.
Other Crafts You Might Want to Make
- DIY Polymer Clay Earrings
- How to Make Air Dry Clay Bowls
- DIY Bottle Vase
- 47 DIY Projects
- 27 Classroom Crafts
- 27 DIY Rings
How to Make Clay Rings (Step-by-Step)
Video Tutorial
Equipment
- Rolling pin
- 1x sewing pin
- Cutter blade
- Craft knife
- Aluminium foil
- Baking tray
- Parchment paper
Materials
- Polymer clay
Instructions
- Gather all your supplies and tools to get started.
- For all the patterns you’ll be working on, just pinch off a portion of clay and knead it a little to soften it. Next, roll the clay into a flat line on your work surface.
- Pattern 1 : Simply measure the circumference of your finger and cut off the desired length of clay. Press the ends together and blend the clay till there is no discernible line or marker.
- Pattern 2: To make this squiggly ring, just twist the length of rolled up clay into a serpentine pattern as shown and cut off the end when you’re happy with the size. Just press the two ends together and blend them to close the ring.
- Pattern 3: For this ring, roll up two colors of clay and line them up against each other. Now twist both of them around the other without pressing or flattening them down. Fasten off the ends and set aside.
- Pattern 4: Roll out some clay, only, instead of rolling it evenly, leave a little raised lump of clay at the center. Cut off the excess clay and bring the ends together to blend them into a ring. Next, grab a cutting tool or even just a needle and make indentations along the top bump.
- Pattern 5: if you have excess clay from when you worked on the other rings, then go ahead and roll them up together, but don’t knead them so much that the colors start to blend. Use a rolling pin to flatten the clay and cut strips of it before blending the ends together to form an asymmetric ring.
- Baking : First, preheat the oven. Place all your rings onto a baking tray and cover with aluminum foil. Carefully read the instructions on the box of your polymer clay to figure out how long and at what temperature you need to bake the rings.


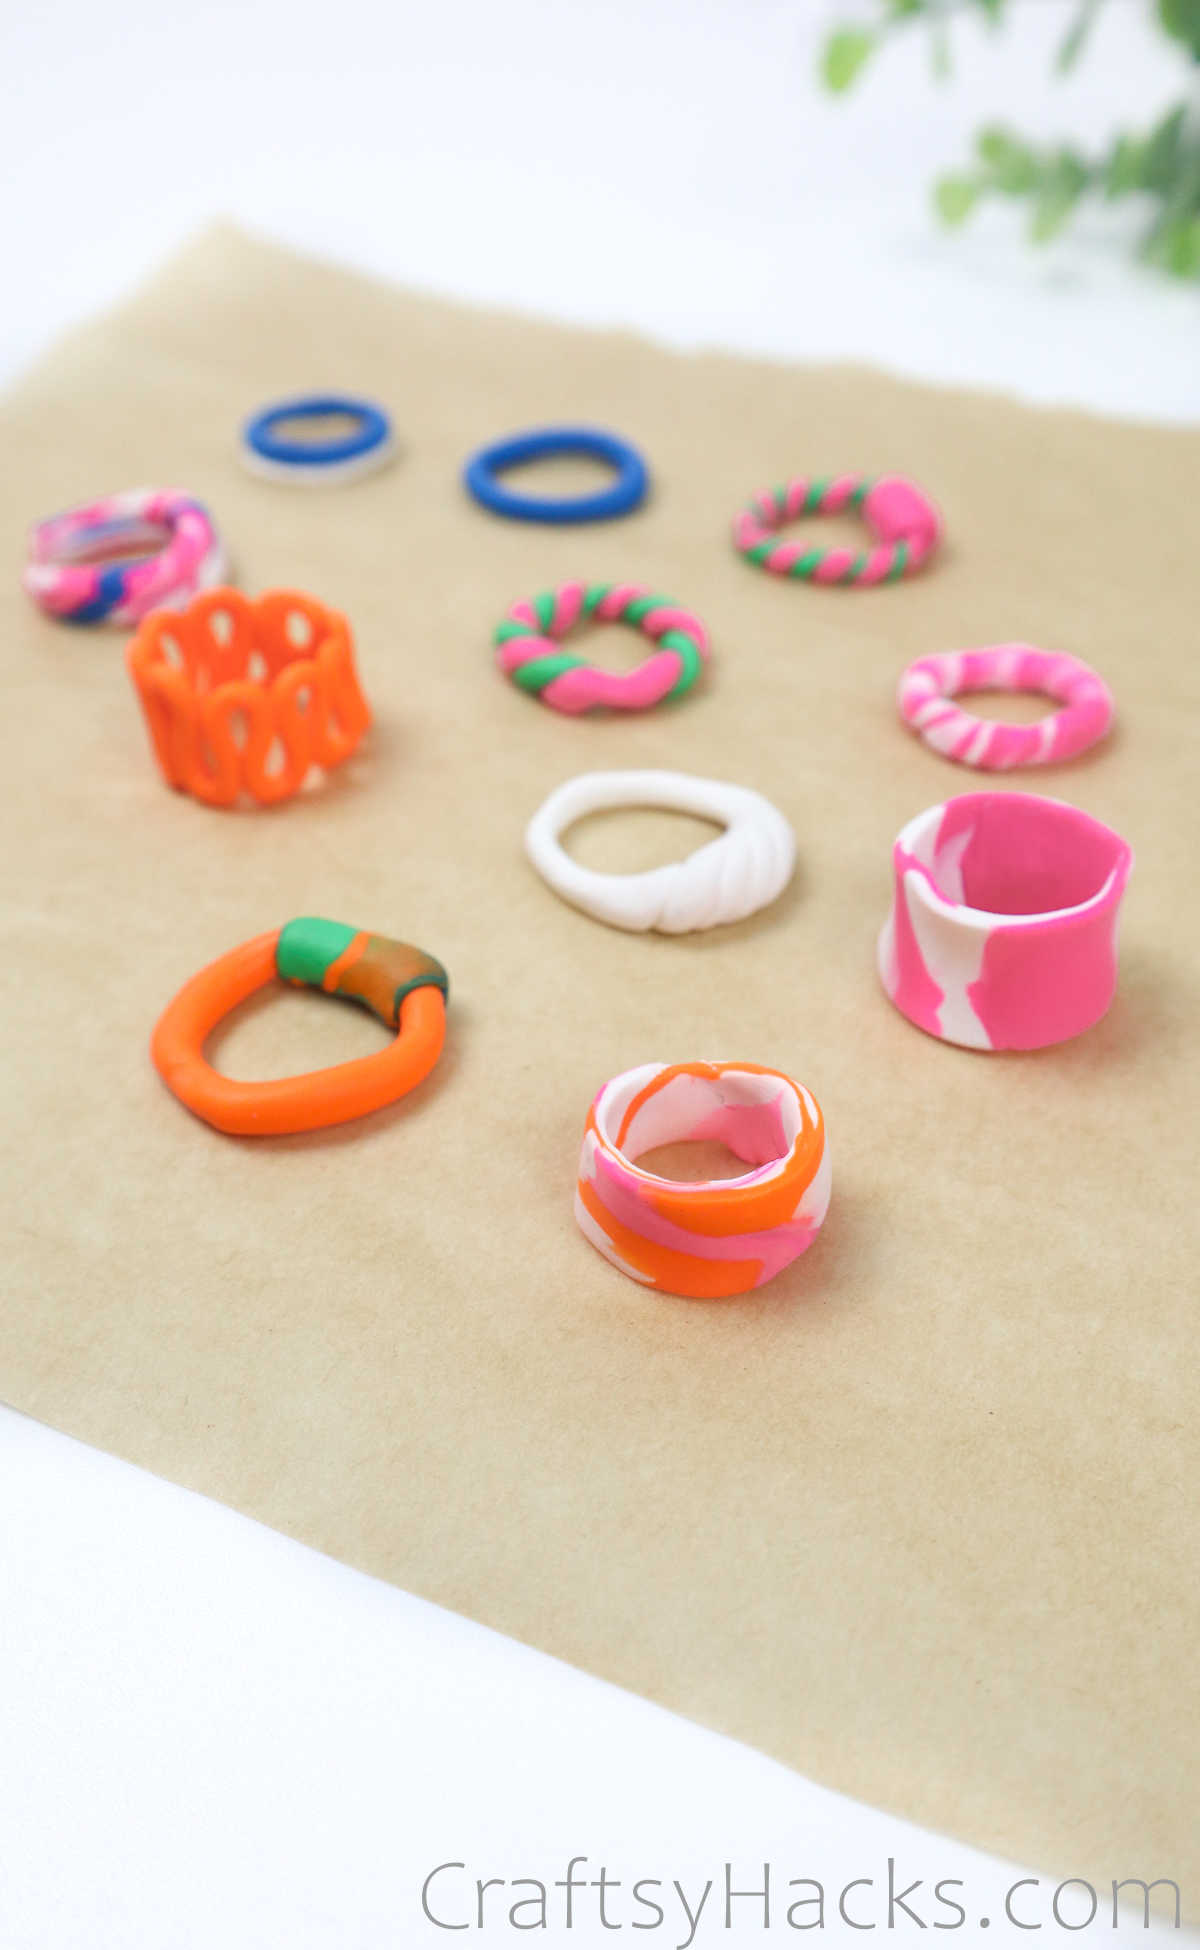
Nice to see another great idea from another fellow “clayer”.. 🙂I love the squiggly orange one….and the flat marbled design…The twisty rope, does that one bump up against your fingers? It looks like it would sit uncomfortably. Just my impression.
They felt alright. Smoothen them out as much as possible and you shouldn’t have any issues 😉