Paper Plate Pumpkin
This post may contain affiliate links: full affiliate disclosure.
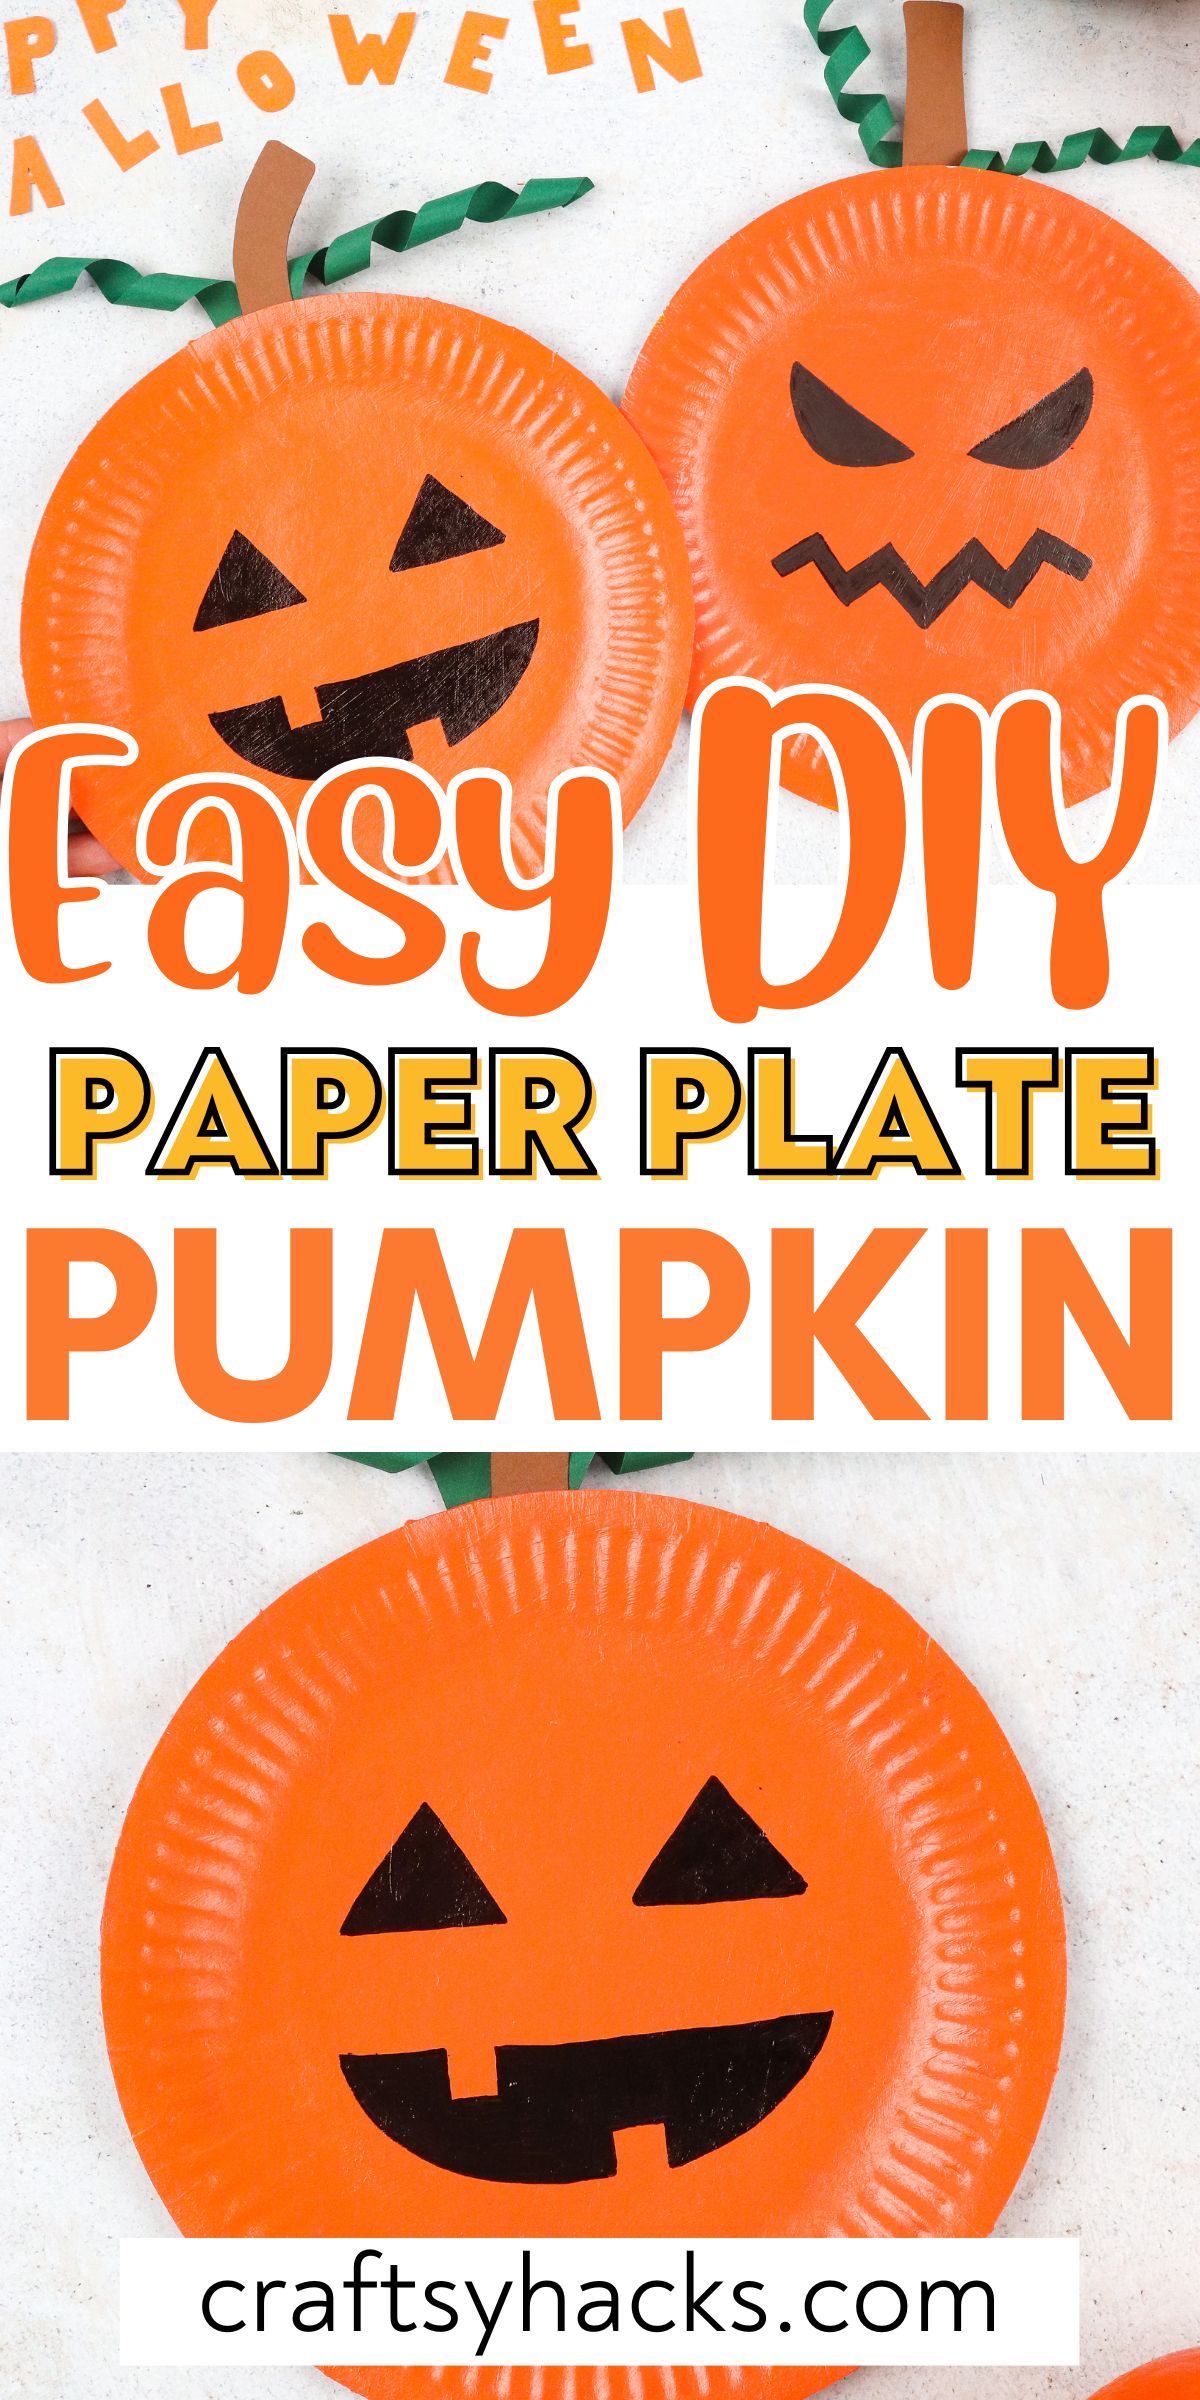
Are you ready to get into the Halloween spirit? If you are a pumpkin fan like me, you have to try this festive paper plate pumpkin craft.
This is the perfect fun fall activity to do with little ones. These are cute and super simple to make!
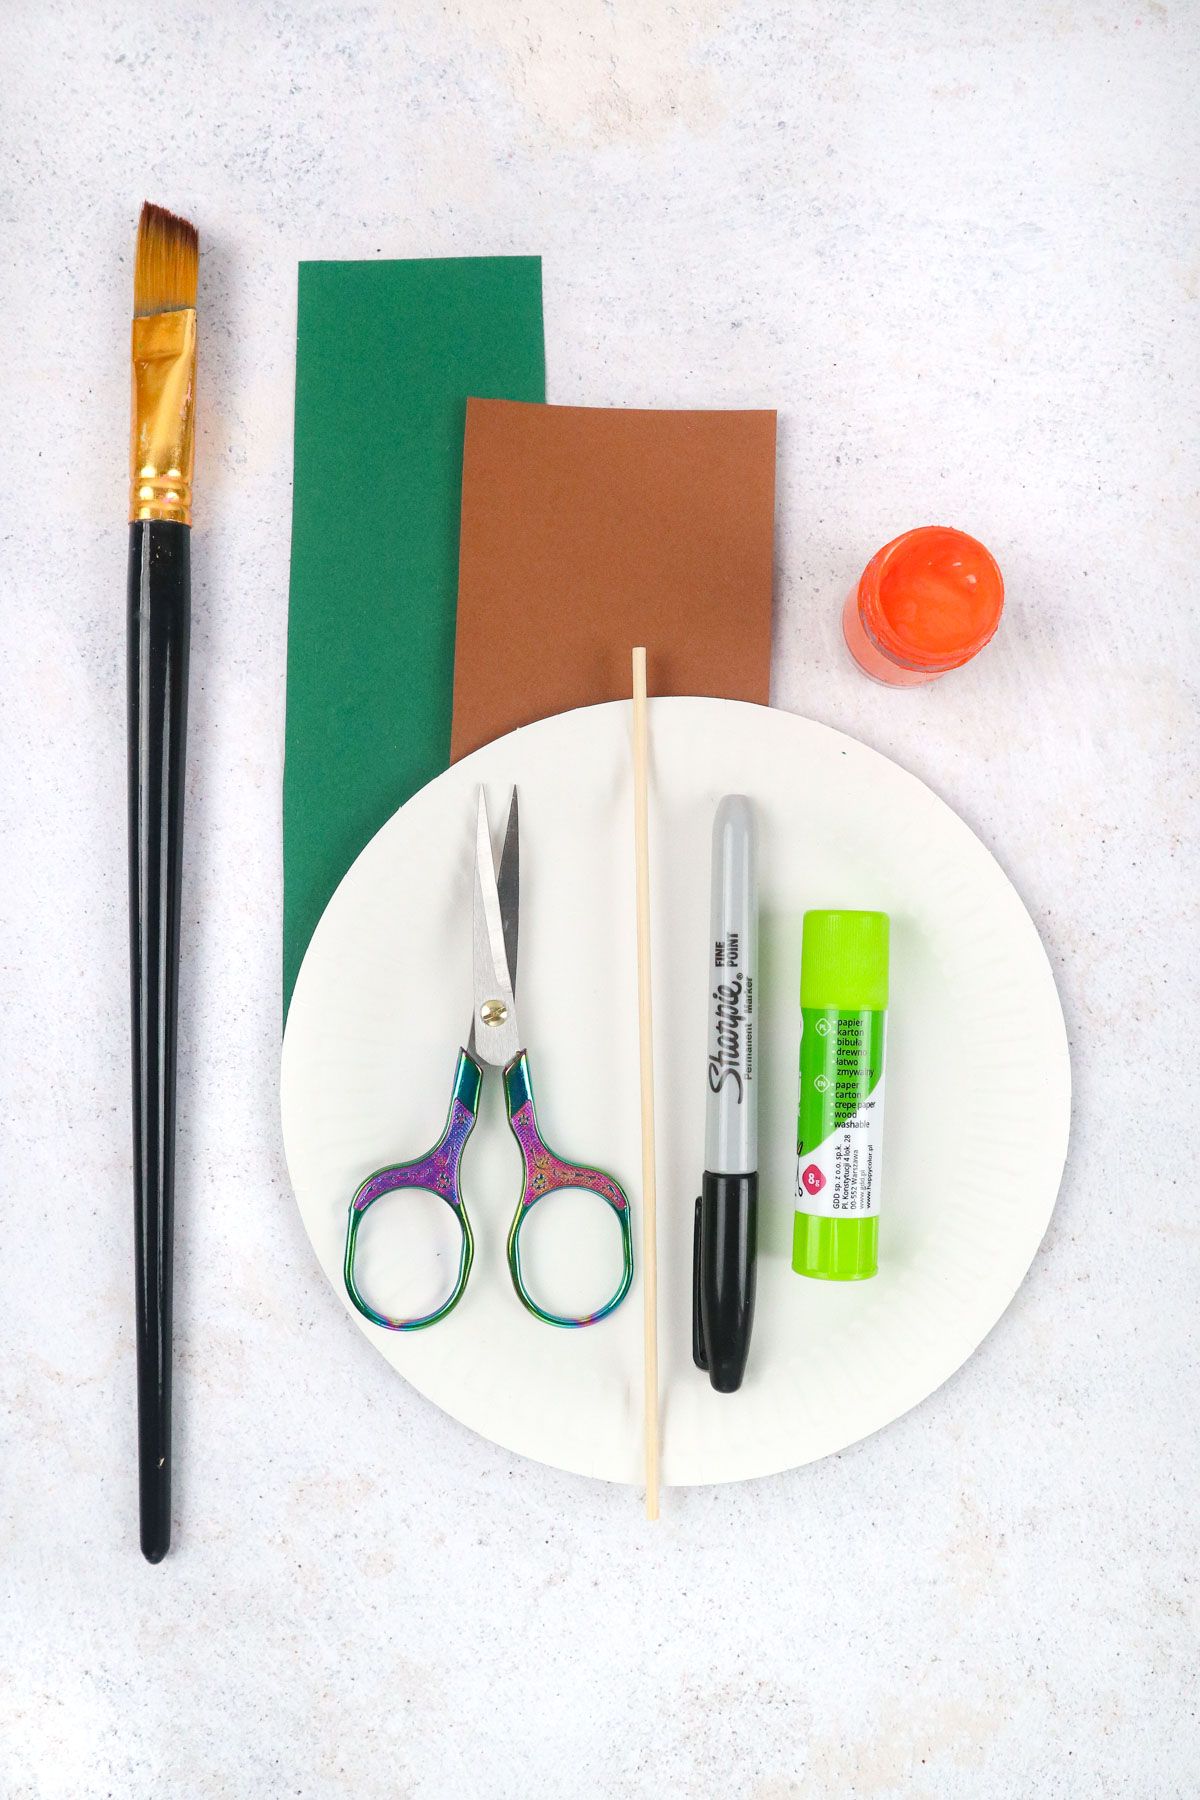
Supplies You’ll Need
- Paper plate
- Orange acrylic paint
- 4″x 3″ brown craft paper
- Paint brush
- Scissors
- Black marker
- Glue stick
- Skewer
*or a pencil to curl leaves
How to Make Paper Plate Pumpkins
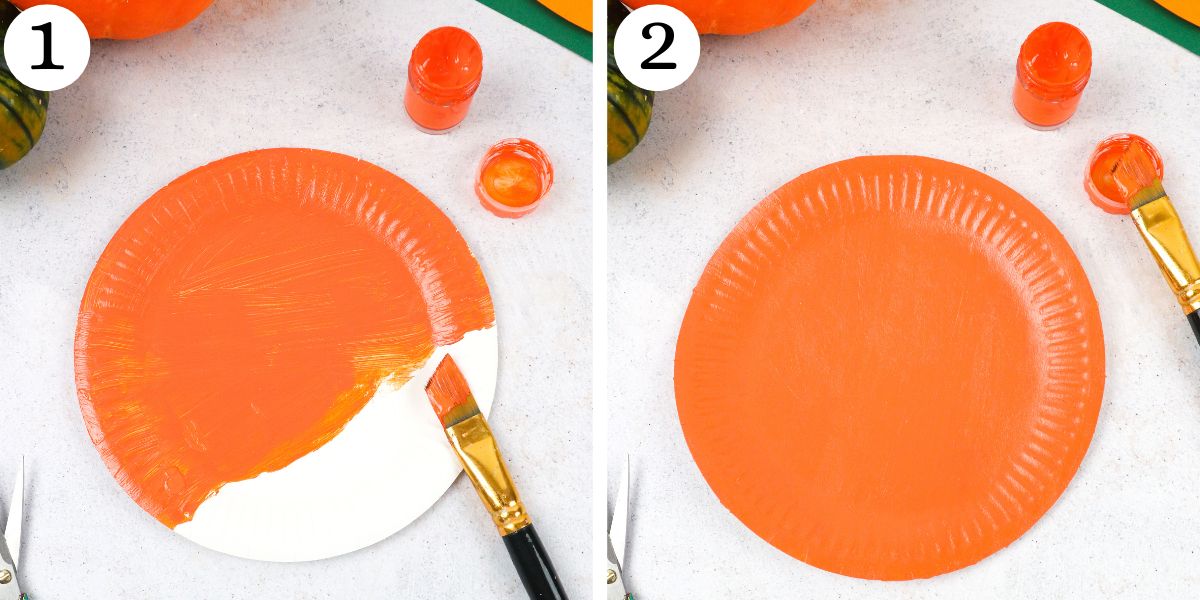
Step 1. We will begin by painting our pumpkins. Grab your acrylic paint and your paintbrush and add one coat of paint to your paper plate.
Let it dry a little bit.
Step 2. Now, add a second coat of paint to your plate. Let it dry completely before continuing.
It should take about 30-50 minutes to dry. If you wish to speed up this process, you can use a hairdryer to make your paint dry faster.
Step 3. Now, it is time to make your pumpkin’s eyes. Get your black marker and draw two triangles on your plate.
Step 4. Draw your pumpkin’s mouth.
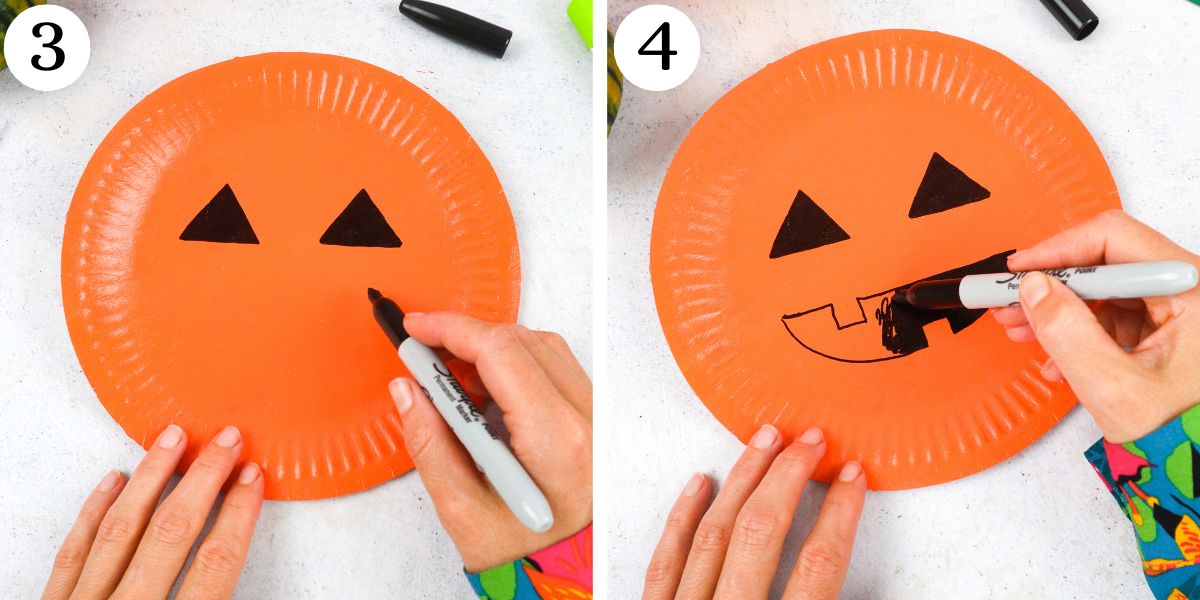
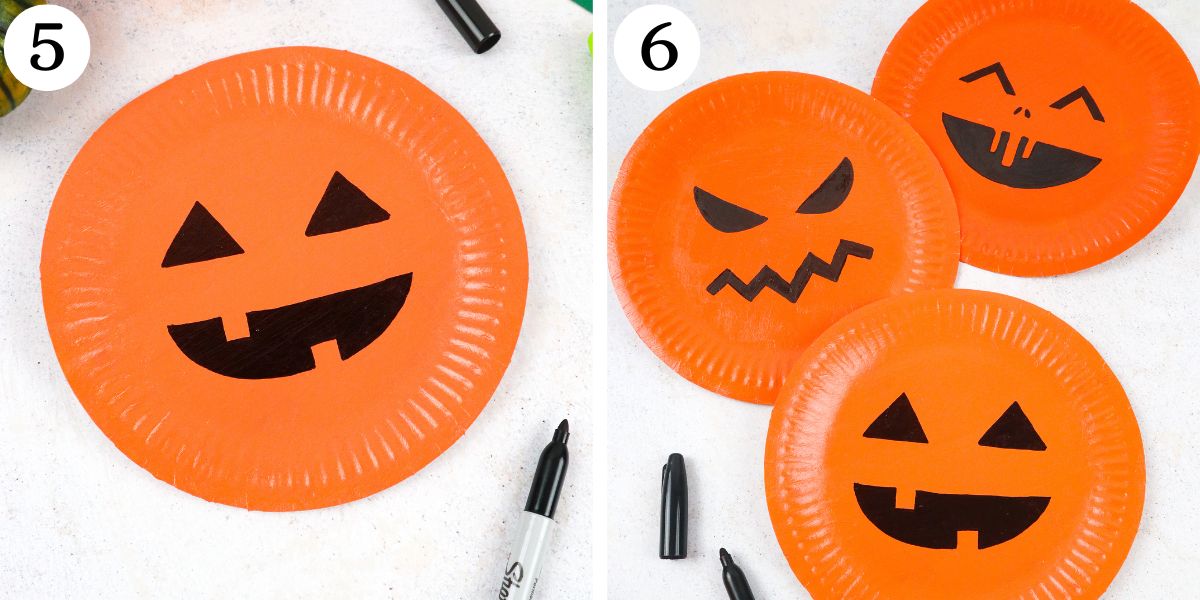
Step 5. Add some teeth to your pumpkin’s mouth with your black marker.
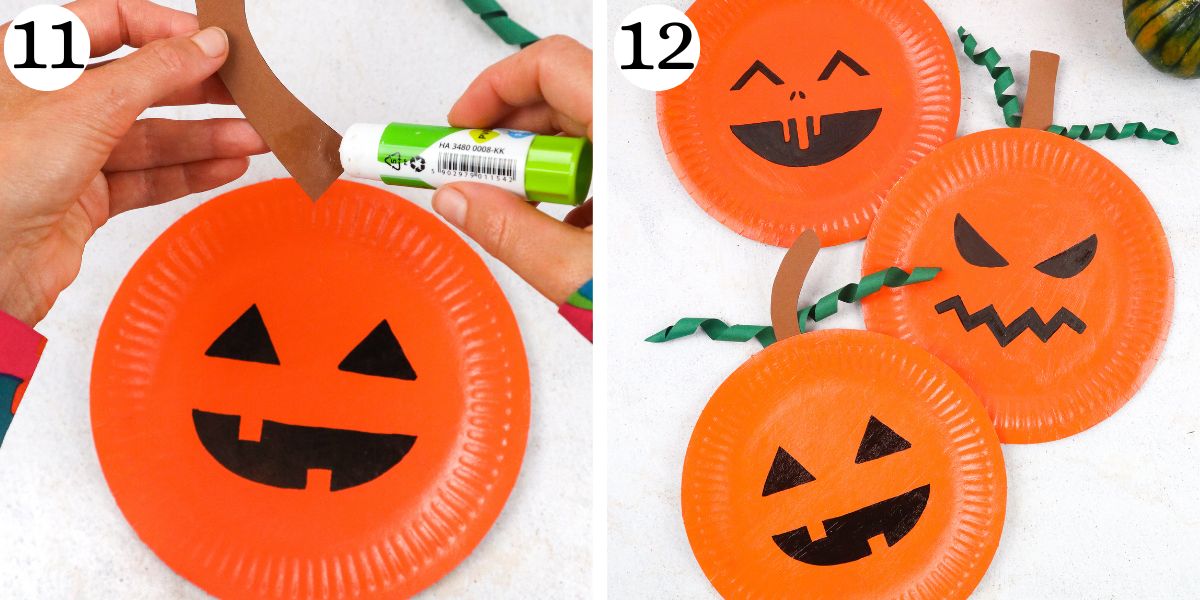
Step 6. This picture shows the different possibilities for your pumpkin design. You can make round eyes, a zig-zag mouth, or a wide smile.
You can also choose to cut out the elements of your pumpkin’s face and glue them onto your plate instead of drawing them with black marker.
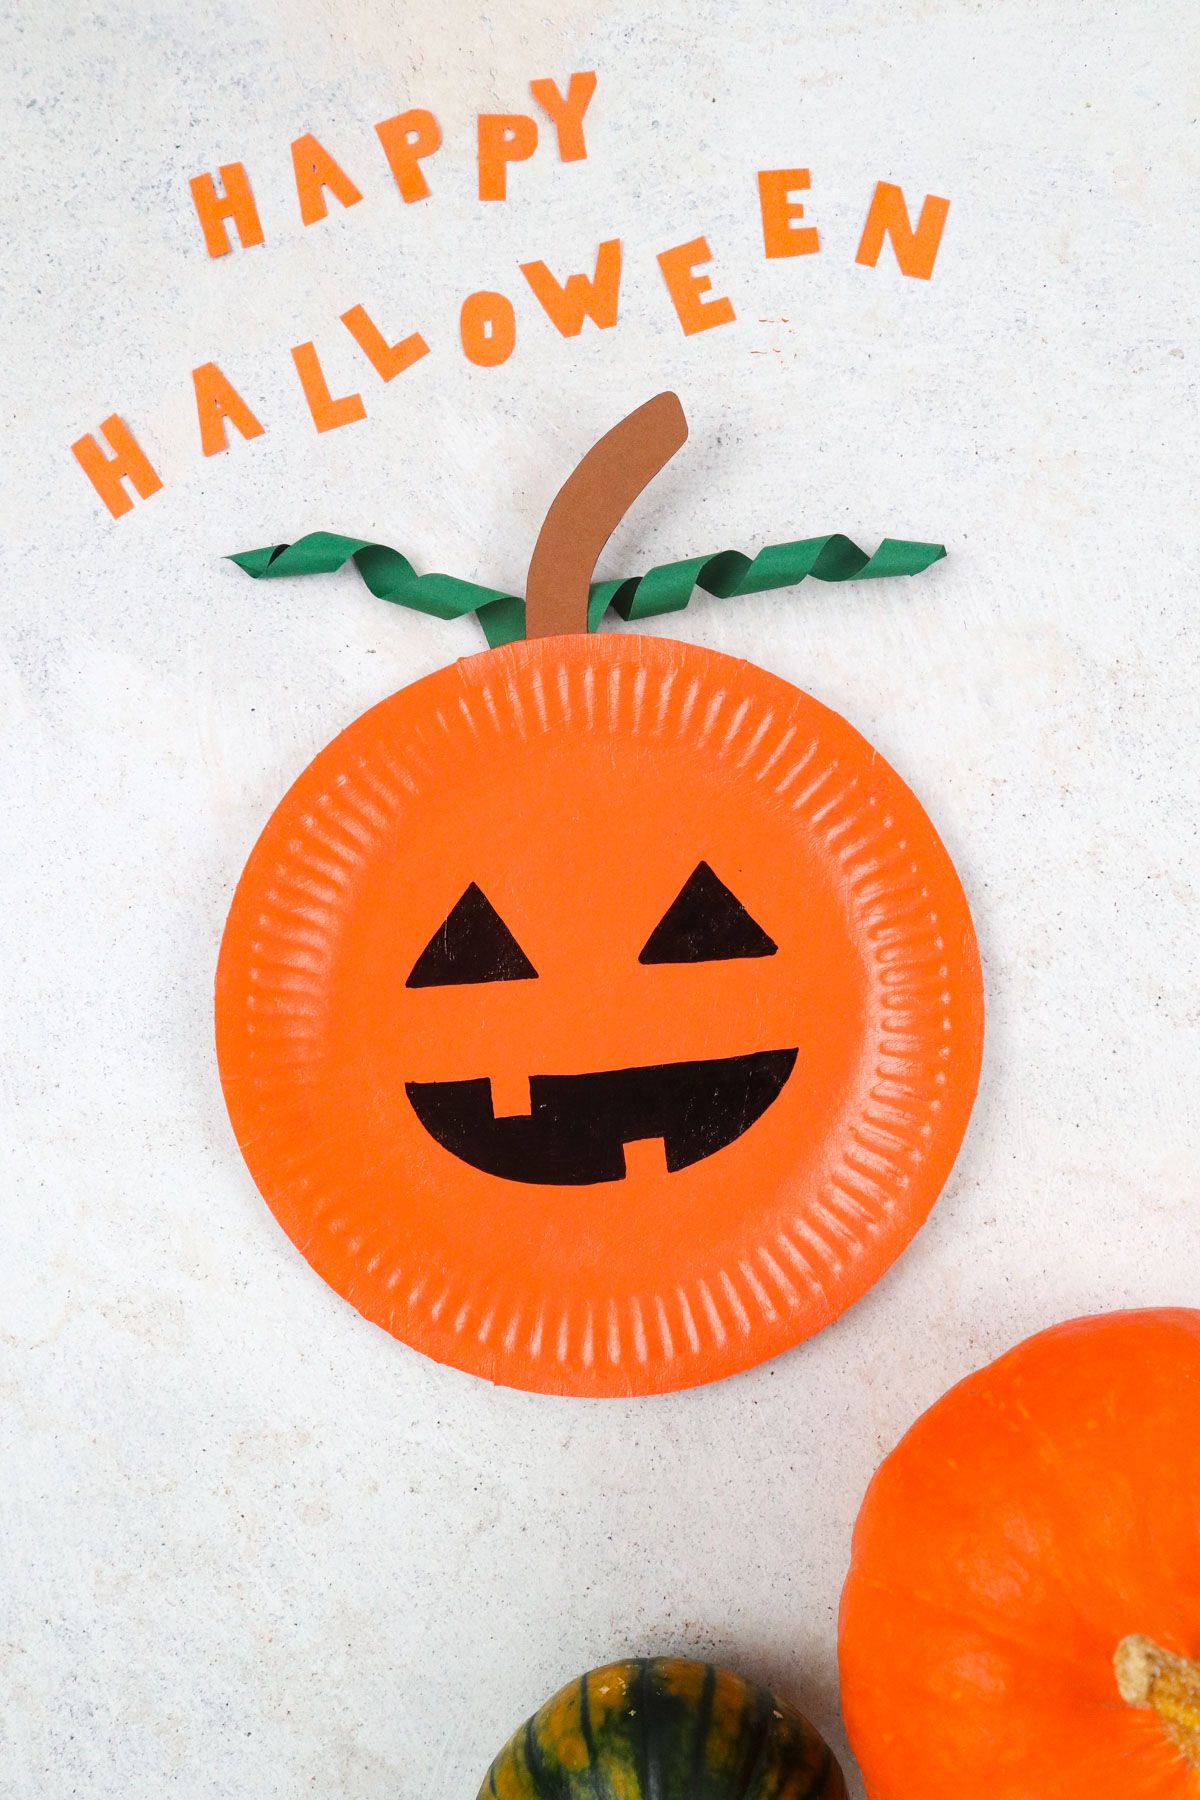
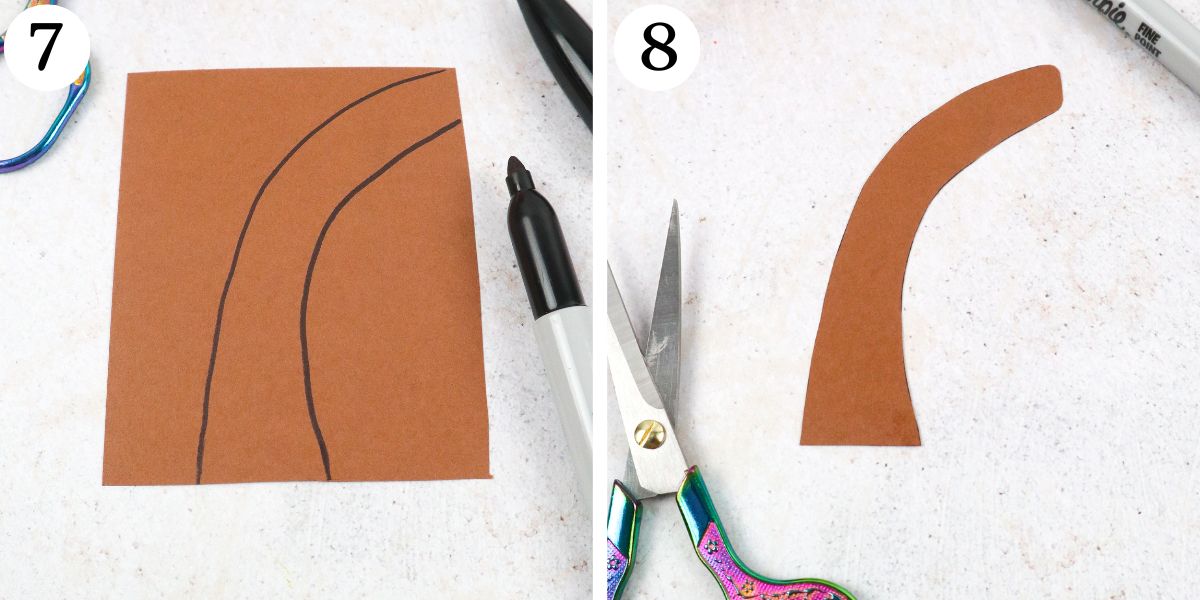
Step 7. Now, let’s make a stem for your pumpkin. Get your brown paper and use your marker to draw a stem.
I have drawn a curved stem, but you can make yours straight if you prefer.
Step 8. Cut out your stem.
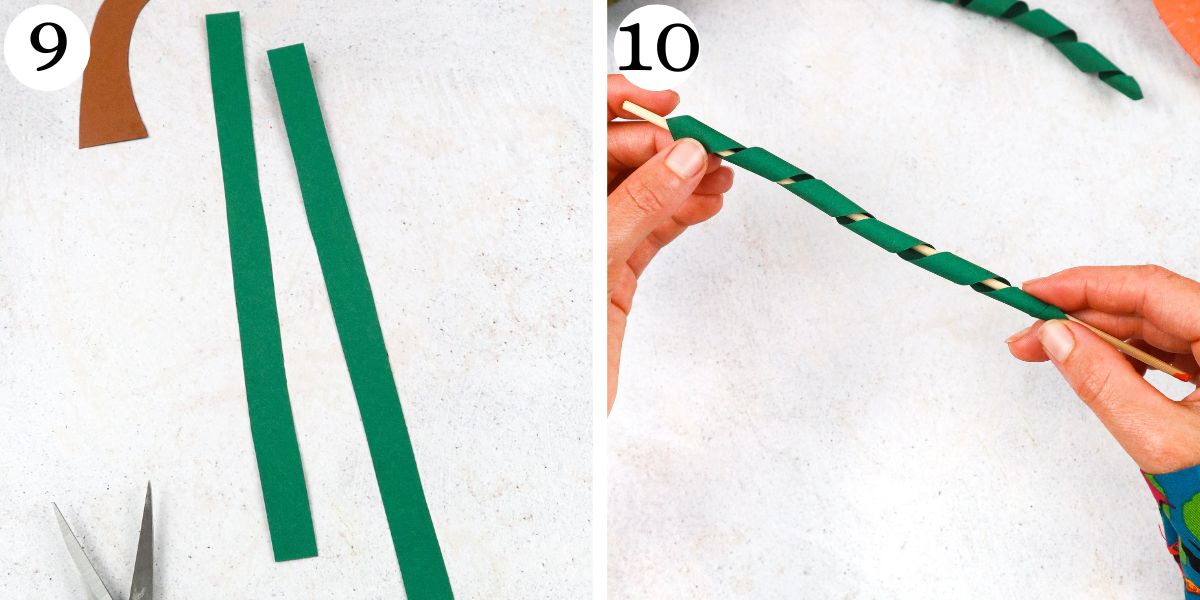
Step 9. Now, get your green paper to make leaves. Cut out two thin strips from your green paper.
They should be about 7” long.
Step 10. Wrap your green strips around a barbecue stick to get a nice curly look for your leaves.
If you prefer large spirals, you can wrap it around a pencil instead.
Step 11. Glue your stem and leaves to the back of your pumpkin.
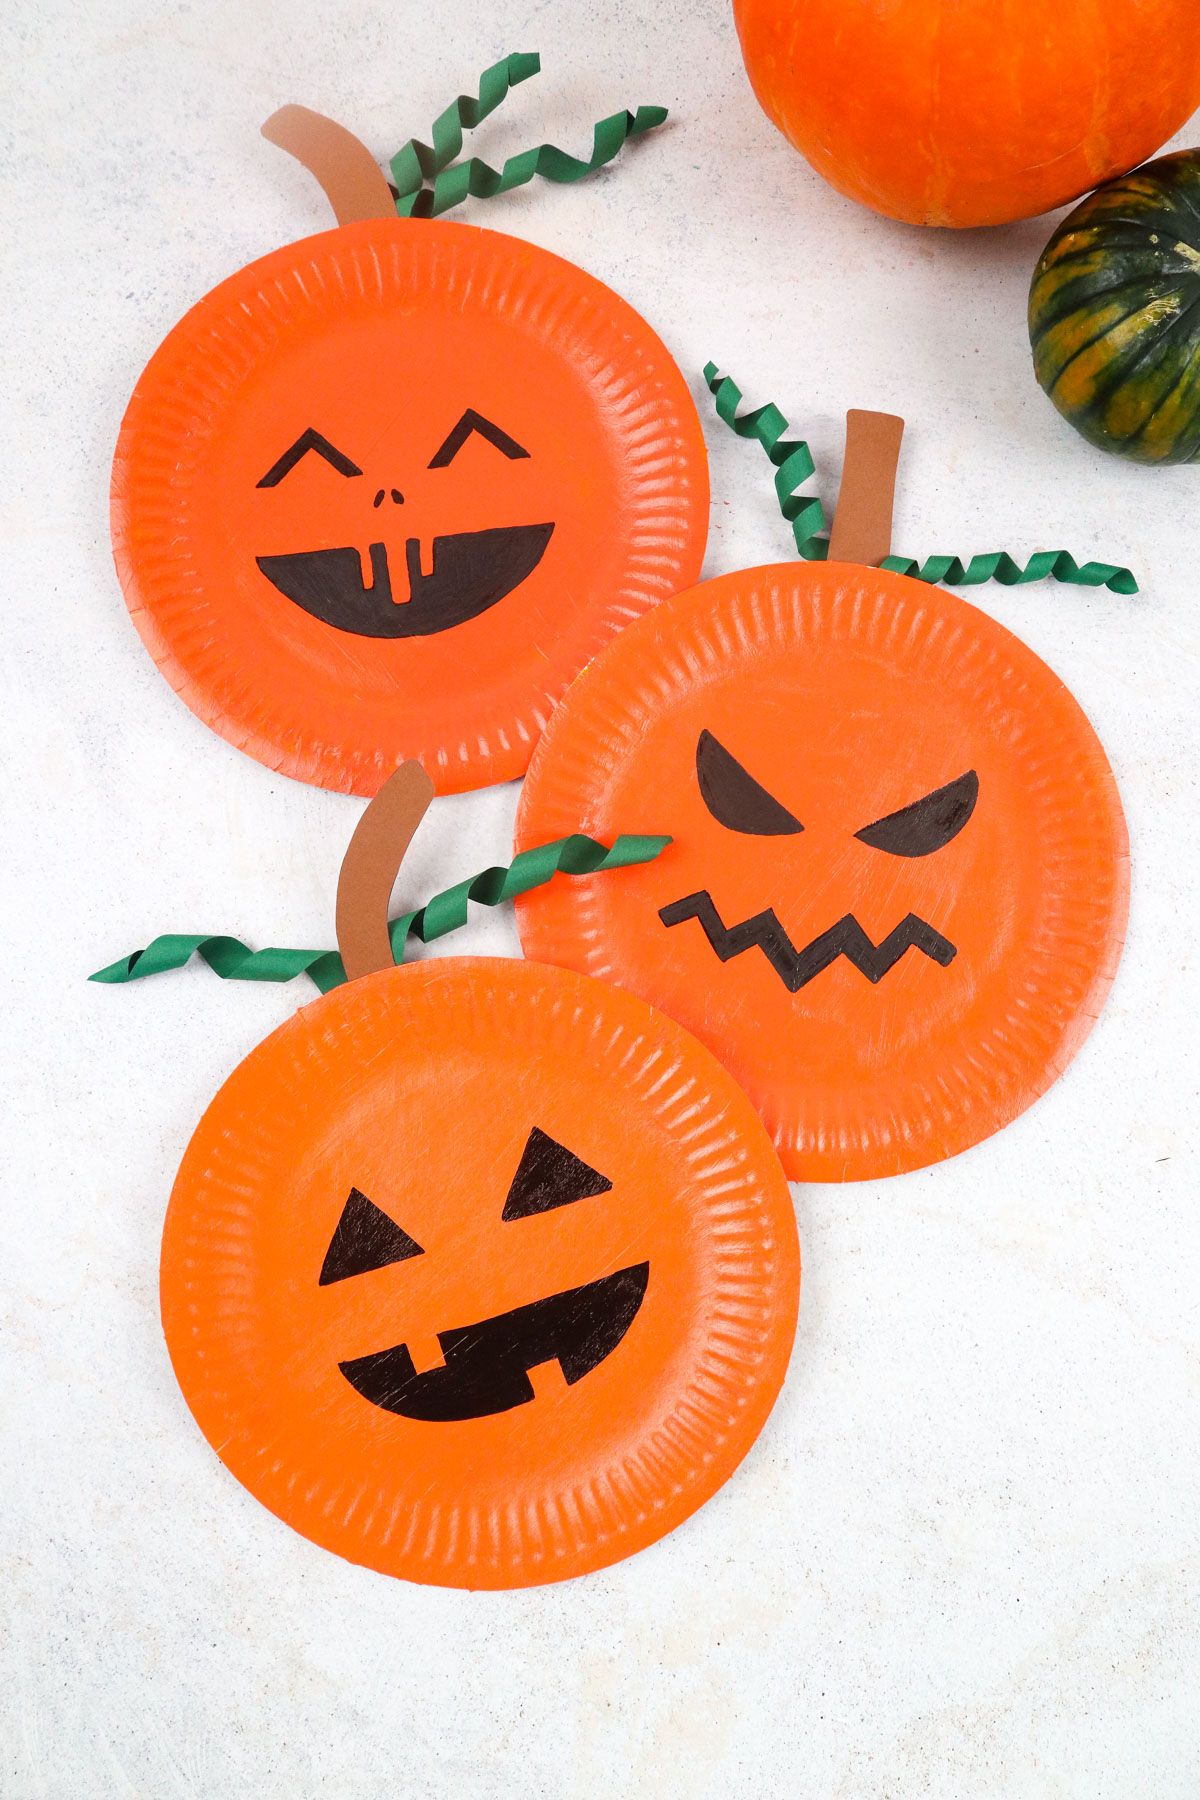
Step 12. Your paper plate pumpkin is complete. Enjoy the festive vibe it brings to your home this fall!
Watch How to Make
How Long Do These Paper Plate Pumpkins Take to Make?
These paper plate pumpkins come together super quickly. The part that takes the longest is waiting for the paint to dry.
Your paint can take 30-50 minutes to dry. You can speed this process up by using a hairdryer.
The rest of the project requires drawing, cutting, and gluing. These activities should take only about 10-15 minutes.
In total, this project will take you only 35-65 minutes to complete.
More Crafts Like This
- Paper Plate Rainbow Craft
- Paper Plate Snails
- Paper Plate Dinosaur
- Paper Plate Flower Craft
- DIY Paper Spinner
Paper Plate Pumpkin
Equipment
- Scissors
Materials
Instructions
- Add one coat of paint to your paper plate. Let it dry a little.
- Add a second coat of paint and let it dry completely.It should take about 30-50 minutes to fully dry. You can speed up this process by using a hairdryer.
- Draw two triangles on your plate to make your pumpkin’s eyes.
- Draw your pumpkin’s mouth.
- Add teeth to your pumpkin’s mouth.
- This picture shows the different possibilities for your pumpkin design. You can make round eyes, a zig-zag mouth, or a wide smile.You can also cut out your pumpkin’s features and glue them onto your plate instead of drawing them on.
- Get your brown paper and use your marker to draw a stem.You can draw a curved or straight stem.
- Cut out your stem.
- Cut out two thin strips from your green paper to make leaves.
- Curl your leaves by wrapping them around a barbecue stick or pencil.
- Glue your stem and leaves to the back of your pumpkin.
- Your paper plate pumpkin is complete!


