How to Make a Stress Ball (Step-by-Step)
This post may contain affiliate links: full affiliate disclosure.
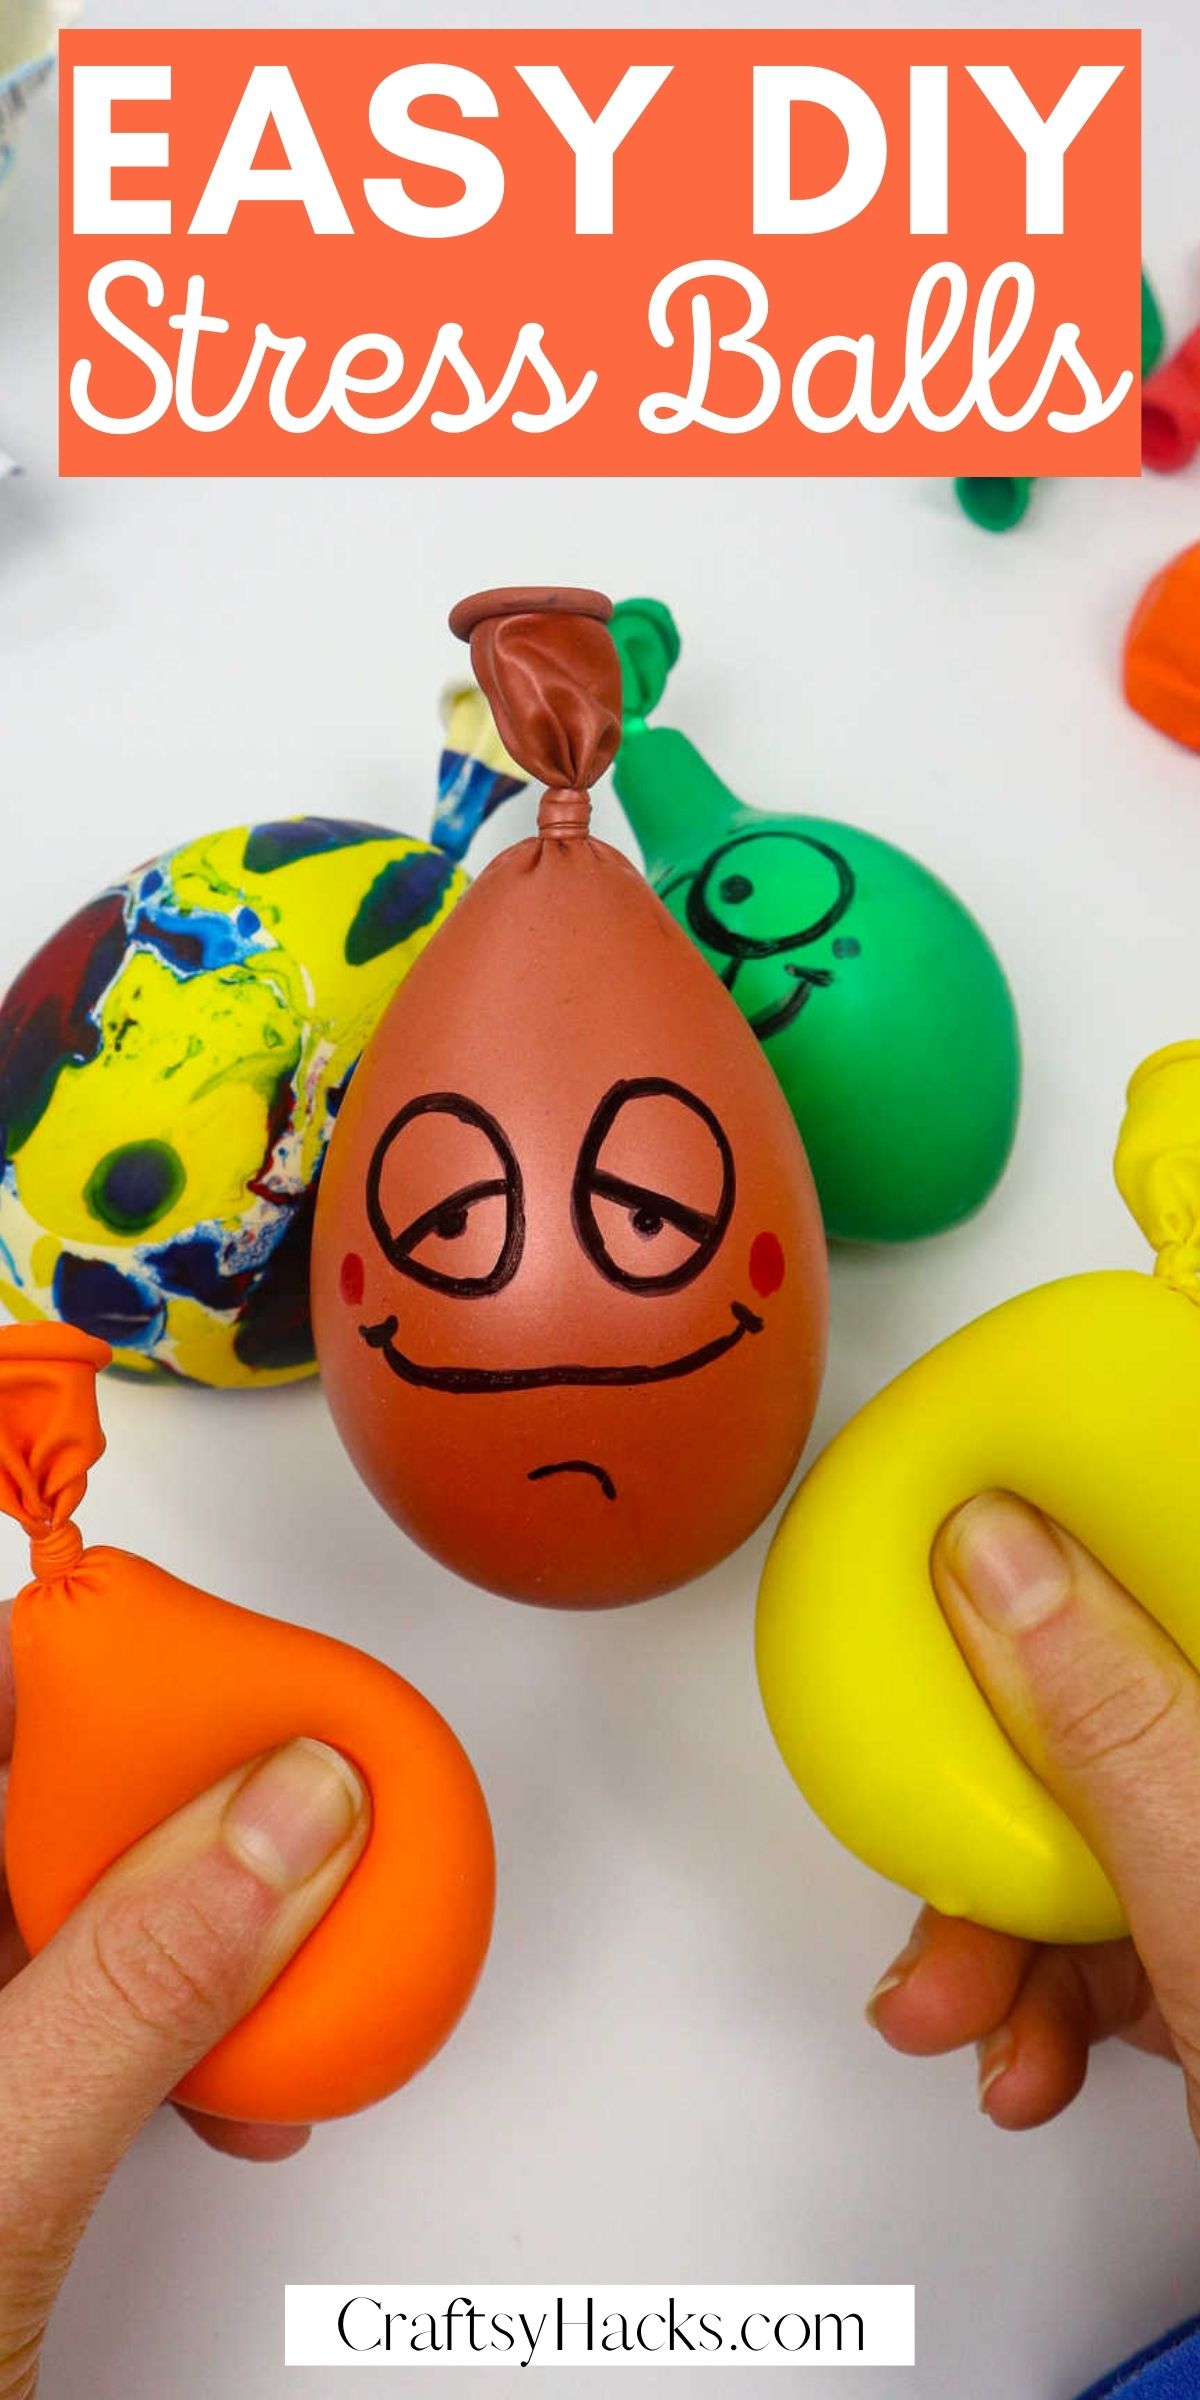
Whether it’s an activity with children you’re looking for or just need to relieve stress, these DIY stress balls are just for that. A perfect easy craft the whole family will enjoy making!
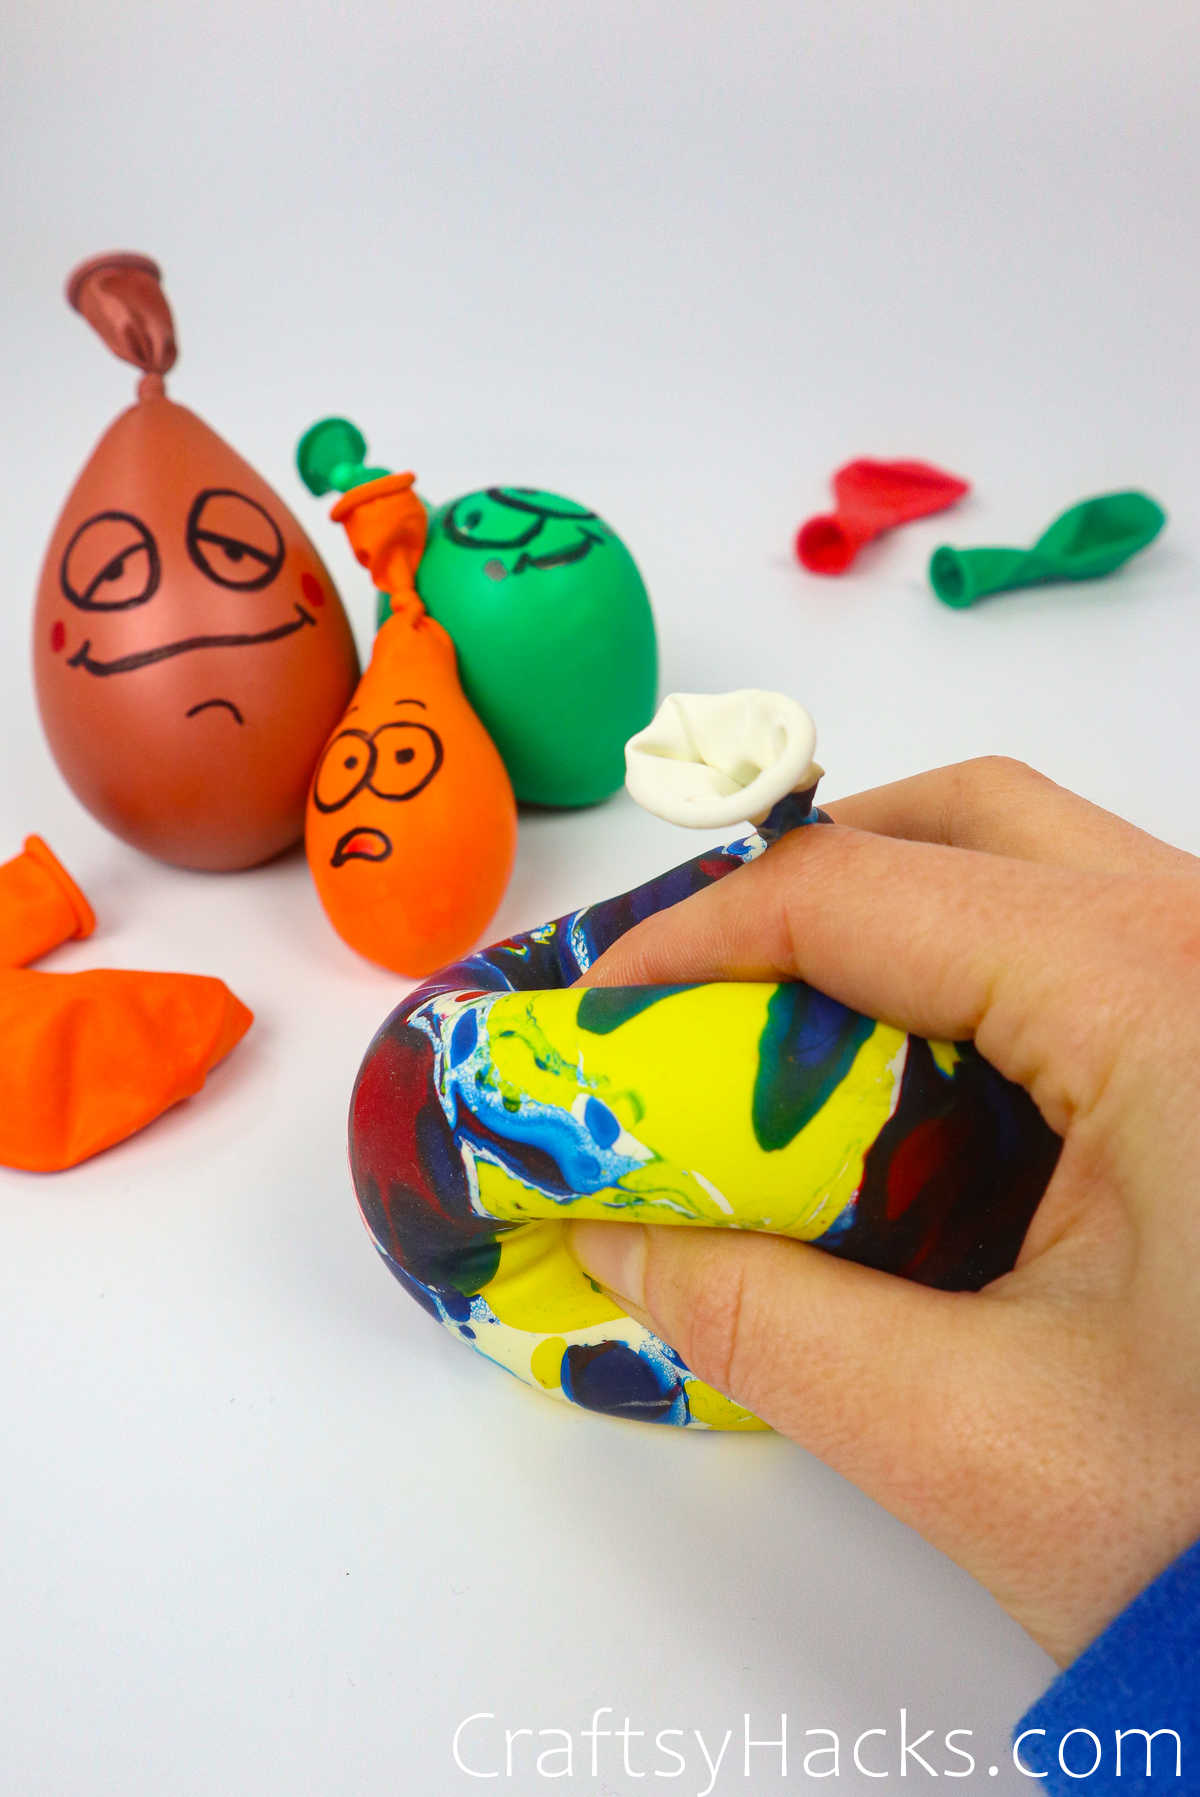
I love a good stress ball, I really do. They’re just so darn handy, and the squishy feeling in my palm really helps to soothe me. Did you know that there’s also a science behind it?
When you squeeze the ball in your palm, it stimulates the nerves in your muscles and palms, triggers your nervous system to help control stress and even to manage the hormones that instigate it. All that science behind such a simple ball…fantastic, yes?
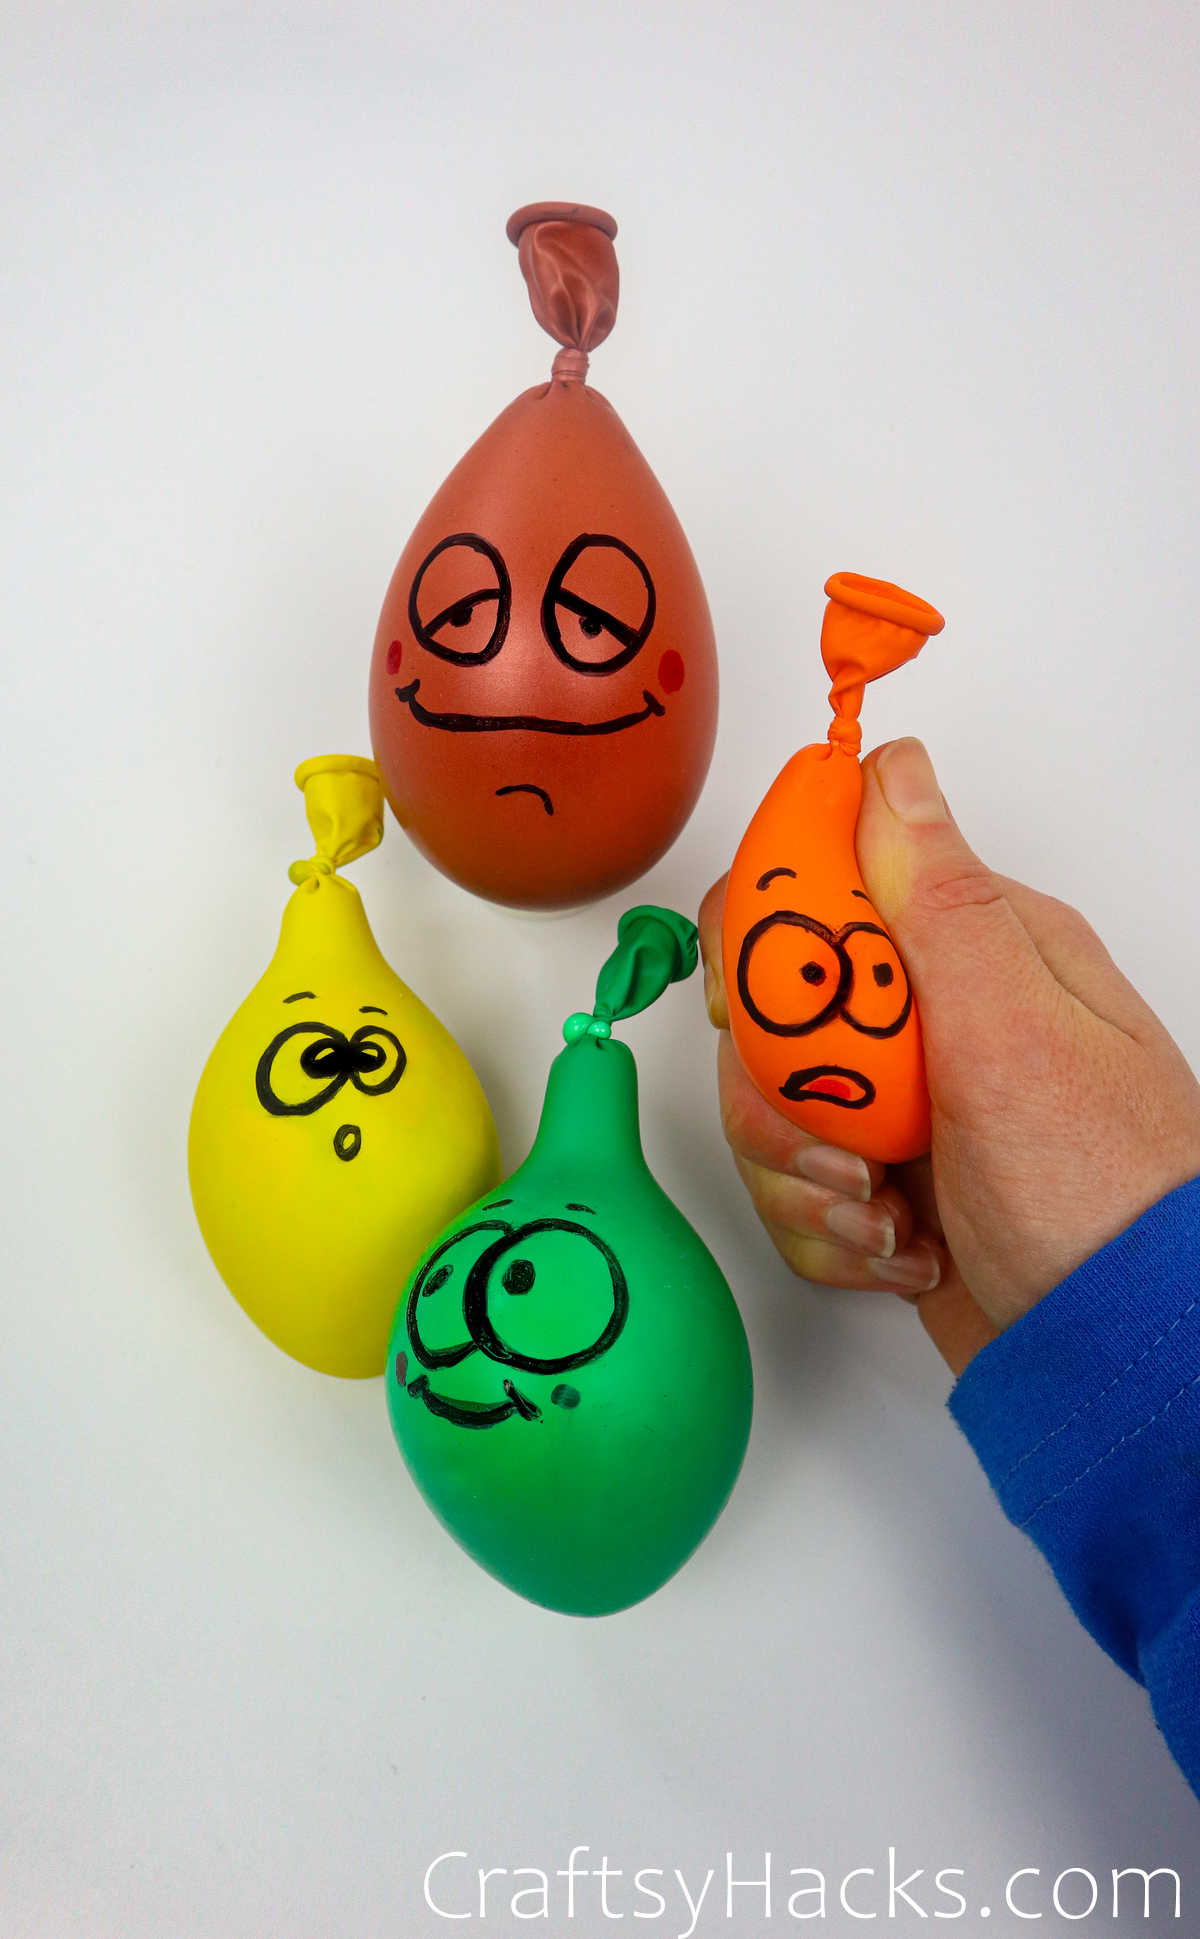
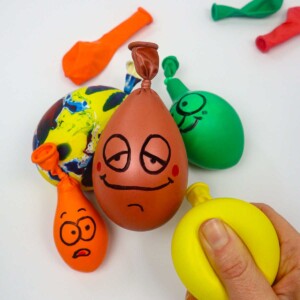
You can make your own stress balls right at home and, if you’re in the mood for it, really go all out with personalizing and decorating it. Don’t you just love that lazy loopy look on these stress balls–balloons?
If you’re ready to get started on this project, then go ahead and take a look at the supplies you’ll need.
Supplies You’ll Need
- Balloons
- Some cold water
- Plastic bottle
- Retractable knife
- Teaspoon
- Paper cup/a bowl
- Toothpaste
- Permanent markers
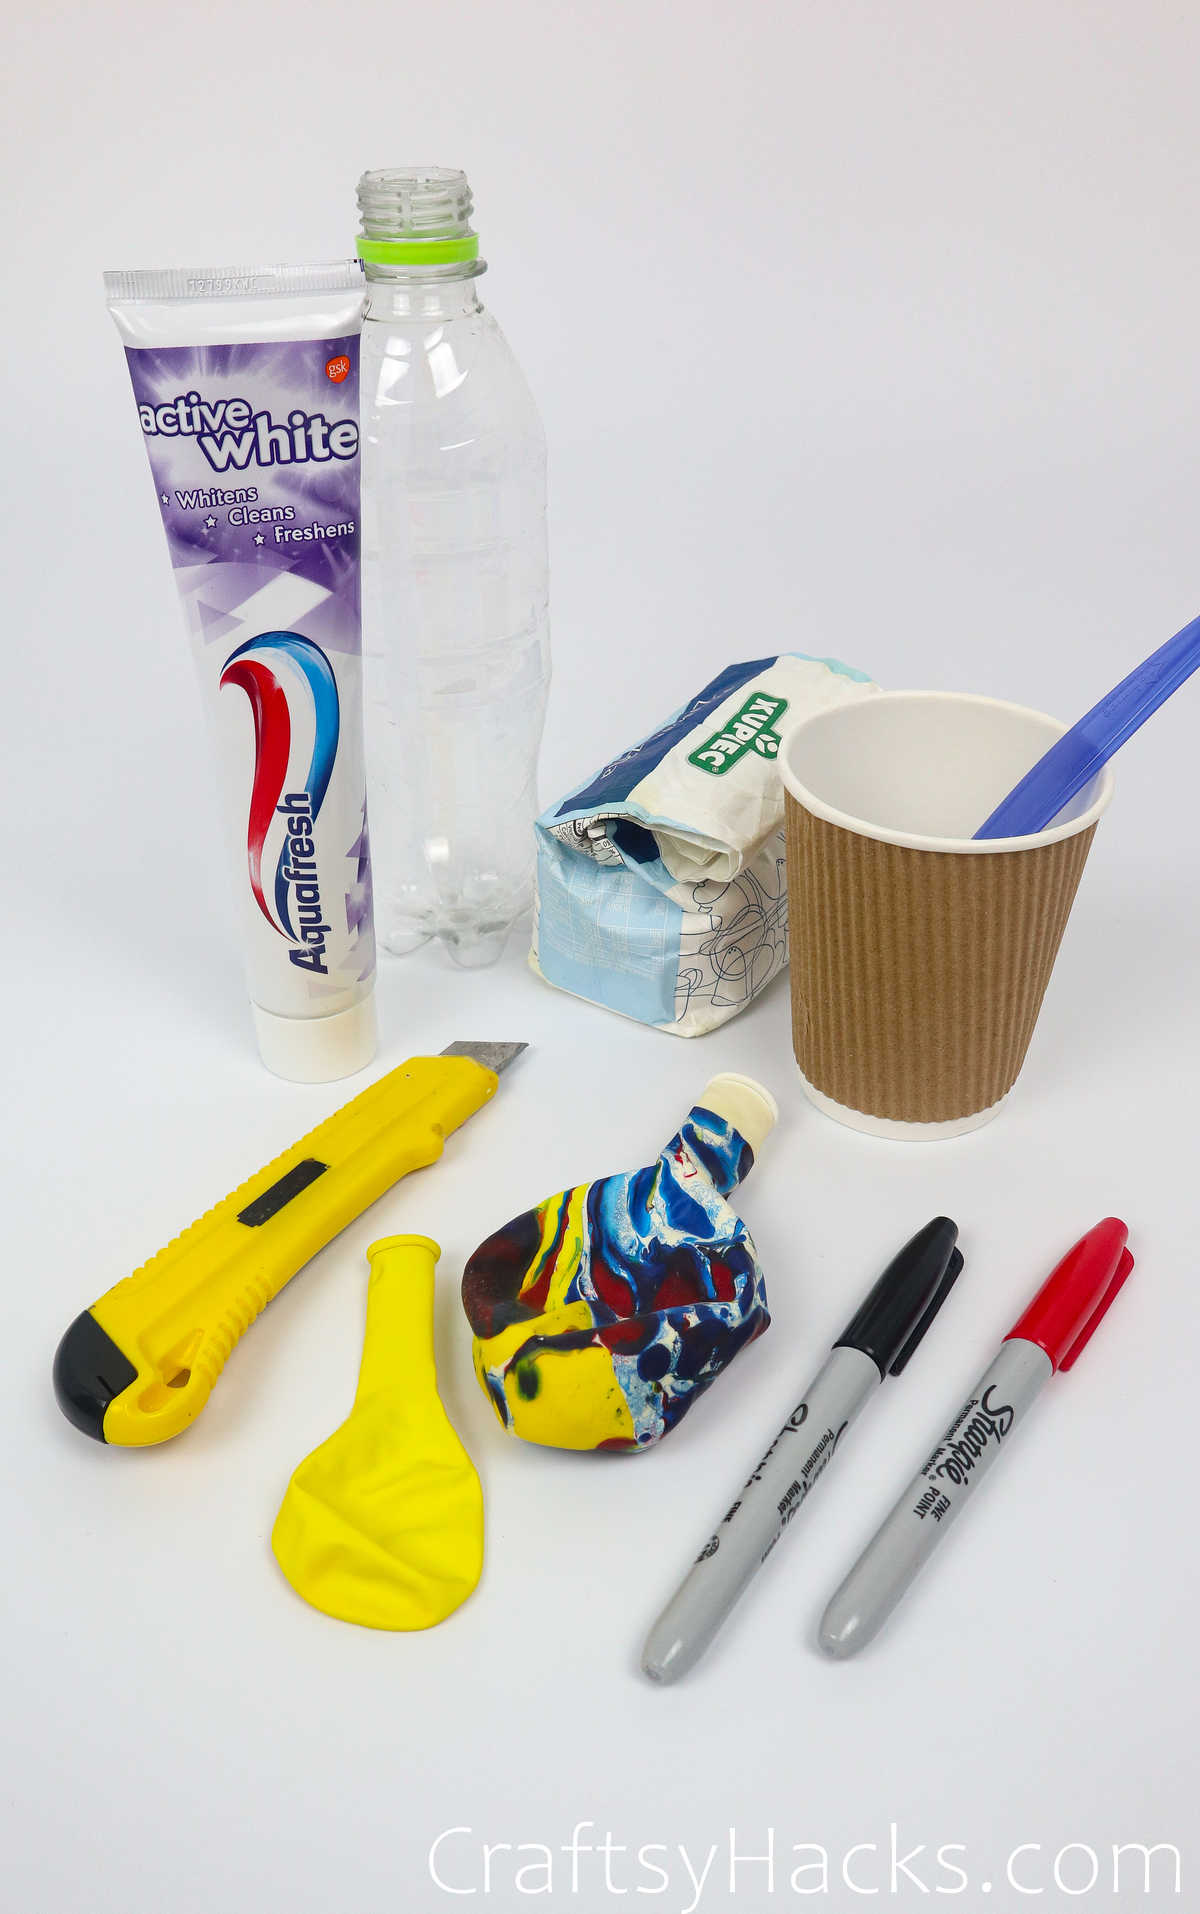
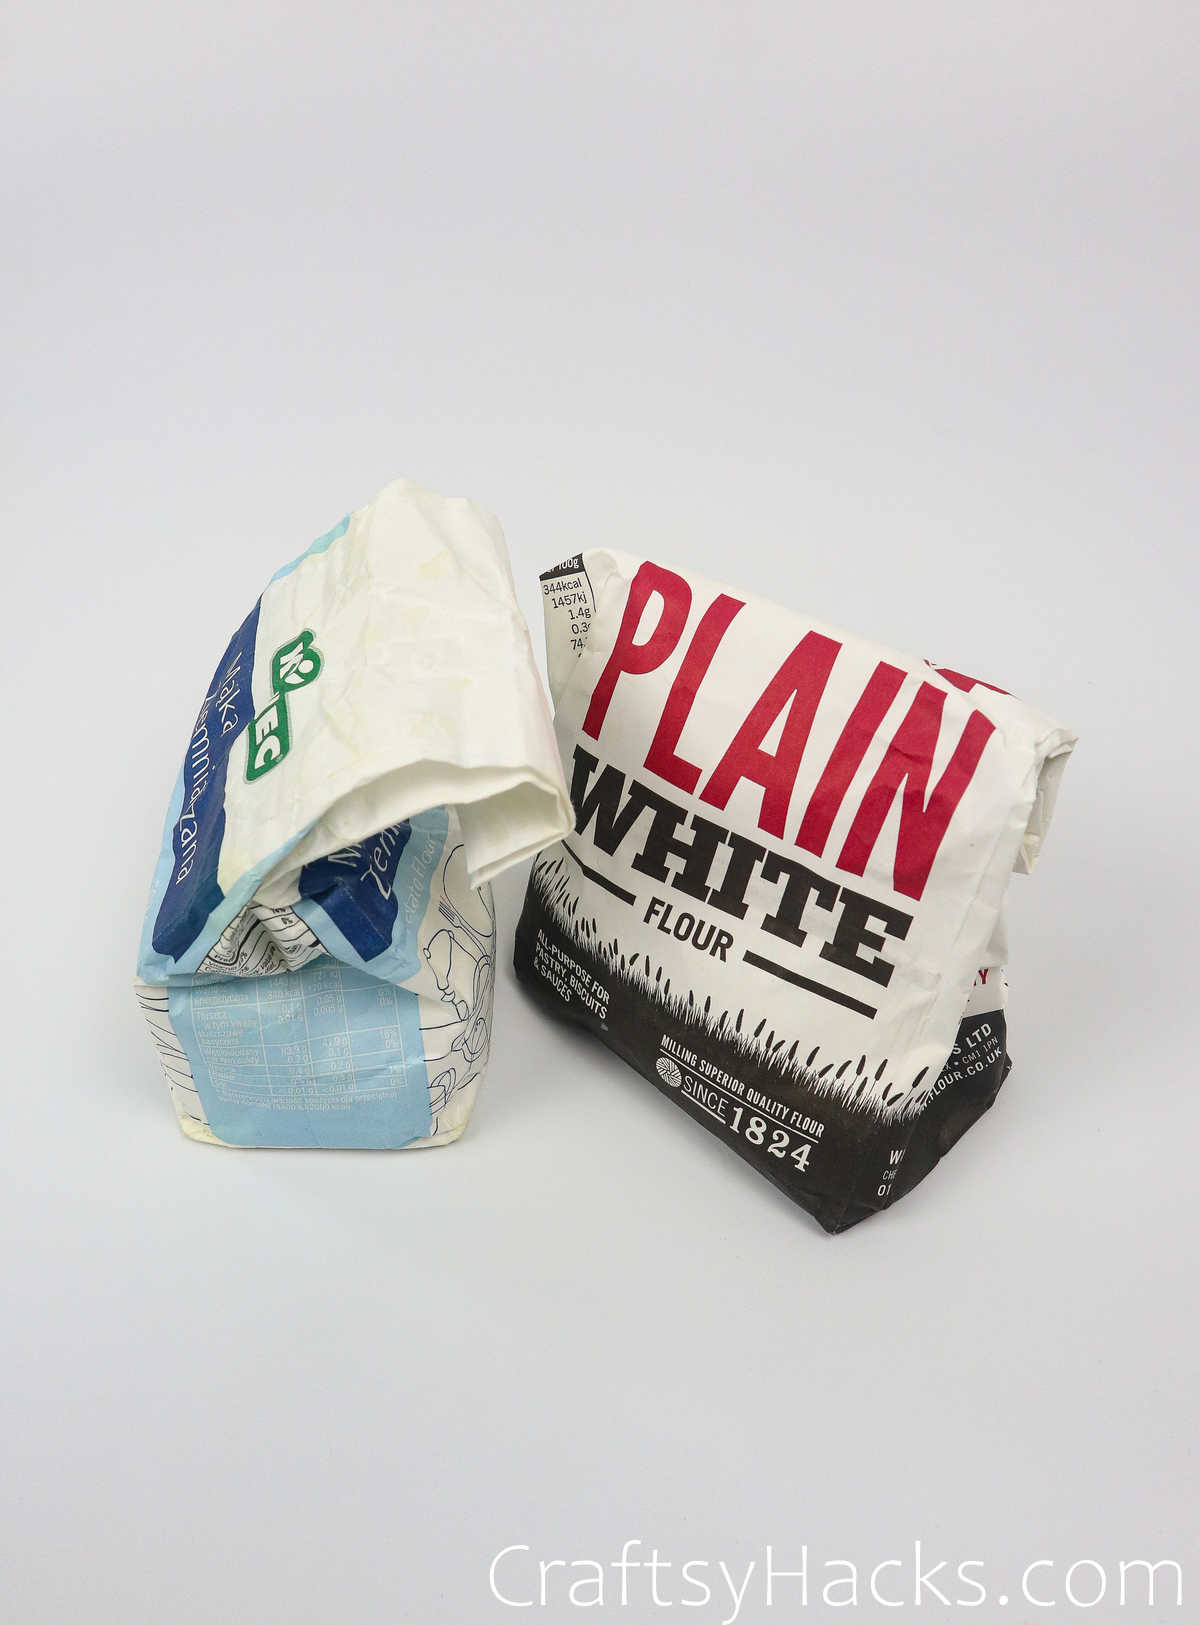
- Potato starch/cornstarch/wheat flour
How to Make Stress Balls
Just a heads up before you get started: make sure you have plenty of newspapers or paper towels at hand. This project is bound to get messy, especially when you start mixing.
Video Tutorial
Step 1
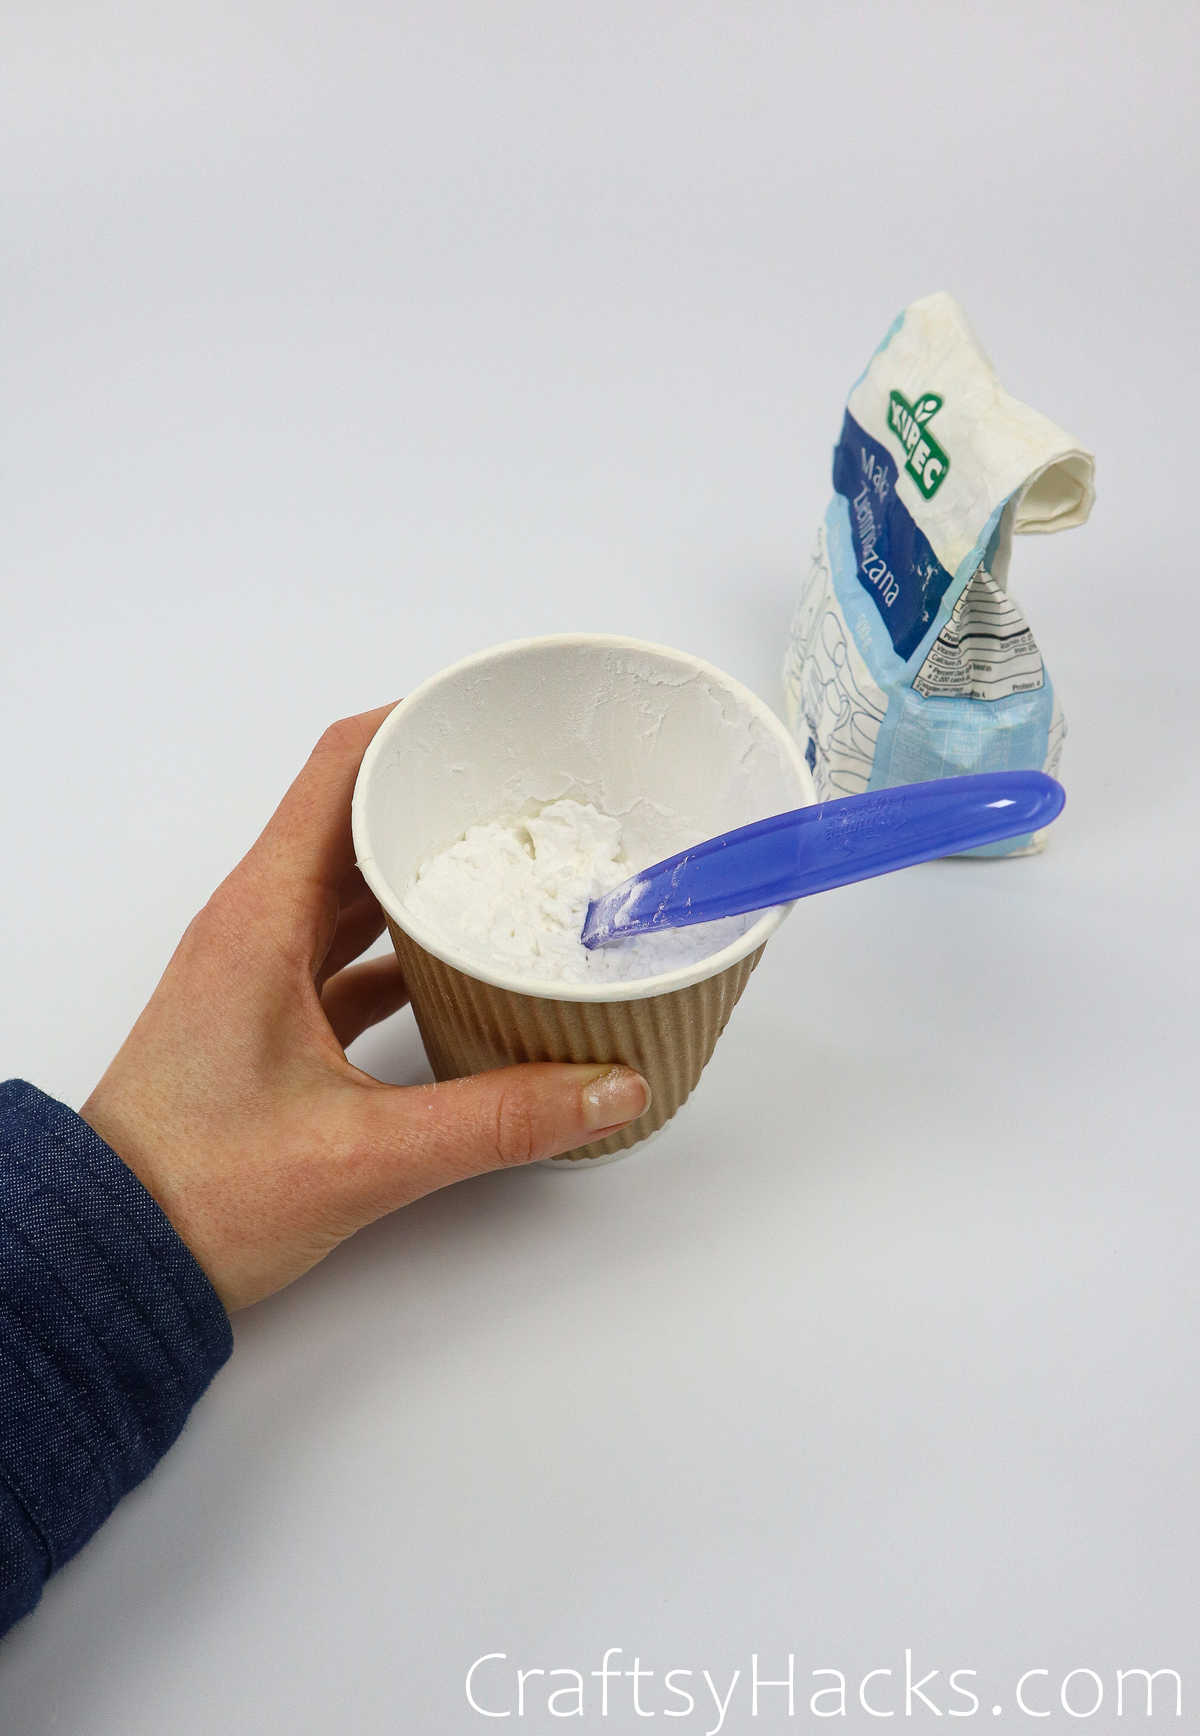
It’s time to make your paste. You will need a cup of water and some starchy substance like potato starch or corn flour. You can also use wheat flour, and that will give you totally different texture of the paste.
Go ahead and measure out some flour into a paper cup.
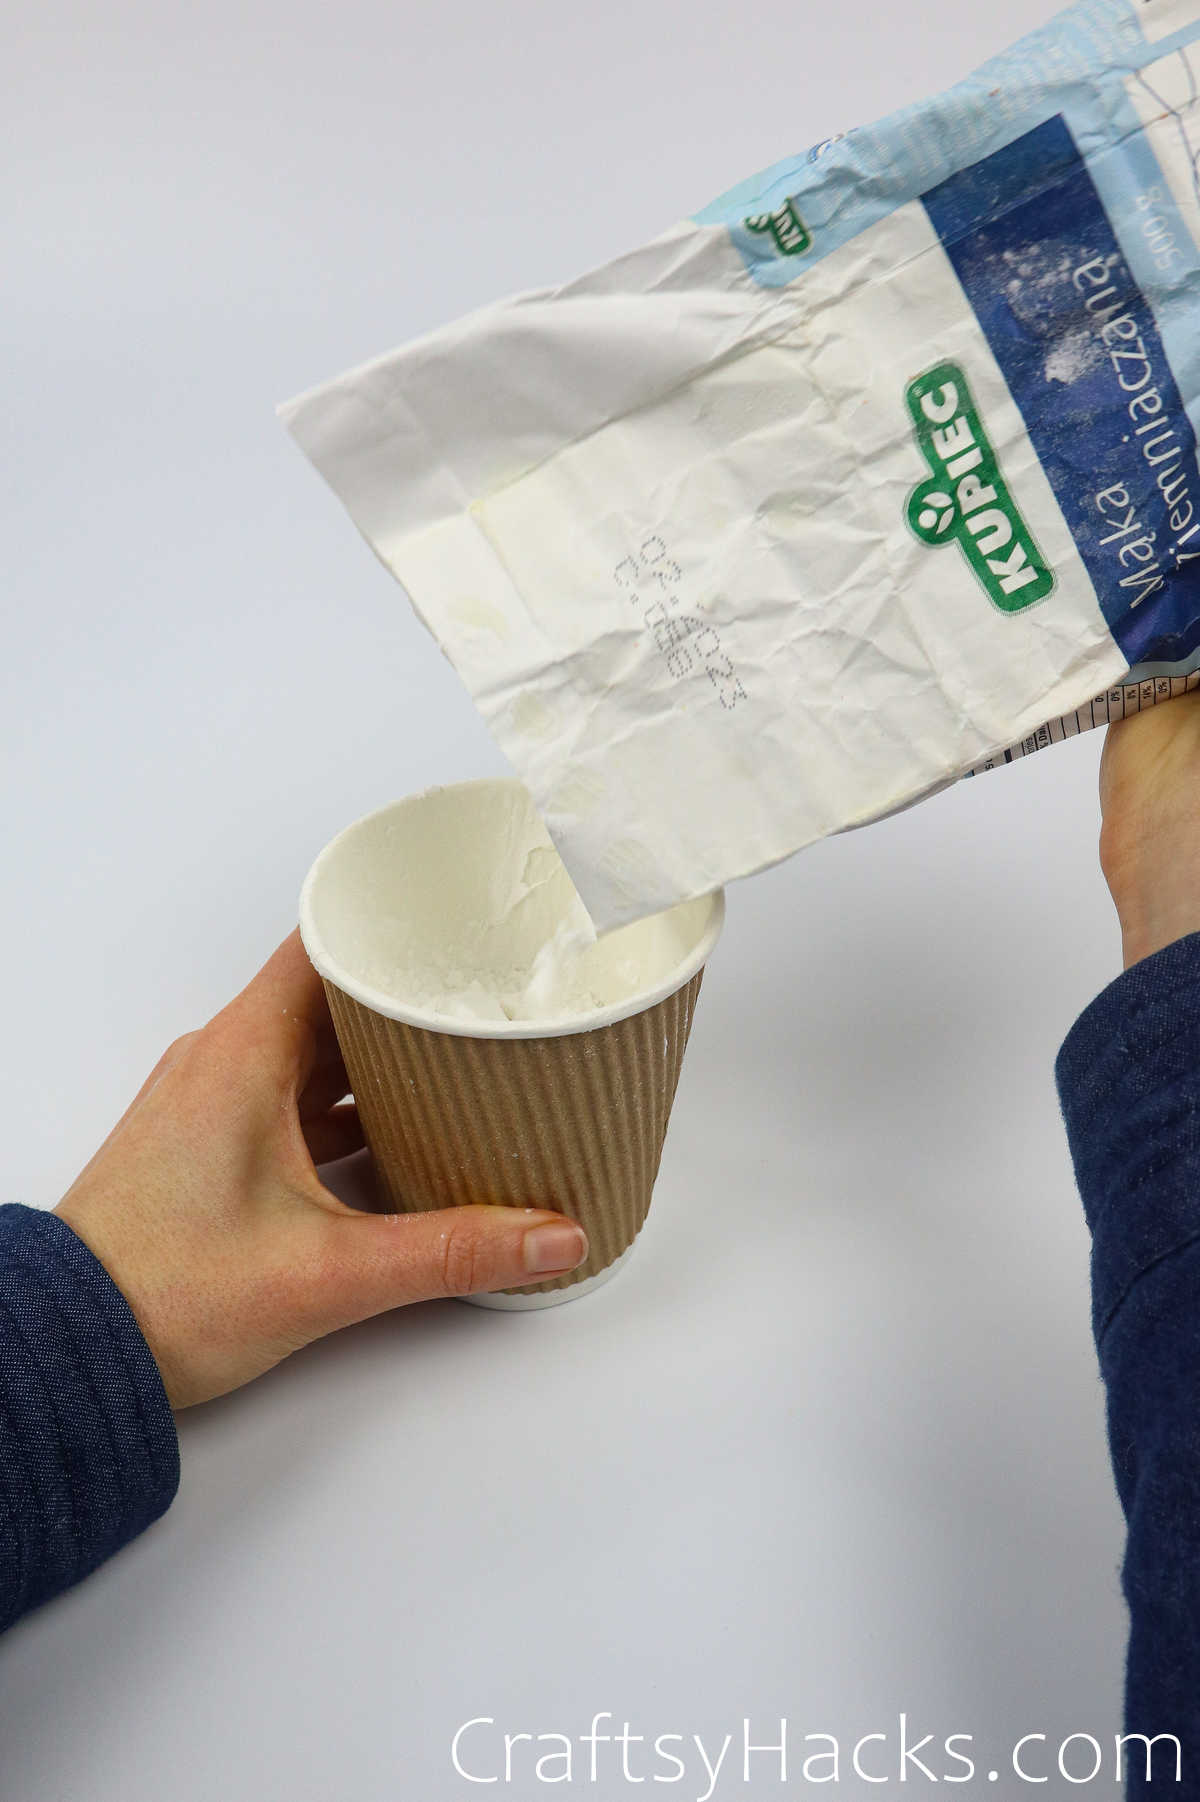
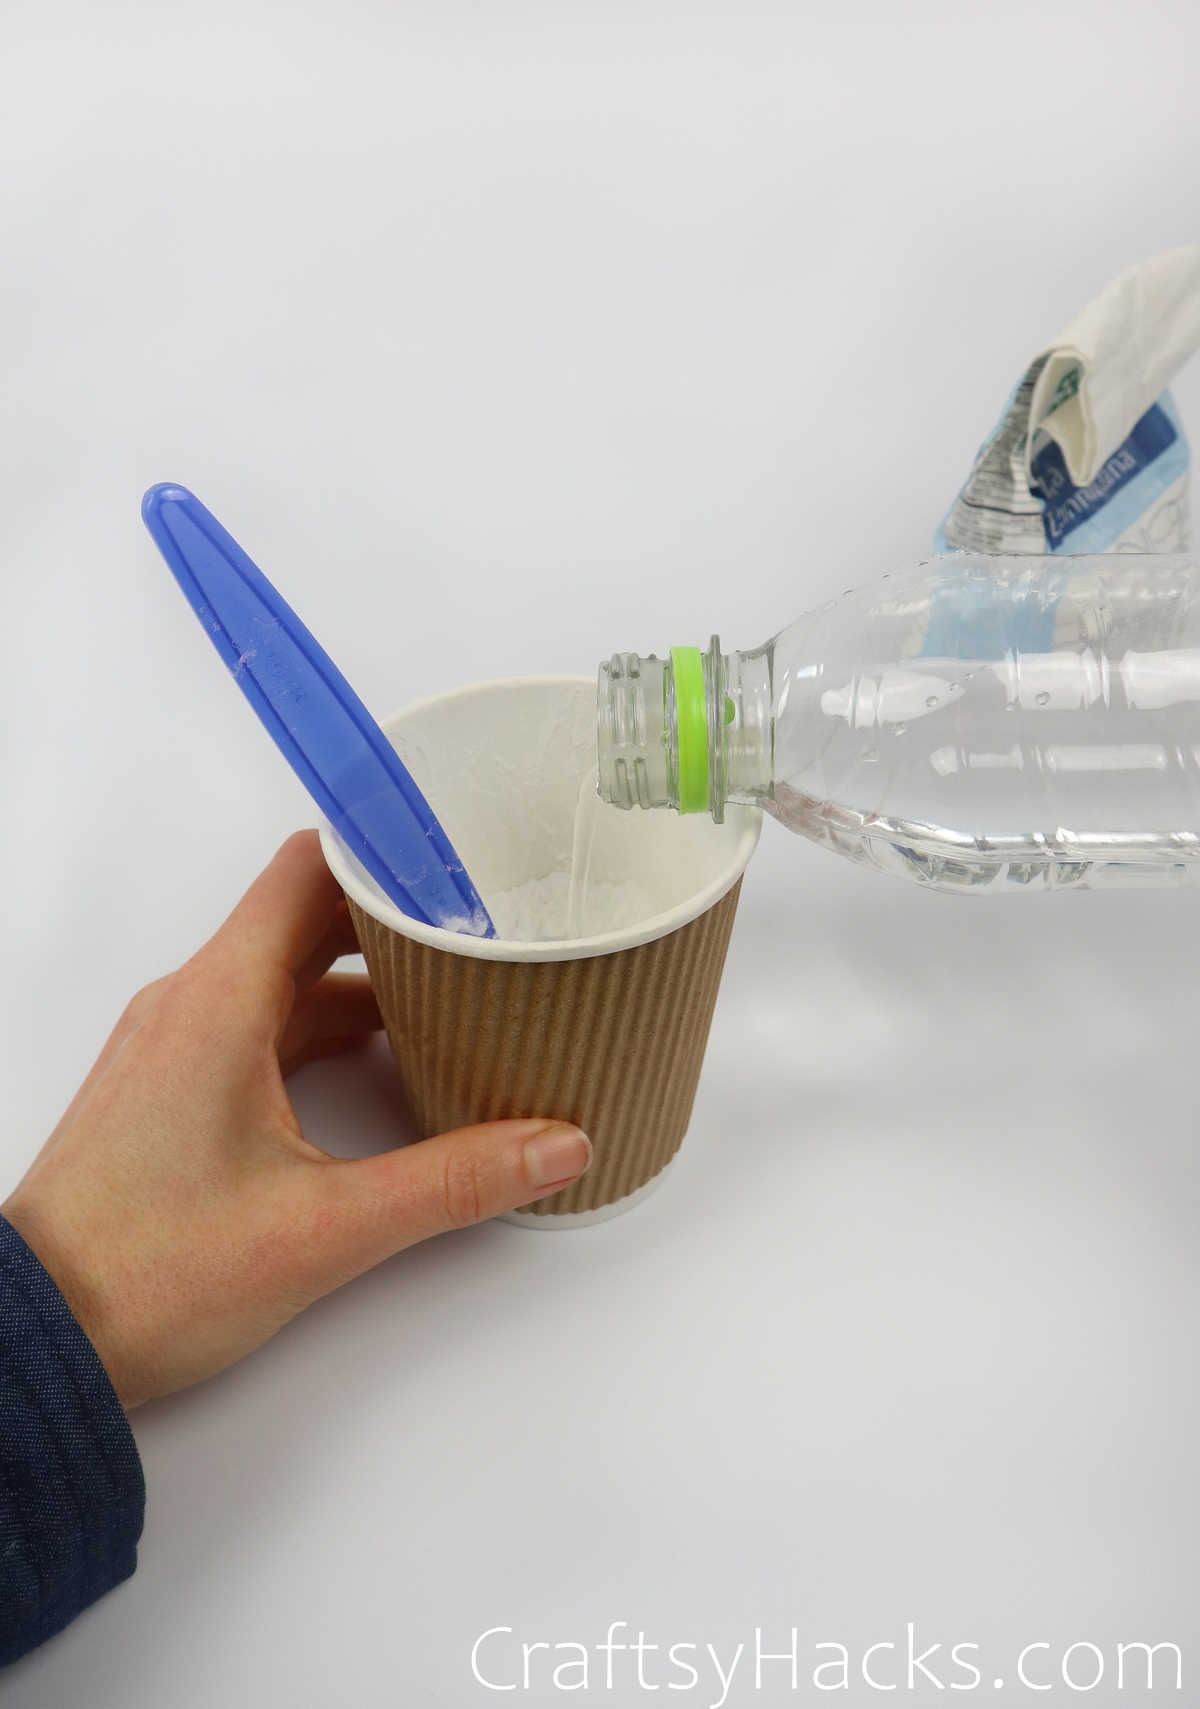
Next, pour in some cold water in the required ratio. If you prefer, pour the water gradually and keep stirring it in as you go till you get your preferred consistency.

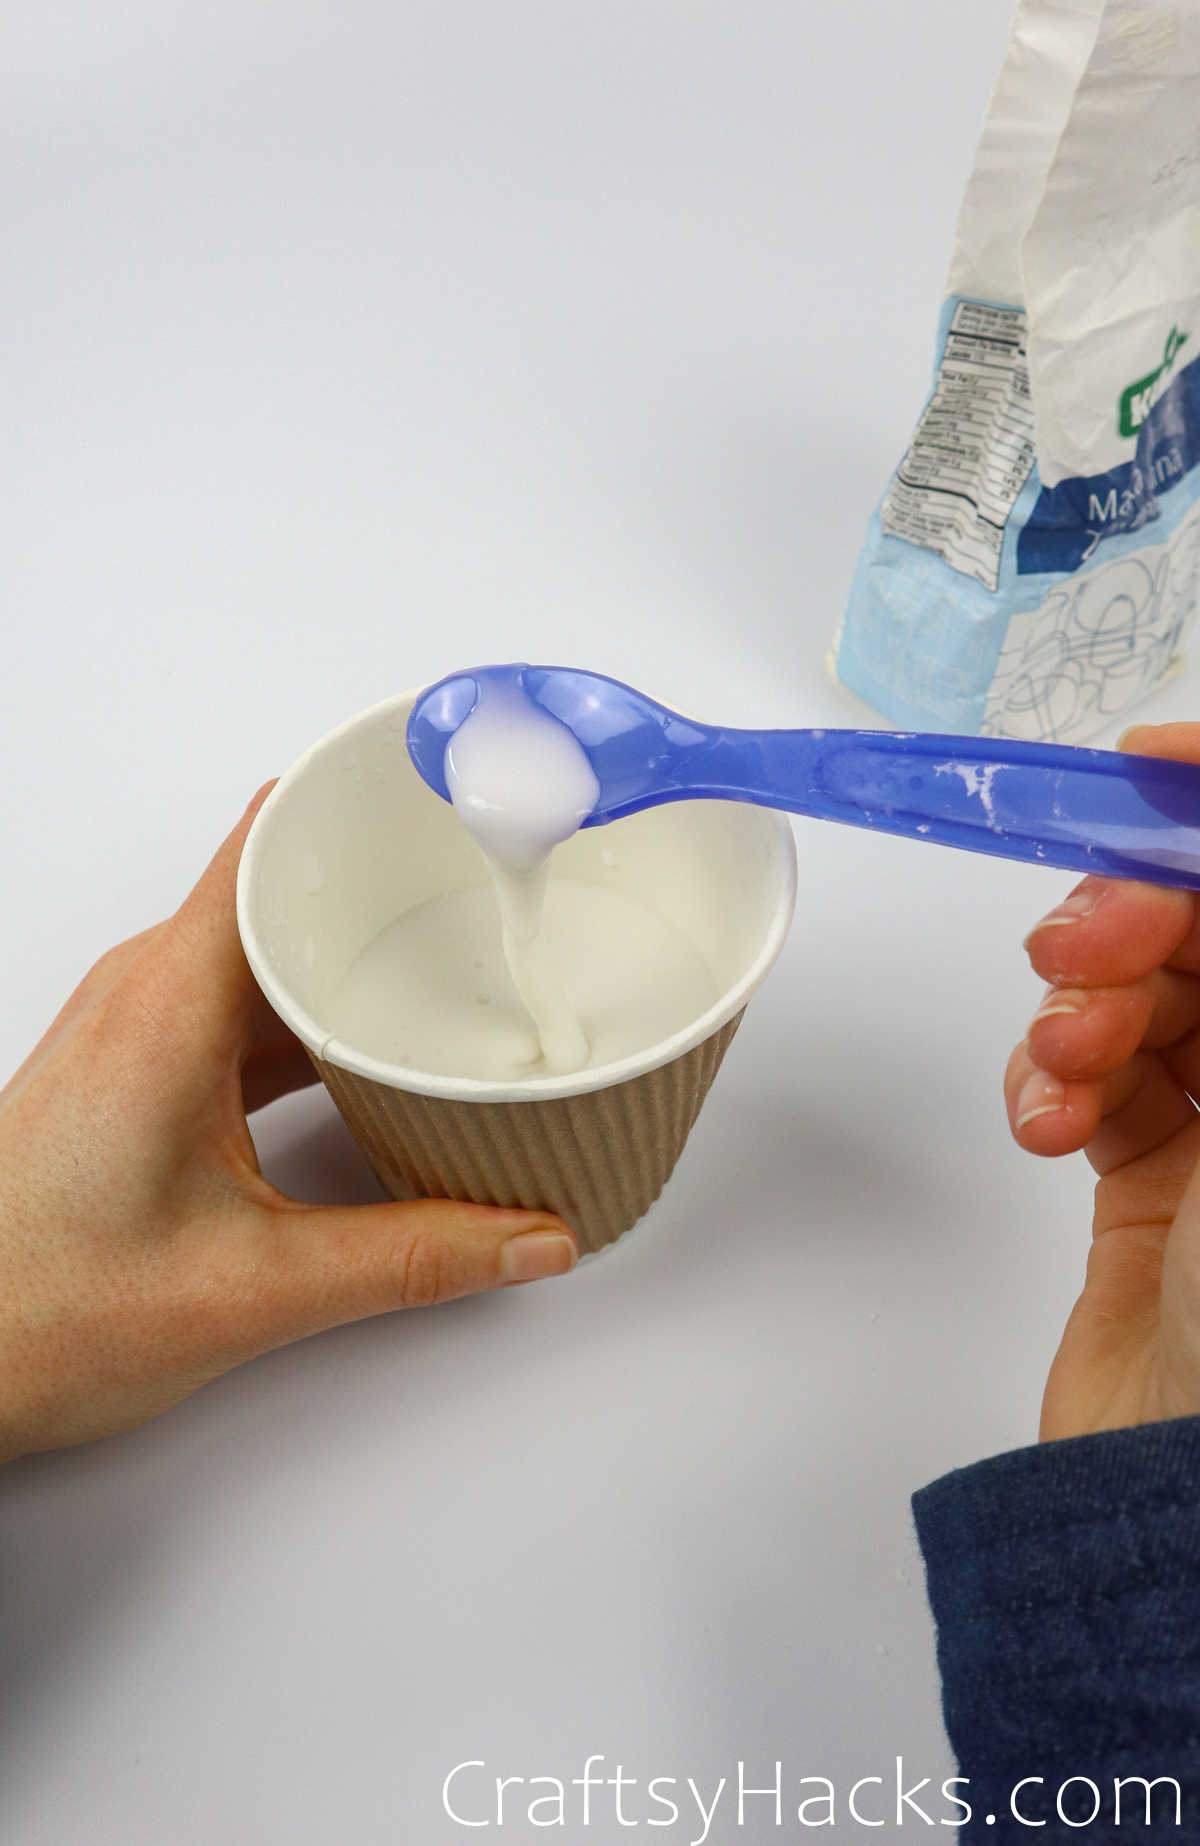
Depending on the flour you use, the texture of your paste will differ. Corn flour will not be smooth like you’d expect. Instead, it will be watery and almost glazed.
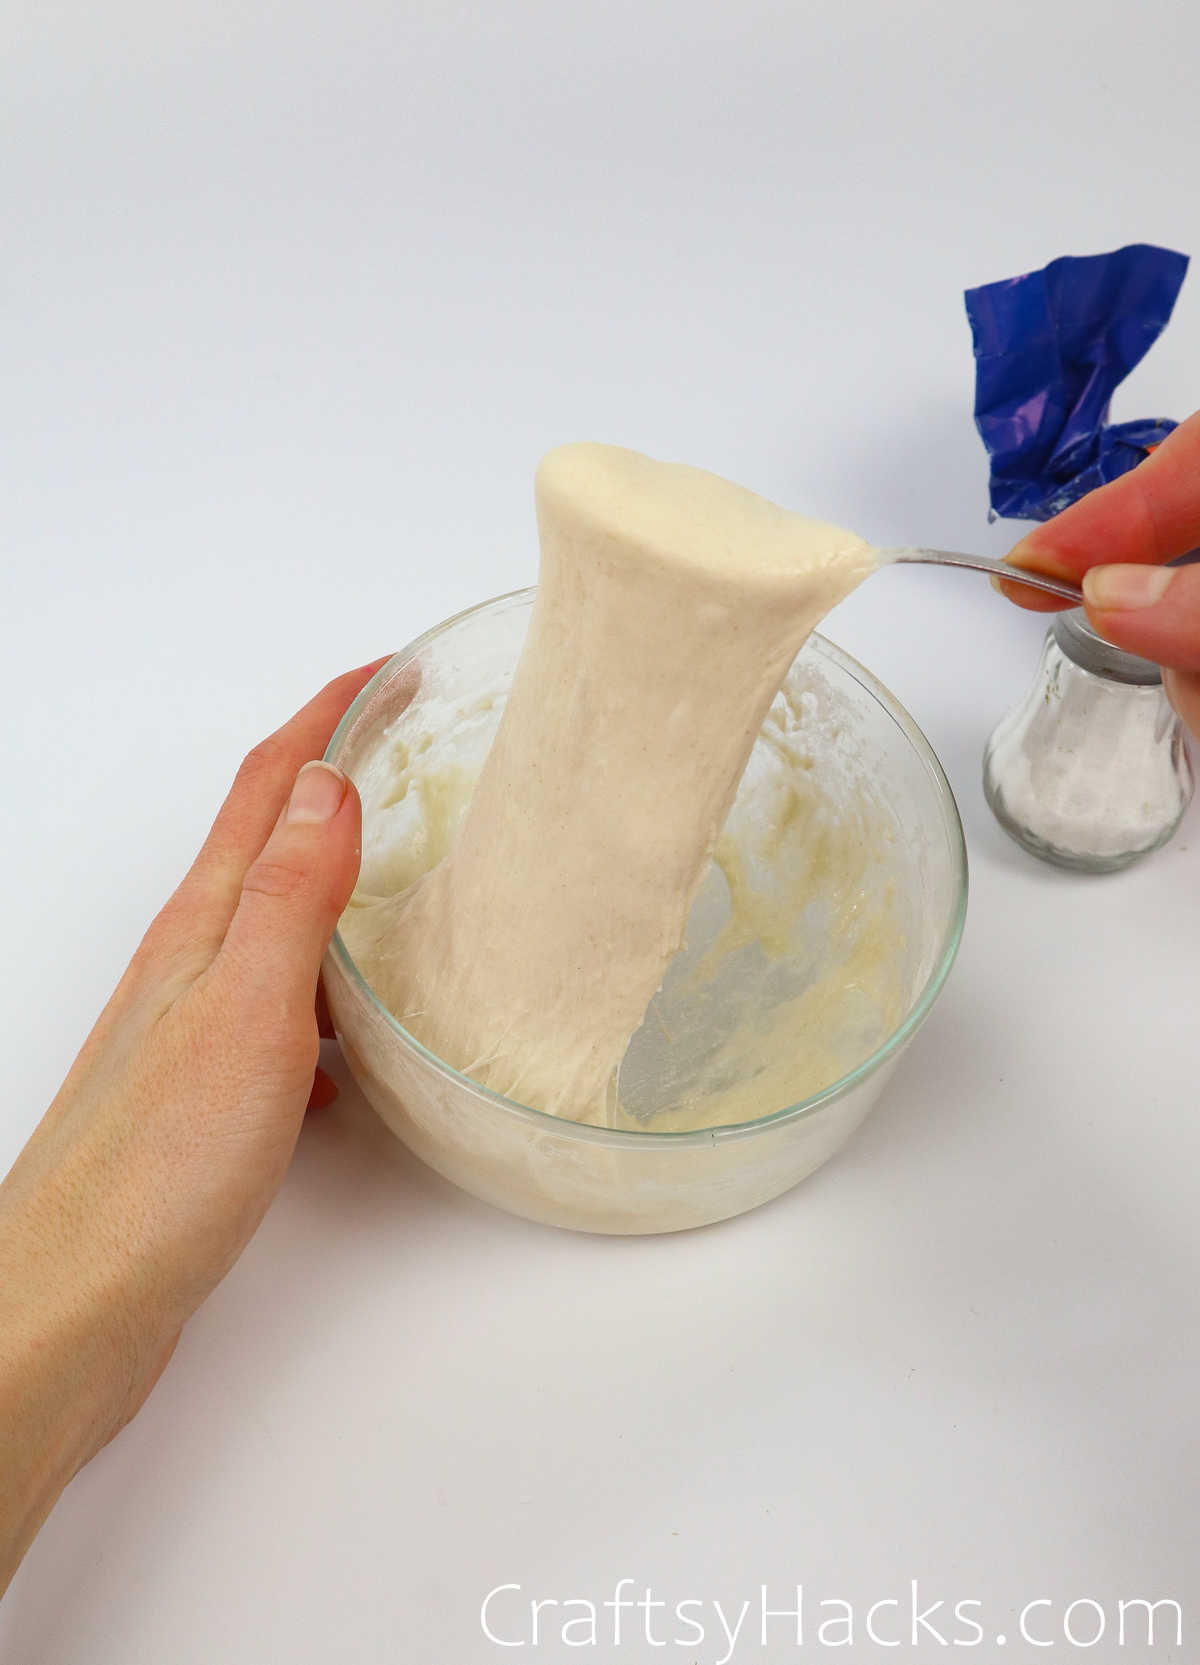
Wheat flour, on the other hand, will be smooth and sticky, almost like sourdough, except a little runnier, perhaps.
Just roll up your sleeves and dip your hands in there. Play around with the paste till you’re happy with the consistency. Take the opportunity to have fun getting your fingers messy, too!
Also remember to add a pinch of salt to the paste to help increase its lifespan.
Step 2
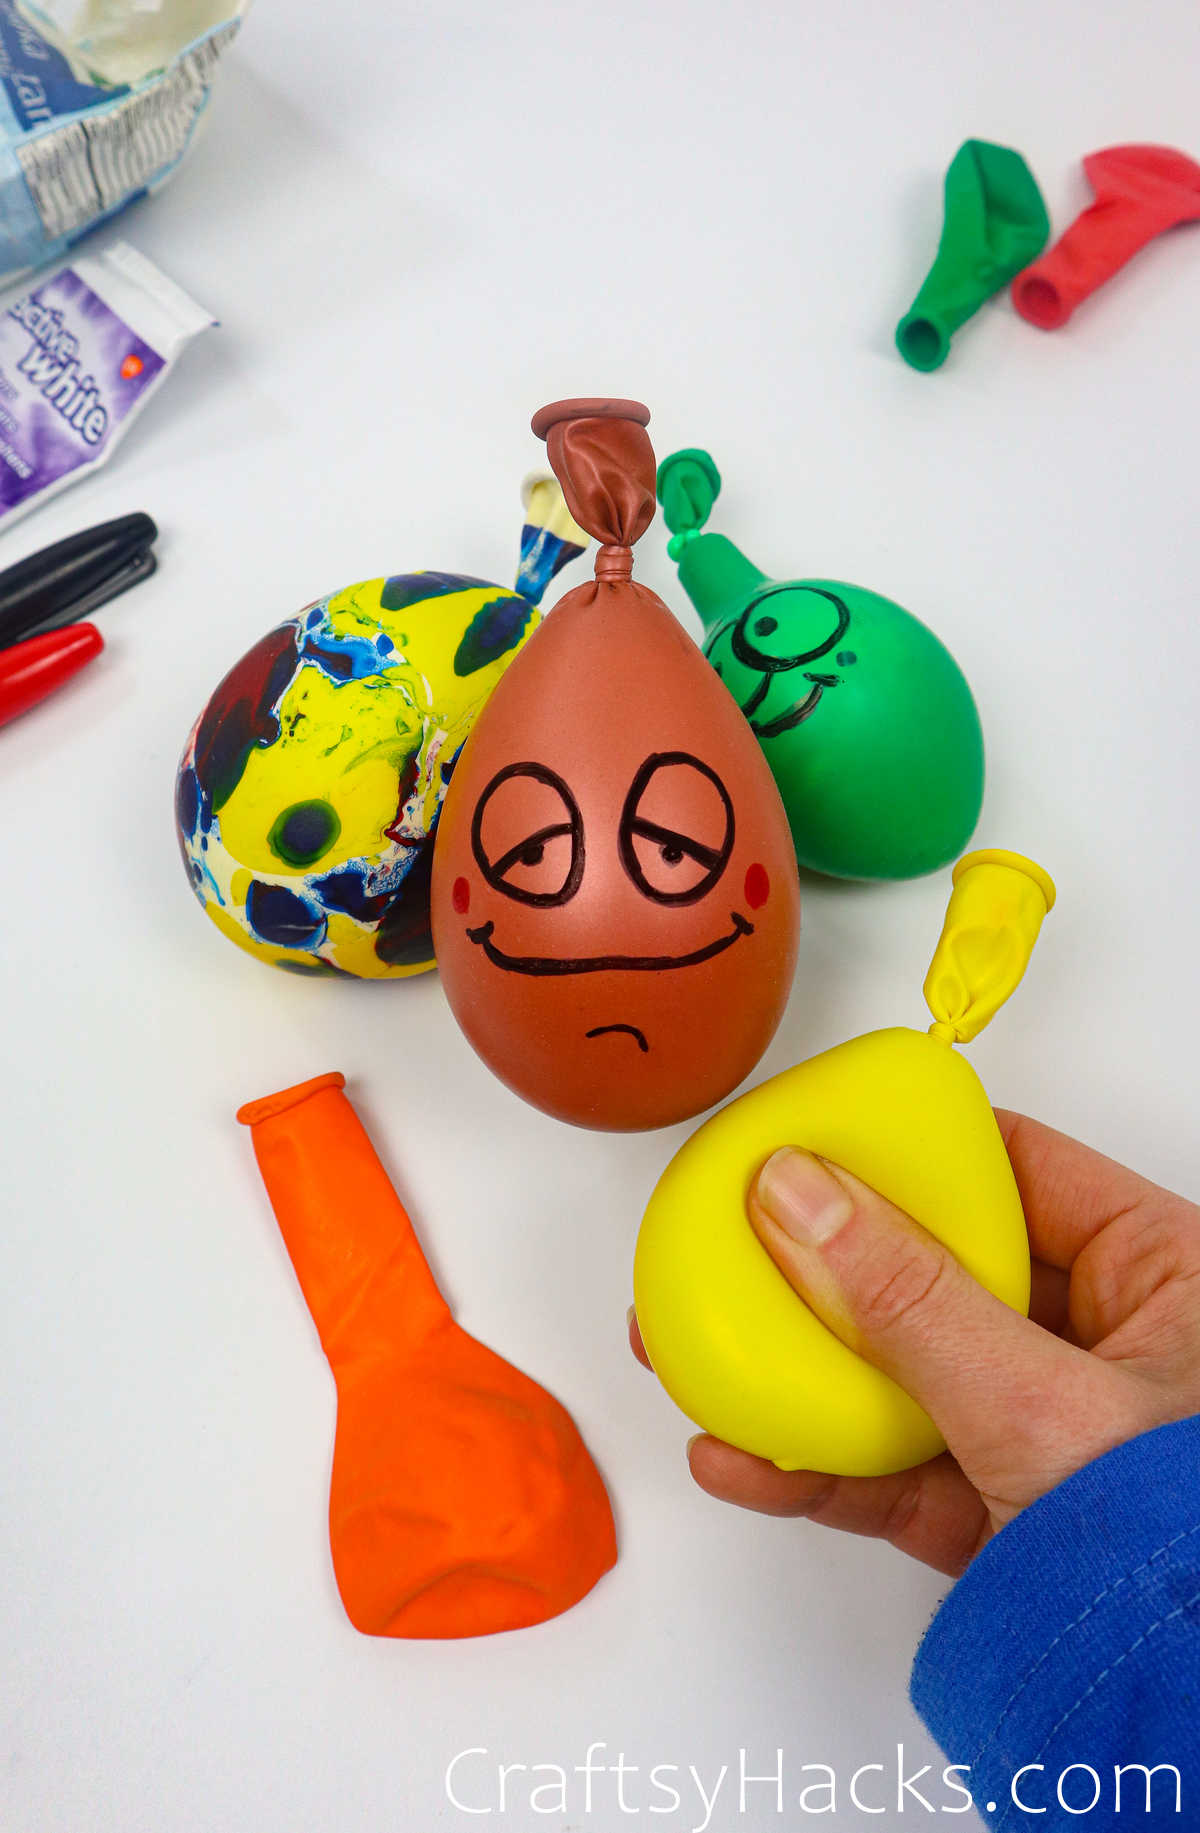
Now, grab a balloon. Picking out the balloon is always the best part. There are so many colorful prints to choose from.
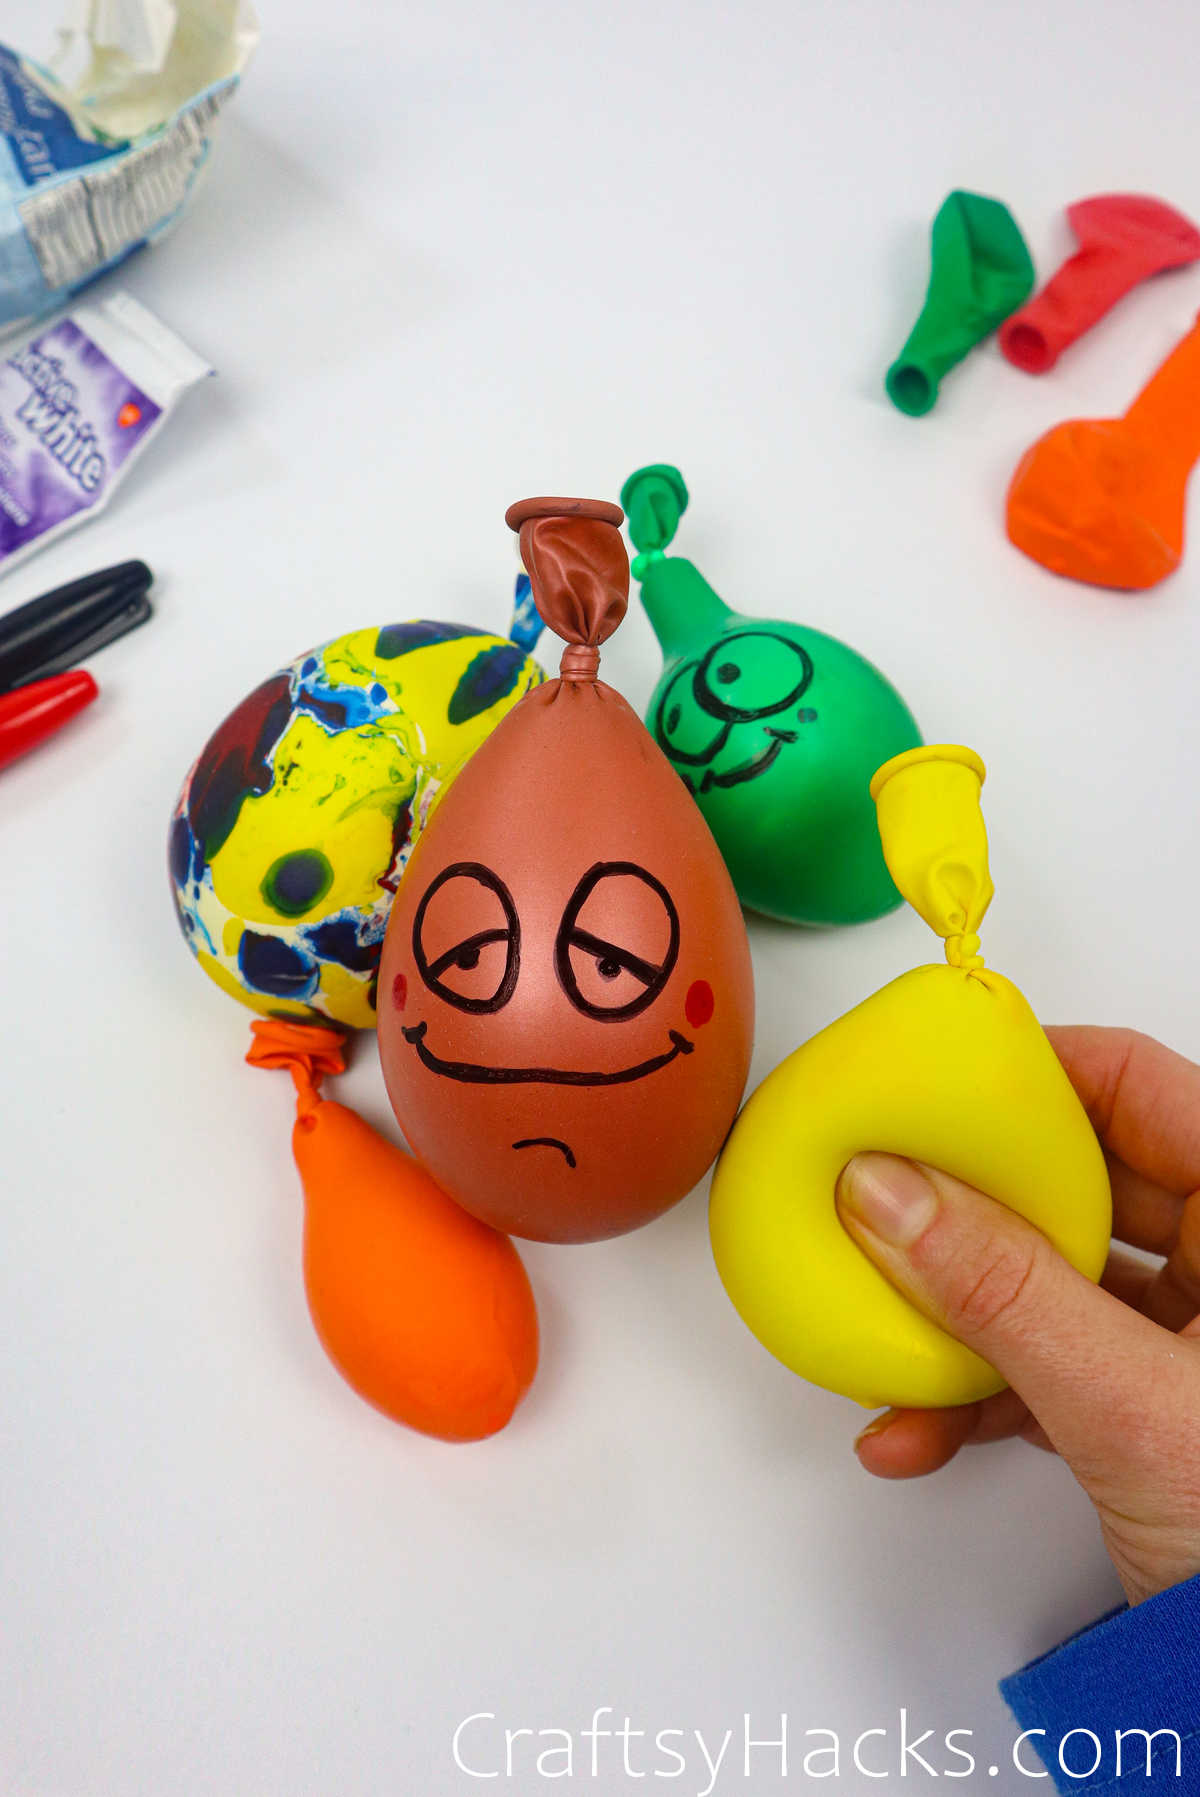
If you only have plain balloons at the moment, fret not. You can use a marker to draw loopy emojis on the surface. So go ahead and blow out a balloon to stretch it. The stretchier it is the more paste you can fit inside it.

Step 3
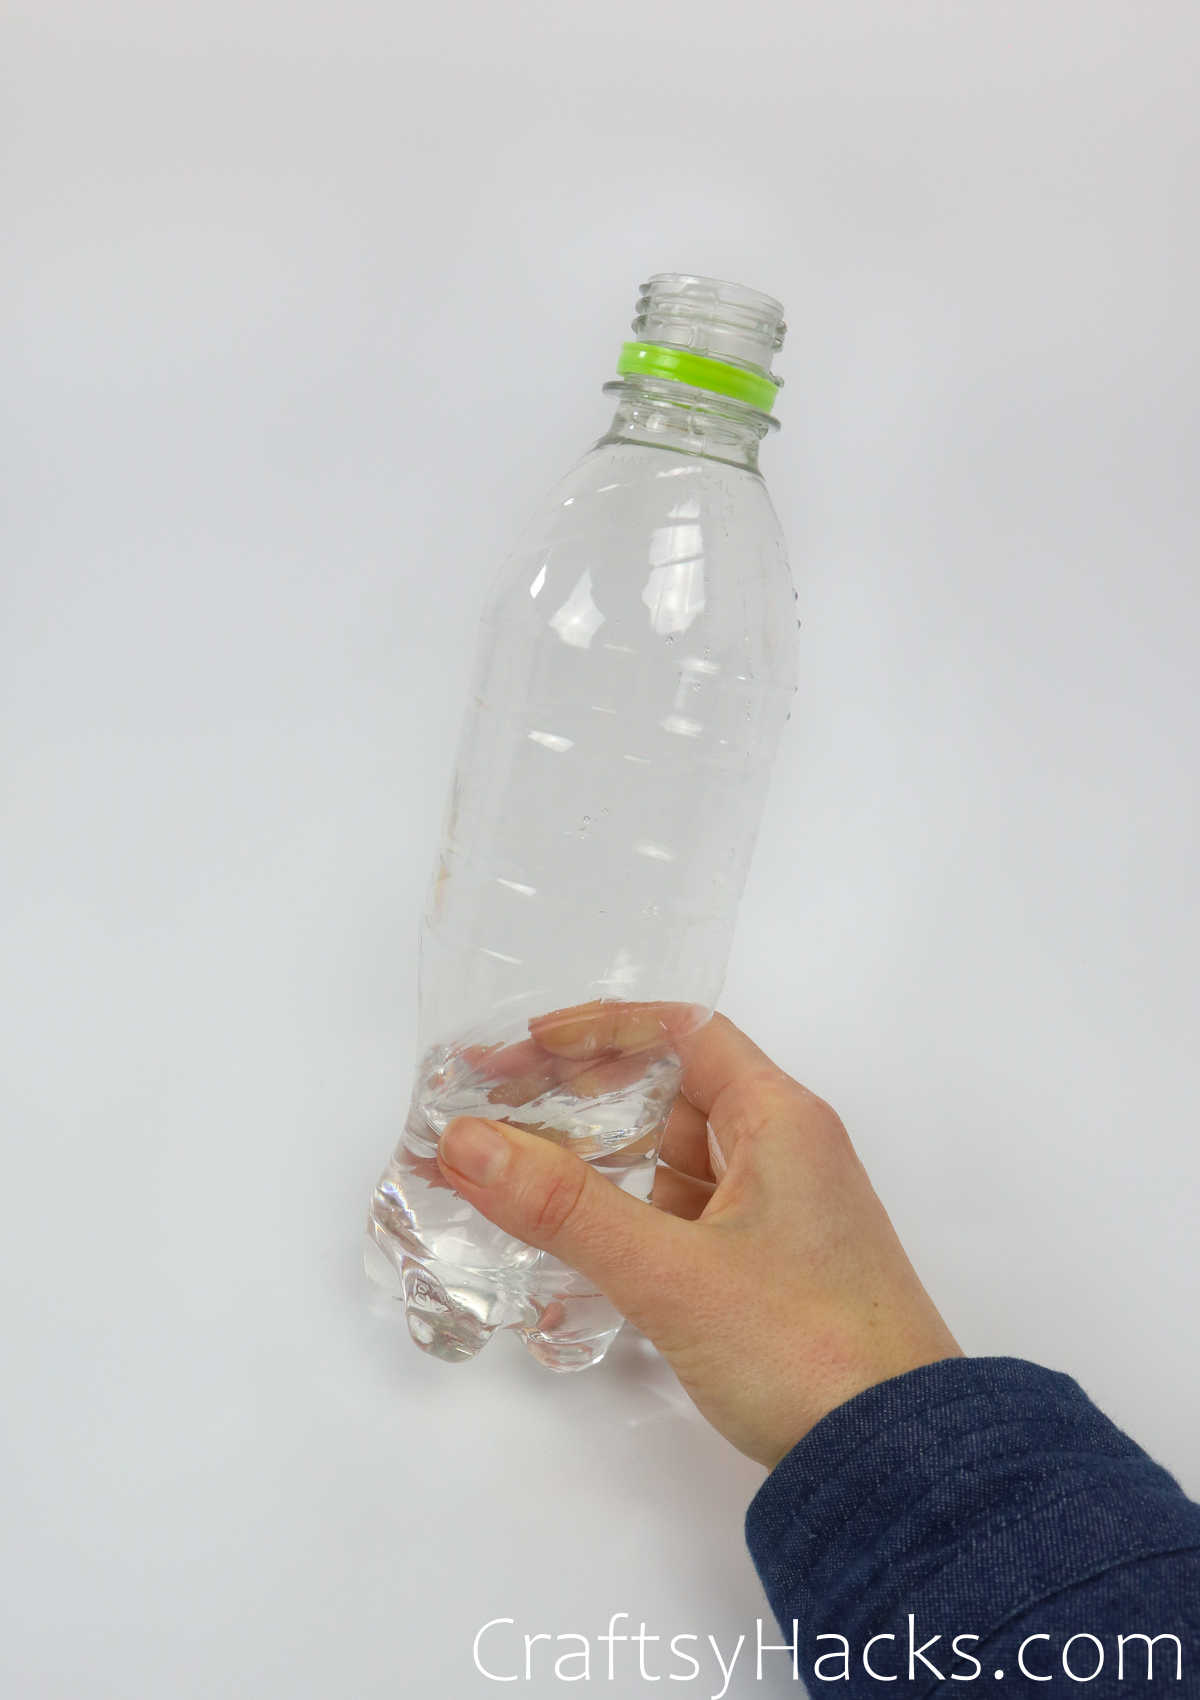
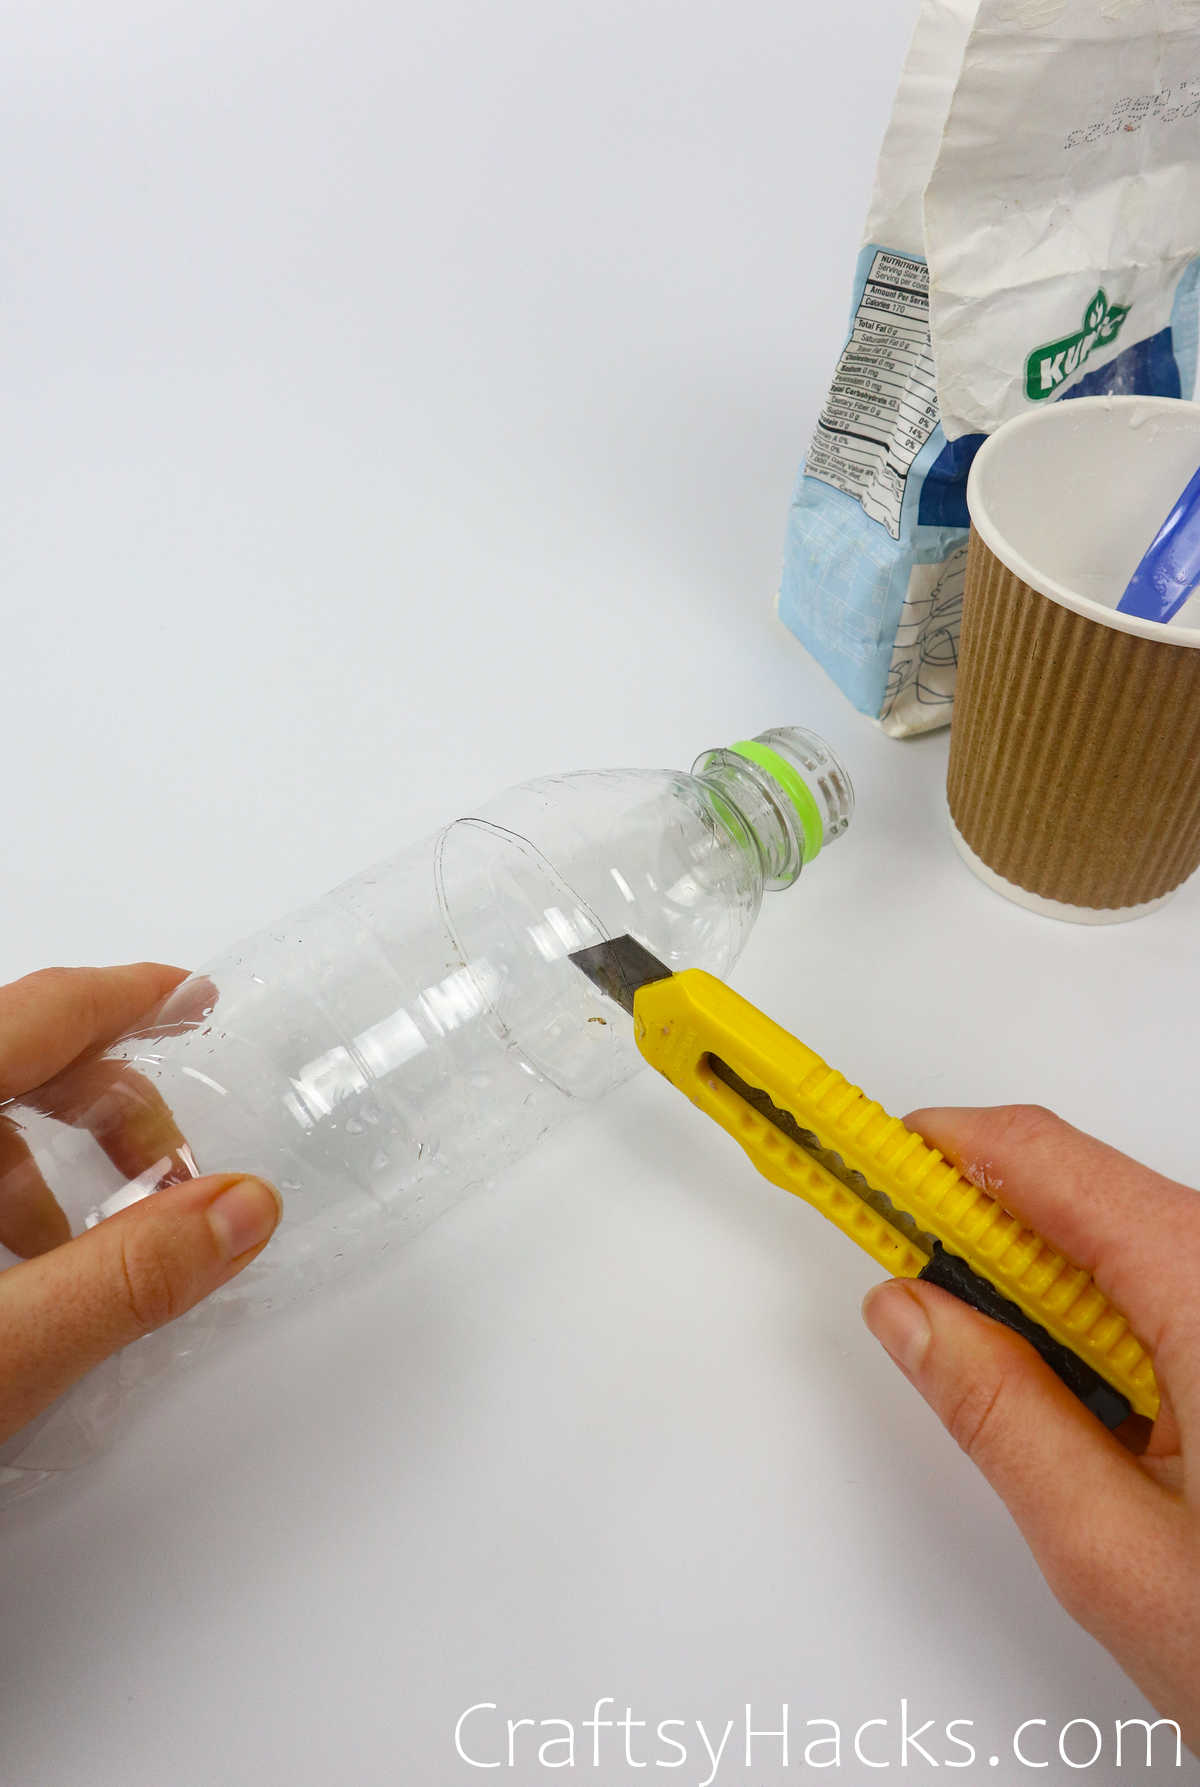
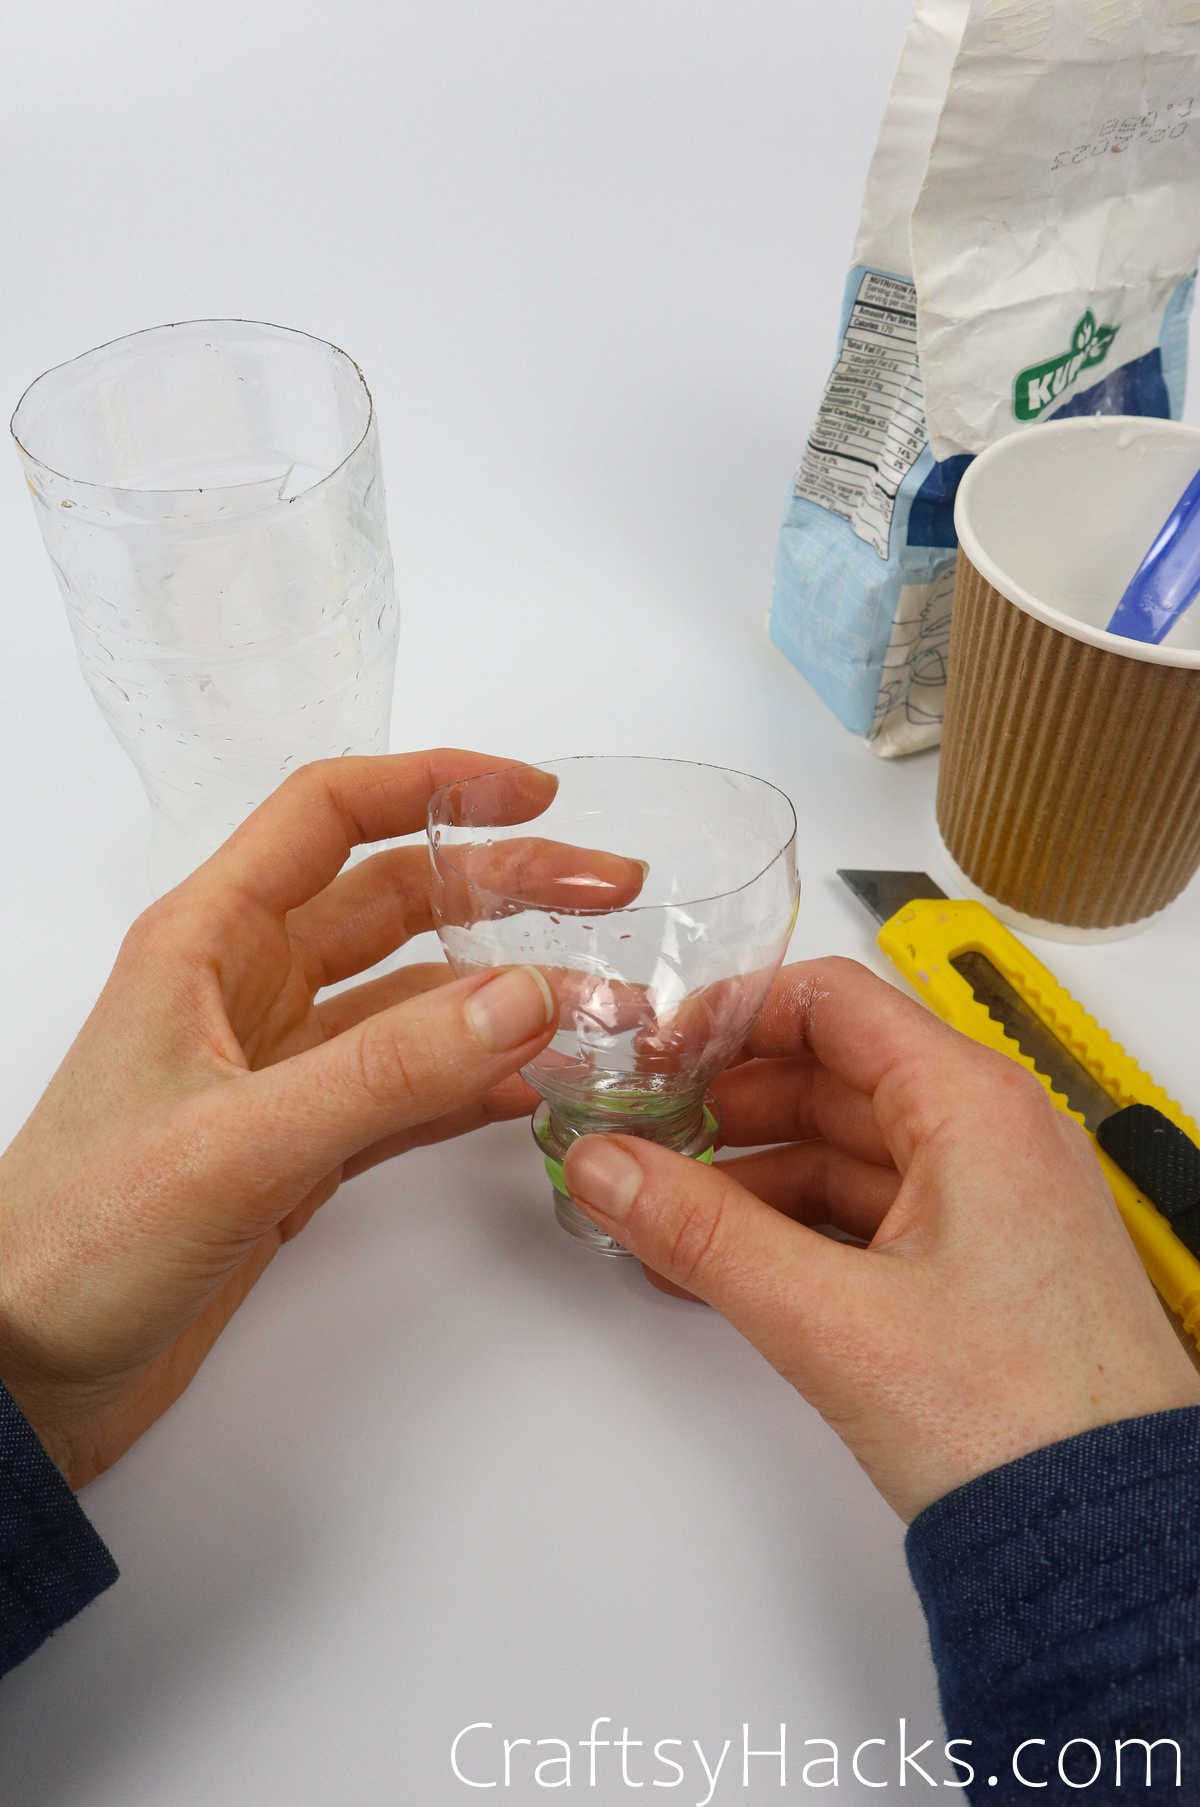
There are two ways you can choose between to help you get that paste inside the balloon. For this first one, grab a water bottle and a cutting tool and cut the top of the bottle off, to create a funnel-like device.
Step 4
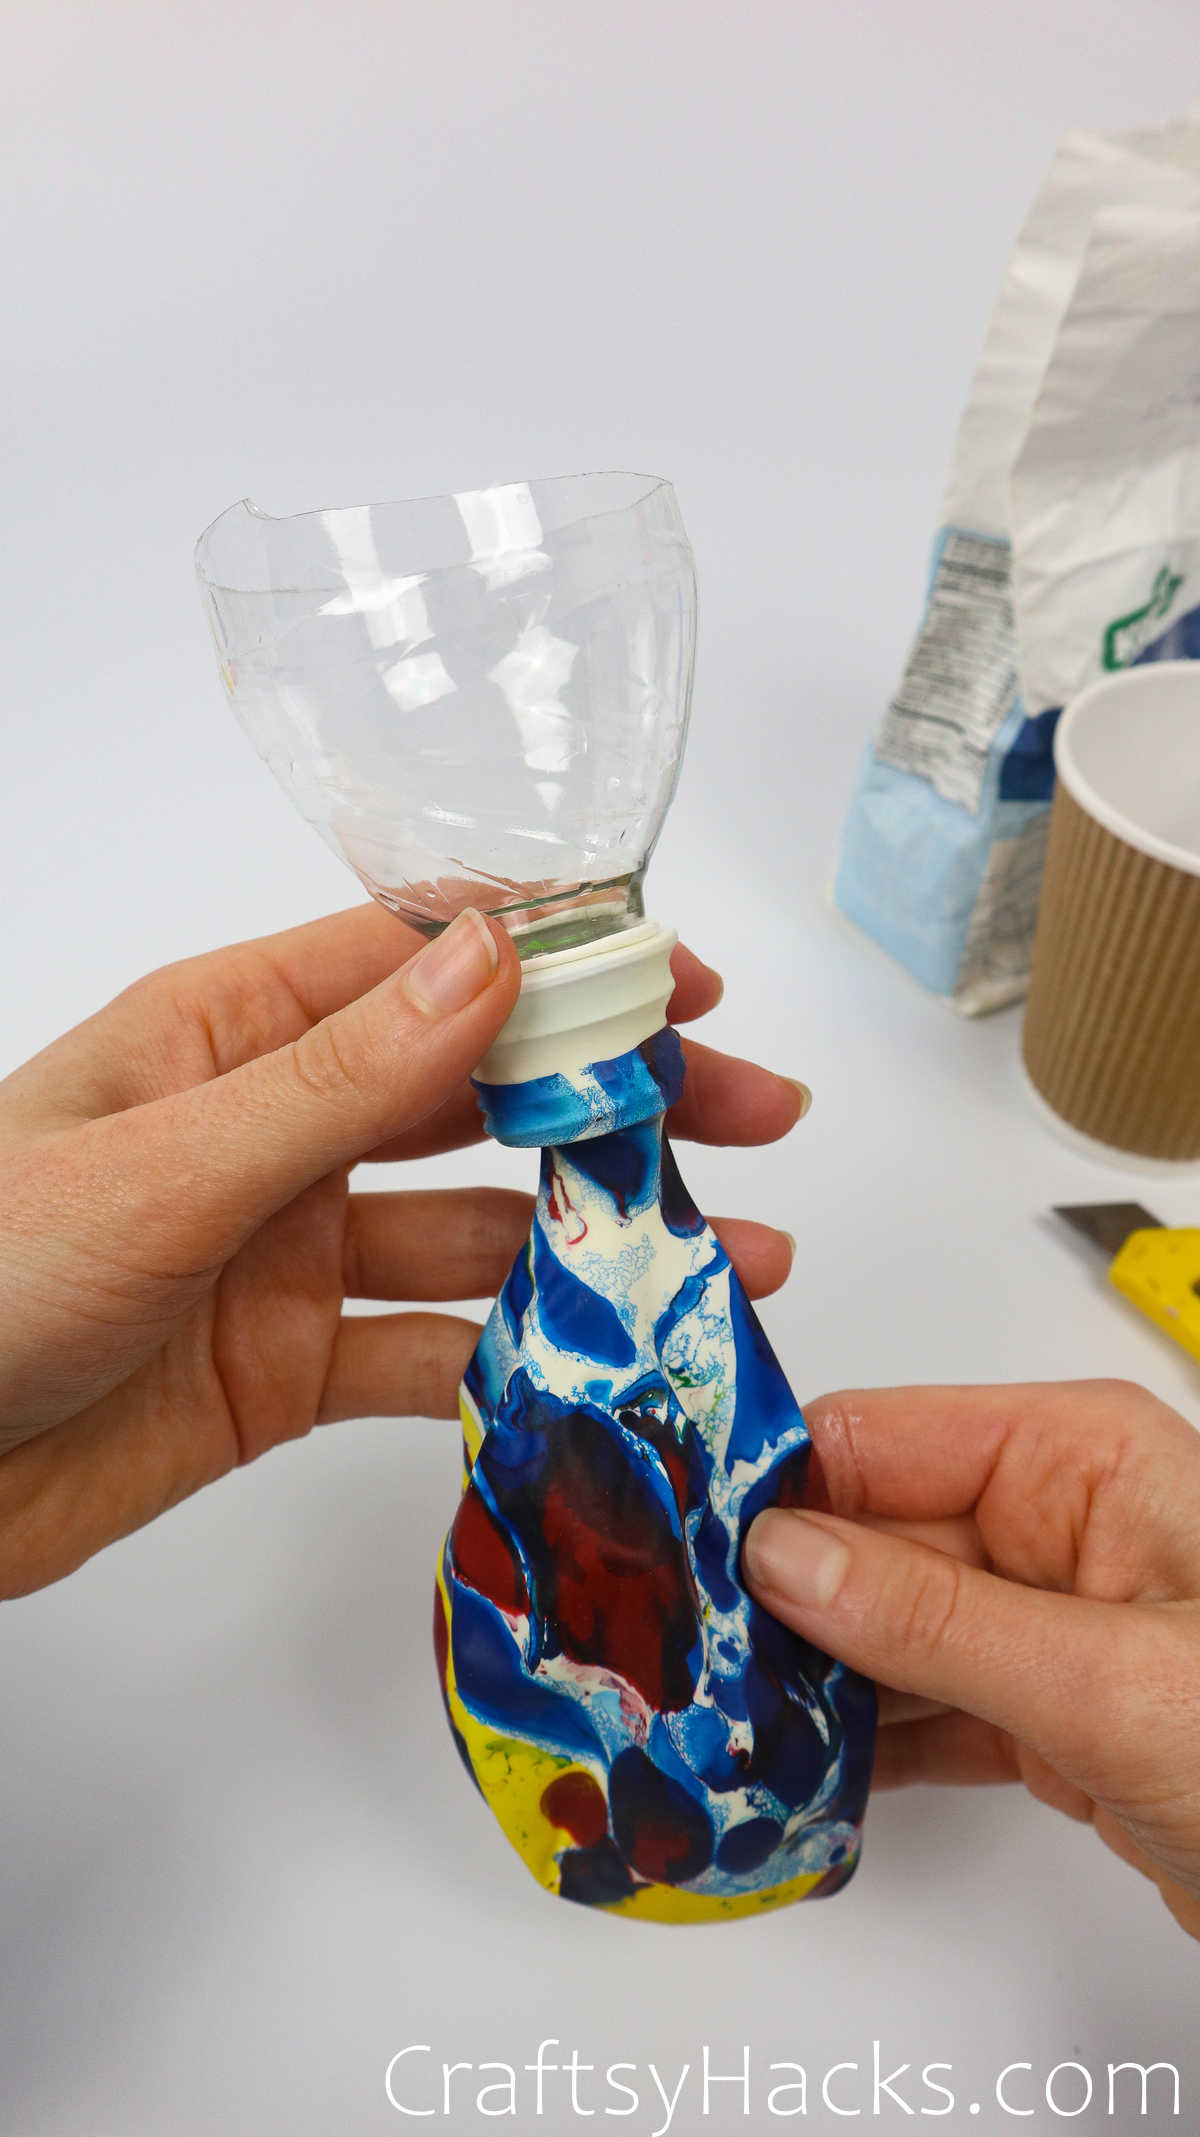
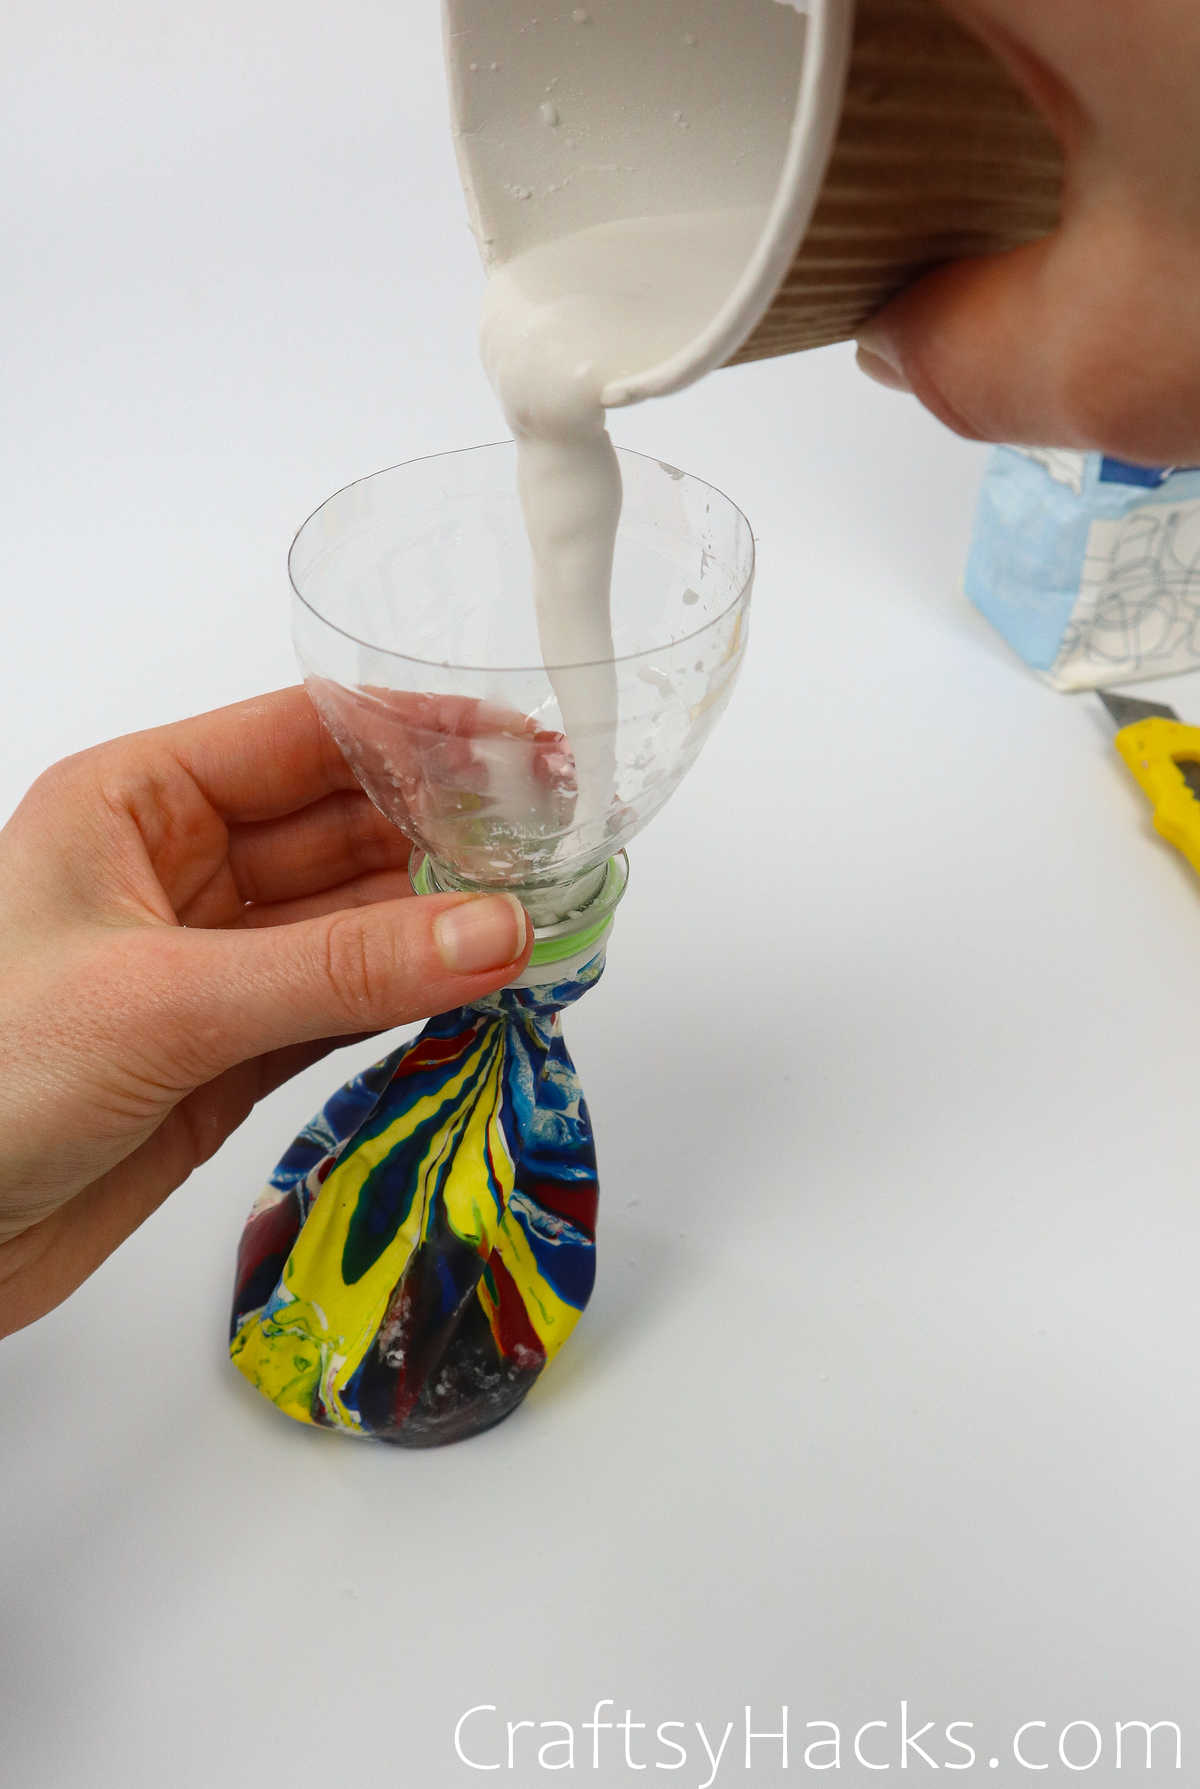
Stretch the mouth of the balloon and slip it over the mouth of the water bottle. Remember to remove the cap, first.
Step 5
Next, simply pour your paste into the funnel and allow it to fill up the balloon. Squeeze in as much paste as you want into the balloon–the squishier, the better, right?
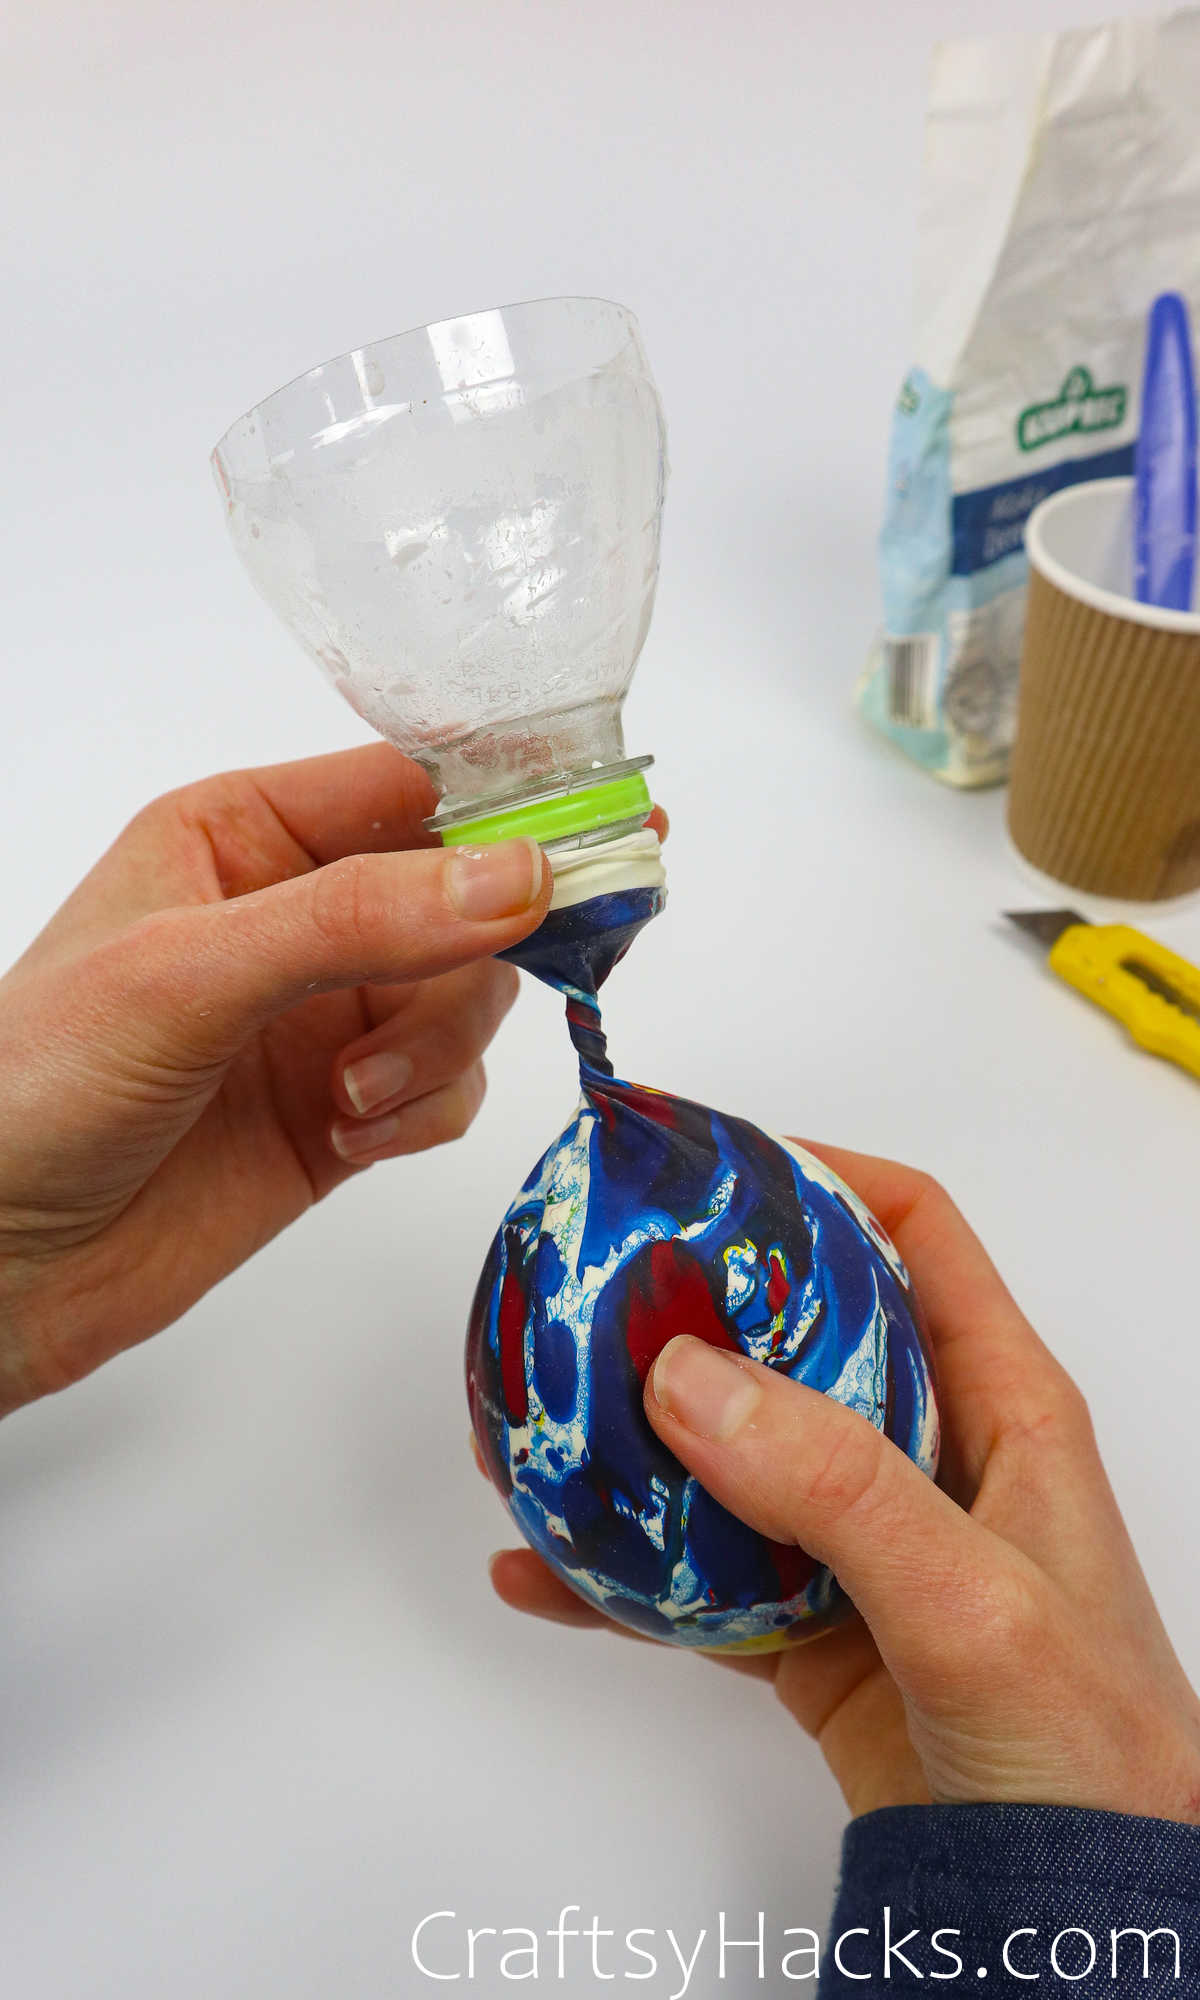
Step 6
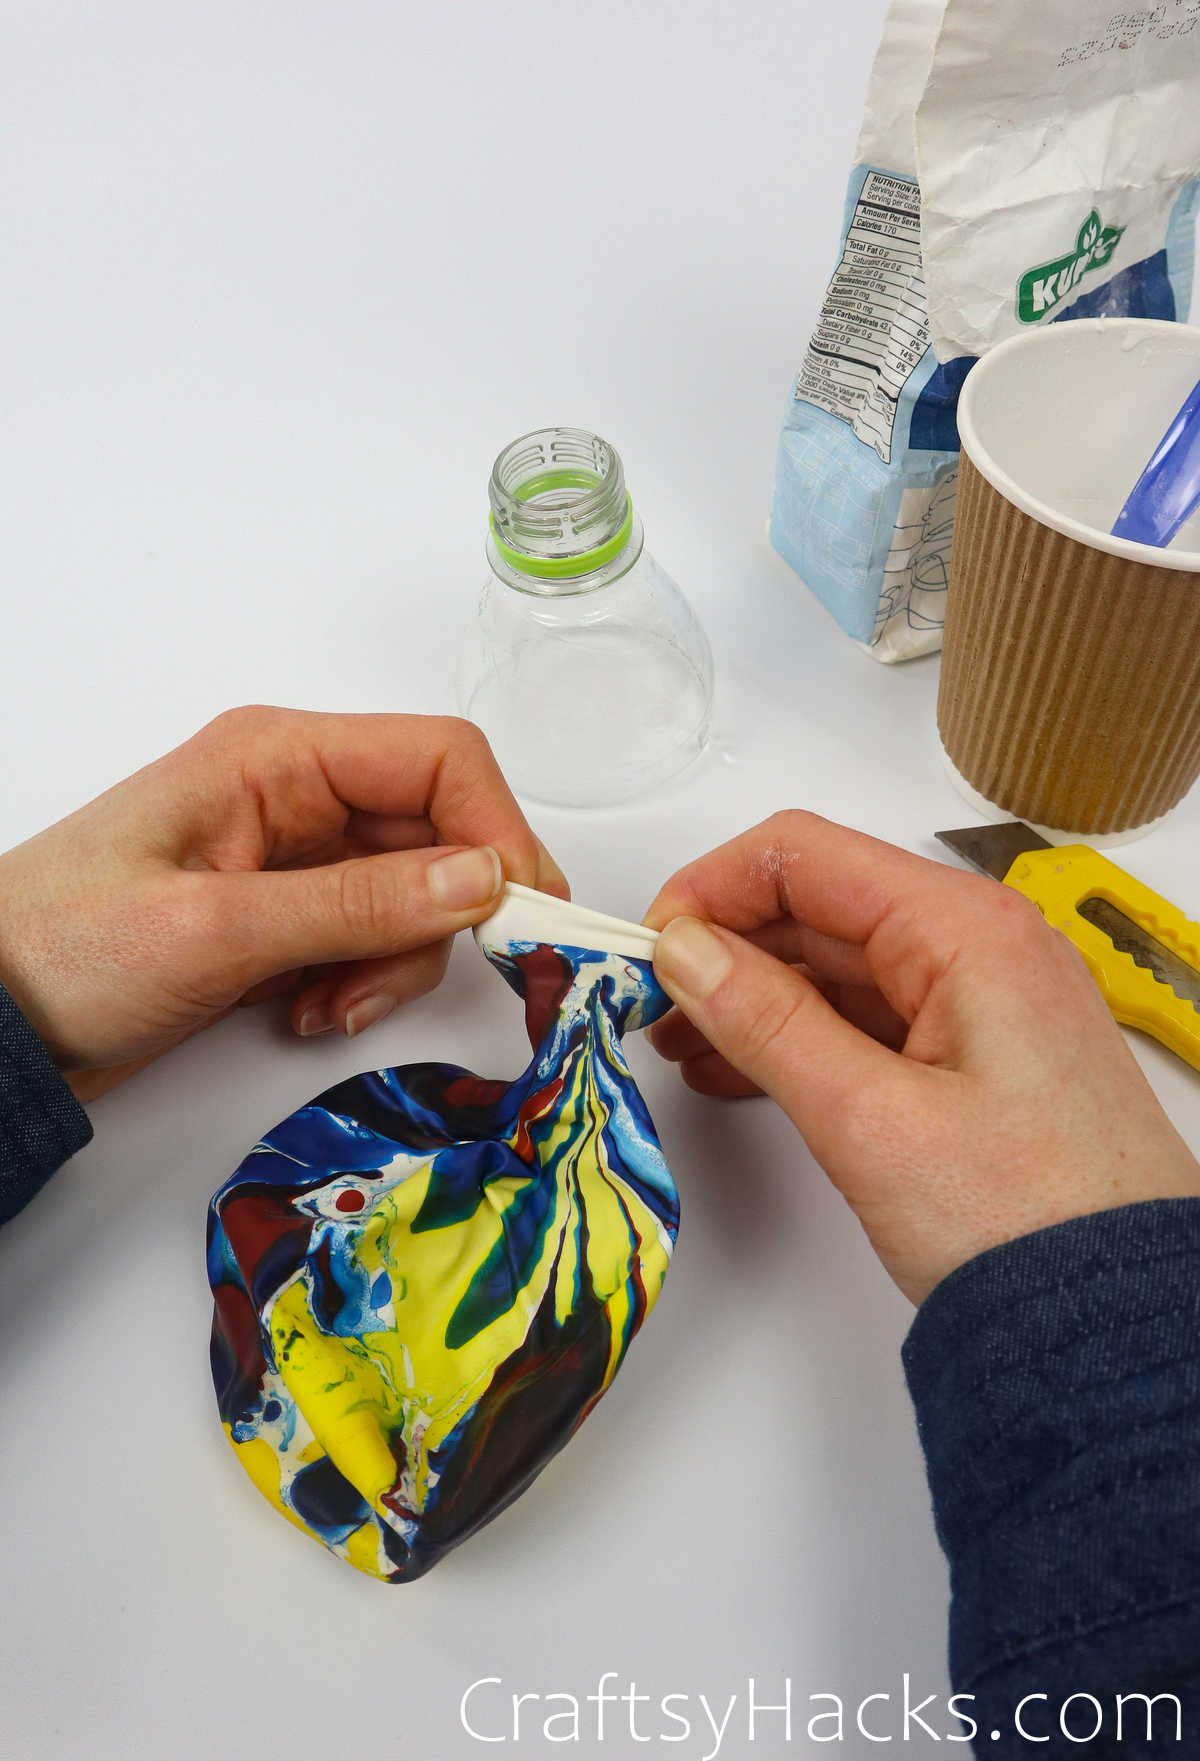
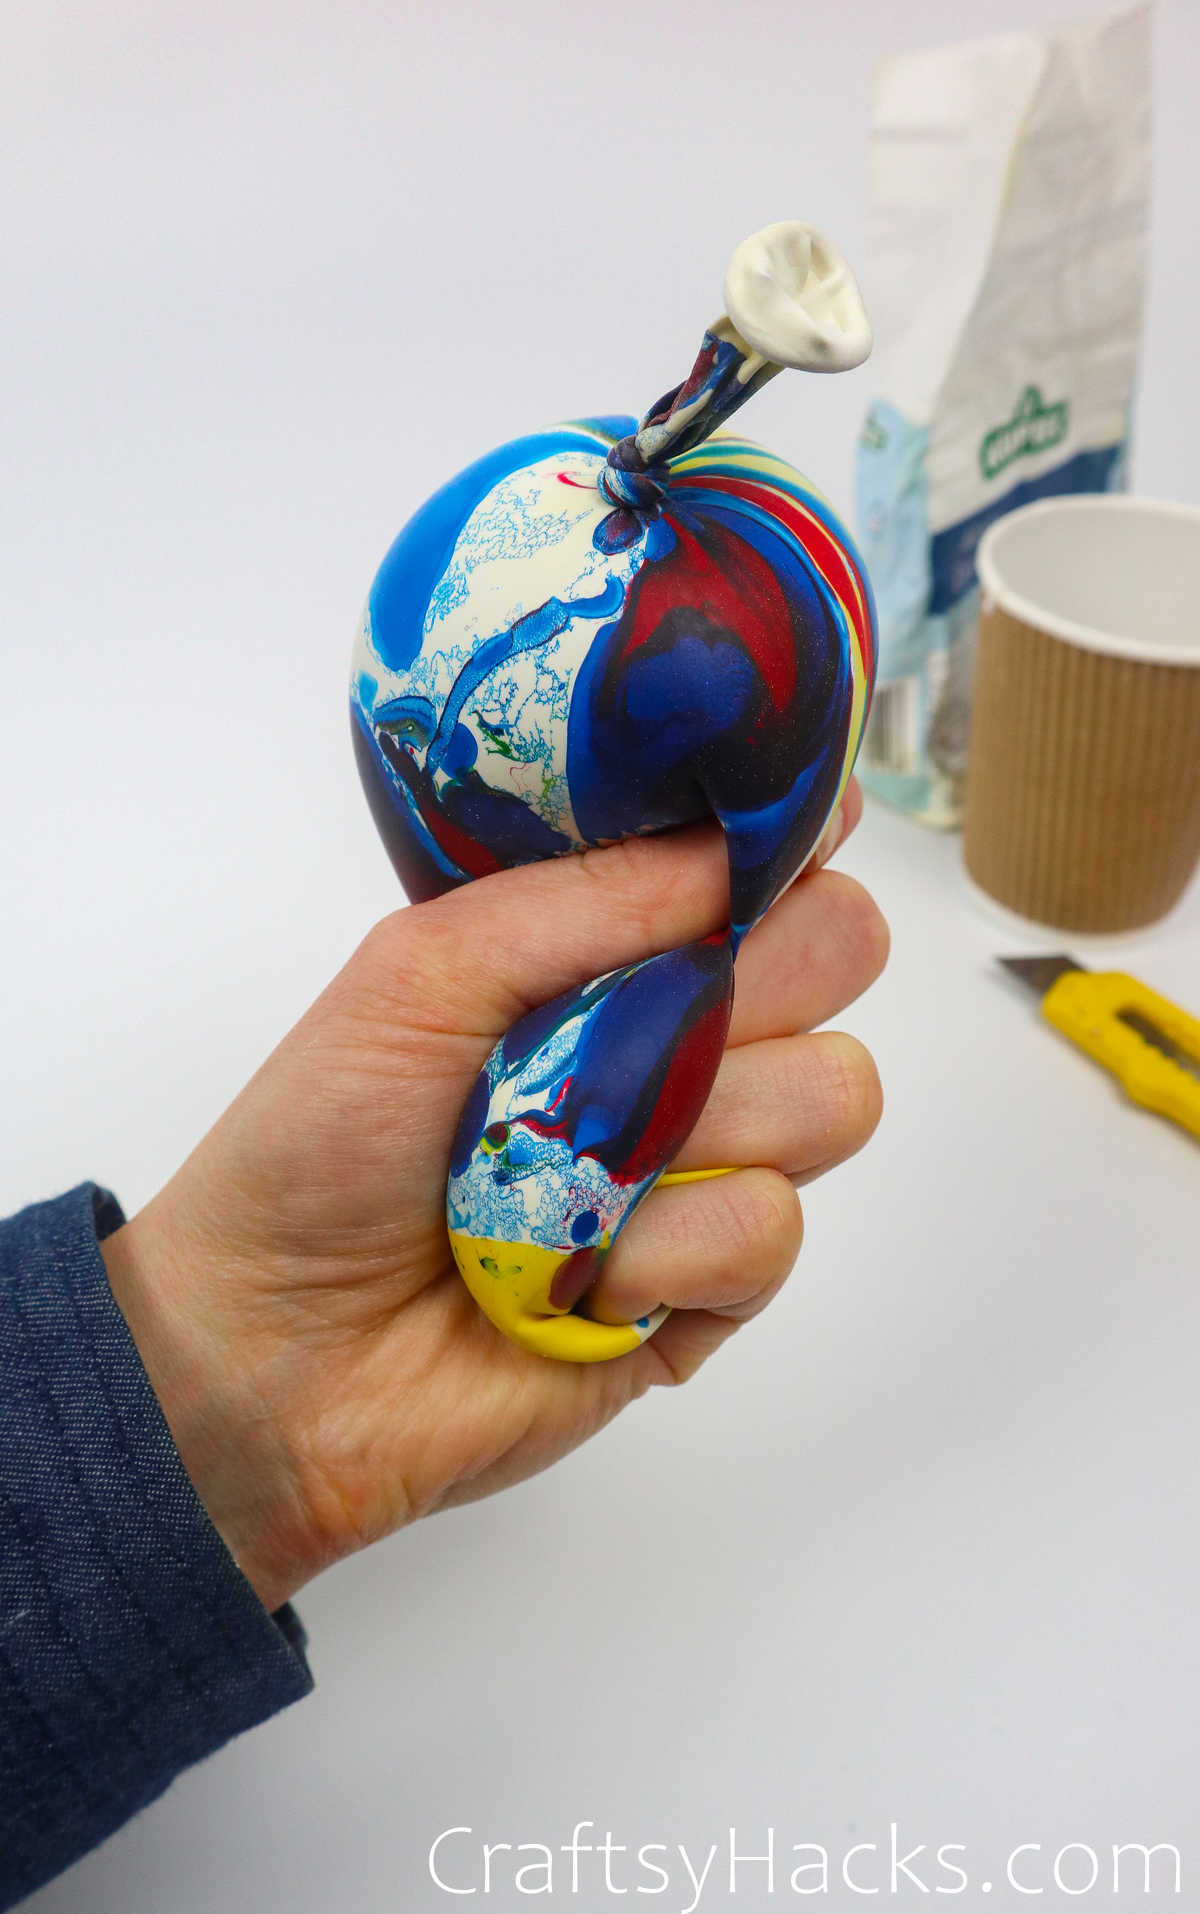
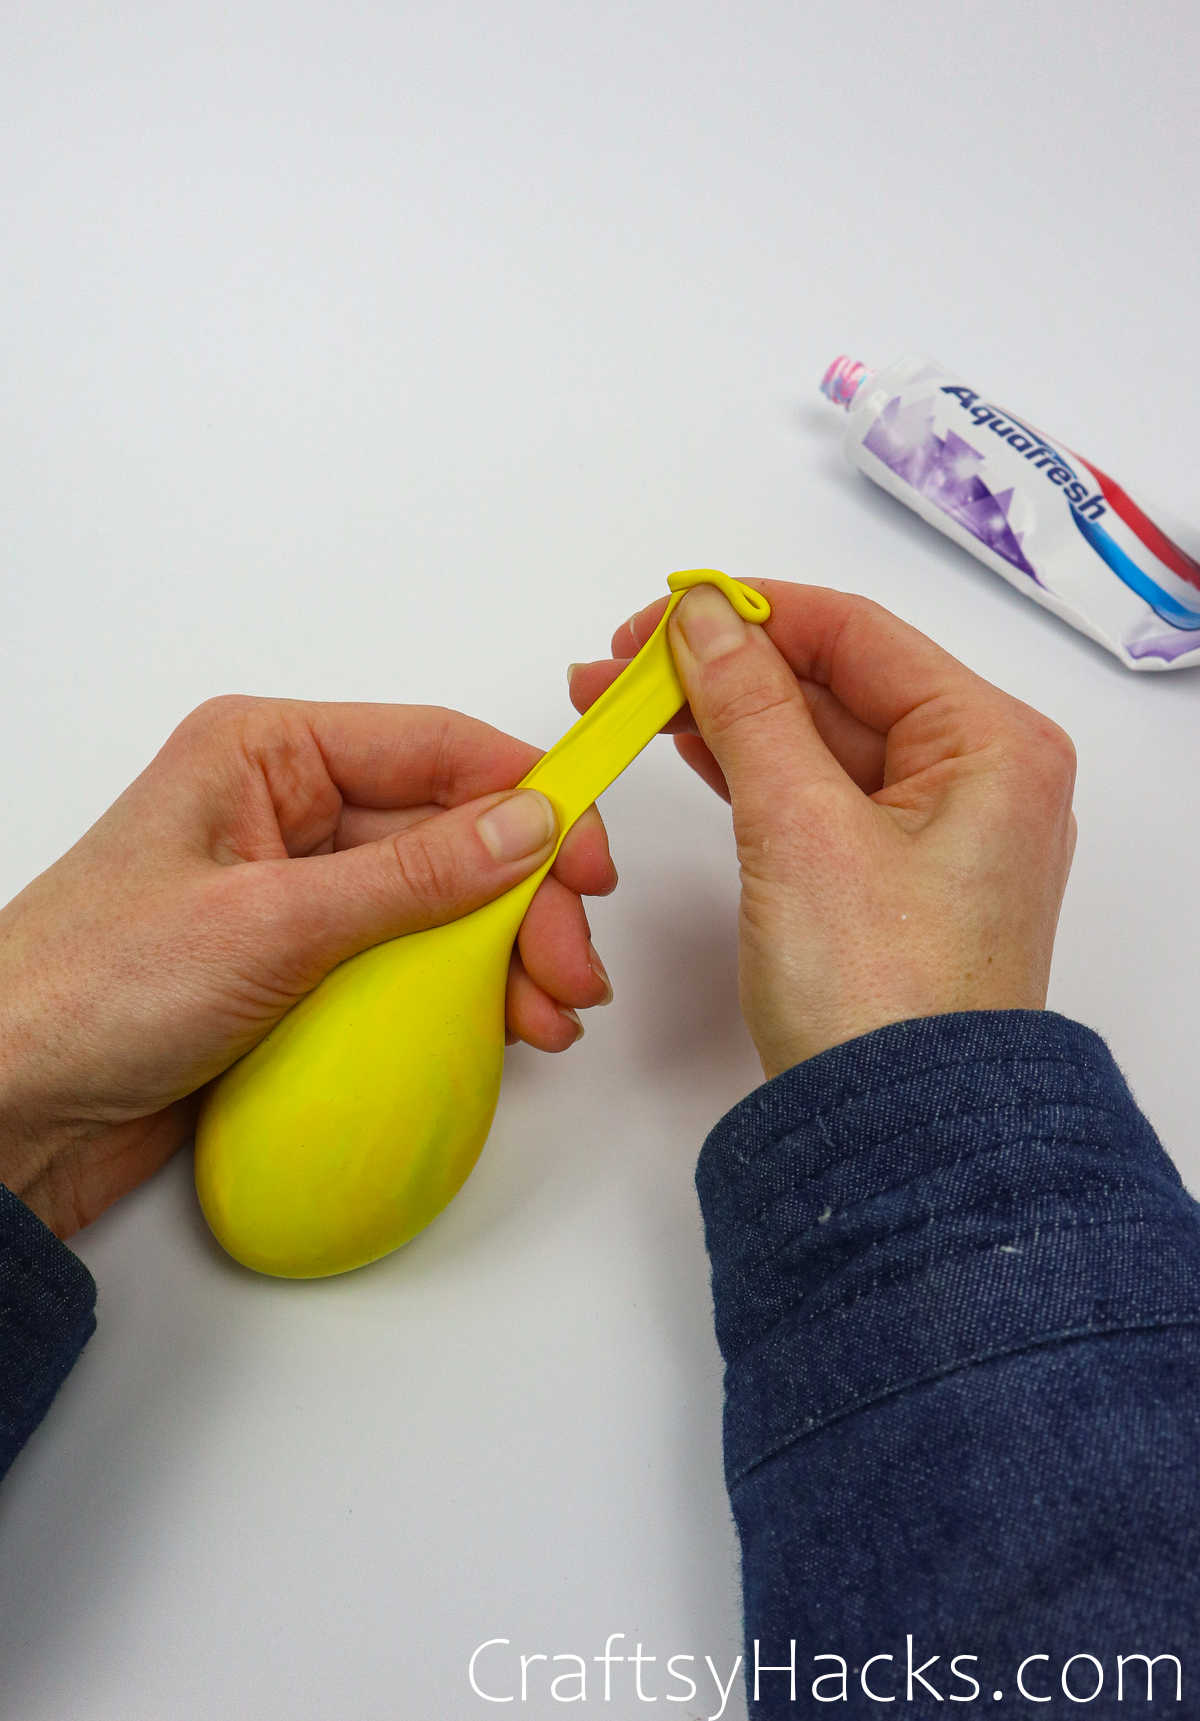
Next, pull the mouth of the balloon off the rim of the bottle, carefully so as to not let the paste pour out. You can twist the neck of the balloon a few times first, before you remove it. This will help you avoid a huge potential mess.
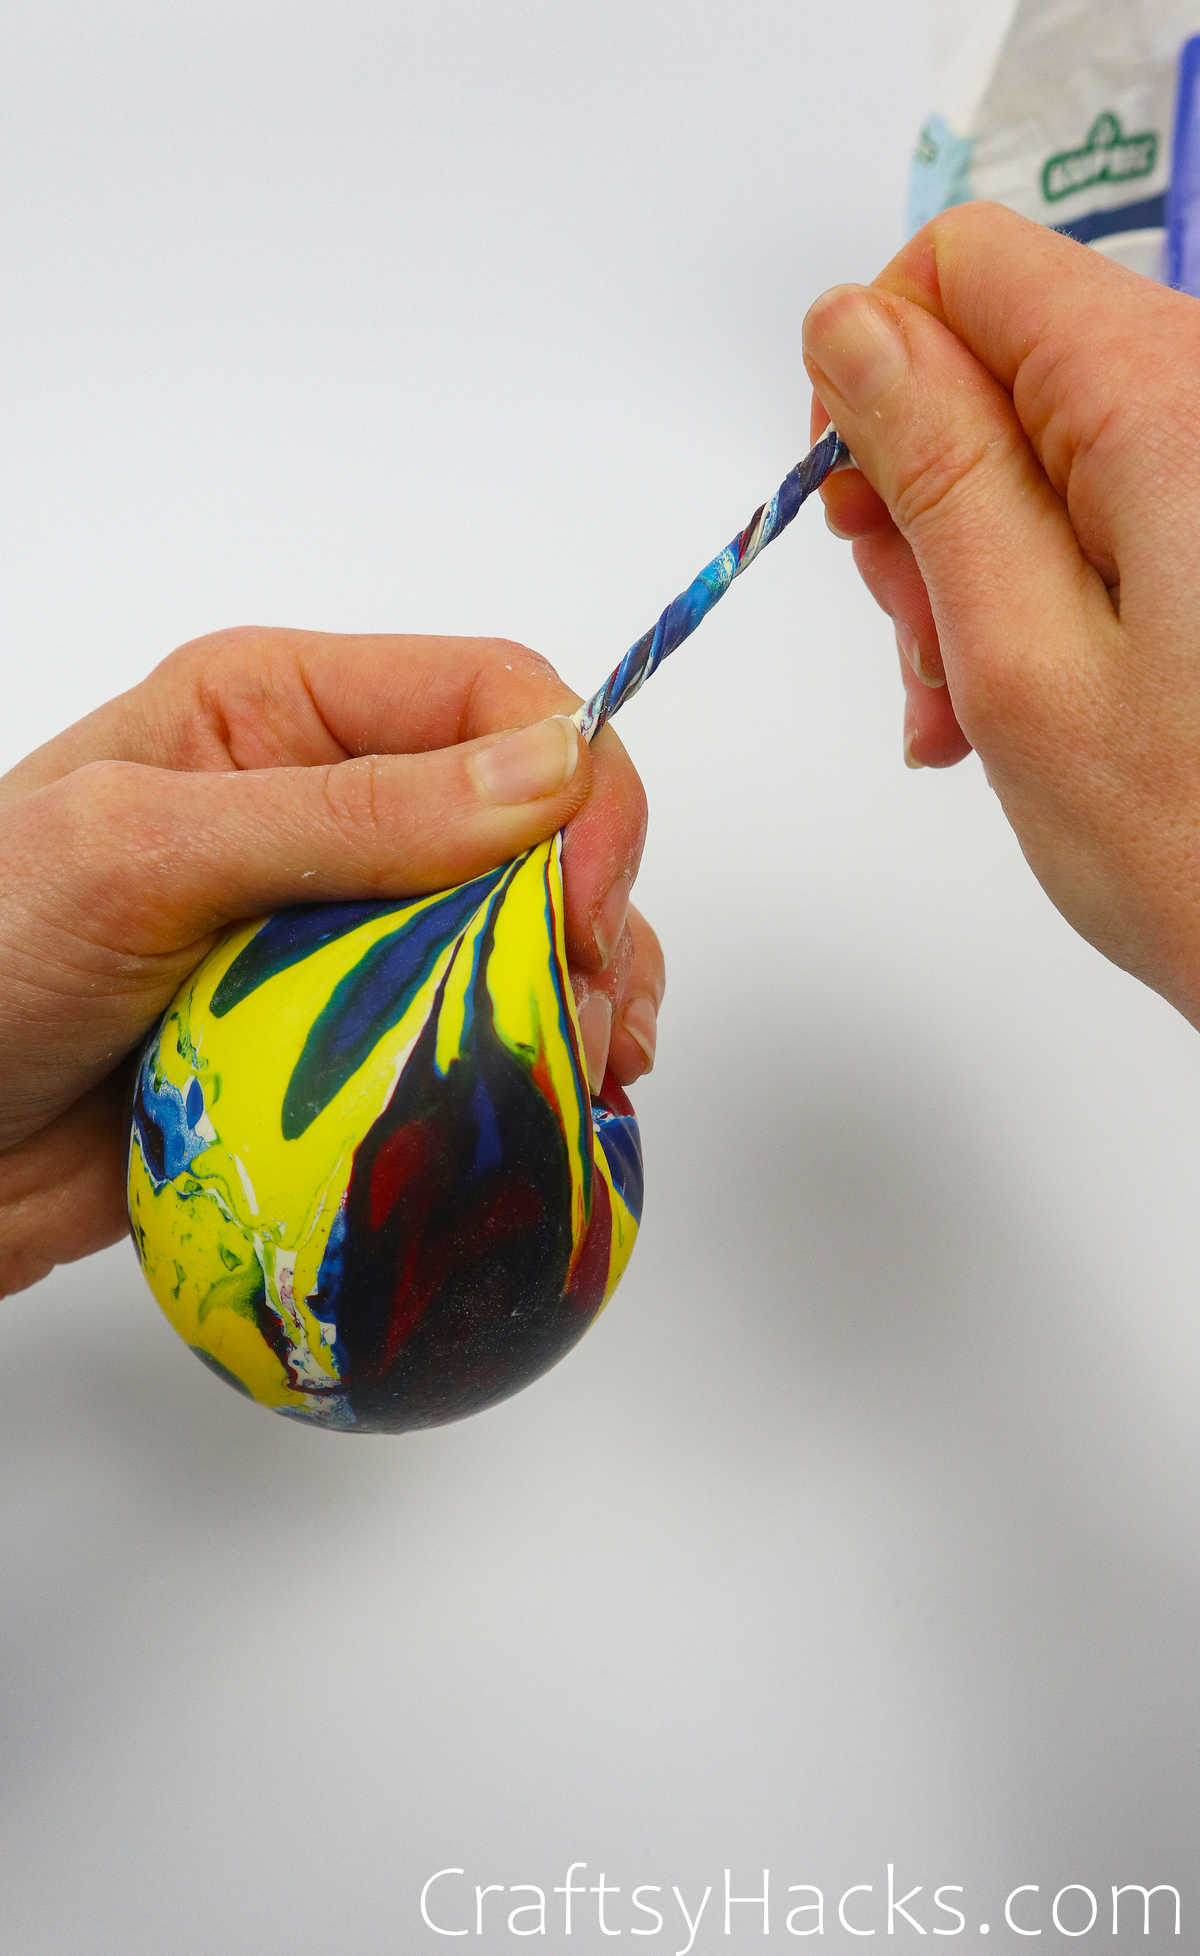
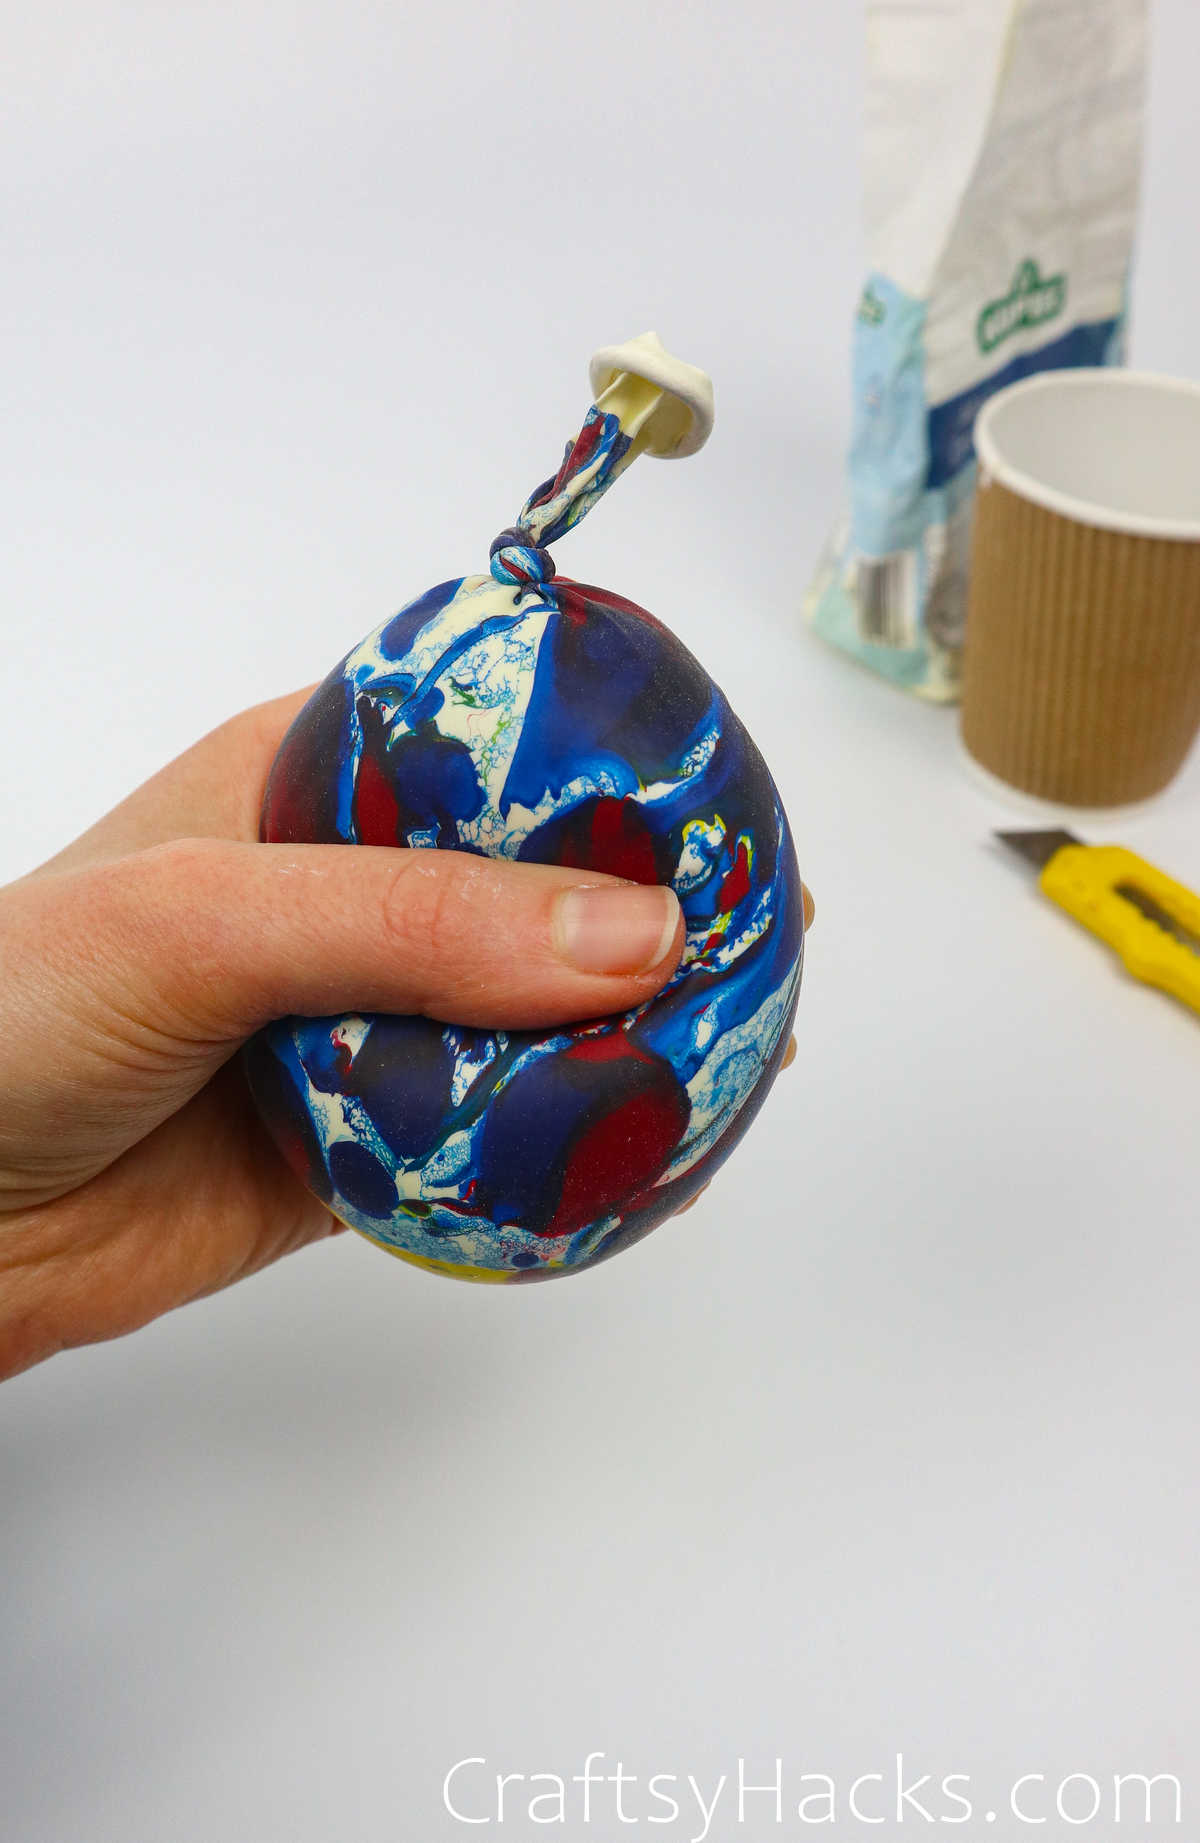
Just pull the end into a knot–or a double knot, too–and you’re done!
Step 7
Now this next method is actually a hack which you can use when you need a quick and easy stress ball, without the mess or hassle of actually making a paste from scratch. You’re going to use…toothpaste!
The best part about this method is that the paste will keep longer as it’s not made from perishable substance and it comes in a ready-made squeezy tube.


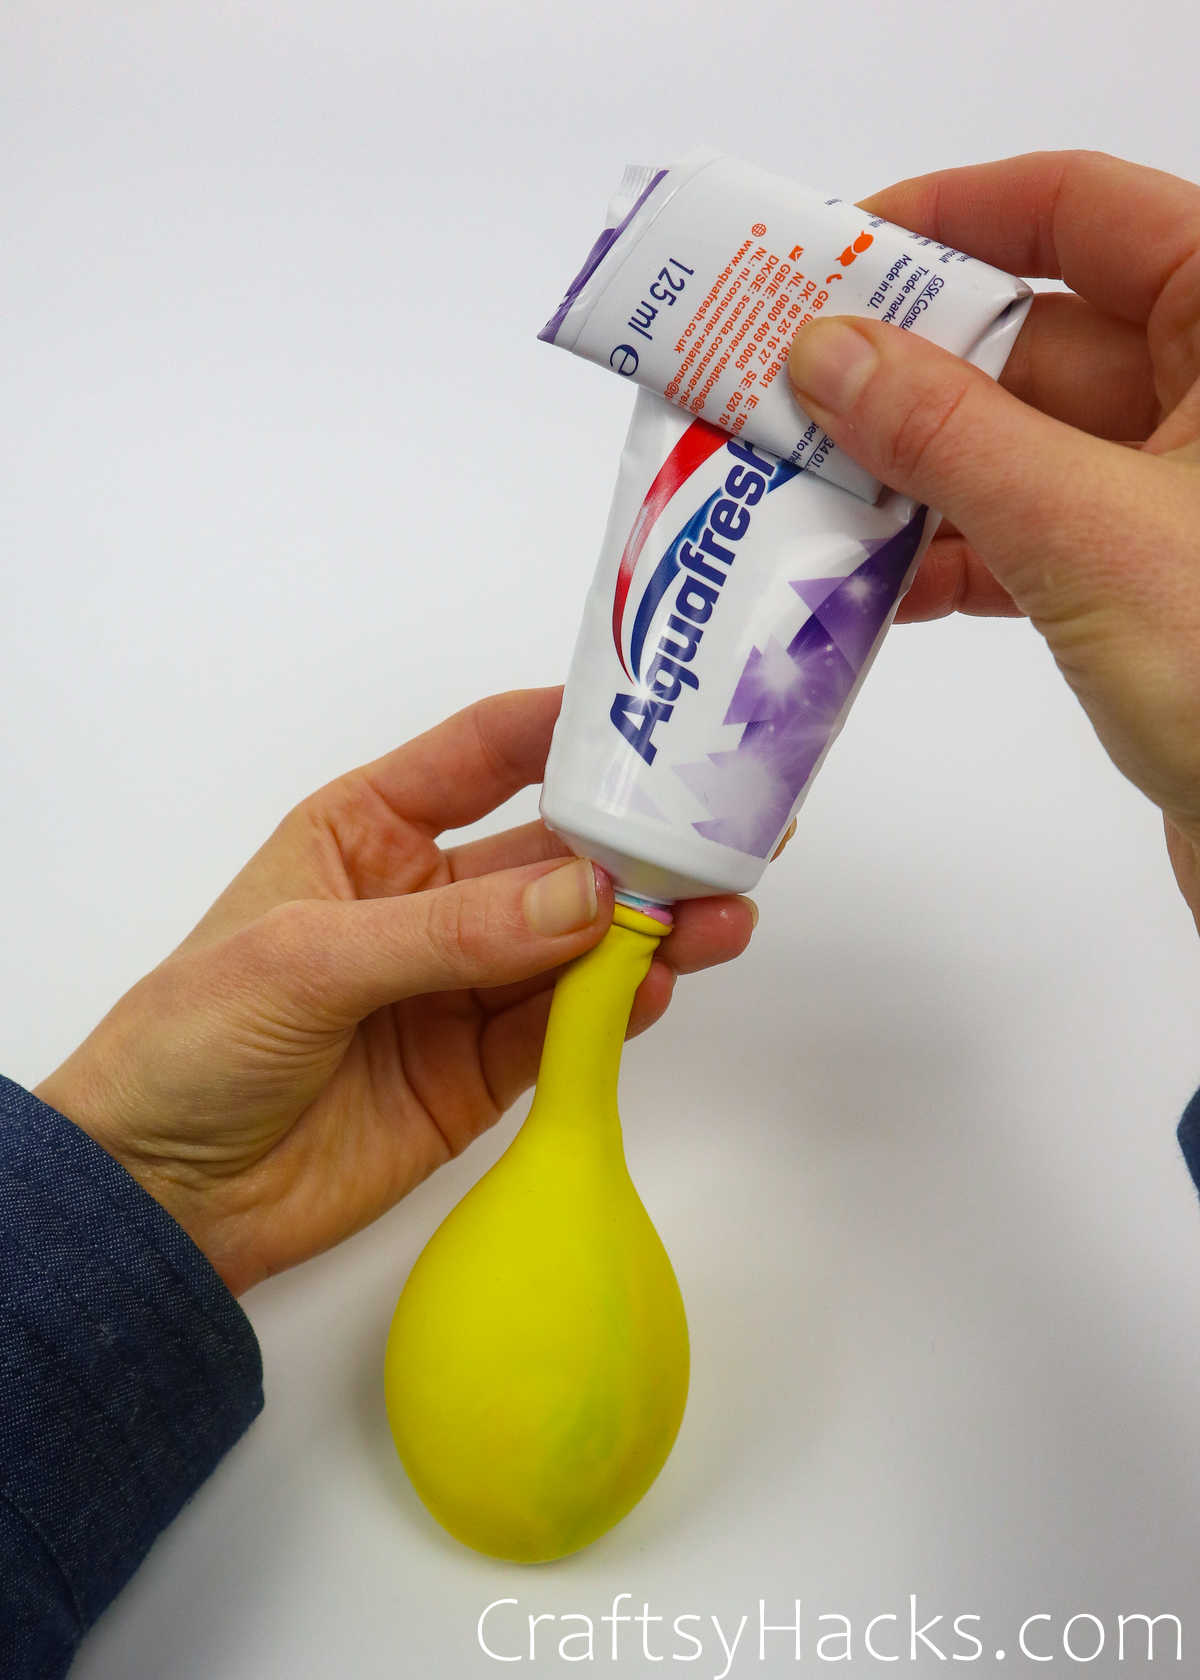
So go ahead and squeeze out all that paste into the balloon.
Don’t forget to draw cute emojis, too! There you go, your DIY stress balls are ready to help you de-stress!
Other Crafts You Might Want to Make
- 61 Cute Easy Paintings for Beginners
- 41 Crafts for 3-Year-Olds
- 47 Fun Paper Plate Crafts for Kids
- 37 Handprint Crafts for Kids
- 31 Easy Dollar Store Crafts for Teens
- 41 Easy Hot Glue Gun Crafts
- Ladybug Crafts Out of Toilet Paper Roll
- 47 DIY Projects
How to Make a Stress Ball (Step-by-Step)
Video Tutorial
Equipment
- Plastic bottle
- Retractable knife
- Teaspoon
- Paper cup/a bowl
Materials
- Balloons
- Some cold water
- Toothpaste
- Permanent markers
- Potato starch/cornstarch/wheat flour
Instructions
- Gather all your supplies to get started.
- Make sure to have plenty of paper towels to catch the spills and disposable cups to help you mix the paste.
- Mix in the flour and water in the right ratio, making sure to add the water gradually and to keep stirring to avoid lumps. Depending on the flour you use and its starch quotient, the consistency of the paste will vary. You can also use your fingers and hands to mix the paste.
- Once the paste is ready, you can start making the funnel. Grab a water bottle and cut off the top part where the mouth is. Remove the cap and set it aside.
- Once you’ve picked out your balloon, go ahead and blow it up to stretch it. The stretchier the balloon, the more paste you can fill it with.
- Next, fit the mouth of the balloon over the bottle’s mouth and secure it over the rim firmly.
- Pour the paste into the funnel-like opening of the bottle and allow it to fill up the balloon.
- When you’re satisfied with how squishy it is, just twist the neck of the balloon a few times before removing the mouth from the bottle. This will help avoid any spillage.
- Simply fasten off with a knot or two to secure your stress ball.
- Another option–a quicker and less-messy one–is to fill the balloon in question with toothpaste directly from the tube itself. Since the toothpaste is made from non-perishable substances, it will also last longer!
- Finally, don’t forget to draw emojis and quirky faces on the stress balls, and you’re all set!


Hello, this may be a strange request. But I’m looking for the “tie dye”/colorful ballon in the steps. Not the plain color ones. The multicolor one specifically. Please help.
You either make them yourself or get some on Etsy: https://www.etsy.com/uk/listing/1195272430/rainbow-pack-mixed-marble-tie-die-latex 🙂