Handprint Bats
This post may contain affiliate links: full affiliate disclosure.
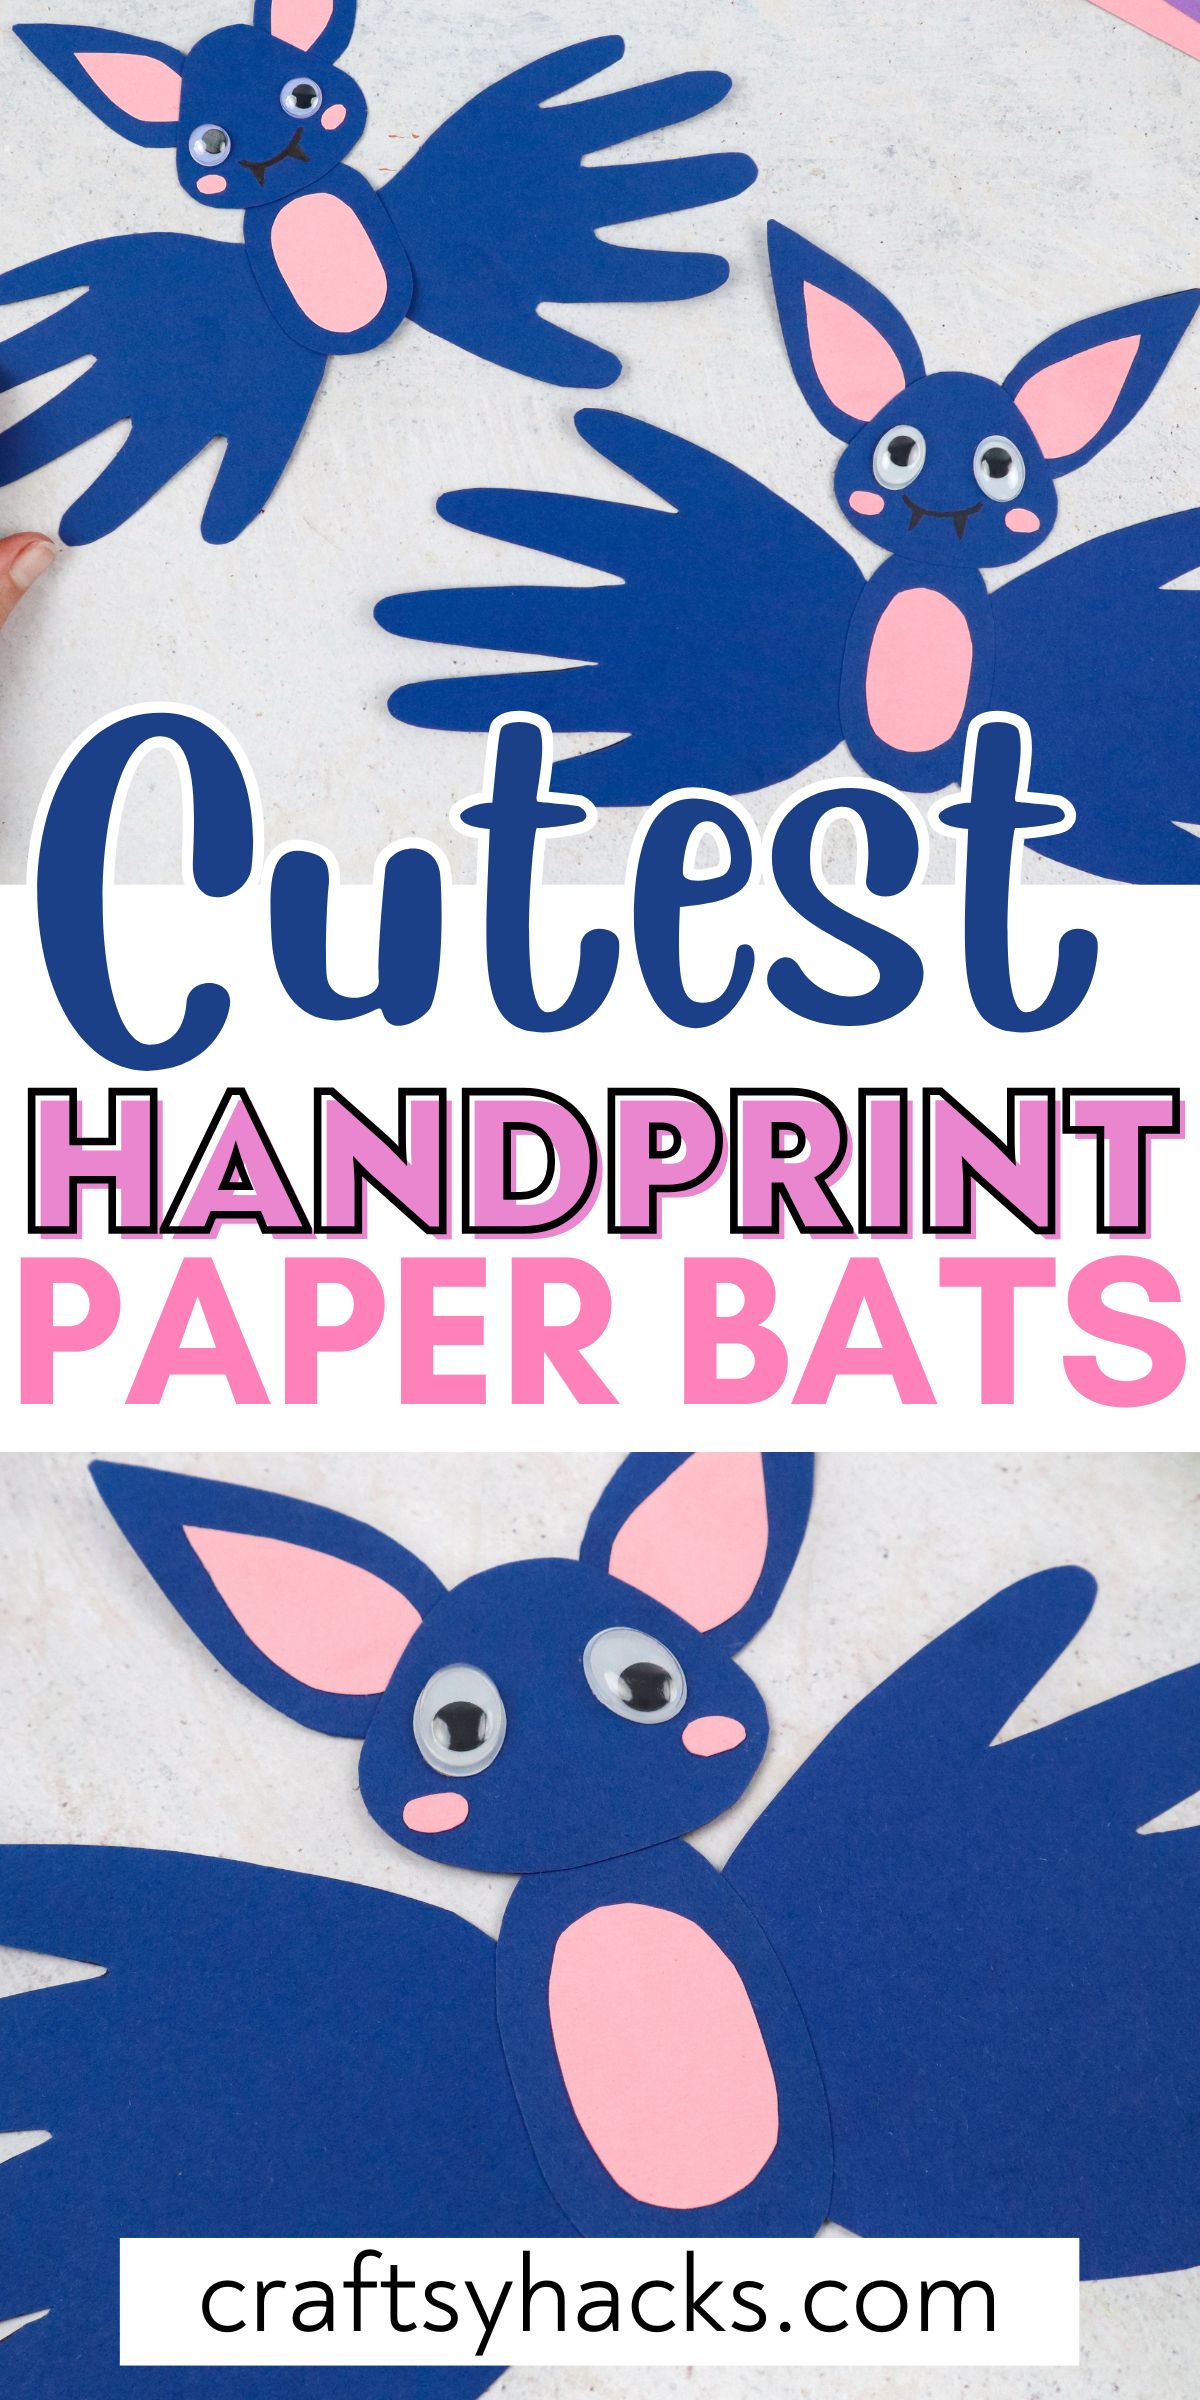
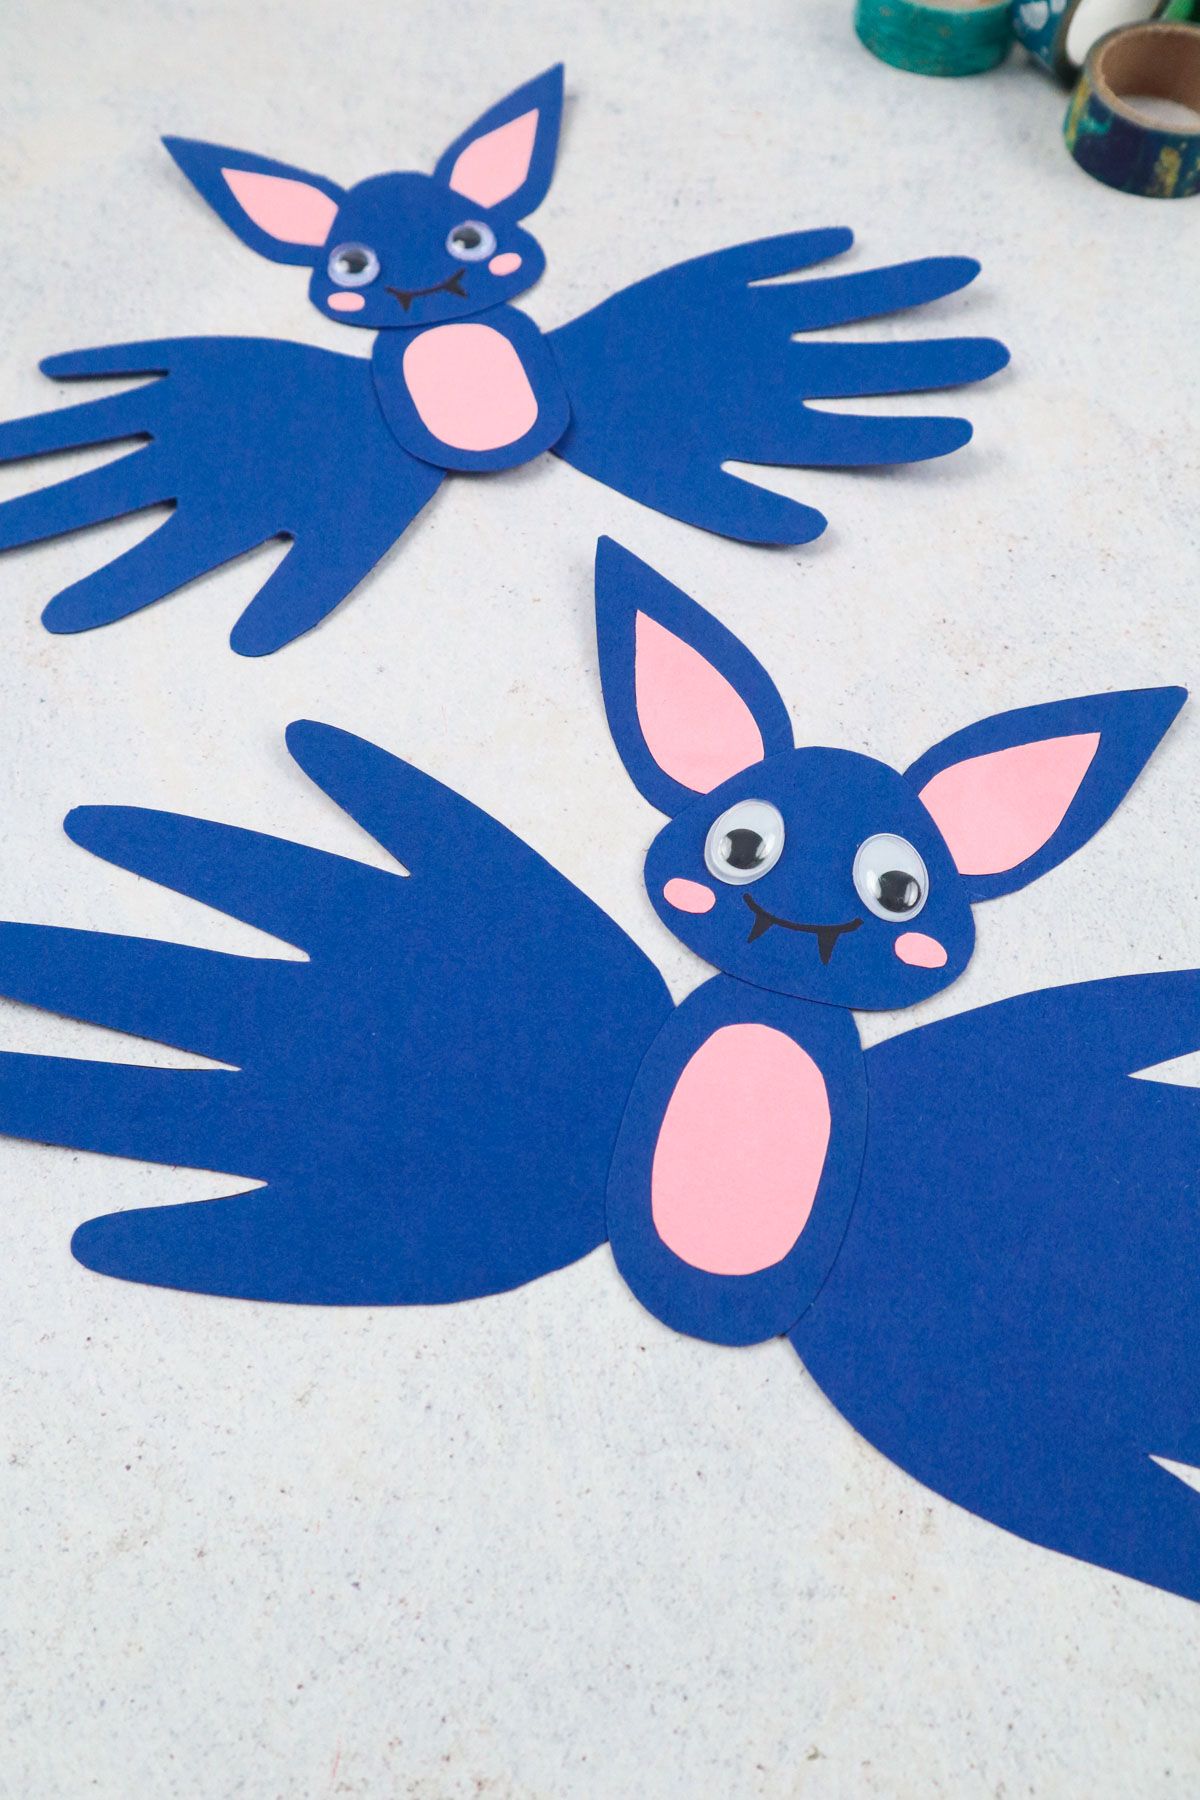
If you are looking for a fun, festive, and simple project to do with little ones, these handprint bats are the perfect Halloween craft for you! You only need a few basic materials to quickly make these.
This project makes for a great keepsake because it uses your child’s traced hands as the bat’s wings. You will have tons of fun helping your little one create their own handprint bat!
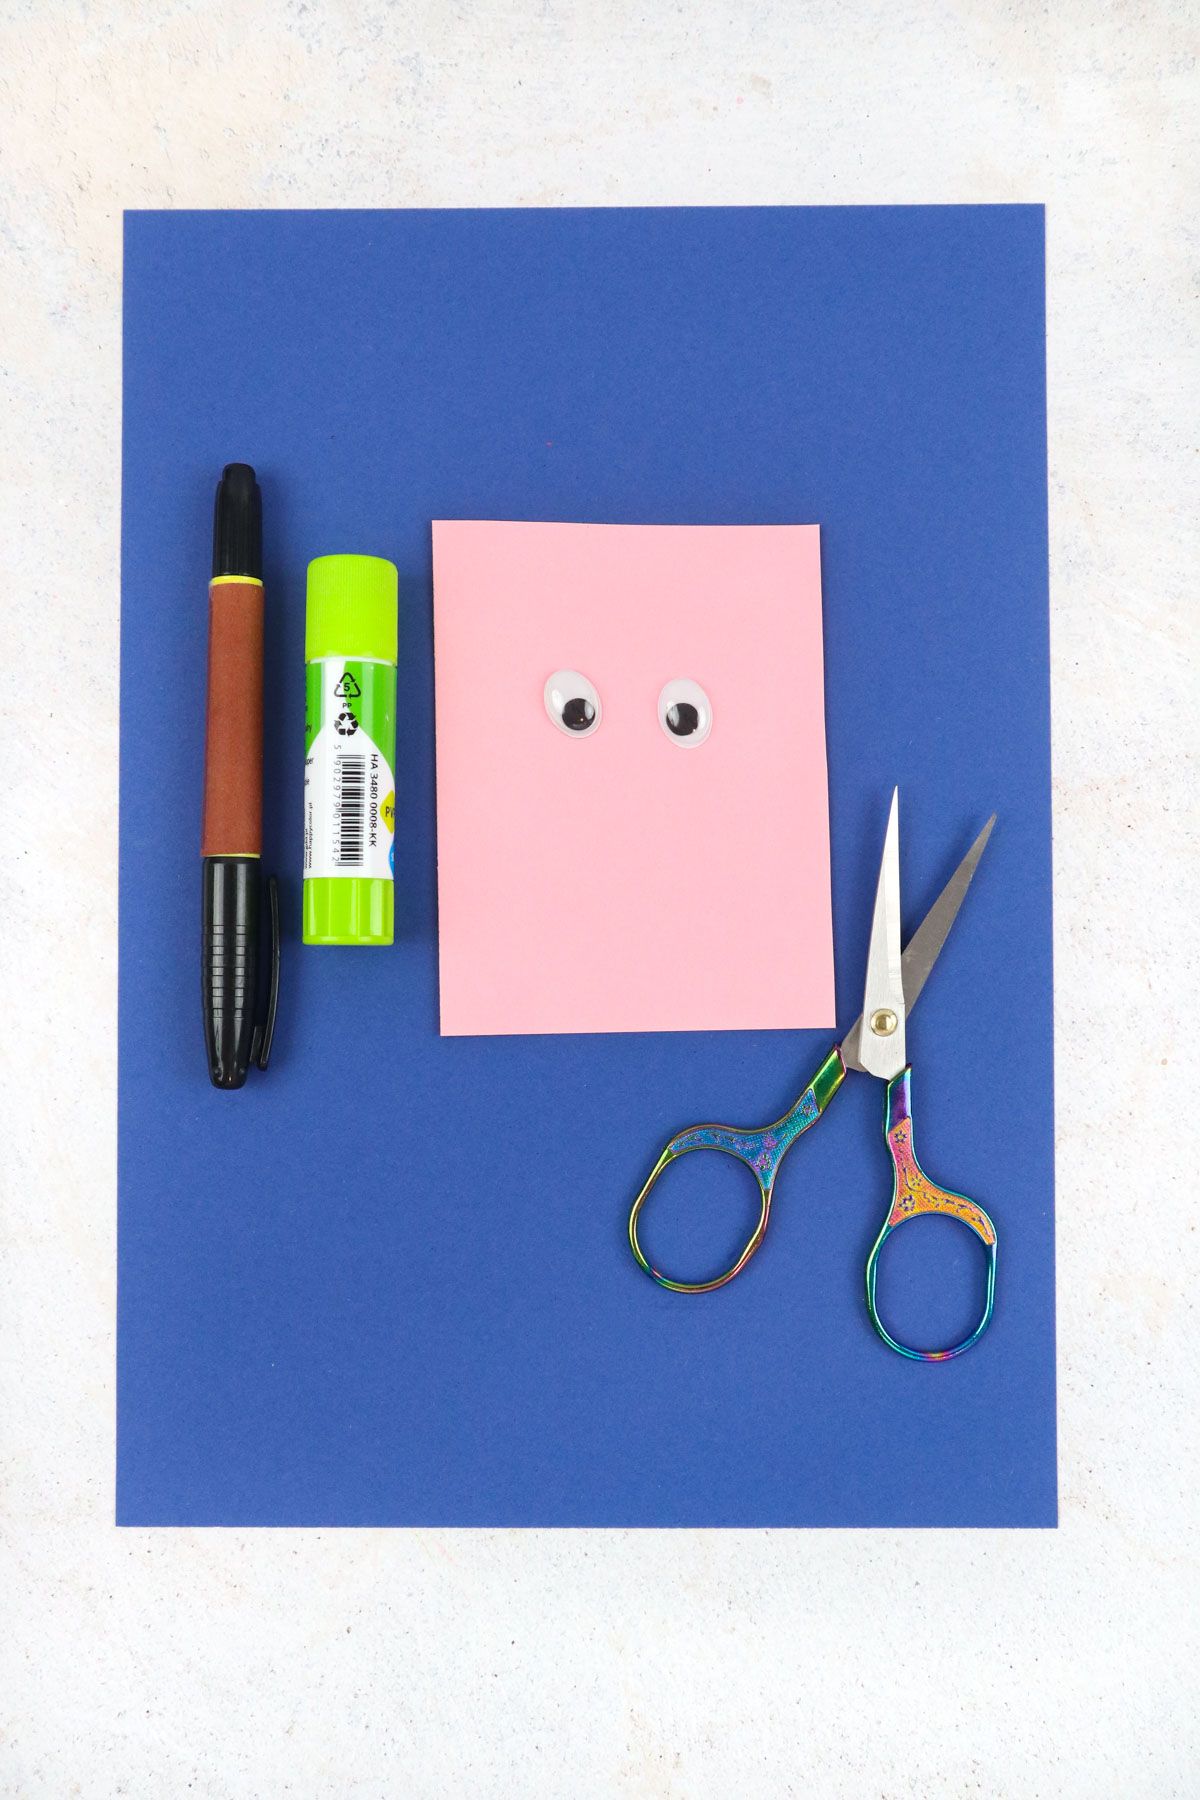
Supplies You’ll Need
How to Make Handprint Bats
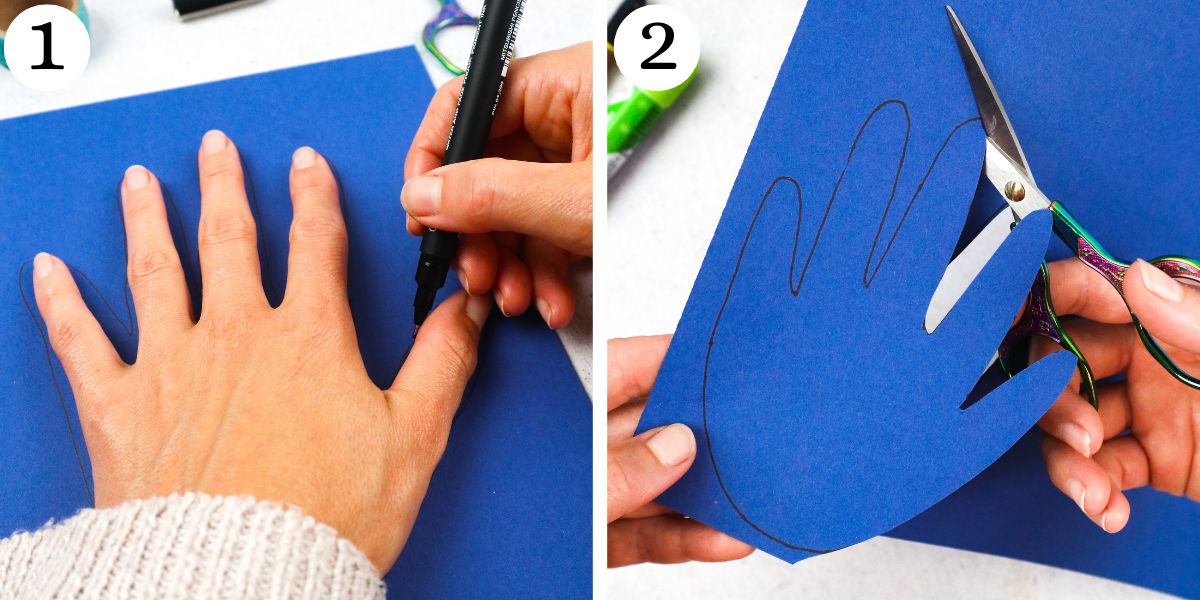
Step 1. Using your marker, trace your child’s hand onto your blue craft paper. Or, if you are not making this with a child, just draw a small hand on the paper.
This hand will be your bat’s wings!
Step 2. Now, it is time to get your scissors. Cut out your hand out.
Step 3. Take the blue handprint that you have cut out. Place it on the blue paper and trace it to make the second identical wing.
Step 4. Now, cut out your second handprint (which will be your second wing).

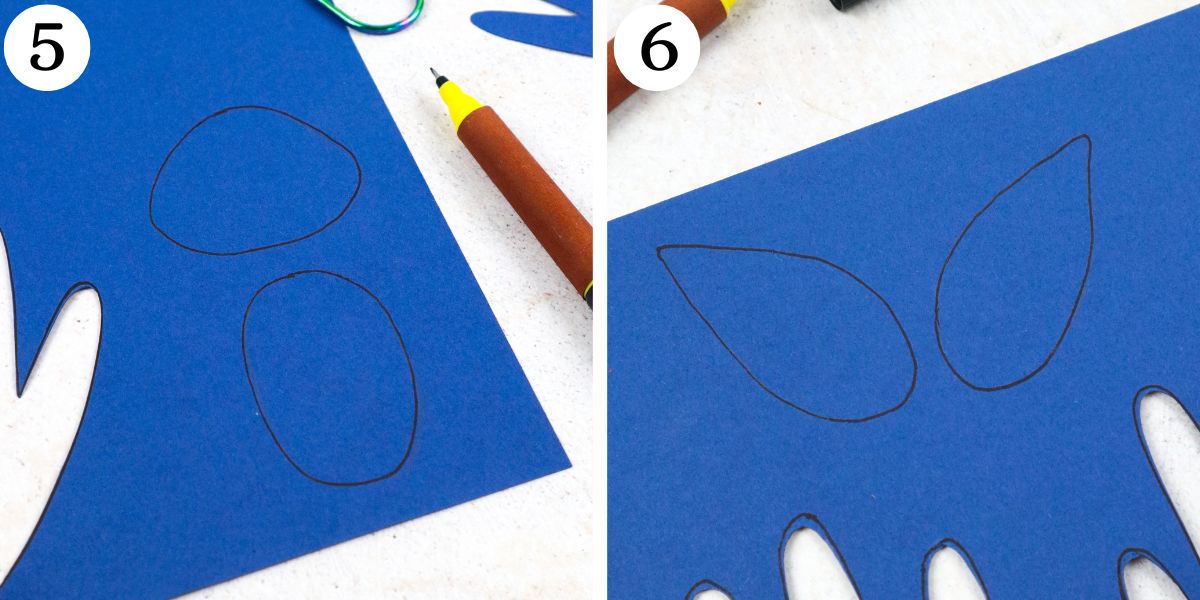
Step 5. Now that your wings are finished, you need to make your bat’s head and its body. Draw them onto the blue paper.
Both the head and body should be round shapes. You can make the head an oval or circle, or something a bit funky like I did.
When you are satisfied with how your bat’s head and body look, cut them out.
Step 6. Now, it is time to create your bat’s ears. Using your marker, draw some pointy bat ears onto your blue paper and cut them out.
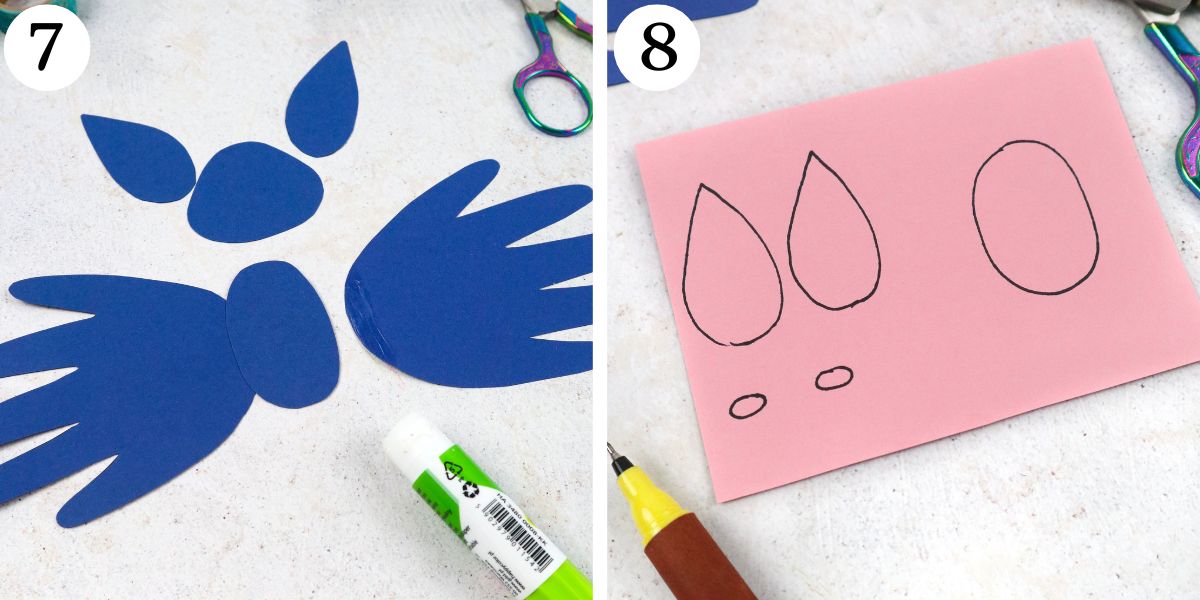
Step 7. Glue the wings to the back of your bat’s body.
Step 8. Now, grab your pink paper. Draw the inner part of the ears here.
These should be a bit smaller than your bat’s blue ears. Also draw two pink cheeks and an oval belly that is the same shape, but a bit smaller than the blue belly that you have already made.
Cut these shapes out.
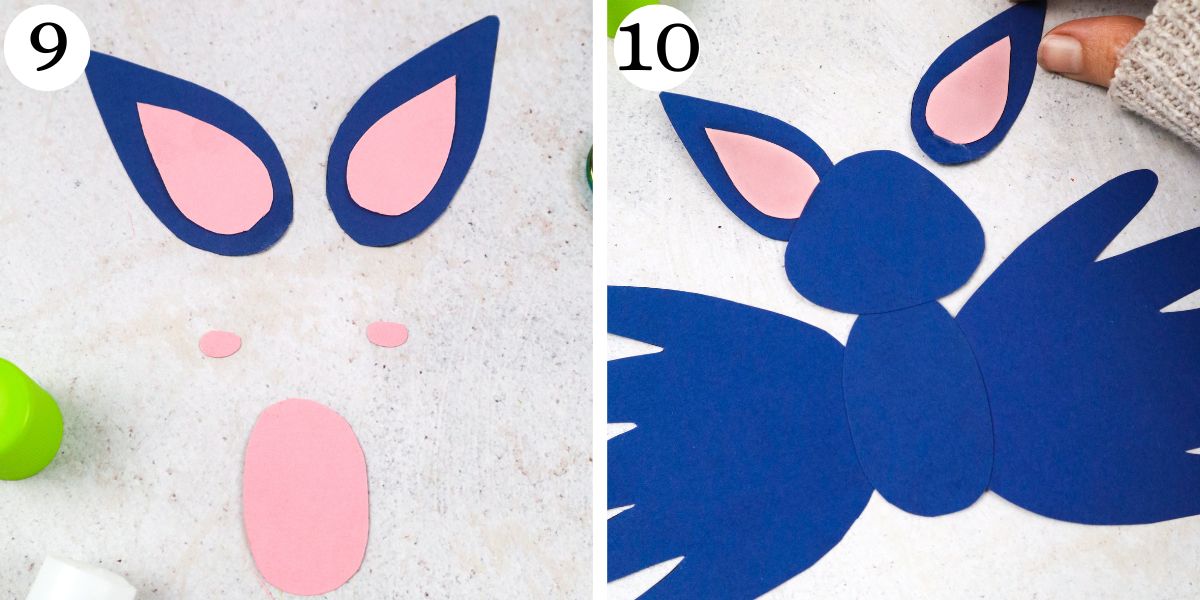
Step 9. Now, glue your pink inner ears to the bigger blue ones.
Step 10. Next, glue the finished ears at the back of your bat’s head and glue the head onto the bat’s body.
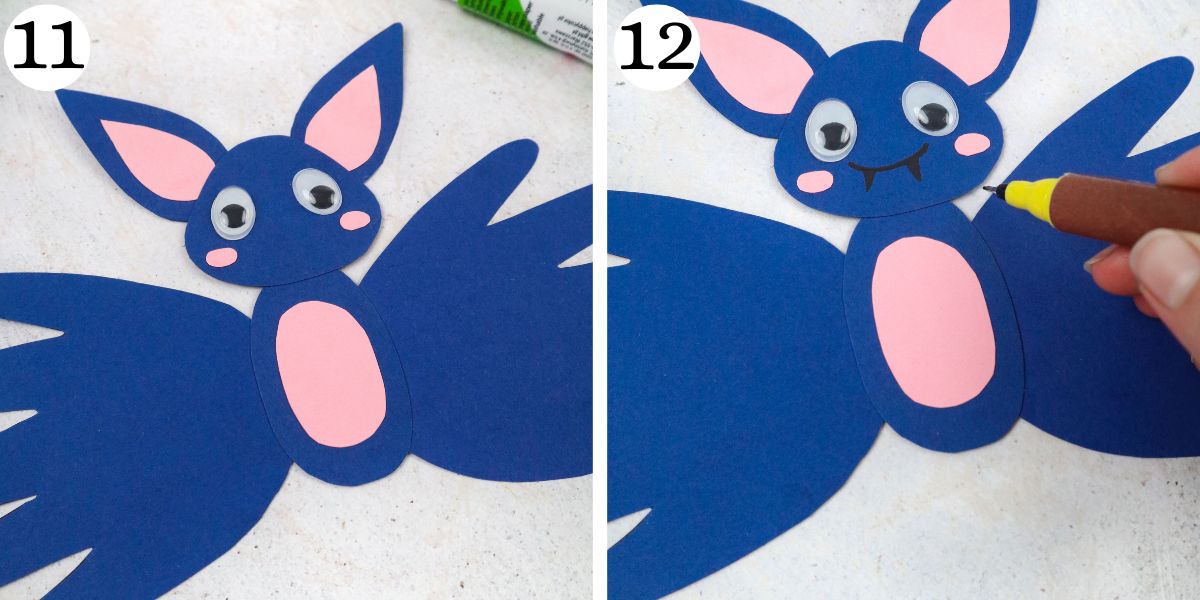
Step 11. Glue the pink belly onto the center of your bat’s body. Also glue on your googly eyes and cheeks.
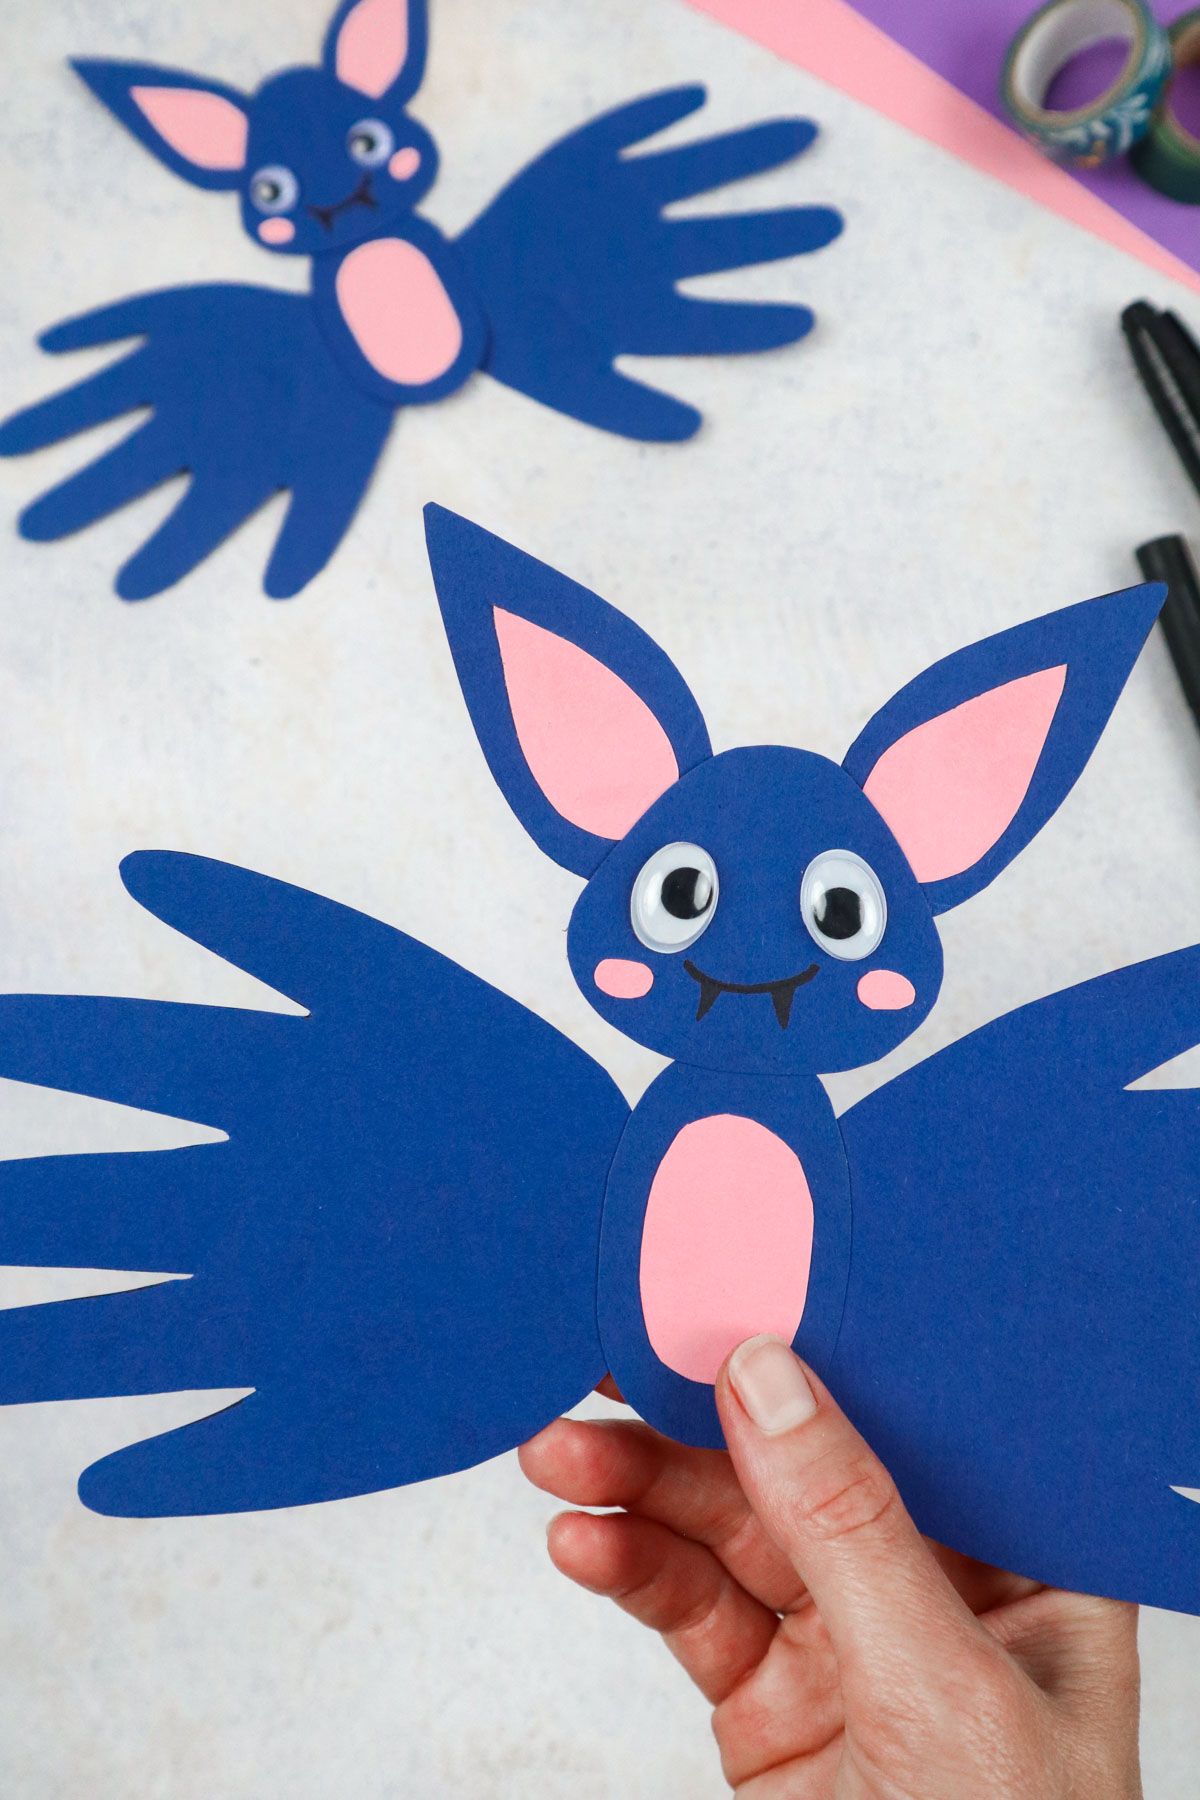
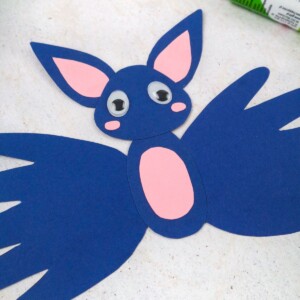
Step 12. Finally, draw a sweet smile for your bat and add teeth. Your bat is complete!
Watch How to Make
How Long Do These Handprint Bats Take to Make?
The best thing about this project is how quickly it comes together! Your handprint bat will be complete in just 20-25 minutes, which makes it a great project for little ones with small attention spans!
Drawing your bat should take about 5-6 minutes. Cutting will take about 10 minutes while gluing should take only 3-4 minutes.
What a fun and fast craft!
More Crafts Like This
Handprint Bats
Equipment
- Scissors
Instructions
- Trace your child’s hand onto your bluecraft paper or just draw a small hand for the wings.
- Cut your hand out.
- Place your cut-out hand on the blue paper and trace it to make the second identical wing.
- Cut out the second handprint.
- Draw your bat’s head and body onto the blue paper. Cut them out.
- Using your marker, draw some pointy bat ears onto your blue paper and cut them out.
- Glue the wings to the back of your bat’s body.
- Draw the inner part of the ears on your pink paper.These should be a bit smaller than your bat’s blue ears. Also draw two pink cheeks and an oval belly that is smaller than the blue belly that you have already made.Cut these shapes out.
- Now, glue your pink inner ears to the bigger blue ones.
- Glue your ears to the back of your bat’s head. Glue the head onto the bat’s body.
- Glue the pink belly onto the center of your bat’s body. Also glue on your googly eyes and cheeks.
- Finally, draw your bat’s smile and teeth. Your bat is complete!


