How to Make a Paper Hat
Looking for an easy craft to make with the kiddos? These DIY paper hats are a perfect paper project for the whole family and celebrations!
Video Tutorial
Materials
- Rectangular paper sheets A4, A3 or A2
- Craft pom poms
- Washi tape
- Letter stickers
- Decorative glue
Instructions
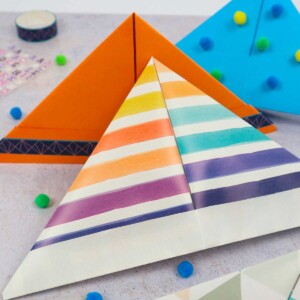
- Gather all your supplies to get started on your DIY paper hats.
- You can choose colored or patterned paper, or just stick to a simple double-sided sheet.
- If you are working with a piece of paper with just one colored or patterned side, then the procedure is still the same. Just remember to keep the colored side of the sheet facing up and out, with the plain side facing inward.
- Lay your paper flat on the work surface. Bring the lengthier side up and fold it in half. Unfold the paper, turn it around and fold it in half again.
- Grab the left corner and bring it down towards the center fold. Line the edges up and crease the paper.
- Repeat this with the right side, as well, by bringing it down and folding it once you have aligned the edges along the centerfold.
- You will find two sheets of paper at the bottom; grab the bottom part and bring it up, folding it as you go.
- Turn the paper around and fold the second sheet the same way.
- This is completely optional, but you can tuck the corners into the folds, if you want to hide the jutting ends. Secure these corners with bits of tap.
- Your paper hat is ready! Just decorate it, personalize it, or customize it however you like and you’re all done!
Tried this craft?Leave a comment below with your rating! I love the feedback and respond to every comment!