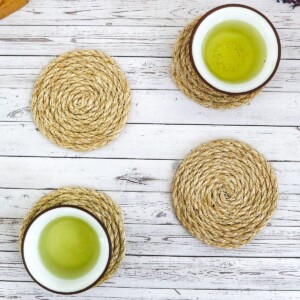
DIY Rope Coasters
These DIY coasters are one the easiest ways to craft a beachy, natural accessory for your home. Perfect for keeping surfaces clean and dry!
Video Tutorial
Equipment
- Pen
- Scissors
Materials
- Thick manilla rope
- Piece of paper/fabric
- Wooden disc or CD
Instructions
- Gather all your materials.
- Start by creating a base (if you’re using one). Otherwise, skip to the winding of the rope. Simply draw a circle on the fabric, using the wooden disk as a template.
- Cut the fabric out using the scissors and mark the exact middle with your pen.
- Cut the start of your rope at an angle, forming a tip on the end of the rope. This makes it easier to glue down.
- Loop the tip of the rope back onto itself, forming a loop. Glue this loop down and give it a minute to dry.
- Now, place the loop on your base (if you’re using one), using the dot as your center guide.
- Start winding the rope around itself. Keep the rope tight, gluing it down as you go. Make sure you don’t use too much glue!
- Once you reach the end, cut the tip of the rope into a pointed shape once again.
- Glue the end down, and you’re done. One beautiful, professional-looking, beachy coaster.
Tried this craft?Leave a comment below with your rating! I love the feedback and respond to every comment!