
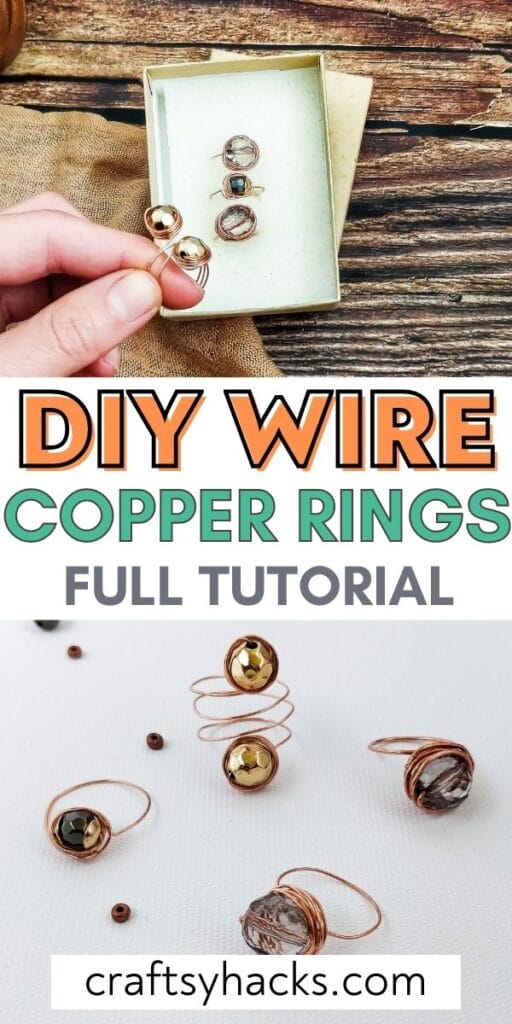

Easy to make DIY copper wire rings that are a great craft for adults! It’s a beautiful jewelry item you can make on a low budget!

There’s something about owning a beautiful piece of jewelry you’ve made yourself. Whenever you look at it gleaming on your finger or around your neck, you feel a huge sense of accomplishment!
Not to mention, you can stop hunting in jewelry stores all over town for that perfect piece of jewelry you have in your mind. Instead, you can just make the custom piece with your own two hands.
Thanks to the short supplies list and easy instructions, these DIY rings are so easy to customize. Make them for you, your partner, your parents… Whoever needs a little extra bling in their life!
Change the shape, the stone, and even the wire’s color to make something truly unique. It’s all up to you.
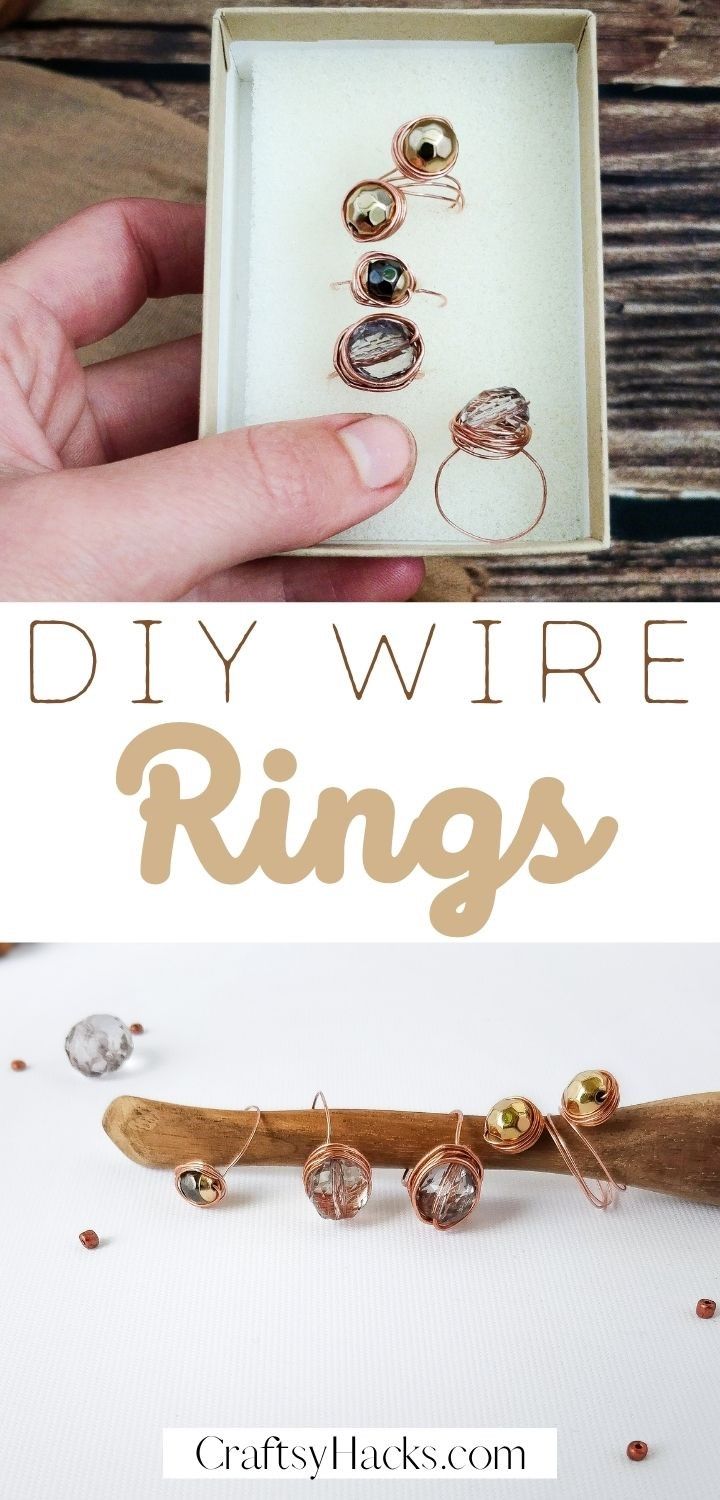
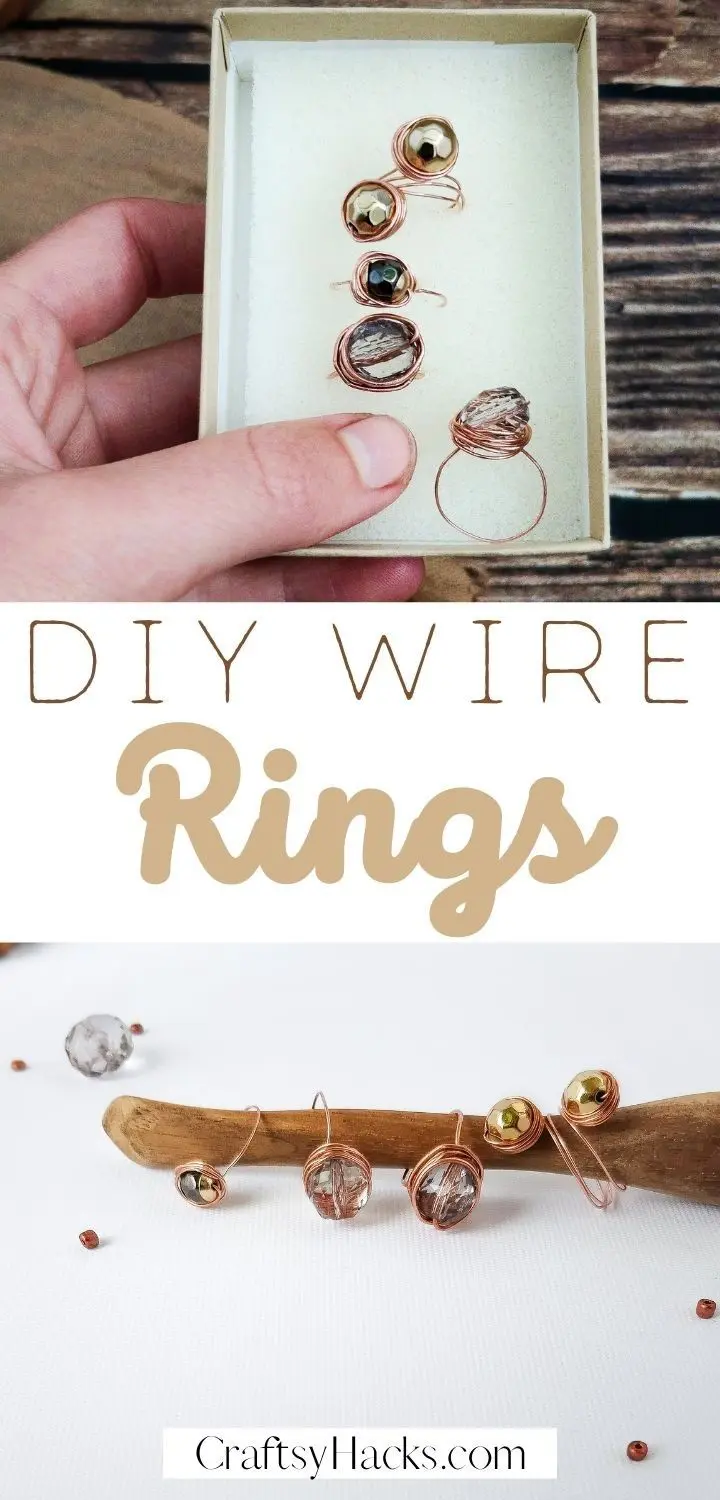
In this DIY project, I’ll show you how I crafted some gorgeous DIY wire rings. So, grab your pliers, and let’s get going!

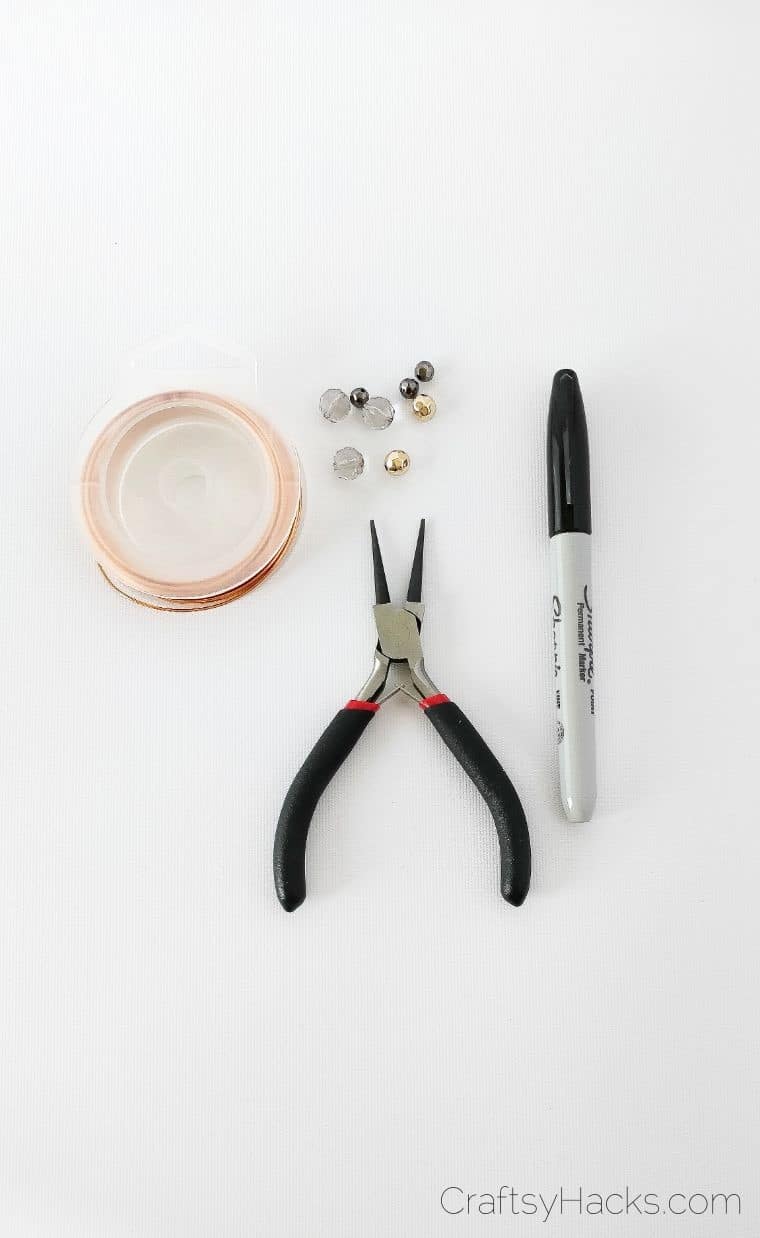
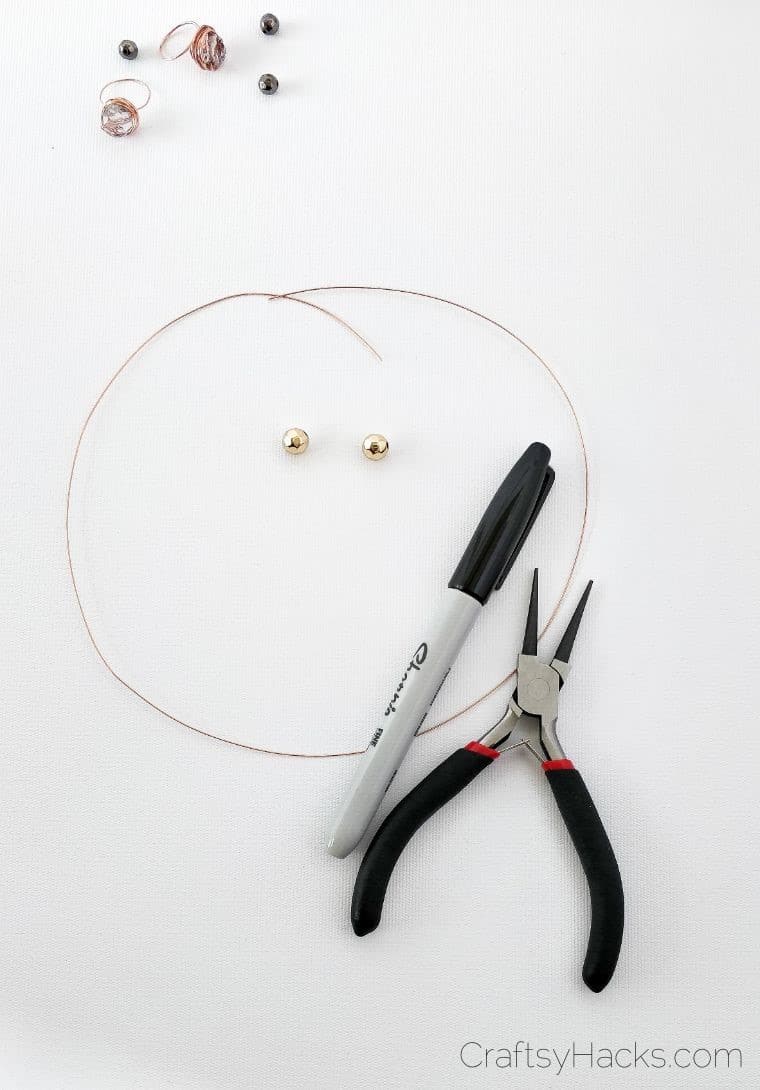
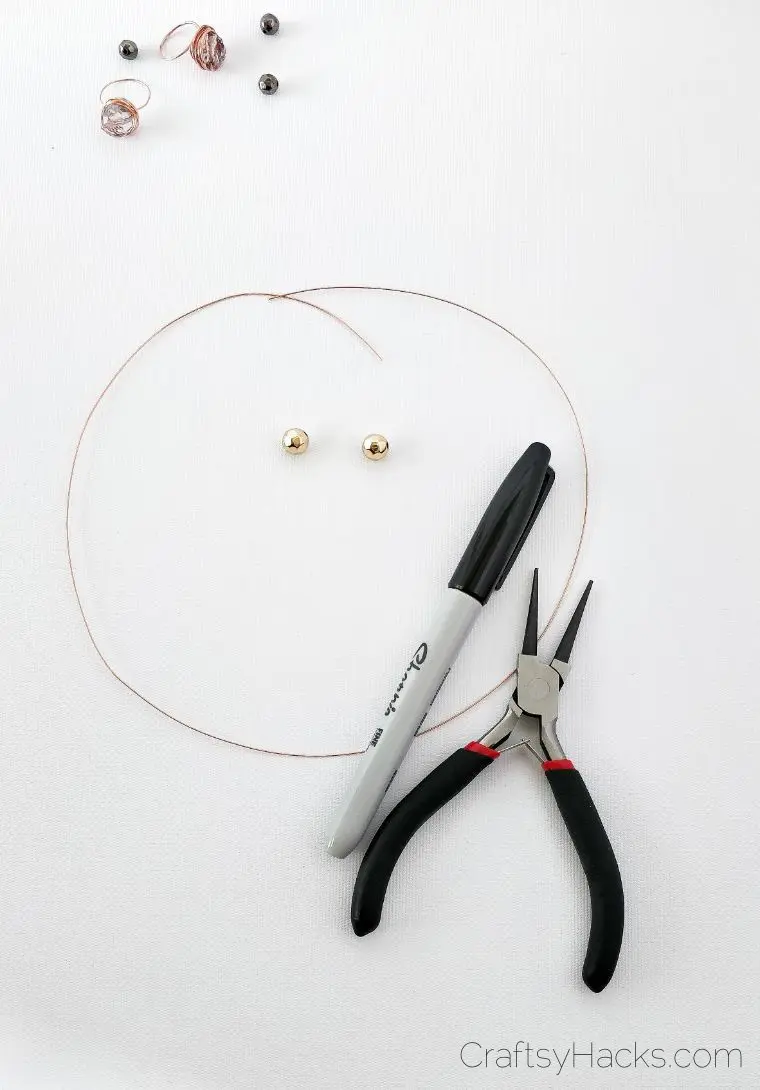
What You’ll Need
- A marker (I used a standard black Sharpie)
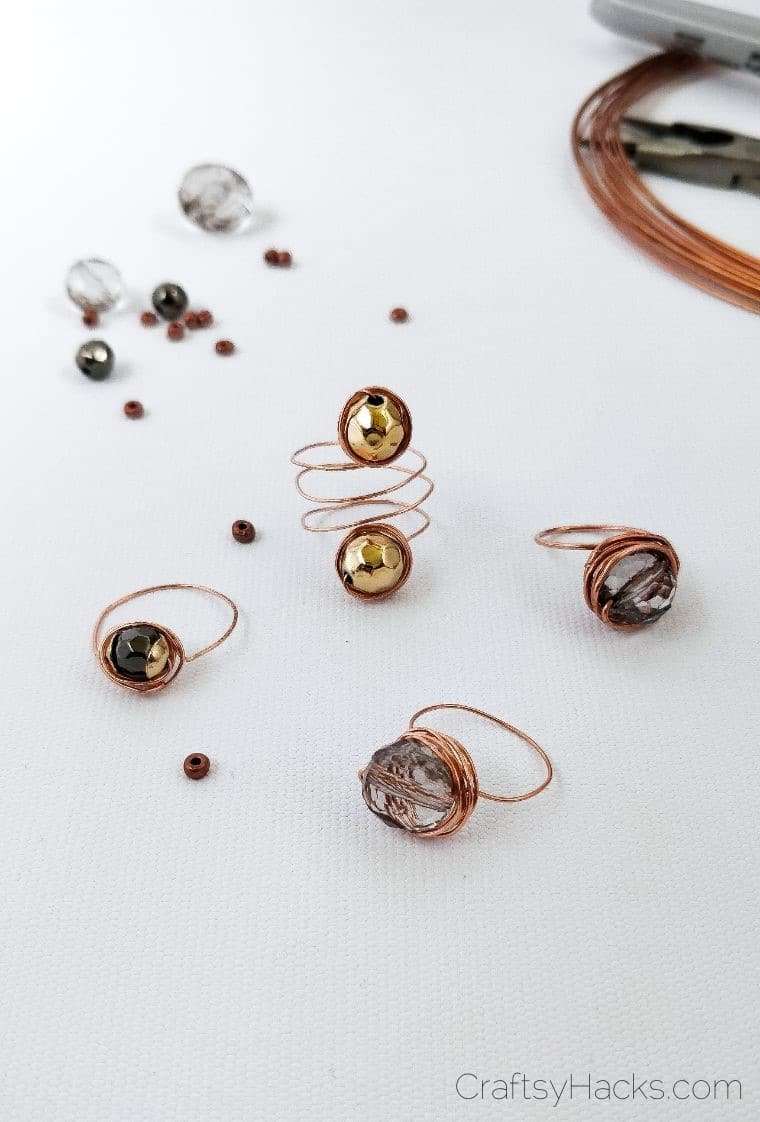
- Your favorite beads
- 6mm copper wire (22 gauge)
- Long-nose pliers

How to Make Copper Wire Rings
Alright, let’s make some rings!
Step One
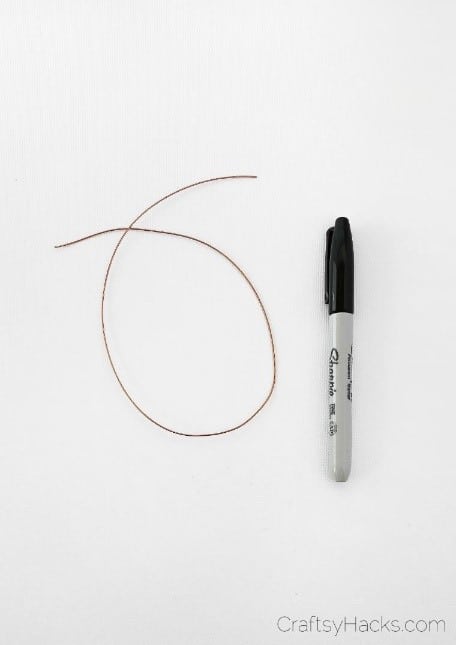
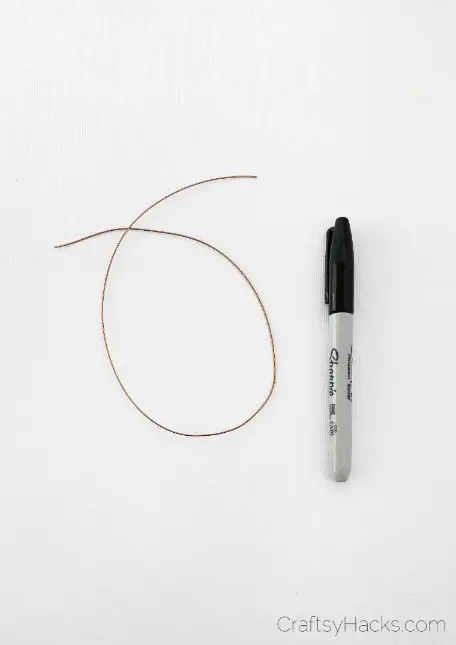
Once you’ve gathered all your materials, the very first thing you want to do is cut a length of copper wire. The right length will depend on the size of your finger – the length I cut was about six inches.
Remember, you’re going to twist this wire around a lot. So, it’s going to be a lot longer than you may have expected!
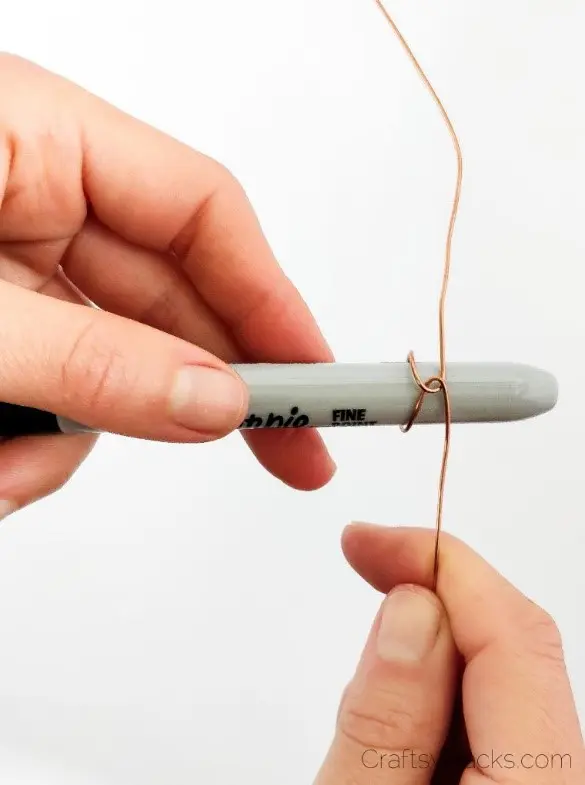
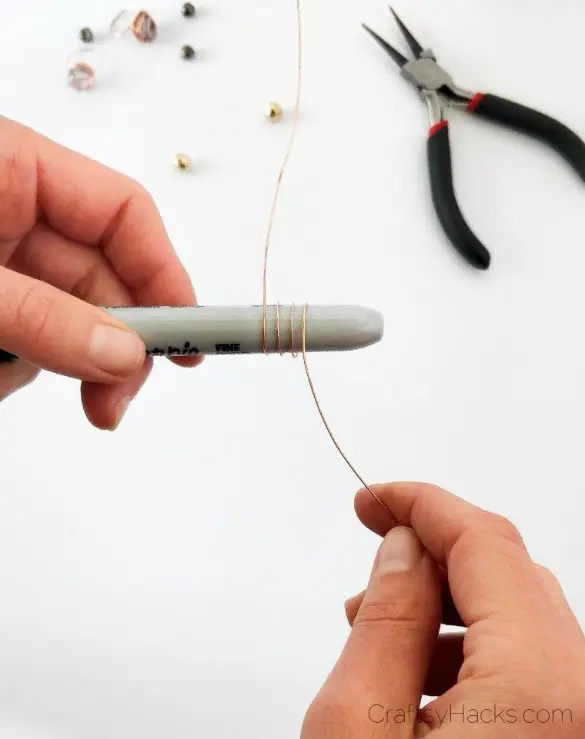
Step Two
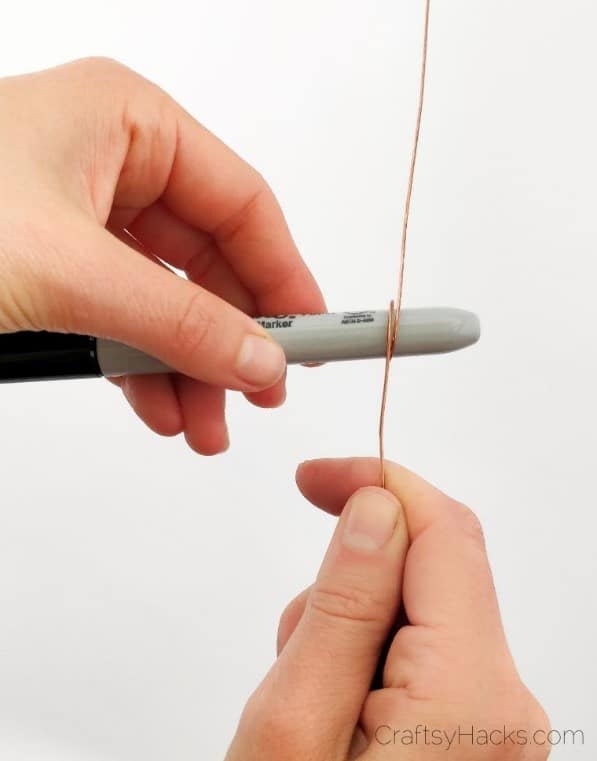
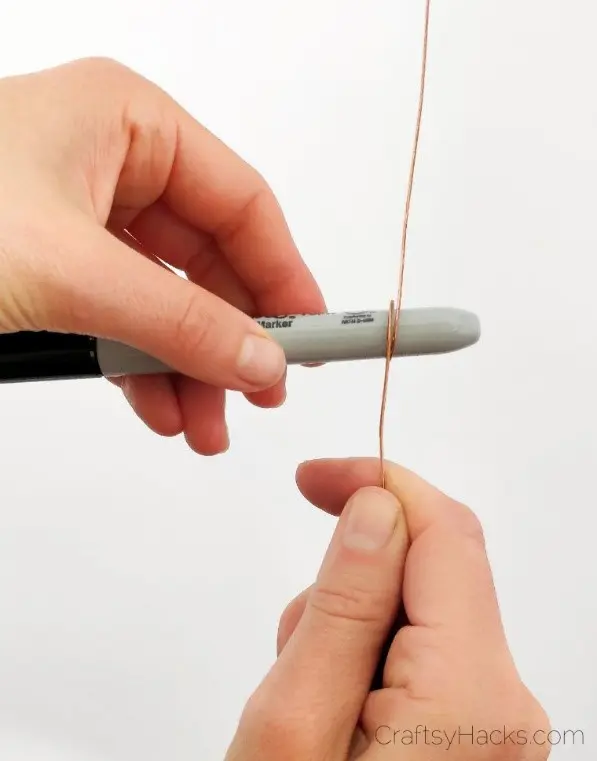
First, make the finger loop by placing your marker in the middle of your wire length. Make sure your marker is the same size as your finger! Otherwise, you might end up with a ring that’s the wrong size.
With the wire below the marker, wind both ends up and over until they’re pointing in the opposite directions. This is the first part of the loop.
Step Three
Now, twist the loop tails around each other in an anti-clockwise motion (almost like you’re turning a wheel). This makes them hug each other, and your tails will once again be facing the opposite way.

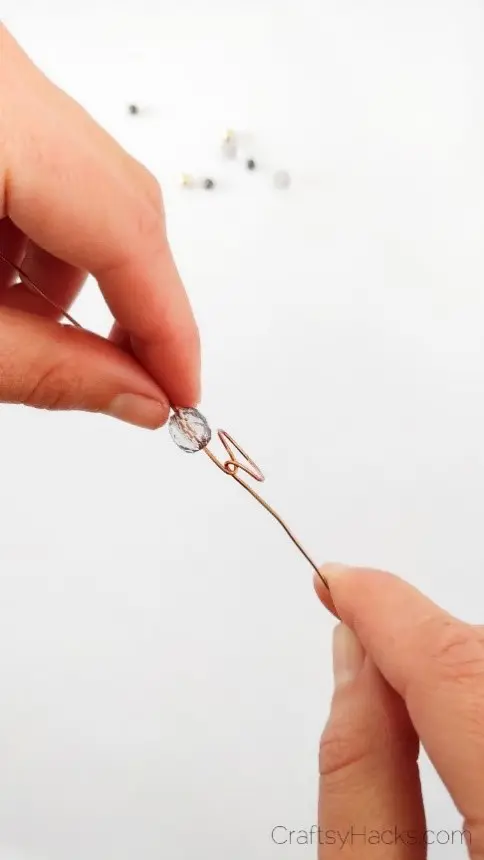
Step Four
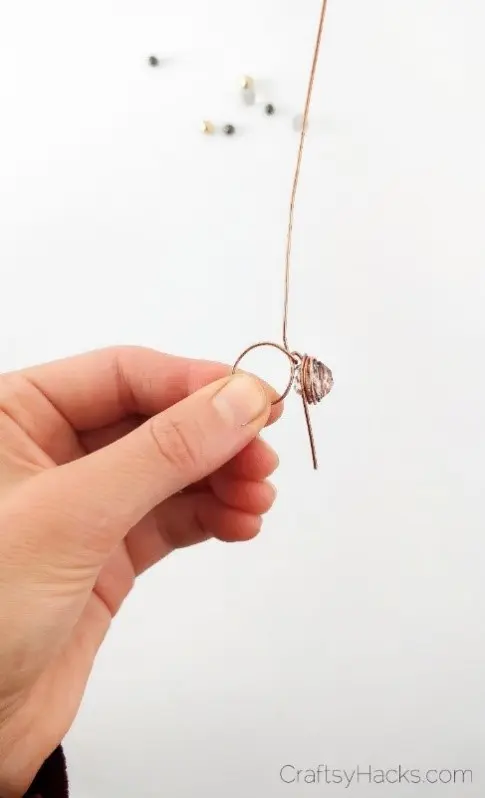
At this point, you can slide the loop off your marker. Now, it’s time for the bead! With the twisty part of the loop facing you, slide the bead onto one side. Move it until it reaches the loop’s base.

Step Five
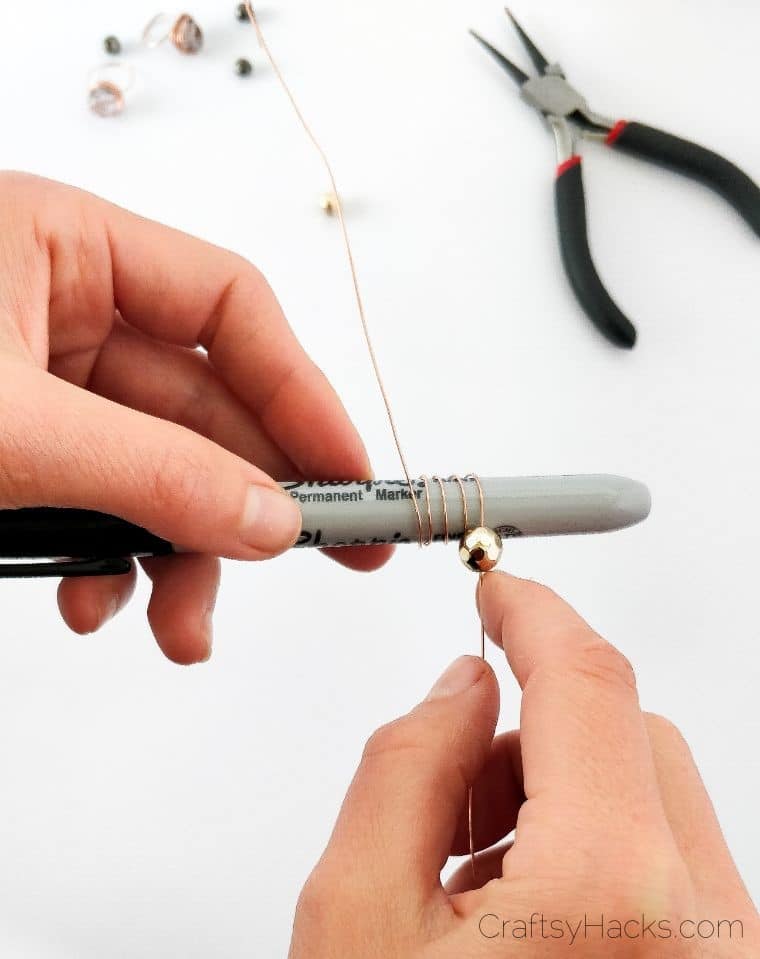
Now, this is where it can get a little bit tricky, so stay with me. You can do it! With the bead sitting at the base of the loop, take the left piece of wire and start winding it around the bead.
You’ll want to start at the top of the bead (the side facing you) and make your way down. Make sure your circles are tight!
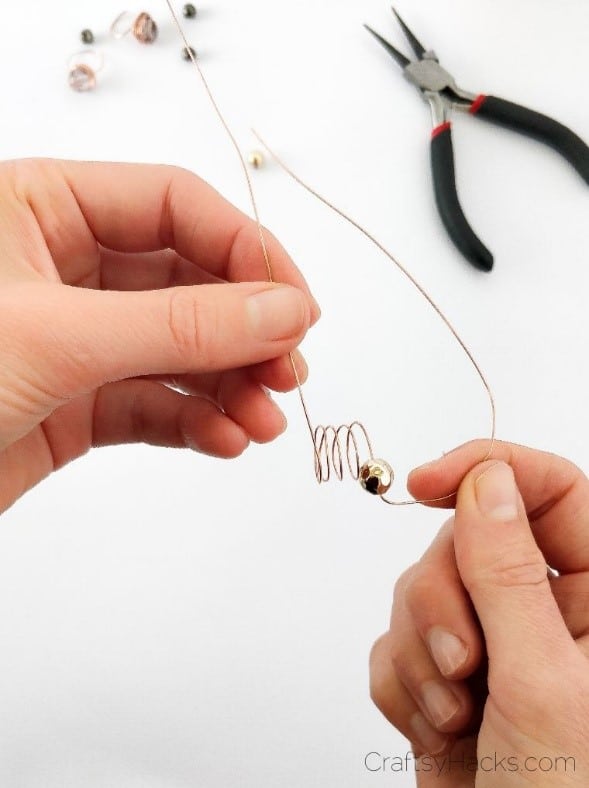
Step Six
Continue wrapping the wire in tight, concentric circles. Once you’re almost out of it, leave the end part sticking out to the side. This makes it easier to get at the piece with your pliers.

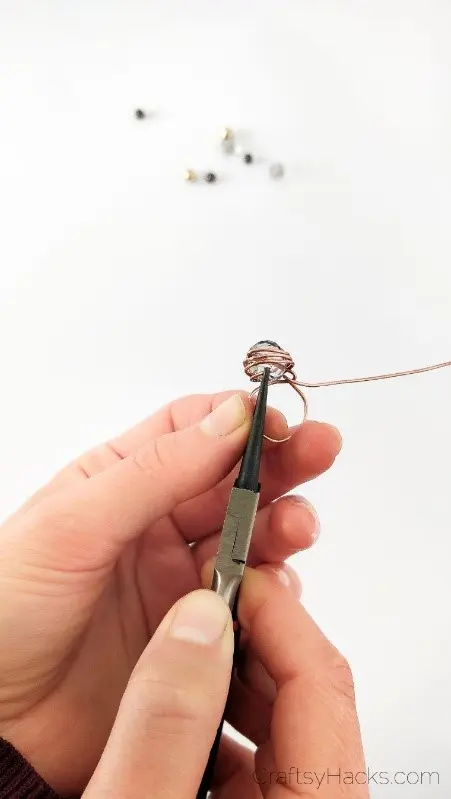
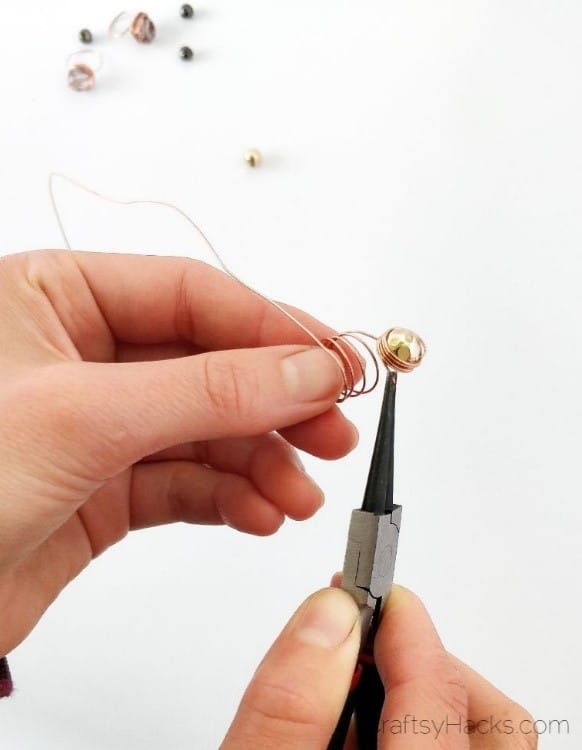
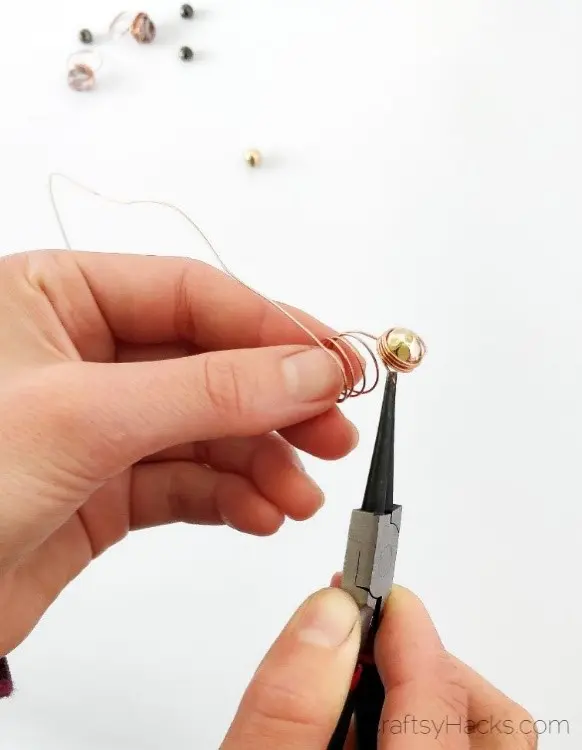
Step Seven
Use your pliers to take the final piece of wire and wrap it around the bead. By doing this, you’re making your final result look clean and professional (and saving the wearer from some major finger pokes).
This is the reason this craft uses long-nose pliers. They’re perfect for grabbing small objects and twisting them in close.

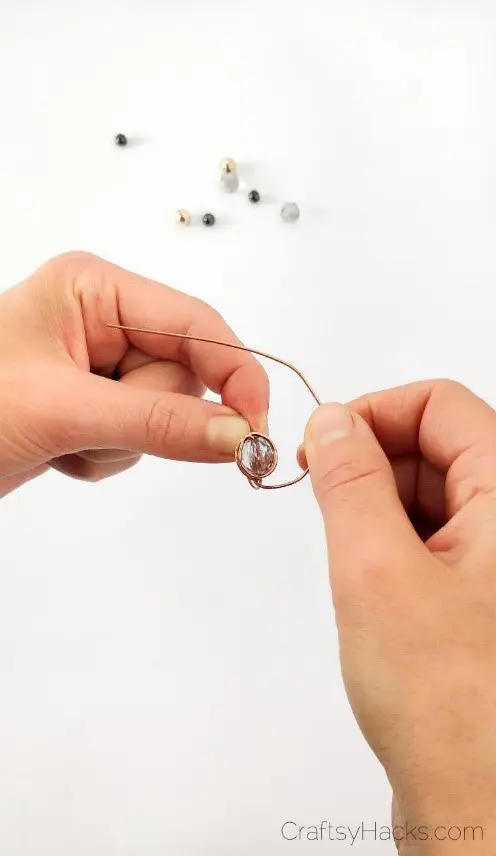
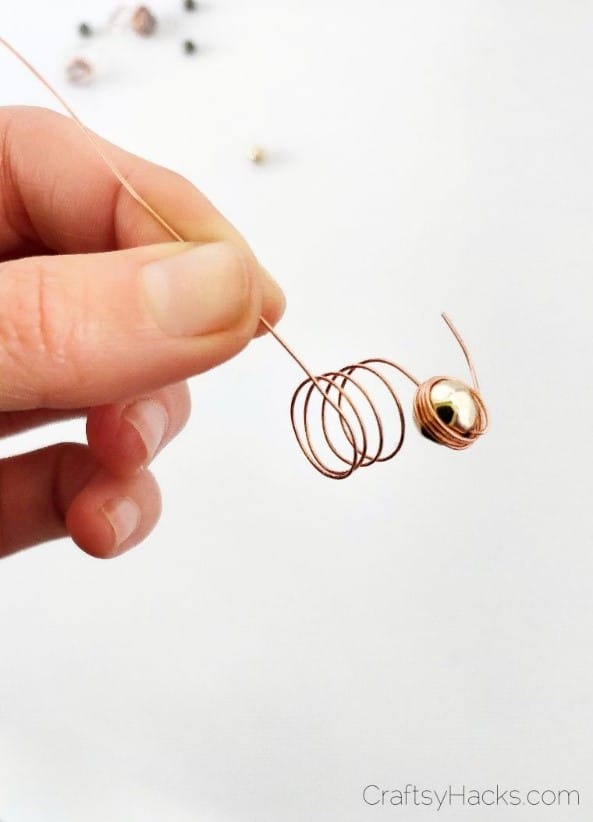
Step Eight
Now, just repeat it with the other side of the wire, making sure to wrap nice and tight.
If space runs out at the bottom of your bead, simply start winding back up again! This builds up the shape of your ring, making it sturdier and giving it a new look.

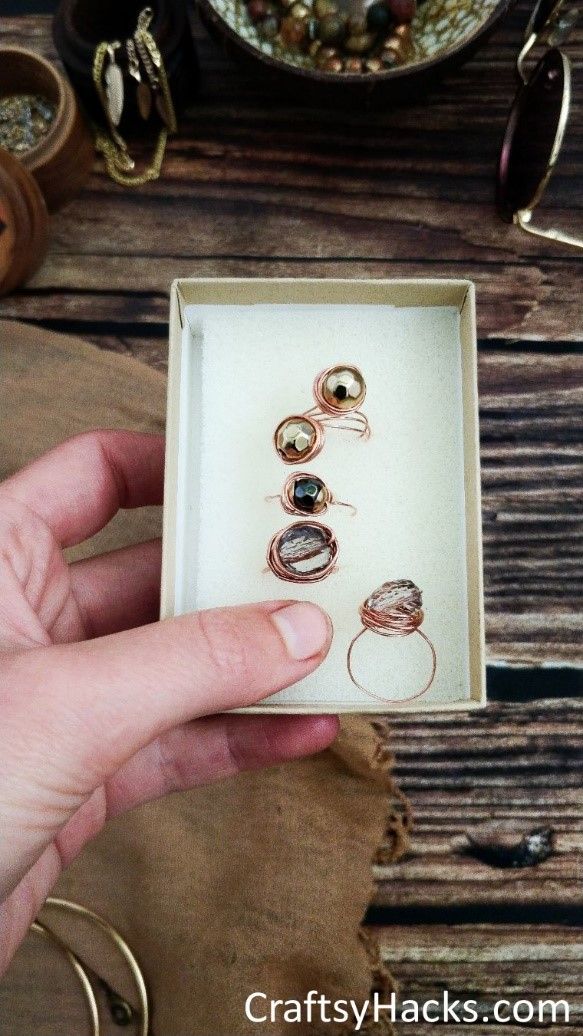
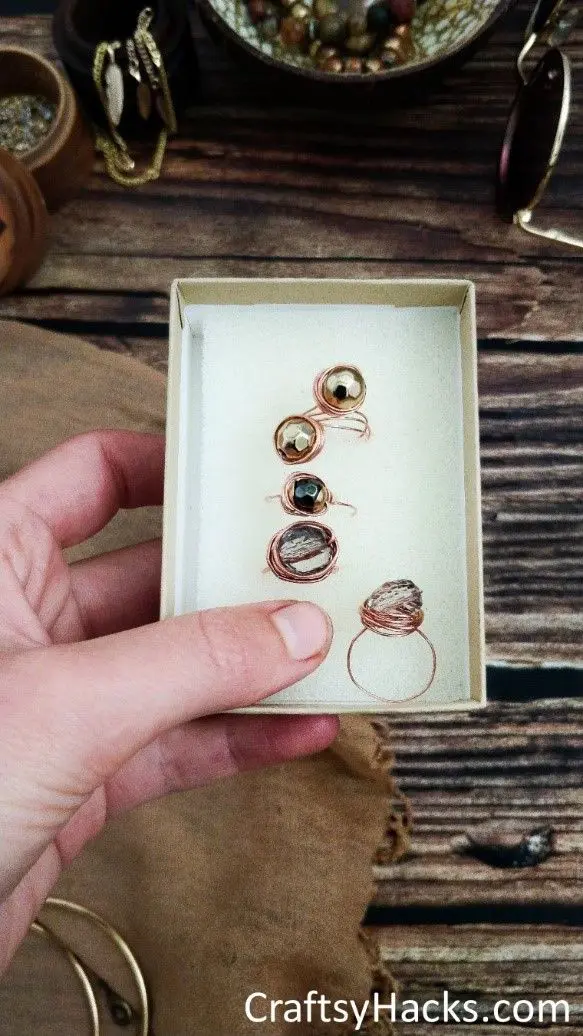
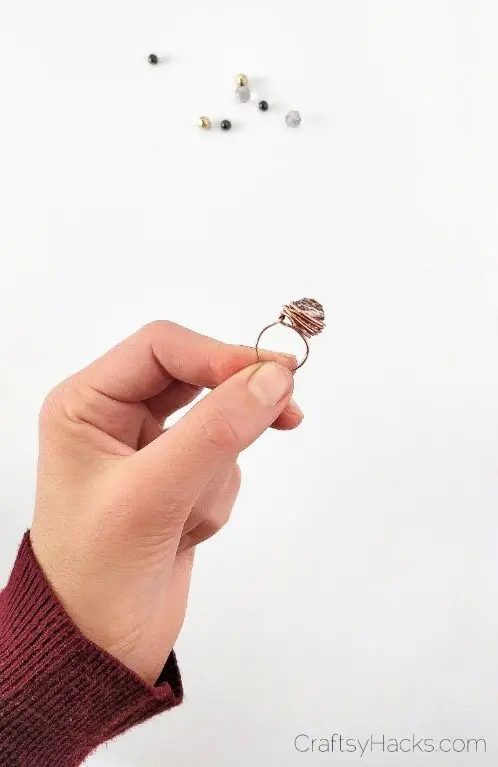
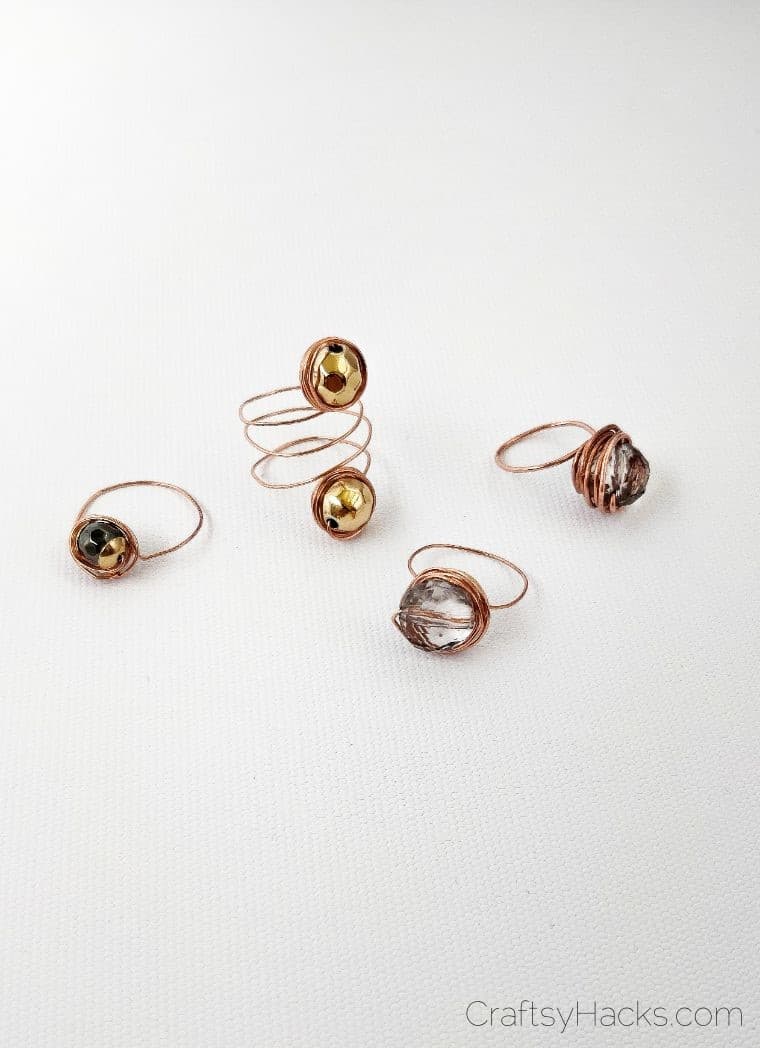
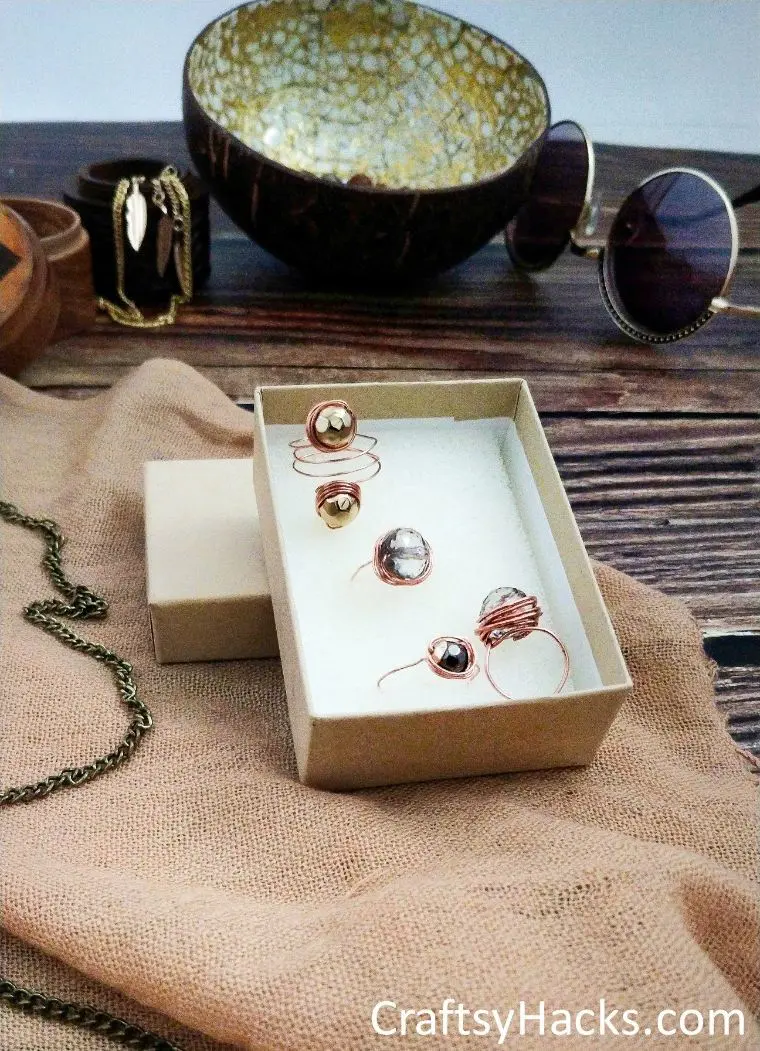
Step Nine
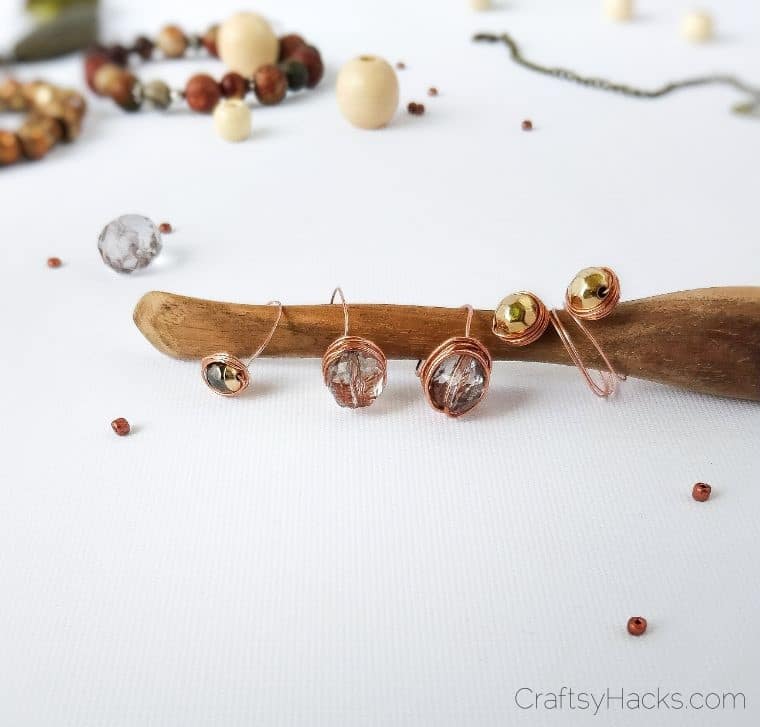
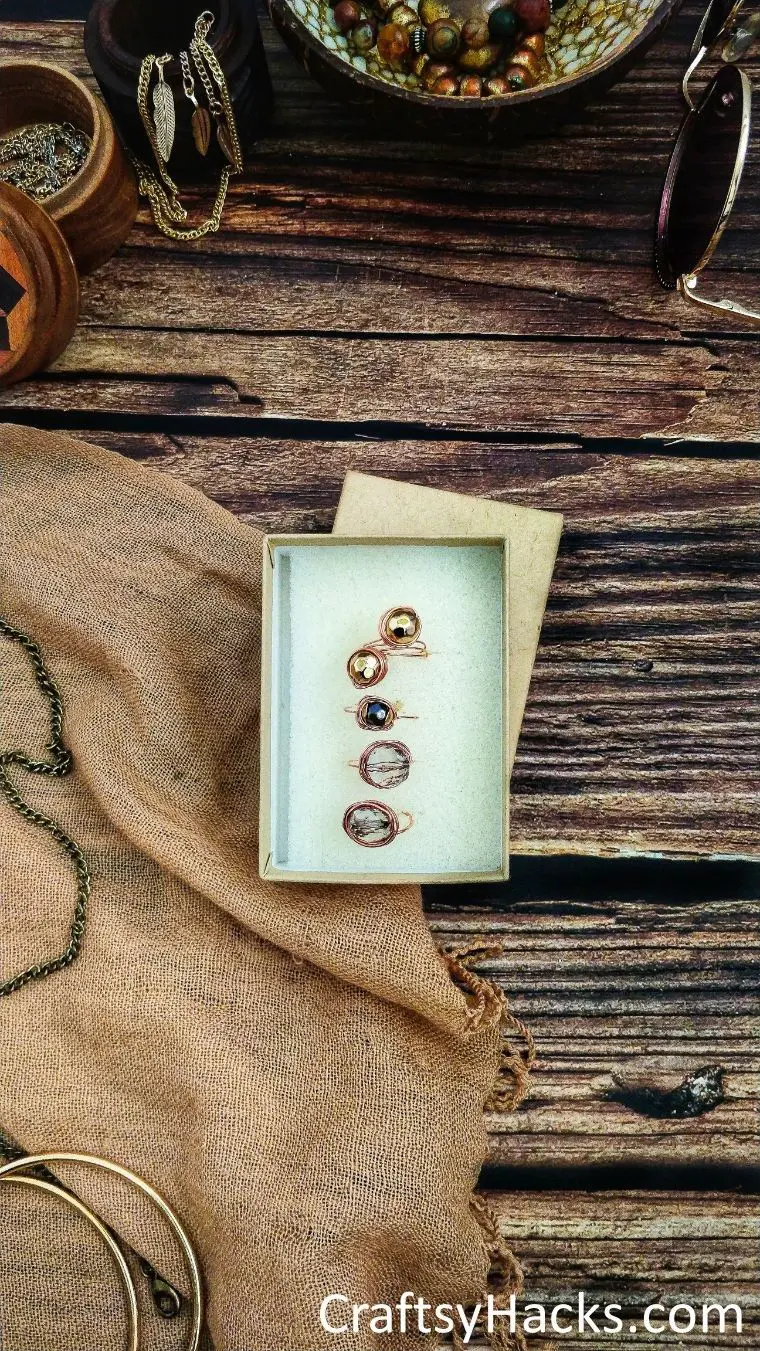
Congratulations, you have a completed wire ring! Wear this beauty every day as a dainty accessory or save it for special occasions.
And the best part is, this gorgeous little craft didn’t even take an afternoon!


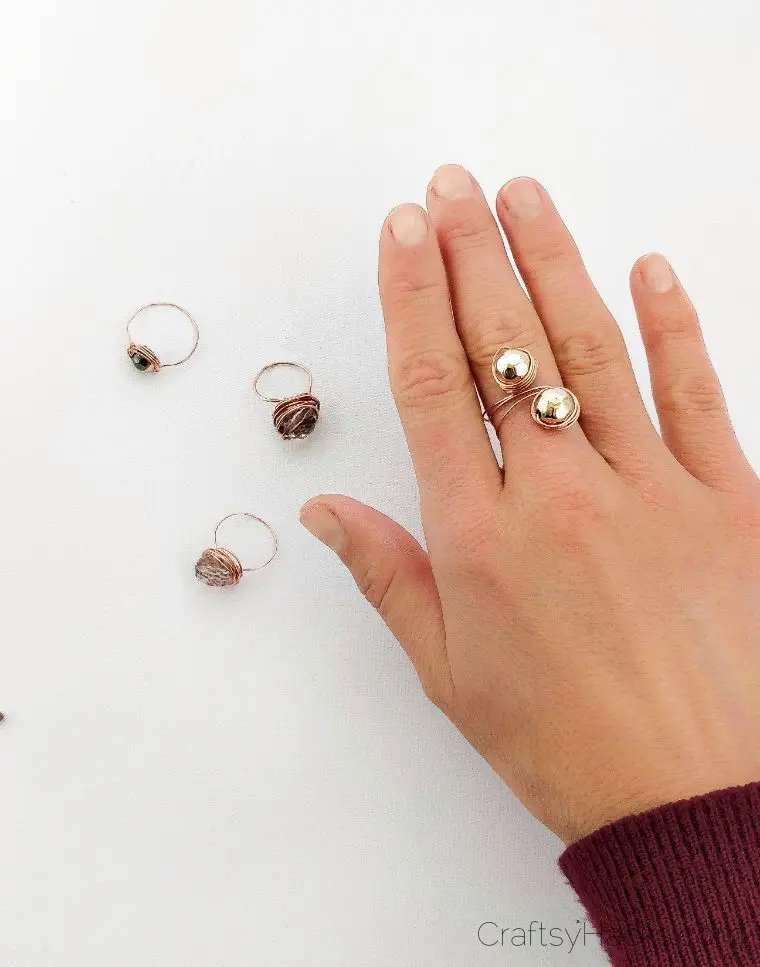
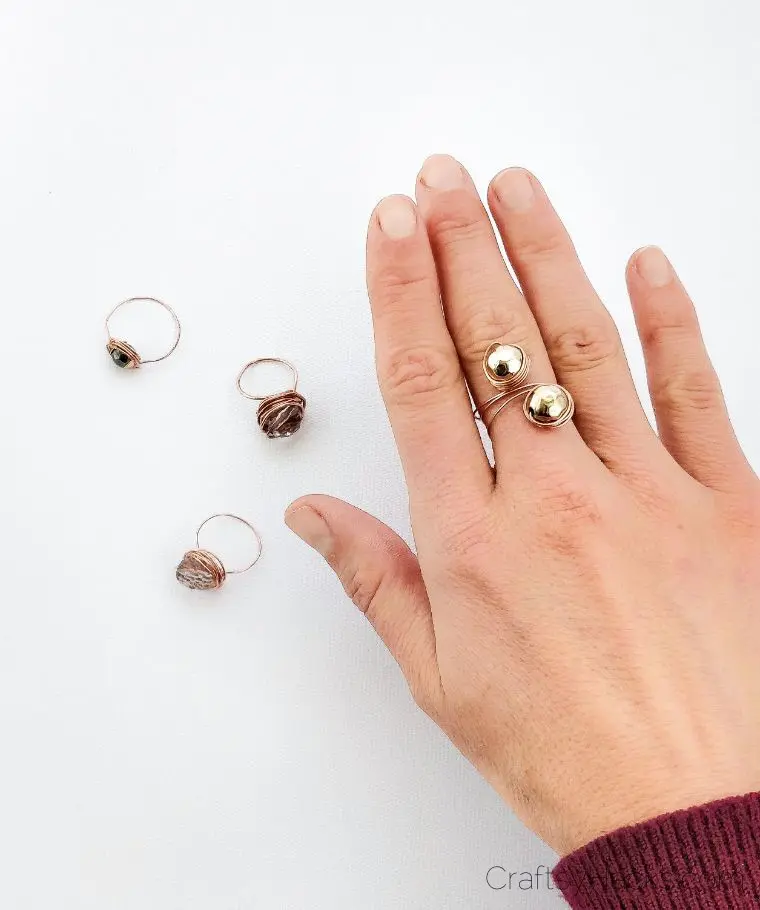
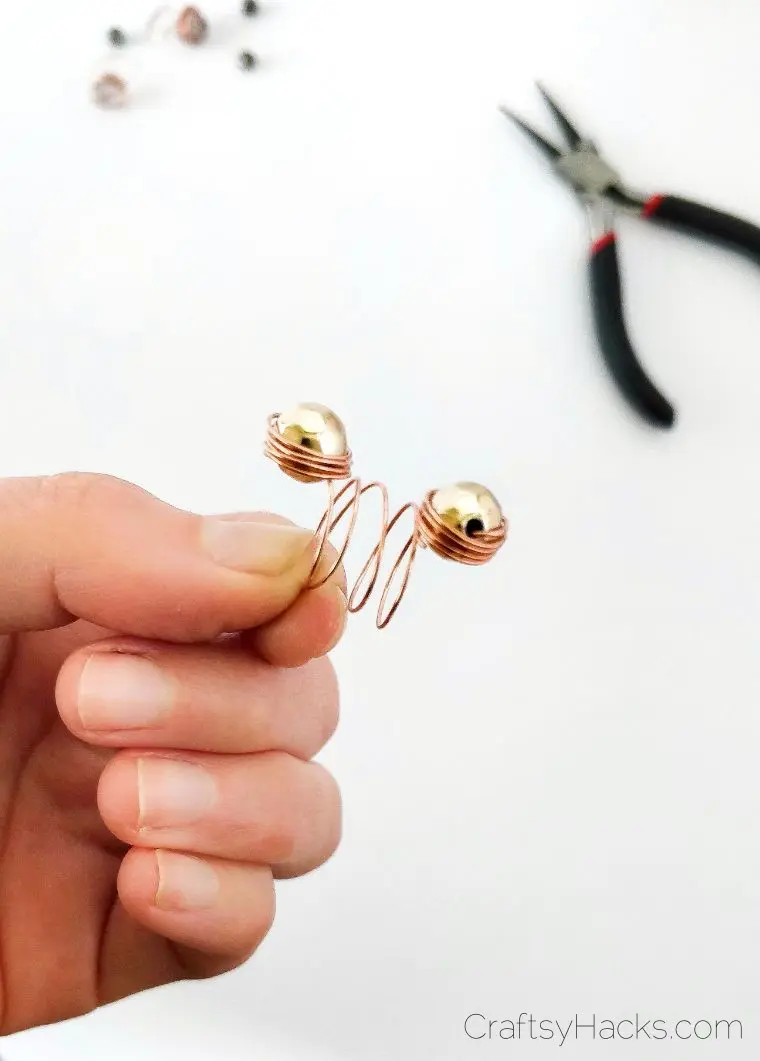
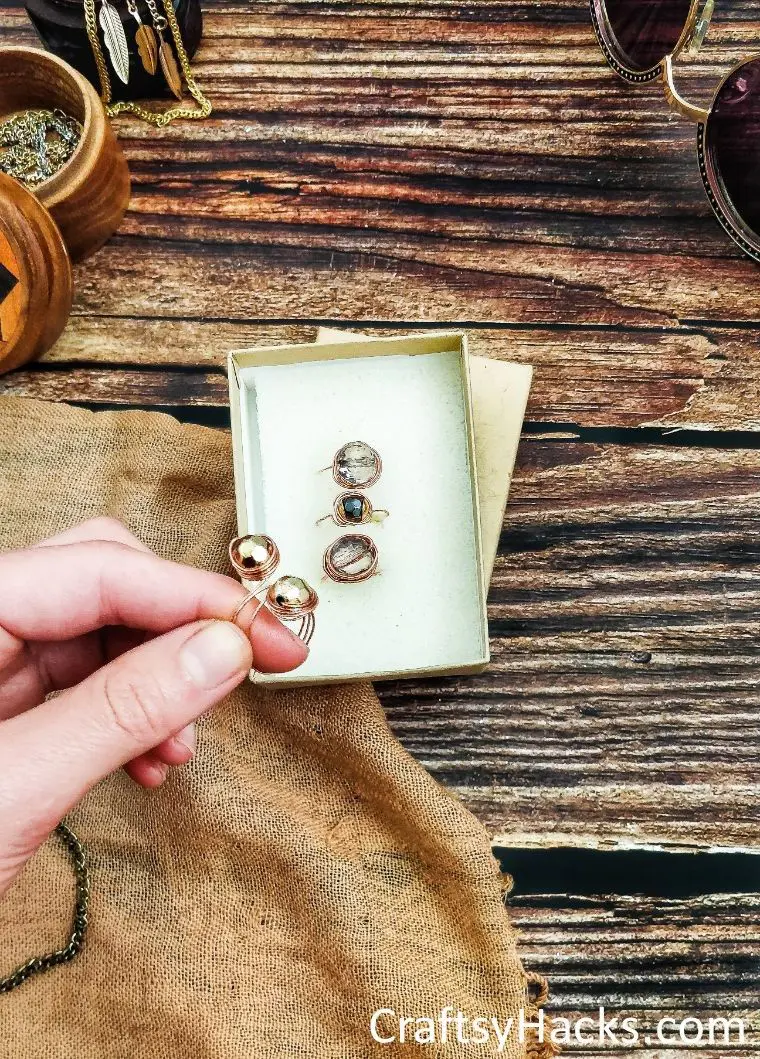
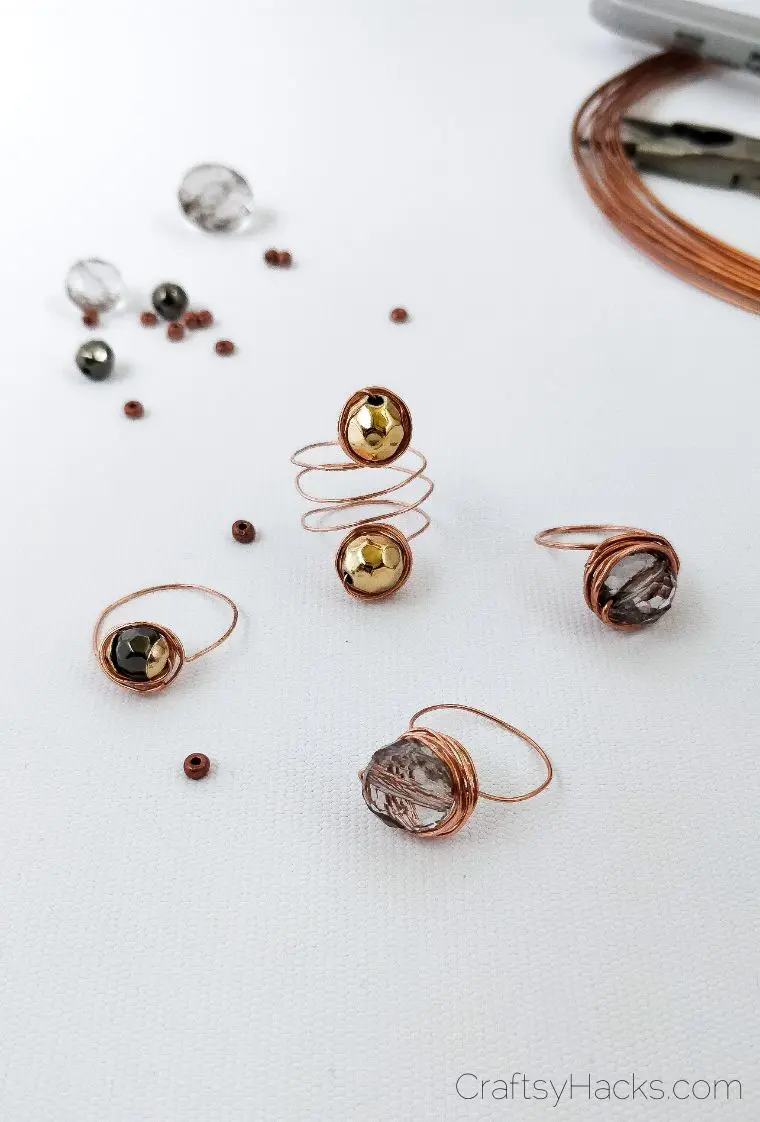
How to Make a Dual-Ended Wire Ring
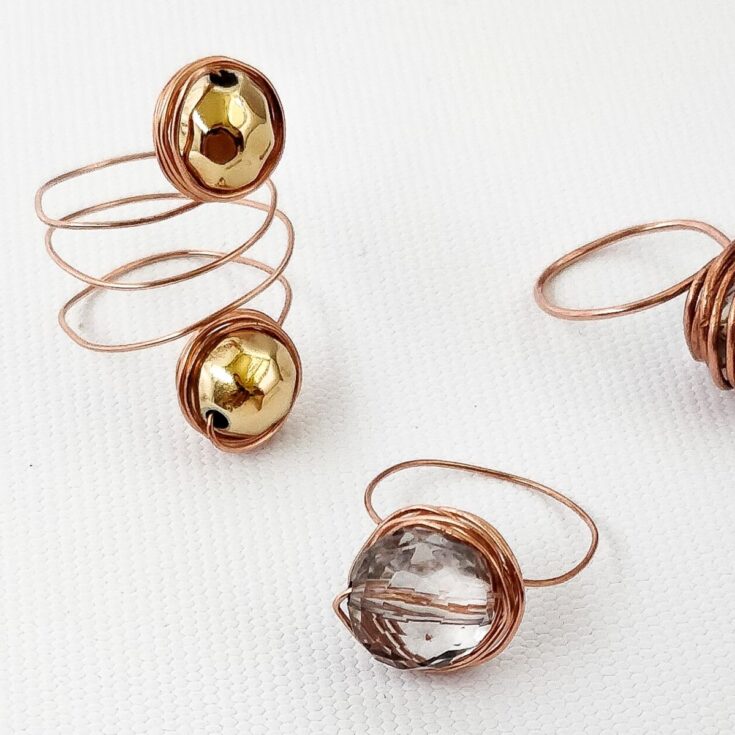
There’s another kind of wire ring hiding in my repertoire: the dual-ended ring! This unique accessory takes up more space on your finger, so you could say it’s more of a statement piece.
Don’t worry. It’s just as easy as the first kind. All you need to change is getting two matching beads instead of just one crowning bead.
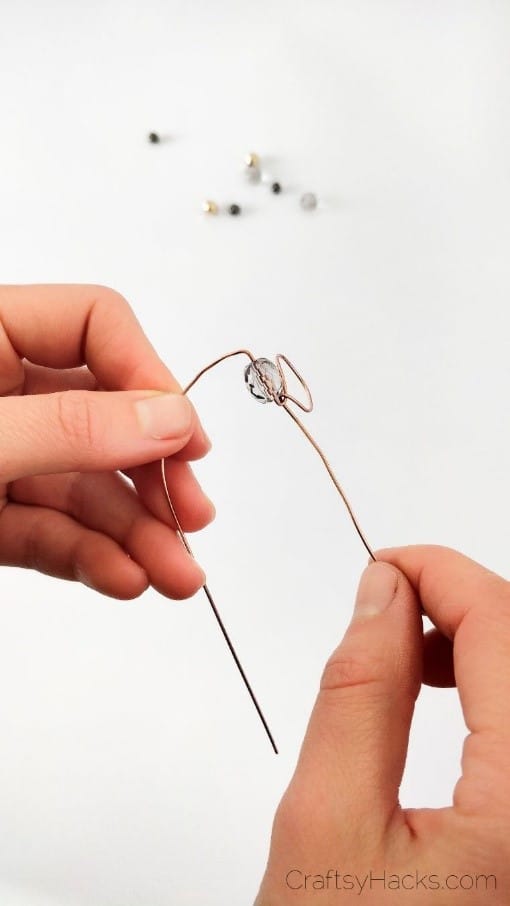
Step One
Start off by cutting your length of wire. You’ll need this one to be even longer than the first, as it wraps around your finger a few more times.
Now, position the marker above your wire and wrap both ends of the wire around the marker twice. You should end up with two complete loops and two partial loops and tails pointing the opposite way.

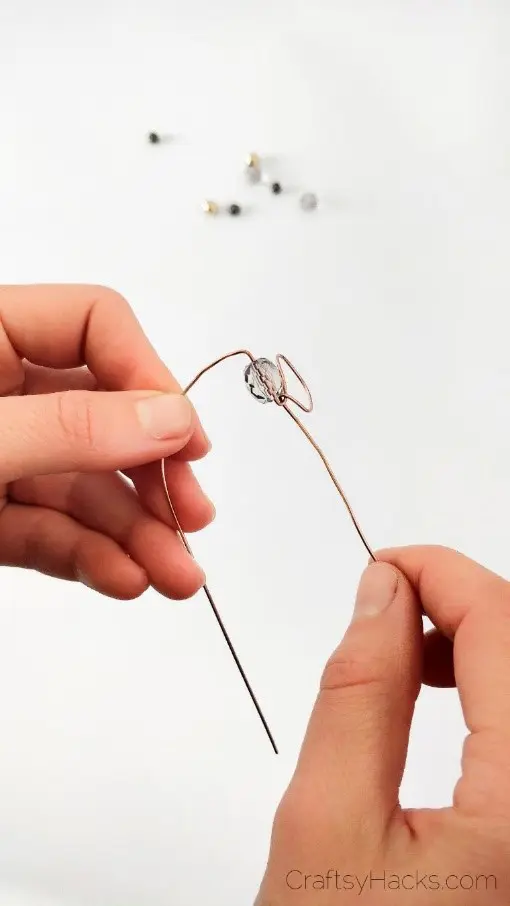
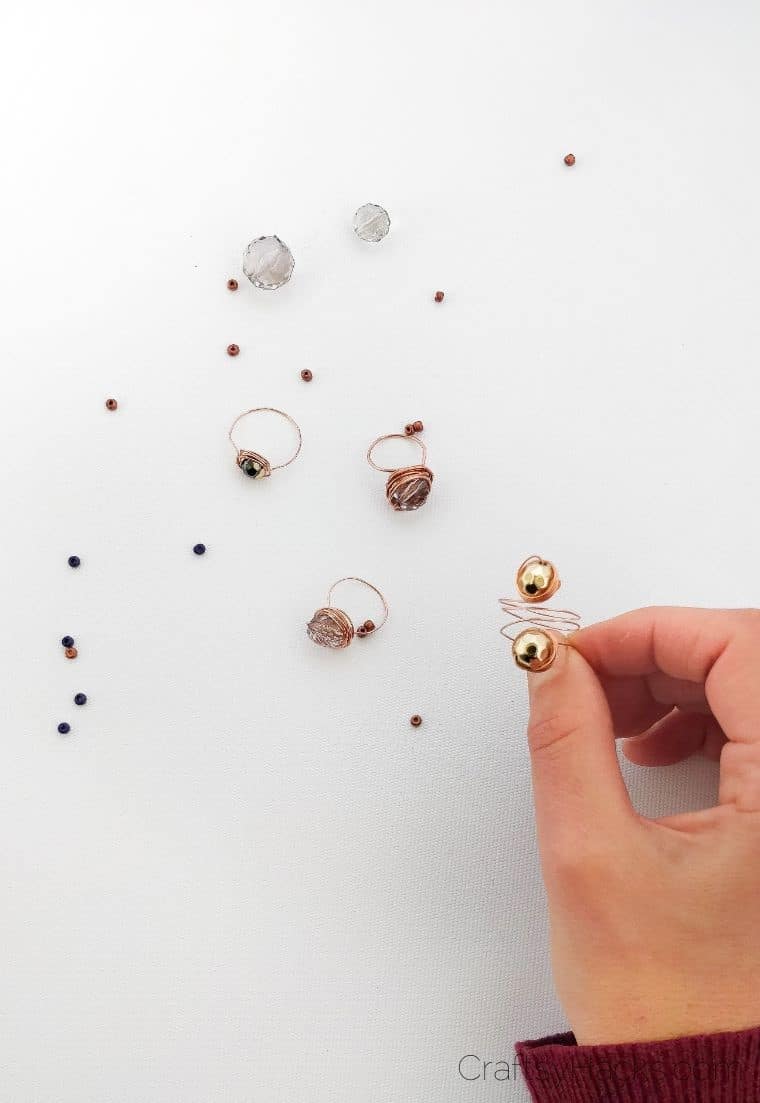
Step Two
Now, for the exciting part. Beads! Grab the first of your two beads and slide it onto one of the tails while it’s still on the marker.

Then, slide the whole thing off your marker.

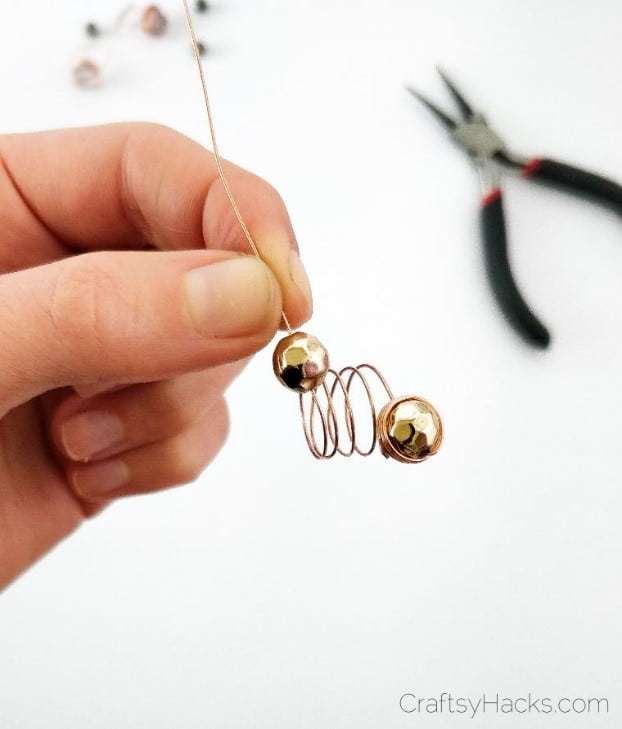
Step Three
Now, do as you did for the previous ring. Wrap the piece of wire around your bead, starting at the top and working your way down.

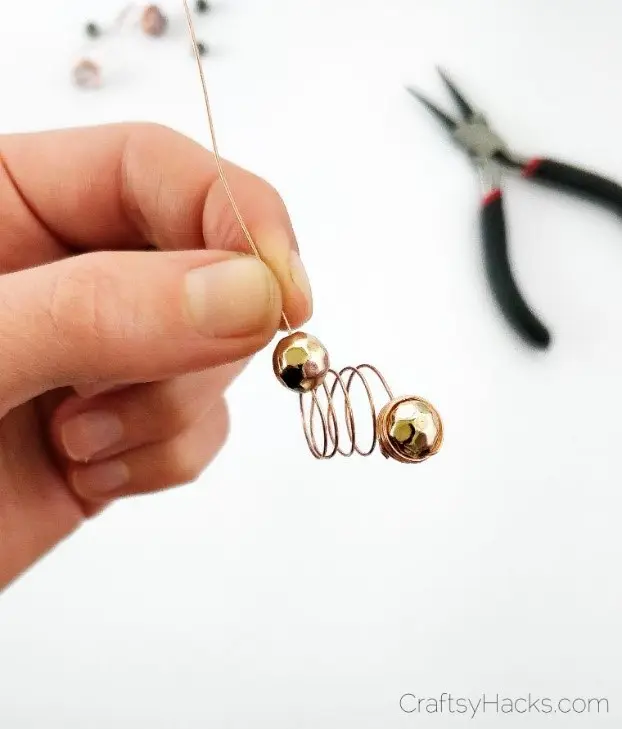
Step Four
Eventually, you’ll end up with just a little piece of wire sticking out. Just tuck that in with your pliers.
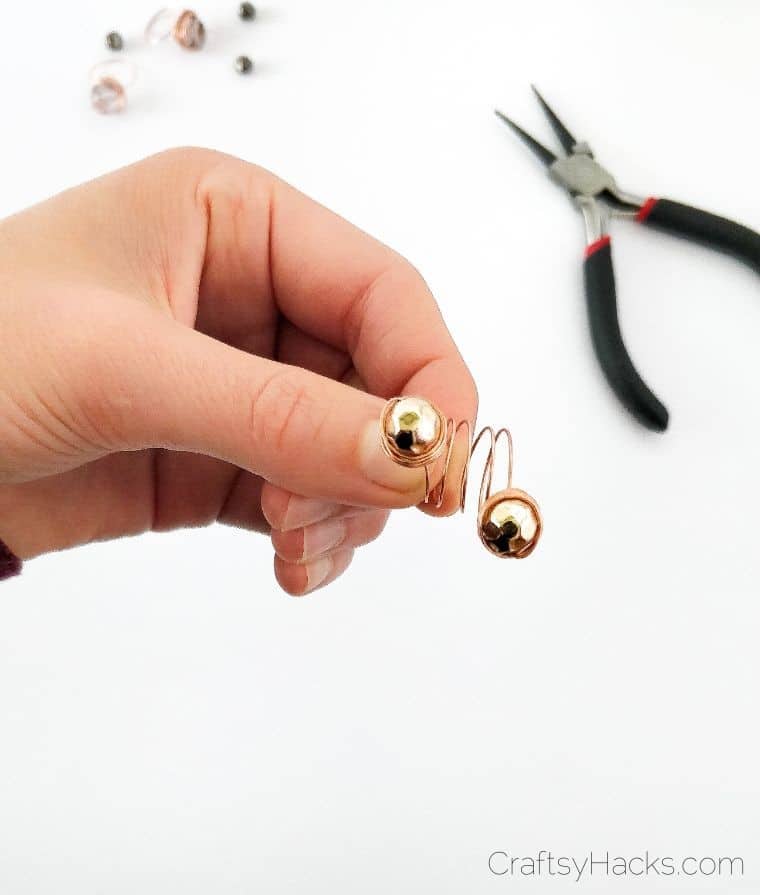
Step Five
Repeat the entire process on the other tail of the wire. Make sure you don’t bend the middle out of shape as you work!
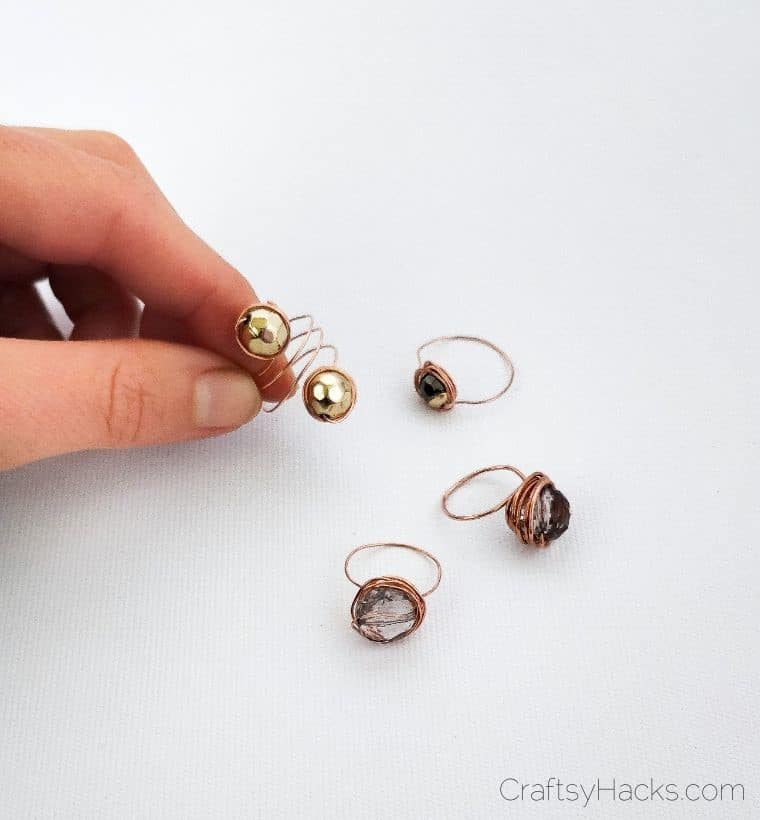
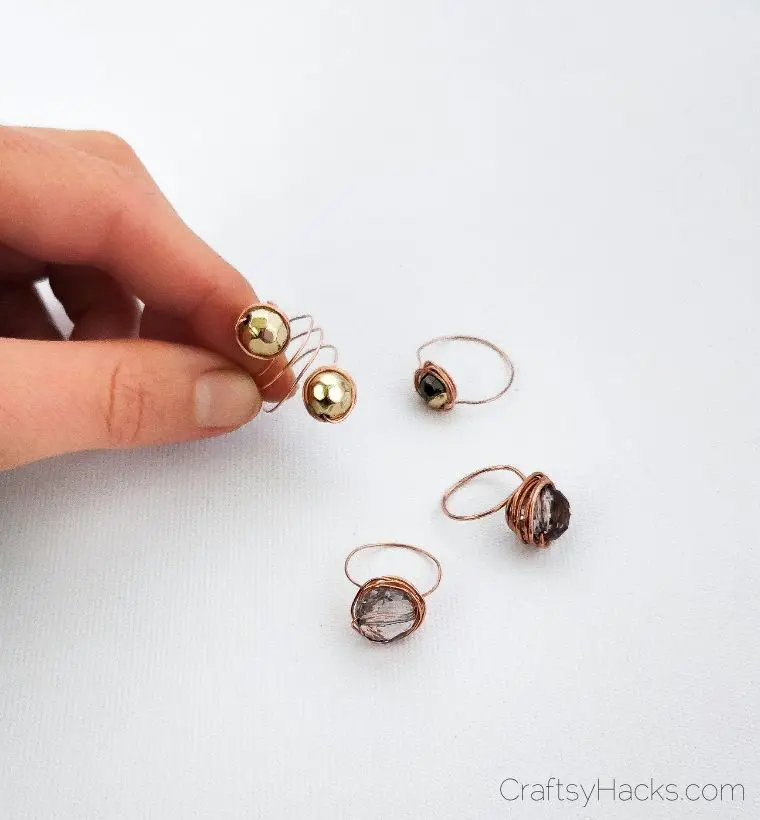
And there you have it! A beautiful ring is worthy of your very own Etsy store.


What is the Best Wire for Making Rings?
When we’re talking about wire, the most important thing to get right is the gauge. The higher a wire’s gauge is the thinner its diameter. So, for example, 22 gauge wire is 6mm around. 21 gauge wire is 7mm.
The thinner your wire is (or the higher its gauge), the softer it will be. That means it’s easier to work with! However, it also means it can be prone to camber, buckle, or easy damage as you wear it.
If you’re feeling a little more confident and experienced, go for the 8mm wire. It’s tougher to manipulate but perfect for anyone who has worked with wire before. Otherwise, stick to 6mm or 7mm.


Who Can Make These Wire Rings?
The great thing about these rings is their customisability. You can make them for virtually anyone and everyone. However, they’re the best craft for teenagers and adults to make!
If you’re a teen on a budget, these are cheap to make as a gift and give you great results. If you’re an adult coveting something for your unique style, these work perfectly.

Can you think of someone you’d love to give one of these to as a gift? What would you do to make the ring uniquely yours? Let me know in the comments!

Other Crafts You Can Make
- 21 Dollar Tree Crafts for Low Budgets
- DIY Rock Photo Holders
- 20 Craft Ideas
- DIY Macrame Leaf Earrings
- Painted Rock Ideas
- 37 Crafts to Make and Sell
- 27 DIY Rings
- 37 DIY Earrings
- 47 Upcycling Ideas
- DIY Crafts for Teen Girls
- Paper Crafts
- Scrap Fabric Projects

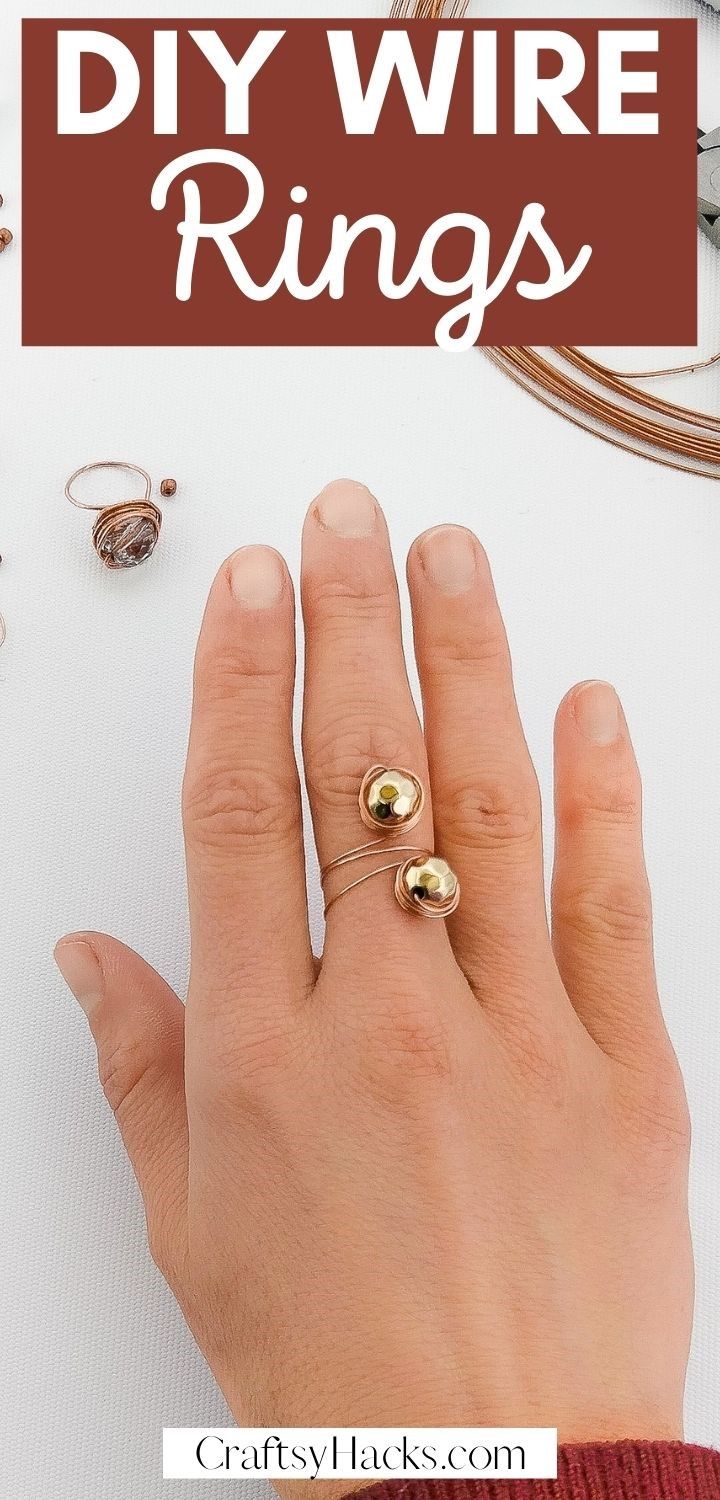


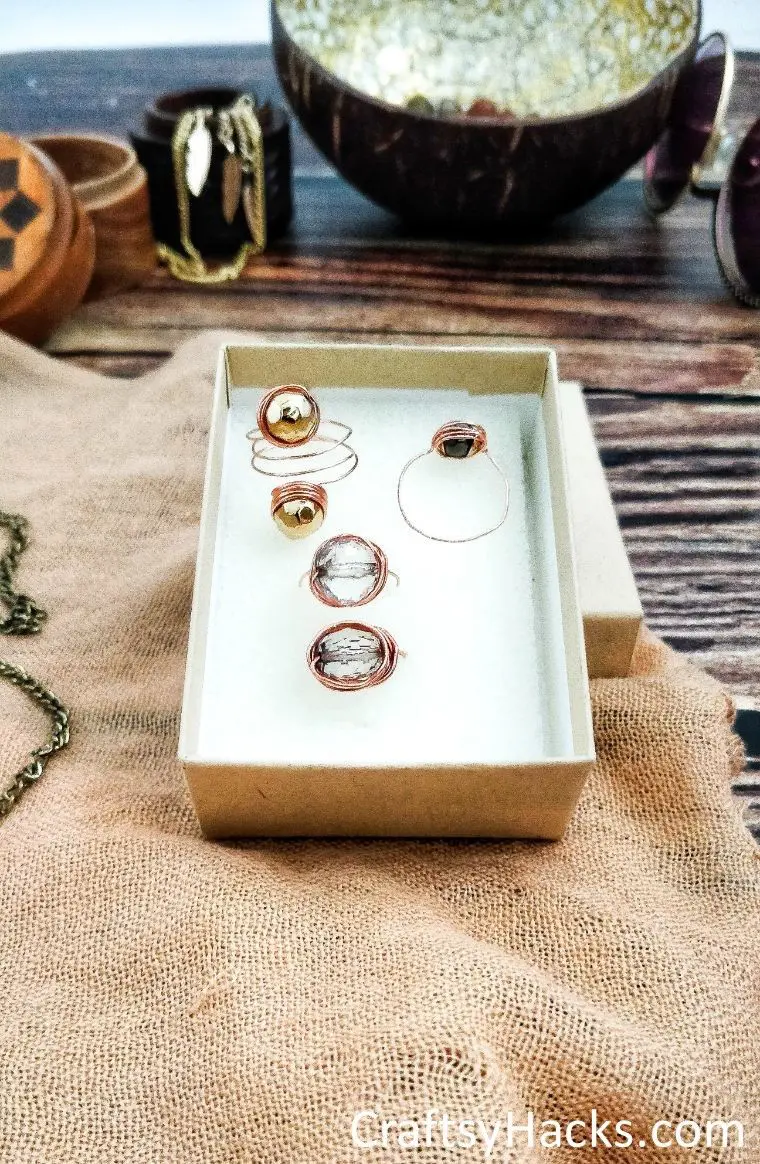


DIY Wire Rings

These beautiful DIY wire rings with beads can do for a wonderful DIY gift or even a craft to sell. It's a relatively easy DIY jewelry you can make and feel proud of!
Materials
- Copper wire
- Beads
Tools
- Long-nose pliers
- A marker the size of your finger
Instructions
- Collect all your materials.
- Cut the wire so that the length of it is long enough to loop around your finger and the bead. I used six inches.
- Put the marker in the middle of the wire’s length, then wrap the ends up and over once.
- Twist both tails in an anti-clockwise motion, creating a little “gap”.
- Thread a bead onto one of the wire’s tails, nestling it at the base of your loop.
- Take the same end of the wire and wrap it around the bead. Make sure to start from the top of the bead and wind down. Keep the circles tight and close together.
- Make sure to leave a bit of wire sticking out to prevent any injuries from trying too hard to bend the wire. Instead, use the pliers to wrap the final piece around the ring.
- Repeat the same procedure with the other side of the wire.
- Just like that, you’ve got a gorgeous ring that’s perfect for you! Try out the dual-sided variation above for something a little different.
Jo
Saturday 5th of August 2023
What size of bead is suggested?
Karo @ CraftsyHacks.com
Friday 25th of August 2023
Any! :) All based on your tastes