
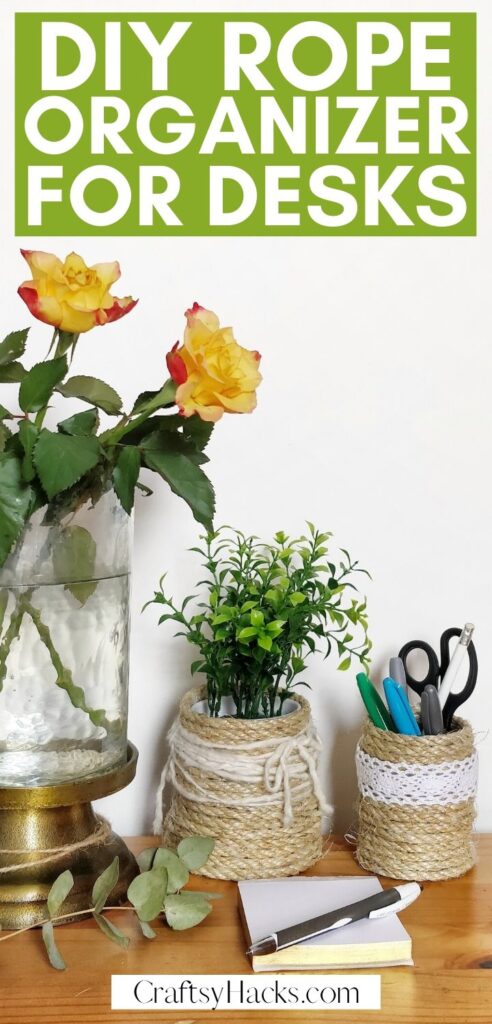

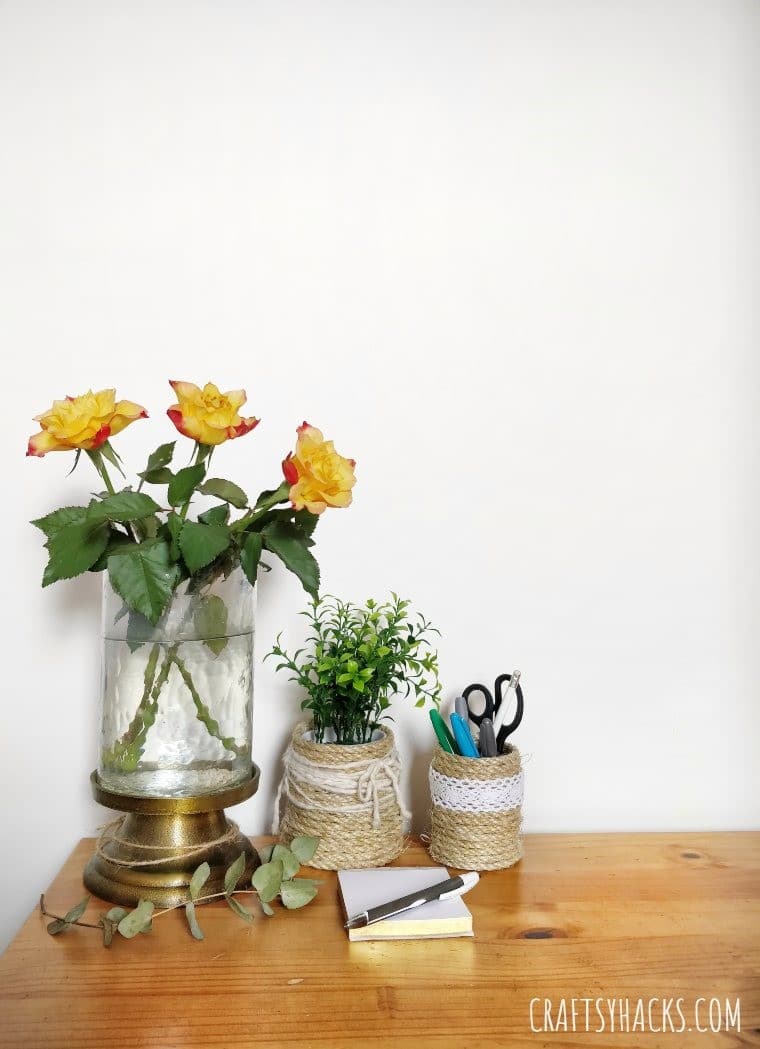
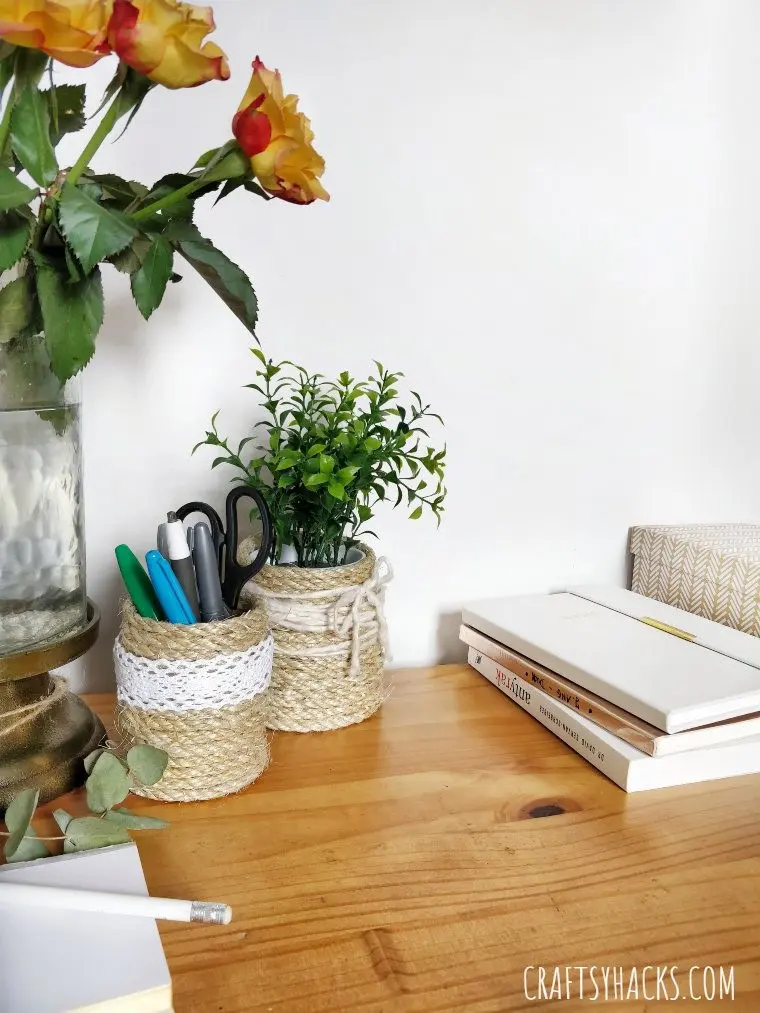
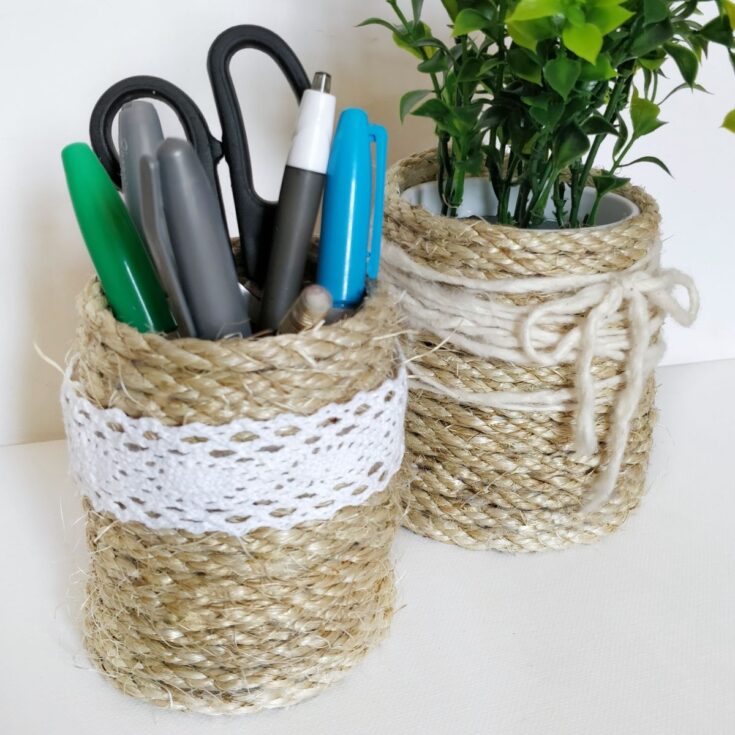
A messy desk? These little rope organizers will make sure you’ve got enough space on that desk to do actual work!
Small things can make big impacts. This statement is especially true in our homes.
Adding a small wood or natural-looking decorative piece into your modern kitchen instantly transforms it into a warmer space.
On the reverse side, small pins and a few pens lying on your home office desk makes your space look cluttered, despite the otherwise organized computer accessories and piles of paper. Easily solve this problem by getting yourself a nice little office organizer or penholder.
But you don’t have to spend big on something small. Using a few inexpensive materials, you can easily create beautiful cute little baskets for your small storage solutions.
You won’t spend too much time either since it’s relatively quick to make. You also don’t have to worry if you haven’t done much DIY, the process does not require elaborate techniques, and is very straightforward.
Let’s get started!

Ways to Use These Rope Baskets at Home
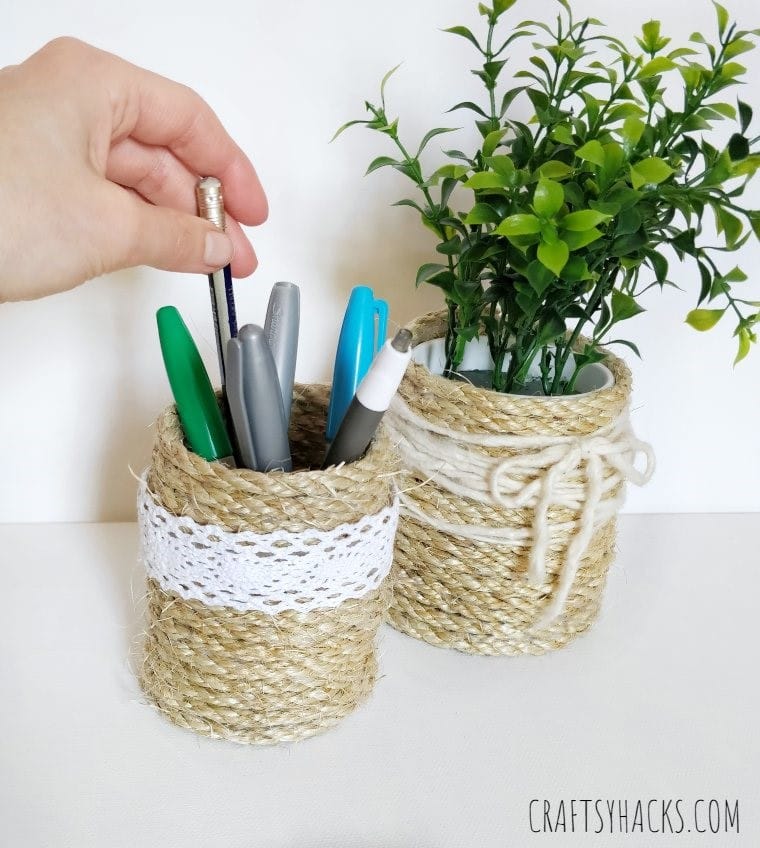
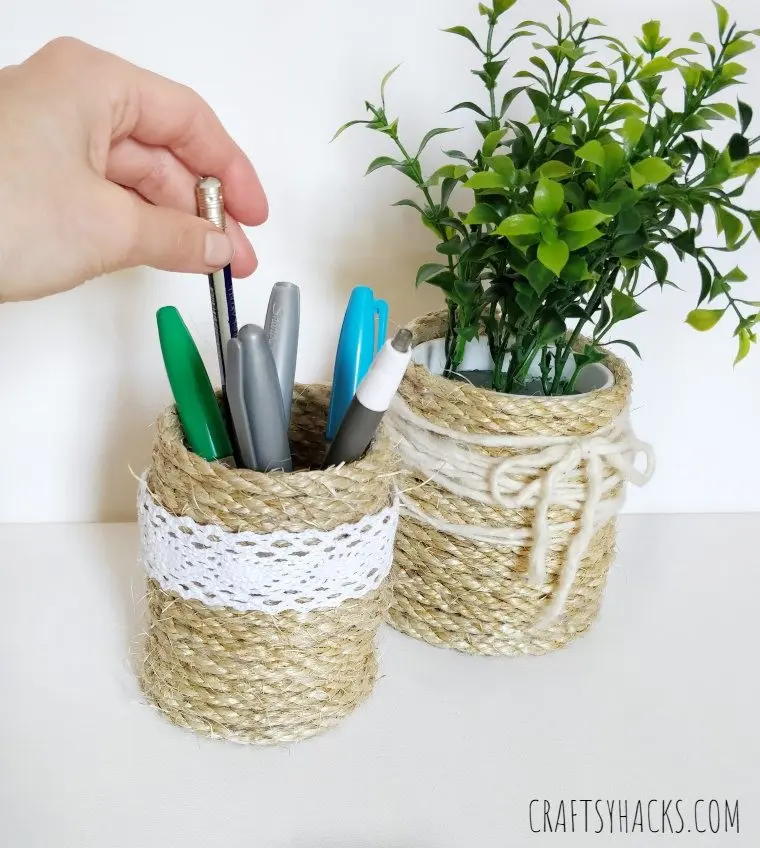
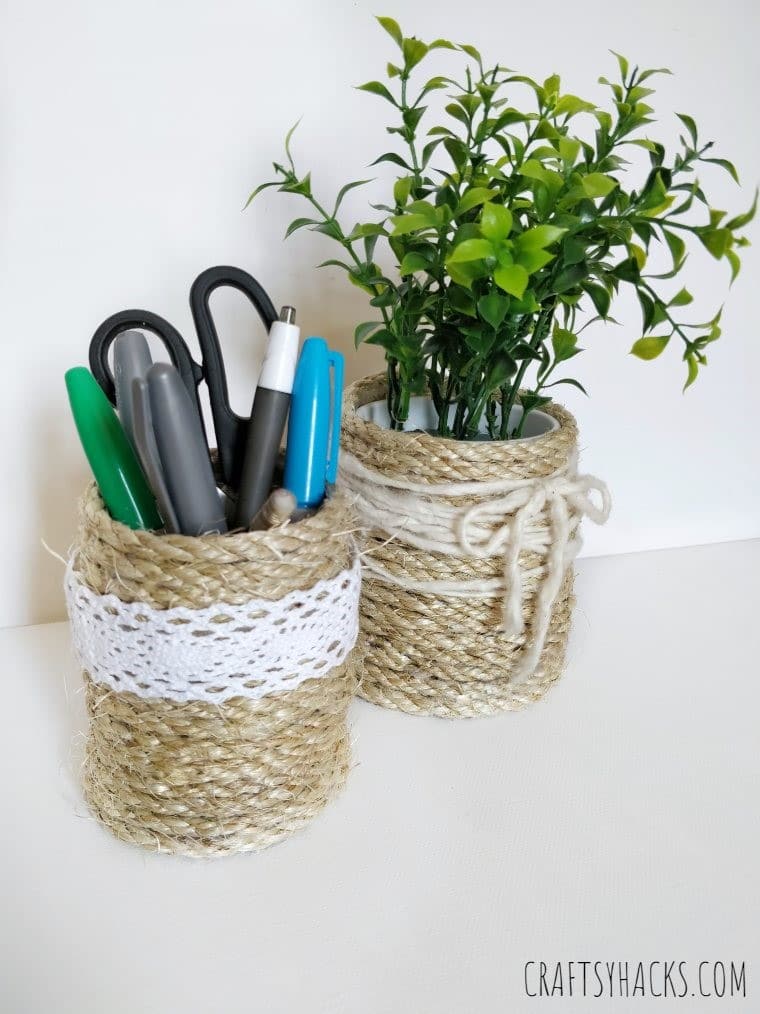
These rope baskets can easily accommodate your pens, scissors, paintbrushes, kitchen utensils, even the TV or air conditioning remote controls!
You can also use them as pots for little decorative plants or containers for your arts and craft materials, such as decorative stones or potpourri. These adorable baskets have so much potential in them!
If you don’t want to put anything in it and just like its appearance, go ahead and use it as a decorative accent in itself. But if I can be frank, why waste that storage space?
Store tiny knickknacks that would otherwise create clutter in your home inside the baskets. – You still get that decorative touch you are after, but you also get to maximize its functionality, discretely.
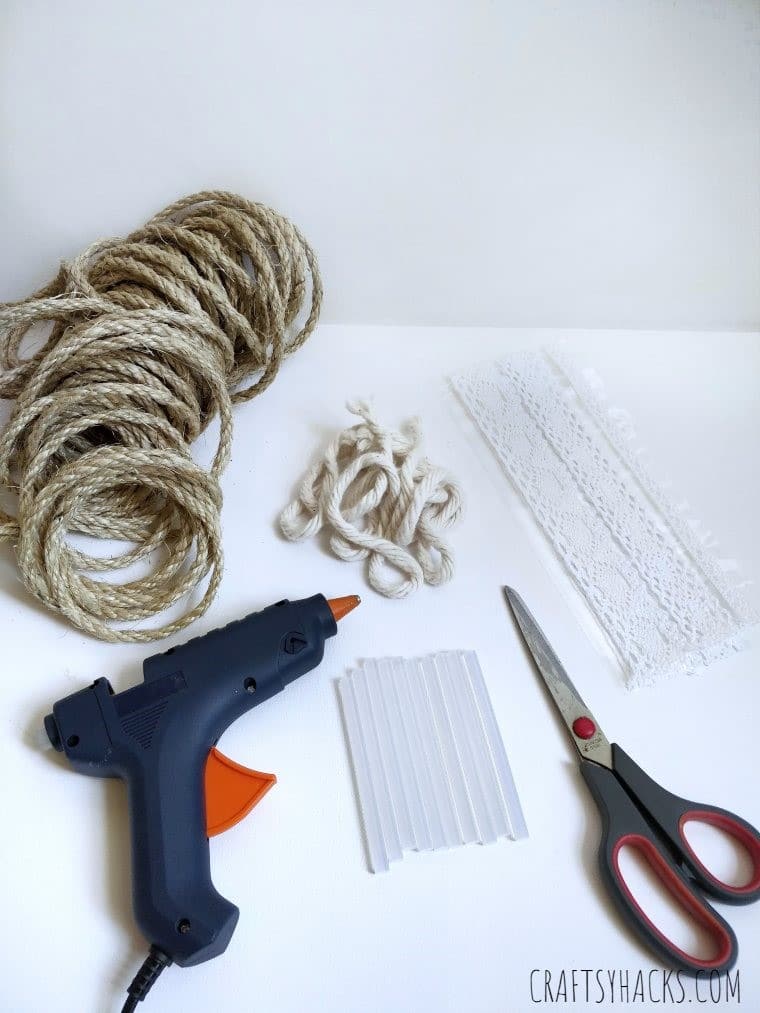
Supplies for the Organizer
Here’s a list of what you’ll need to for your rope baskets
Craft tip: Pay attention to the thickness of the rope you choose for your basket. A thicker rope works well with a larger basket, and a thinner make is best for smaller baskets.
- Thick rope
- Hot glue gun with glue sticks
- Scissors
- Yarn
- White lace ribbon

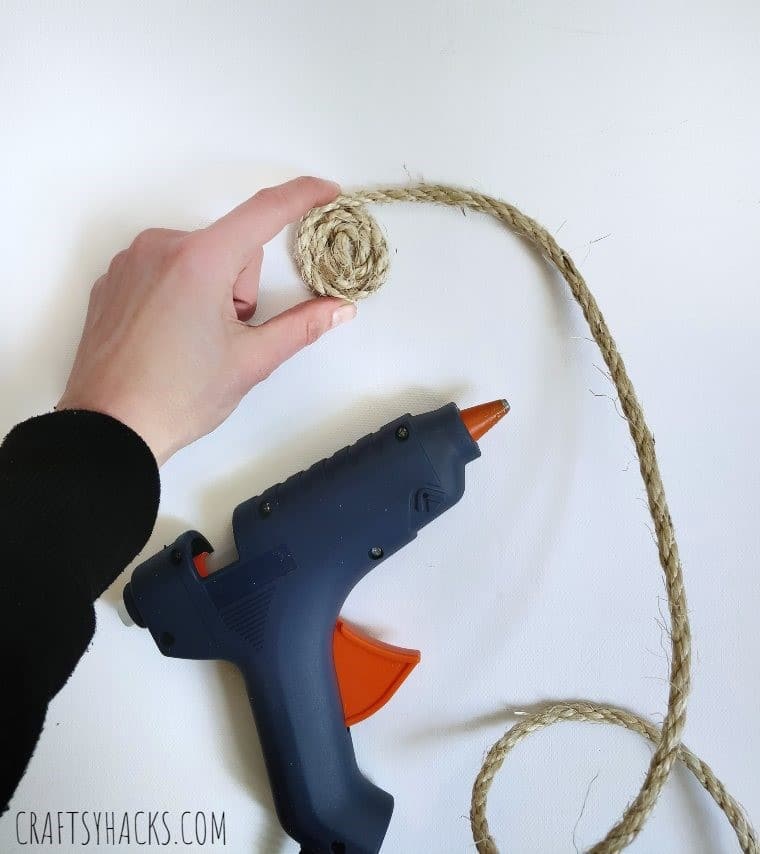
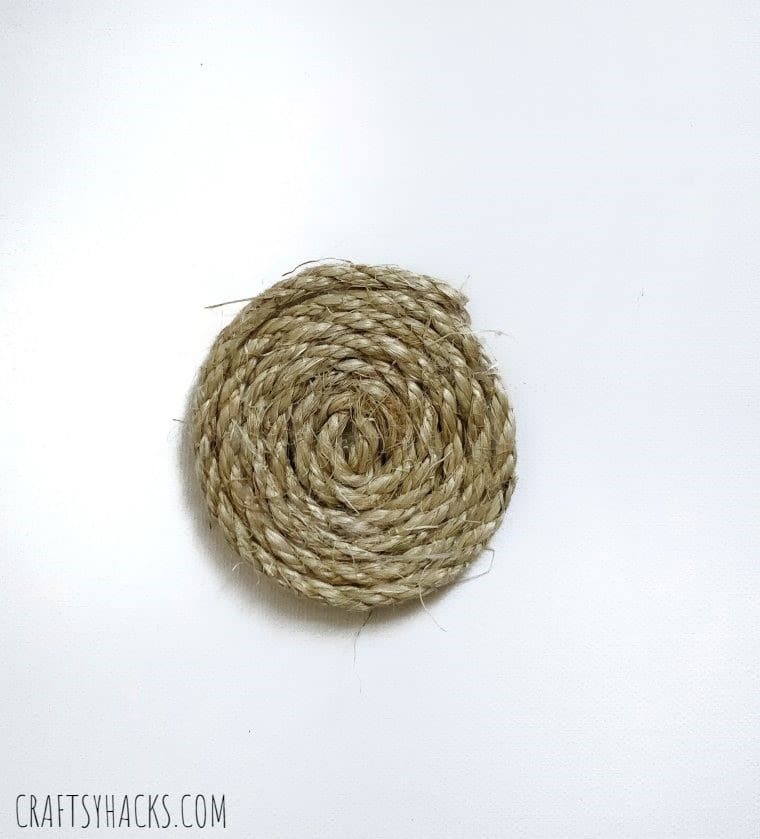
STEP 1
Take the rope and start rolling it in a circle to make the base of the basket. Stick it together using the hot glue gun. Roll the rope tightly to ensure there are no spaces created between the layers.

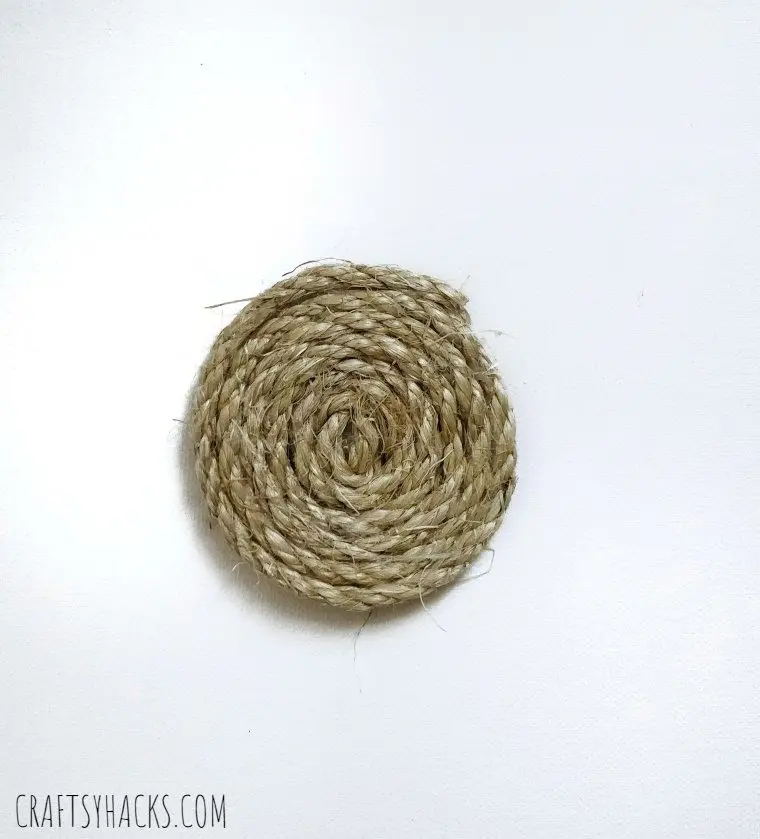
STEP 2
Keep rolling and gluing until you reach your desired circumference for the base of your basket. Cut the rope once you’ve gotten to this point and glue it firmly to the rolled-up bottom, making sure it won’t come off.
Craft tips:
- To keep the rope bristles intact, add glue to the ends of the rope immediately after cutting it, so the individual threads don’t come off or stick out.
Make sure the base circumference is a little extra-large as the walls of the basket will be built around this. A smaller base will result in an even smaller basket. You don’t want a basket that can’t store anything.
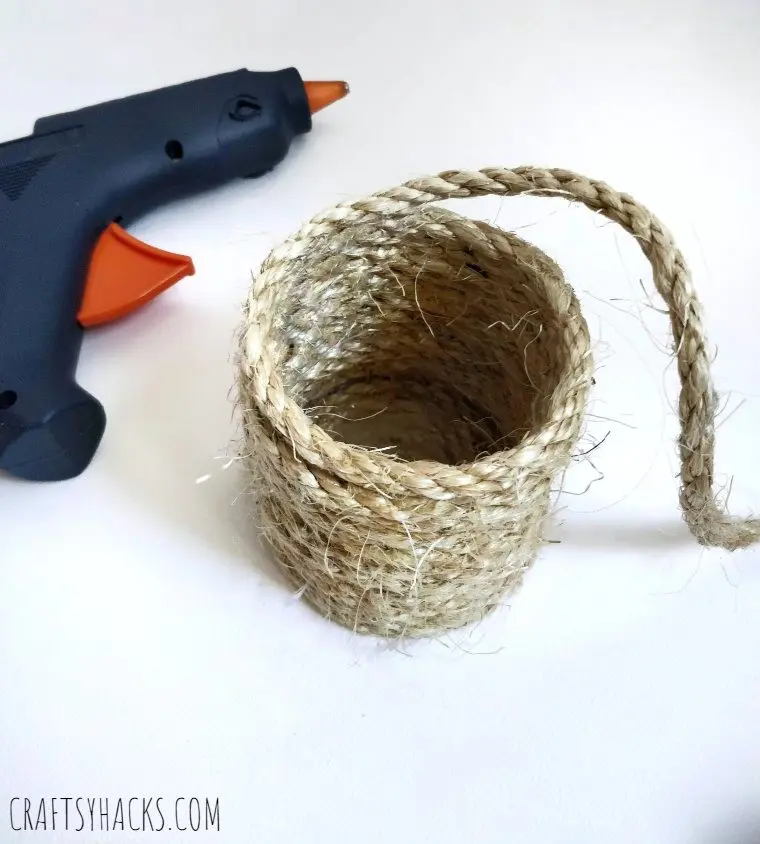
STEP 3
The next step is to make the walls of the basket. Roll the rope starting from the outer corner of the base. Continue stacking the rope while layering with glue in between.
Be careful to stack one layer precisely above the other, or the basket’s width will be affected.
Craft tip: To make sure your basket is perfect, use a tin or a glass container as your mold. Simply place the container on the base and start coiling the rope along its walls (be careful not to stick the rope to your mold).

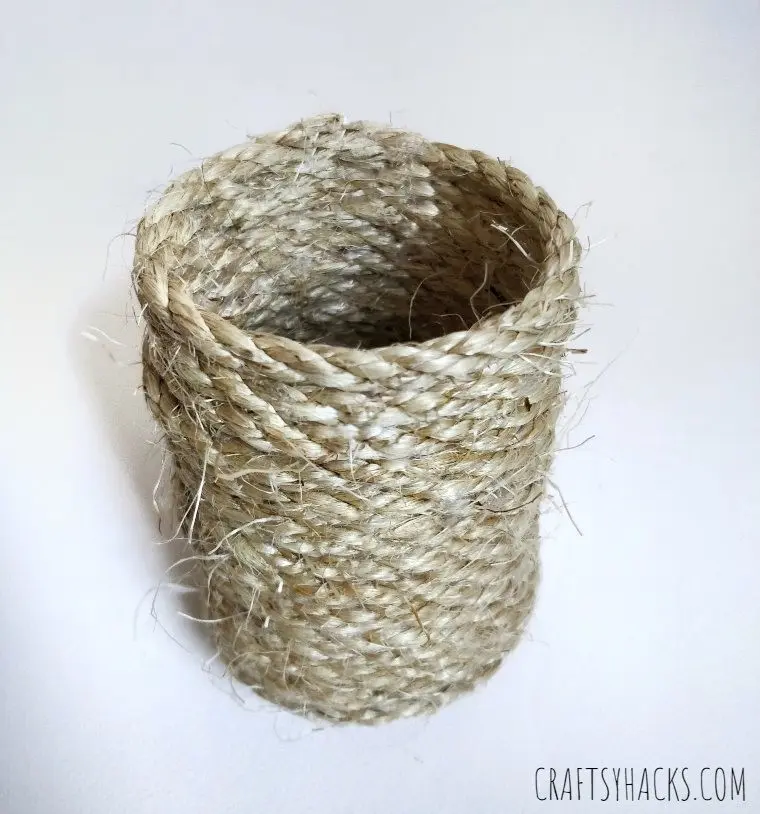
STEP 4
When the basket reaches the desired height, cut the rope and add some extra glue to lock it in place securely.
Craft tip: If you want a taller basket, make a larger base. Remember this principle: a narrow base with a high frame decreases the sturdiness of your basket structure.

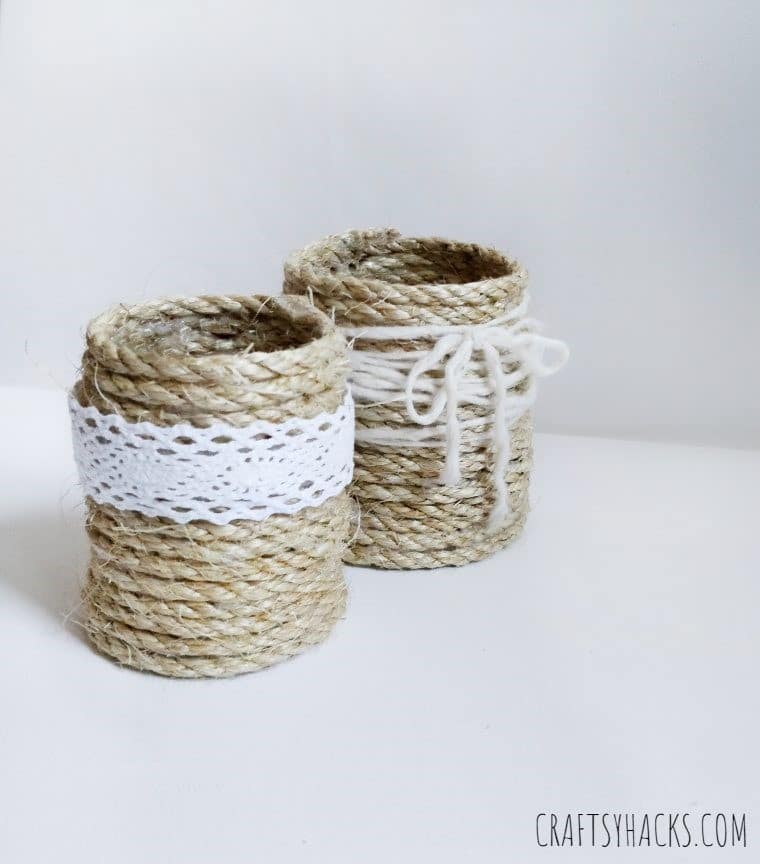
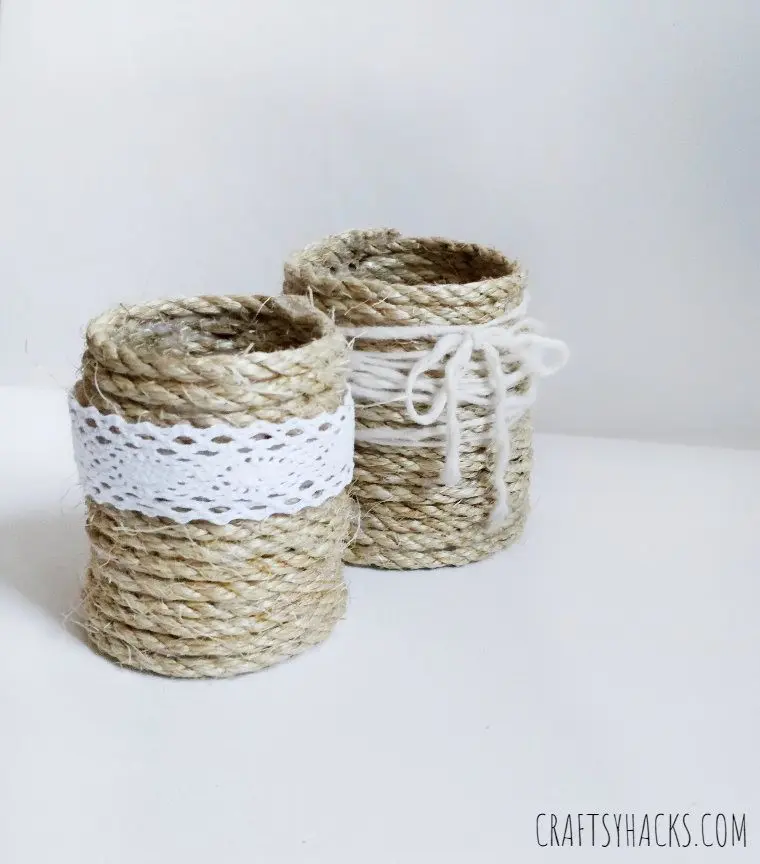
STEP 5
Decorate your DIY rope basket using laces, ribbons, wool, buttons, or any other materials that you think would work.
You can also match your basket décor with the color scheme of your room interior. Use embellishments or beads if you want to give it a funkier look.
Who Can Make These DIY Rope Organizers?
Whether you’re an expert at homemade crafts or entirely new to DIY-ing, this stylish DIY rope basket is something you can do. As with any other craft, the key is having the right materials and the ability to follow the instructions.
Age doesn’t matter either, but I would suggest you keep little kids away from glue guns. Supervise the children if you intend to share this crafting activity with them.

Where Do You Want to Avoid Having Rope Baskets?
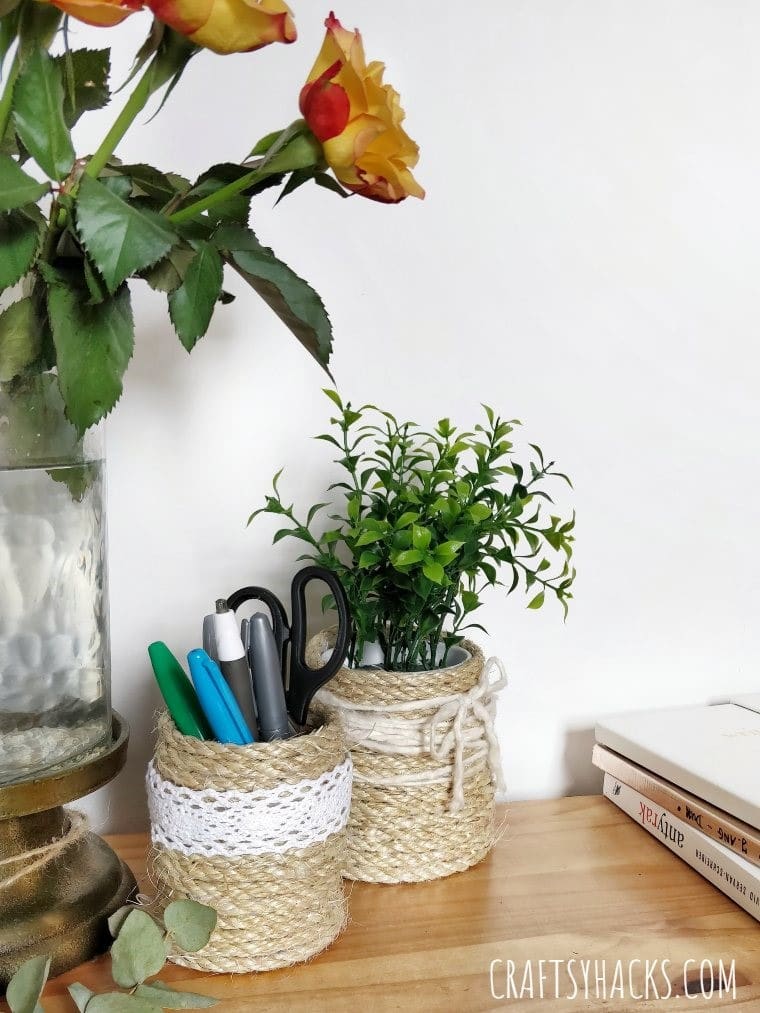
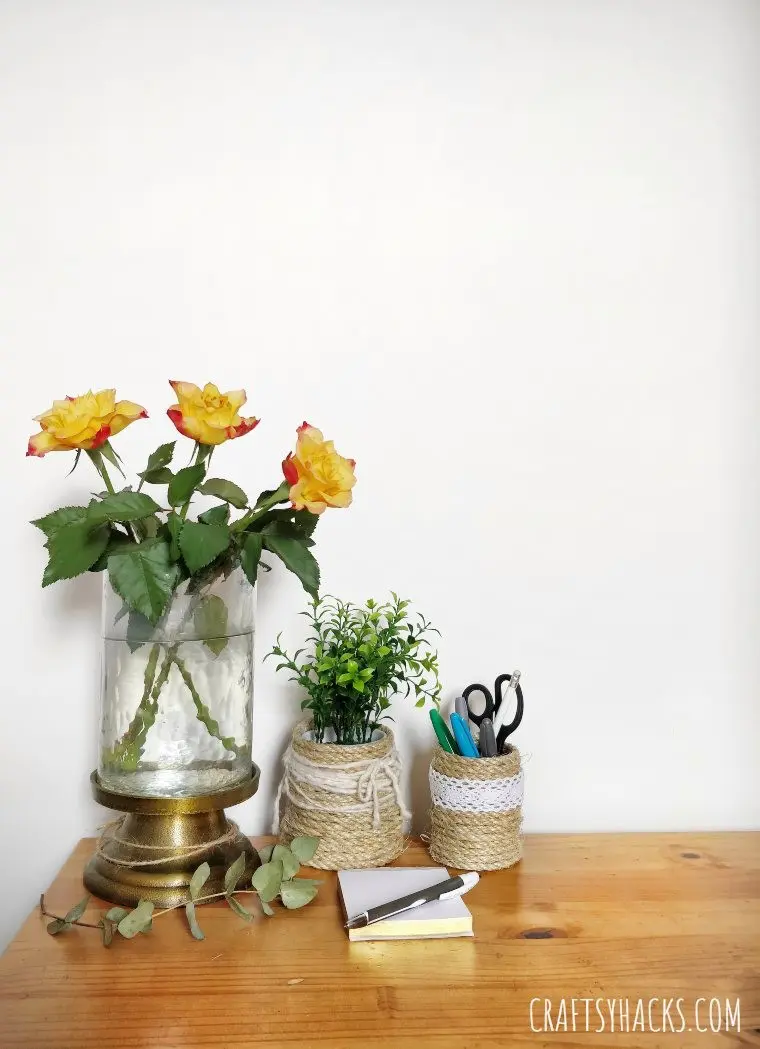
The ideal location for this DIY rope basket would be desks or tables where it is functional enough to store your bits and pieces, and pretty enough to add an aesthetic touch.
However, it’s probably wise to keep it away from places where they’d potentially get in contact with water. Ropes that frequently get exposed to water lose their strength over time.
If you place your baskets near a water source, this can result in your basket sagging over time, and eventually collapse completely.
So washrooms, kitchen sinks, and vanities not the best places to put them in (nope, you shouldn’t use them as toothbrush holders).
As a general rule, if it’s dry, the basket can stay. For wet areas, best to use something else.

Other Posts You Might Like:
- 40 Office Organization Ideas You’ll Love
- 15 Brilliant Desk Organization Hacks
- 18 Ways to Organize a Small Bedroom
- 25 Craft Room Ideas
- DIY Rope Basket Out of Cardboard Box
- 21 Dollar Tree Storage Ideas
- 20 Practical Storage Ideas for Extra Small Spaces
- 41 Storage Ideas for Small Spaces
DIY Rope Organizer for Your Desk

Make these DIY rope organizers and organize your desk easier. You can use these baskets to organize your pens, pencils and other office supplies!
Materials
- Thick rope
- Hot glue gun with glue sticks
- Yarn
- White lace ribbon
Tools
- Scissors
Instructions
- Create the base by rolling the rope and tightly gluing it together.
- Cut the extra rope and start making the walls on the outer sides of the base.
- When you’ve reached your desired basket height cut the rope, and secure it to the wall with glue.
- Decorate with a lace ribbon.
- Enjoy your gorgeous handicraft!
Conclusion
Wouldn’t you like your desks, tables, and counters all organized and clean? Imagine not having to look all over the house for that red pen that you used just a moment ago!
Stop imagining and start doing. Try this DIY rope organizer as the first step to making your organized home a reality.